<blockquote class="danger">準備一個域名</blockquote>
<blockquote class="danger">準備一個ssl證書</blockquote>
1. 進入nginx配置文件目錄新建一個配置文件,內容如下,將域名,端口,證書設置好
~~~
server{
listen 443 ssl;
server_name 域名;
#開啟SSL
ssl_protocols TLSv1 TLSv1.1 TLSv1.2;
#證書文件
ssl_certificate 證書.crt;
ssl_certificate_key 證書.key;
#代理配置
location / {
proxy_set_header X-Original-Host $host;
proxy_set_header X-Real-IP $remote_addr;
proxy_set_header X-Forwarded-For $proxy_add_x_forwarded_for;
proxy_set_header Host 域名;
#端口地址改成swoole服務端口
proxy_pass http://127.0.0.1:9501/;
}
#websocket代理路由地址
location /ws {
#端口地址改成swoole服務端口
proxy_pass http://127.0.0.1:9501;
proxy_read_timeout 60s;
proxy_http_version 1.1;
proxy_set_header Upgrade $http_upgrade;
proxy_set_header Connection 'Upgrade';
}
}
~~~
2. 已在gitee上的static目錄下增加了一個web文件夾,內部有個websocket調試demo
3. 打開地址[https://域名/static/web/ws.html](https://v3.haswallow.cn/static/web/ws.html)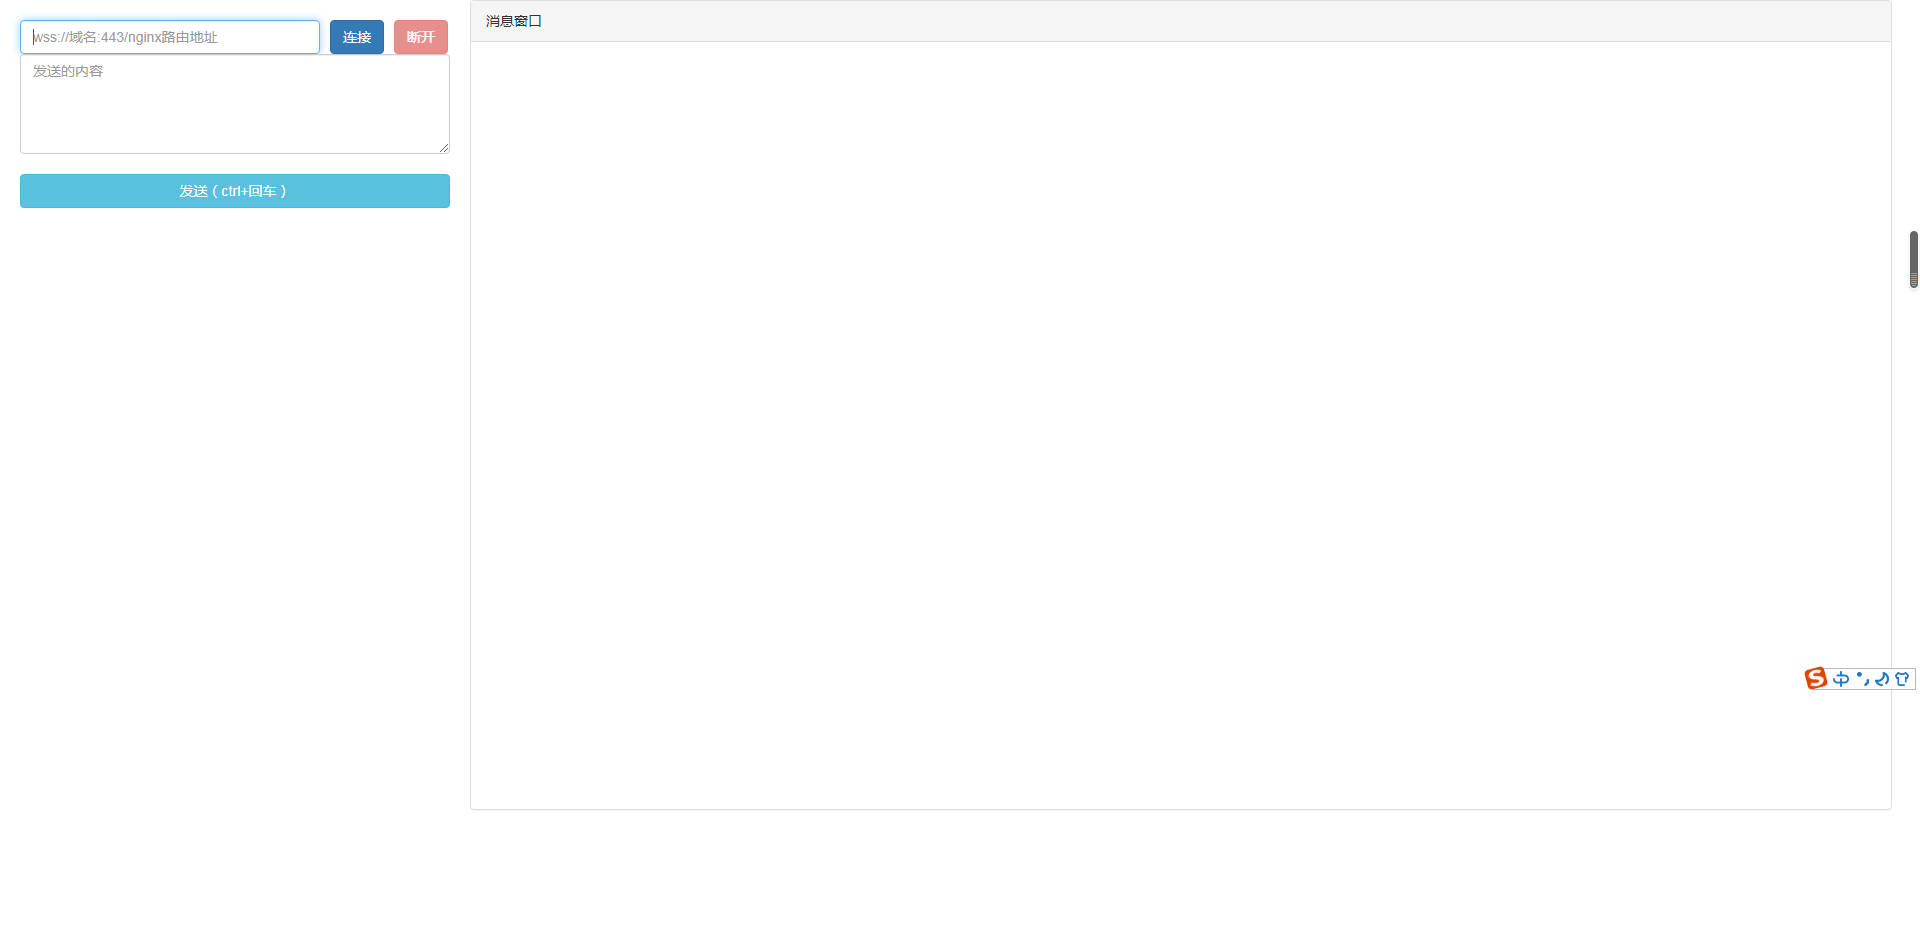
4. 輸入websocket地址wss://域名:443/ws 點擊連接即可.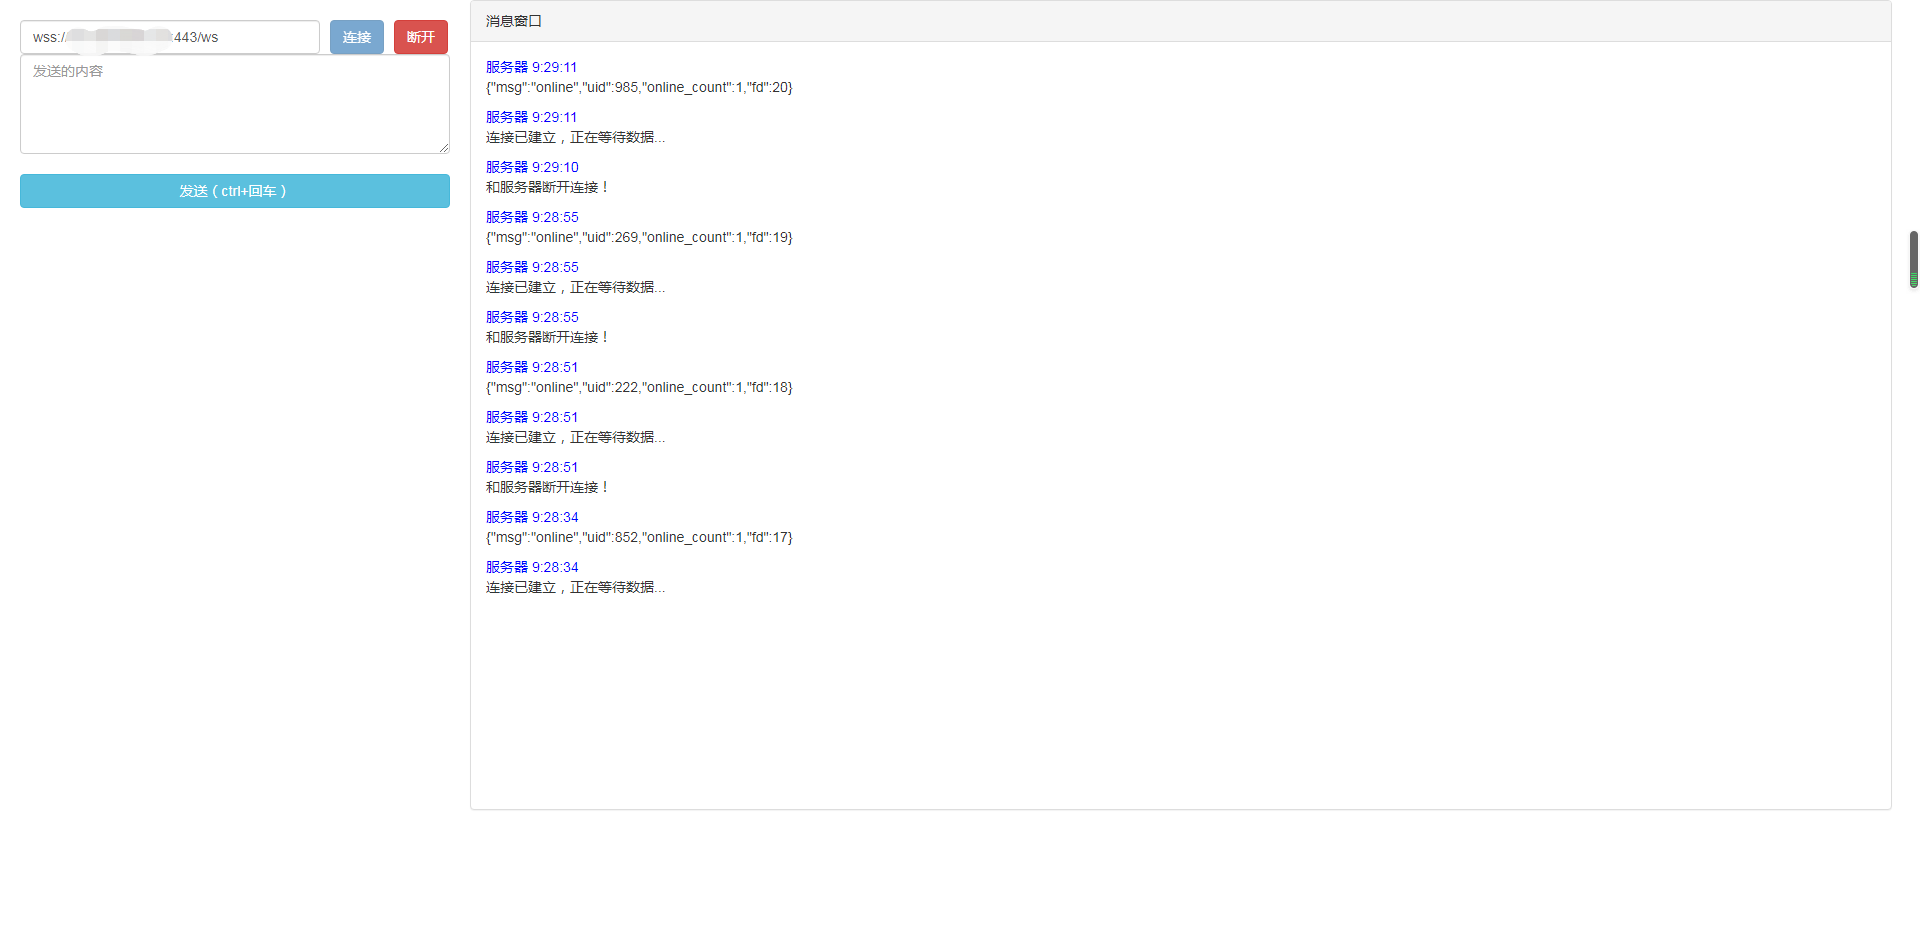
<blockquote class="danger">著重說明下,ws的連接地址不再是swoole的監聽地址!!! wss連接默認走的就是443端口,所以:443可以省略即 wss://域名:443/ws 與 wss://域名/ws 等價. /ws為websocket代理路由地址,兩者同步即可</blockquote>
