
[TOC]
## 前言
習慣了linux的指令操作,在使用windows總是不舒服,于是我們可以在windows上安裝cygwin來運行linux上的shell腳本。<br/>
Cygwin是一個在windows平臺上運行的unix模擬環境,是cygnus solutions公司開發的自由軟件。
Cygwin就是一個windows軟件,該軟件就是在windows上仿真linux操作系統 ,簡言之,cygwin是一個在windows平臺上運行的 linux模擬環境,使用一個Dll(動態鏈接庫)來實現 這樣,我們可以開發出Cygwin下的UNIX工具,使用這個DLL運行在Windows下。
## 下載安裝cygwin
Cygwin下載的是一個安裝器,可到其[官網](http://www.cygwin.com/)下載。
1、雙擊安裝包

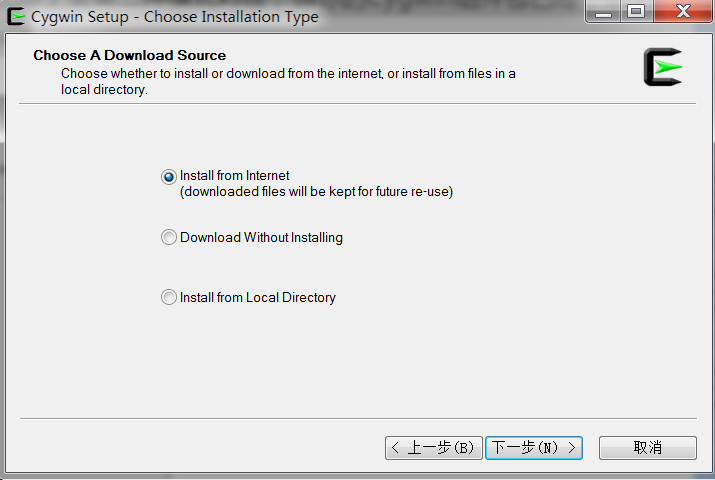
2、三種安裝模式
①Install from Internet,這種模式直接從Internet安裝,適合網速較快的情況;
②Download Without Installing,這種模式只從網上下載Cygwin的組件包,但不安裝;
③Install from Local Directory,這種模式與上面第二種模式對應,當你的Cygwin組件包已經下載到本地,則可以使用此模式從本地安裝Cygwin<br/>
***說明:當你安裝過,在執行該安裝程序可以選擇本地安裝,然后添加需要擴展的命令。***
第一次安裝使用第一種方式進行安裝
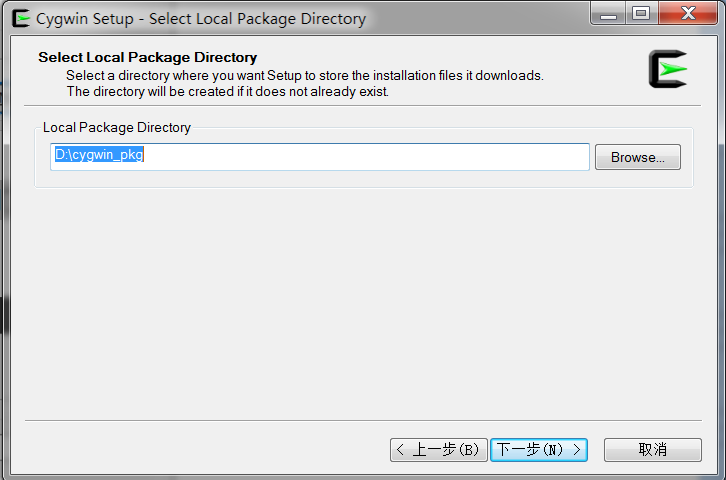
3、選擇安裝路徑

4、在下載的同時,Cygwin組件也保存到了本地,以便以后能夠再次安裝,這一步選擇安裝過程中從網上下載的Cygwin組件包的保存位置
5、這一步選擇連接的方式,選擇你的連接方式,然后點擊下一步,會出現選擇下載站點的對話框,如下圖所示
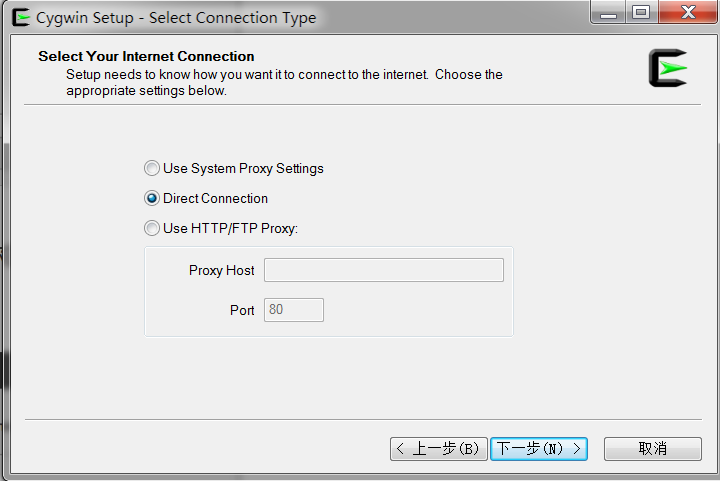
①Use System Proxy Settings 使用系統的代理設置
②Direct Connection 一般多數用戶都是這種直接連接的網絡,所以都是直接使用默認設置即可
③Use HTTP/FTP Proxy 使用HTTP或FTP類型的代理。如果有需要,自己選擇此項后,設置對應的代理地址和端口,即可
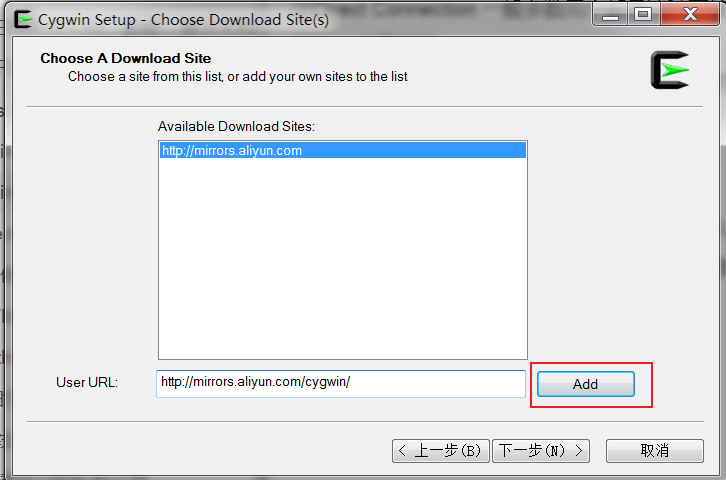
6、選擇下載站點
不同的鏡像存放了不同的包,為了獲得最快的下載速度,我們可以添加網易開源鏡像`http://mirrors.163.com/cygwin/ `或者 阿里云鏡像`http://mirrors.aliyun.com/cygwin/`
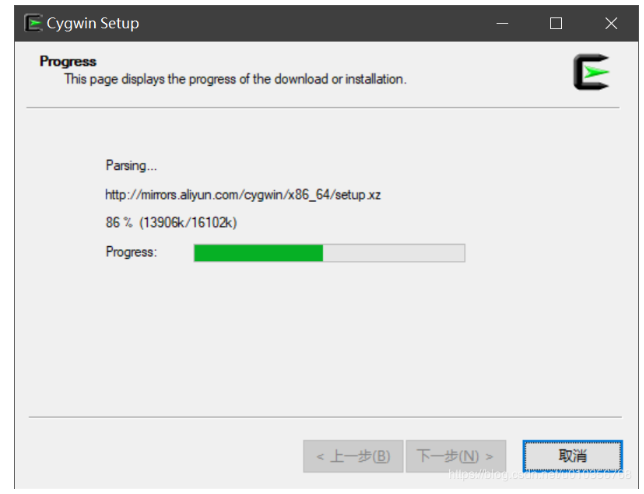
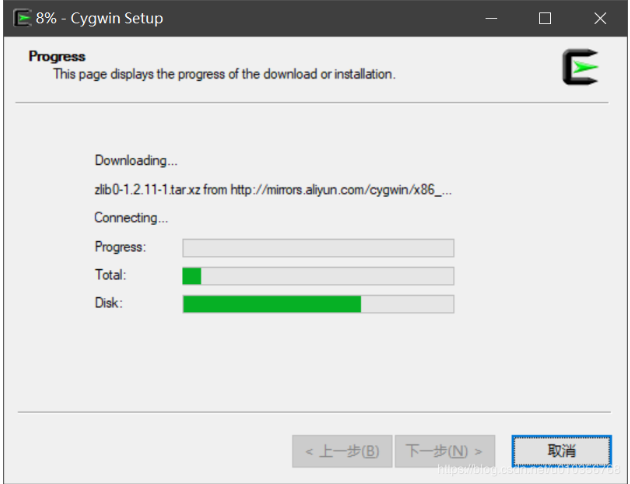
7、開始加載
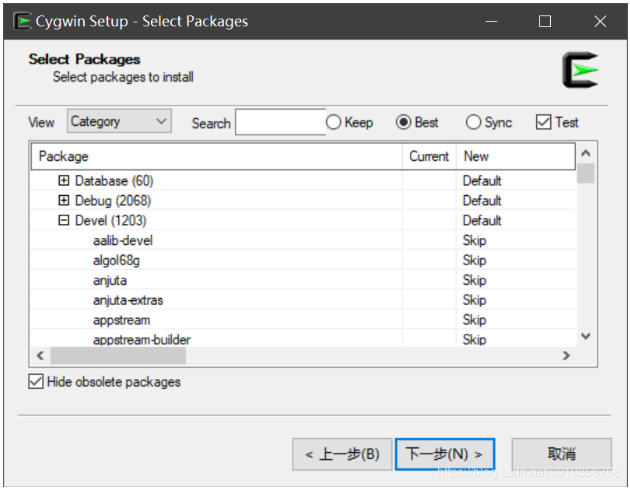
8、選擇需要下載安裝的組件包
此處,對于安裝Cygwin來說,就是安裝各種各樣的模塊而已。最核心的,記住一定要安裝Devel這個部分的模塊,其中包含了各種開發所用到的工具或模塊
展開devel
***下面推薦推幾個組件***
* fish:一個shell,具有良好的交互提示
* lynx:命令安裝組件的必須工具,強烈推薦安裝此項
組件可以在search框輸入后搜索,然后選中組件,在new列雙擊,當看到版本號后,安裝就會將此組件安裝上。
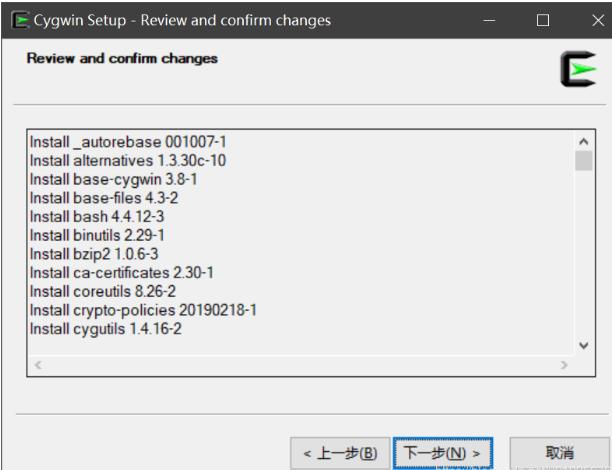
9、確認改變,進行安裝
10.添加環境變量
將`cygwin安裝目錄/bin`添加到系統環境變量,方便之后在其他終端調用相關命令。
## 配置cygwin的默認shell
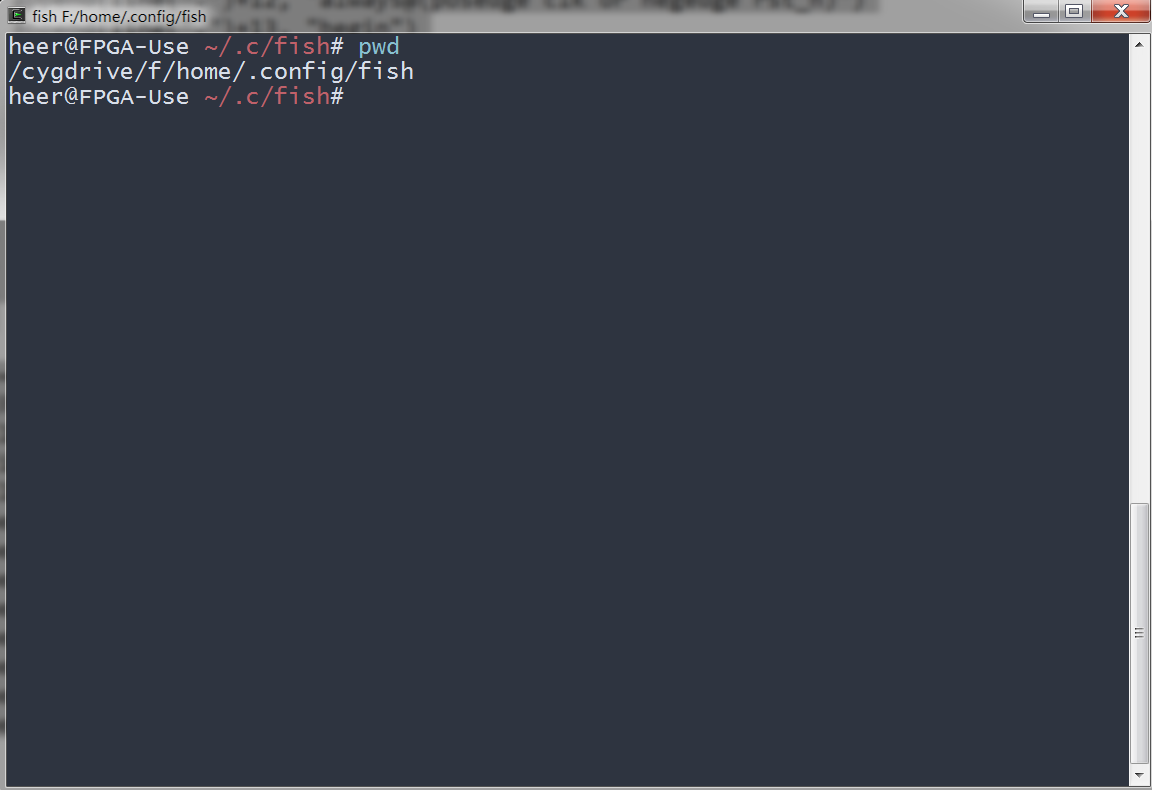
當我們沒配置fish shell,使用默認的shell時我們打開`cygwin`的終端是這樣的
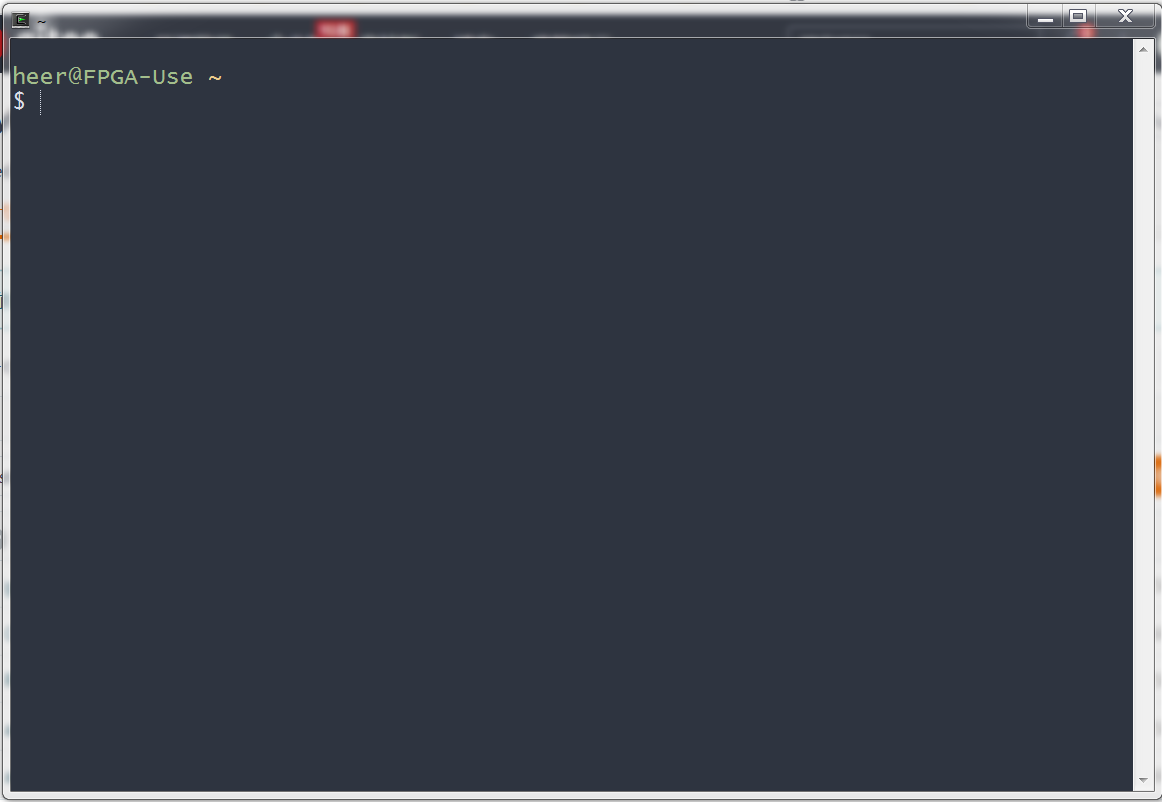
<br/>
前面我們安裝了fish shell,現在我們要把fish shell設置為我們默認的shell,我們在打開的`cygwin`中連續輸入以下幾個命令即可:
```bash
1. cd /etc
2. echo "fish" >> profile
```
然后我們重啟`cygwin`應用即可。<br/>
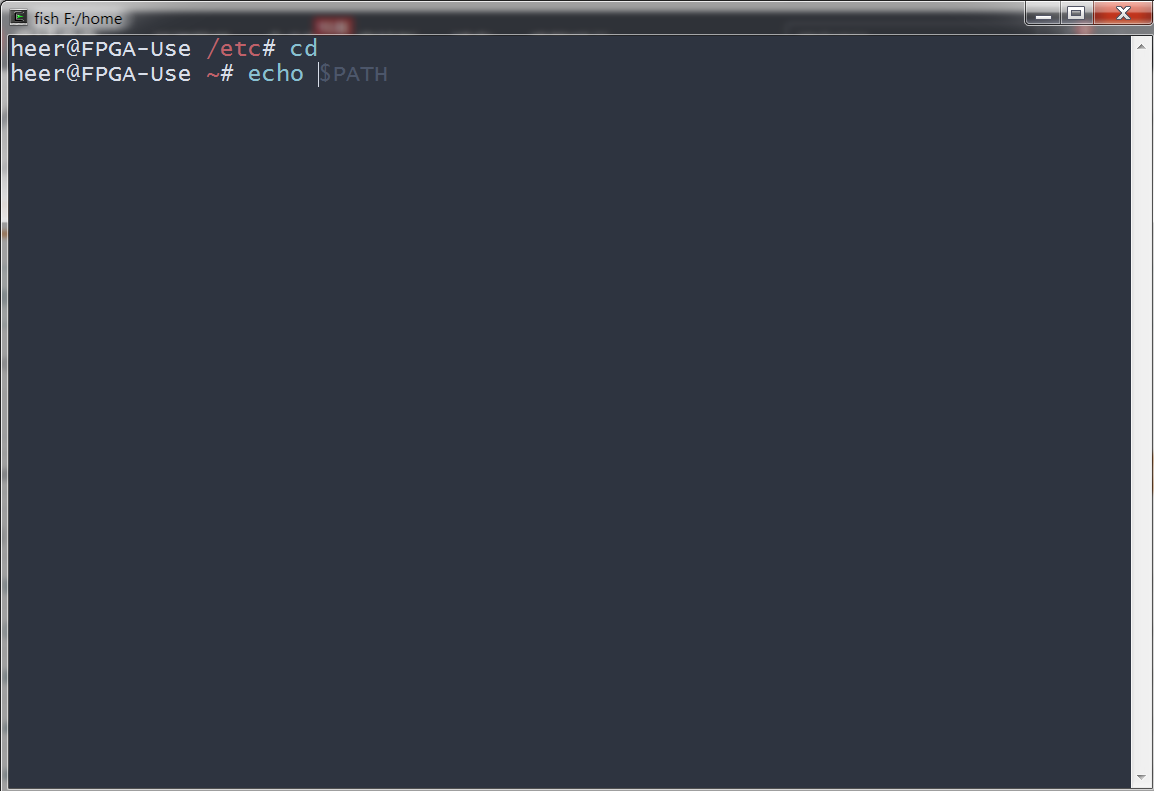
配置好fish后我們是這樣的
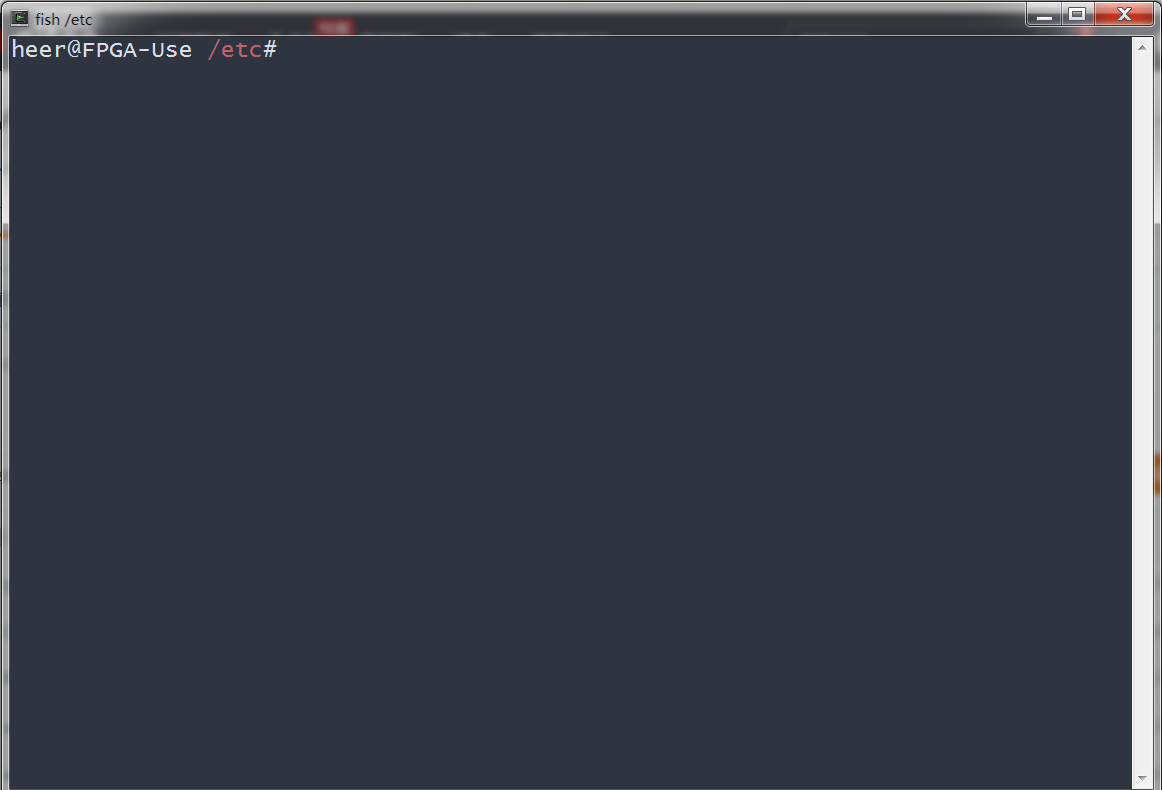
提示符會顯示一些類容,包括當前路徑
當你輸入命令式,會根據你輸入命令的歷史提示你完整的命令,你可以使用鍵盤的`->`(右方向鍵)將提示的命令補充完整
## 配置apt-cyg 工具實現命令安裝新的軟件和常見的命令
cygwin作為windows下模擬Linux環境的的工具,使得我們能在windows下非常方便的使用Linux的命令和工具,下面講講怎樣在cygwin添加不支持的命令。<br/>
1.安裝cygwin工具的安裝工具`apt-cyg`,此工具類似于Ubuntu下的`apt-get`工具,所有的工具都是通過他安裝,用過Ubuntu的人應該都知道。
由于剛開始安裝cygwin,有很多命令沒有安裝,這里采用手動配置該工具<br/>
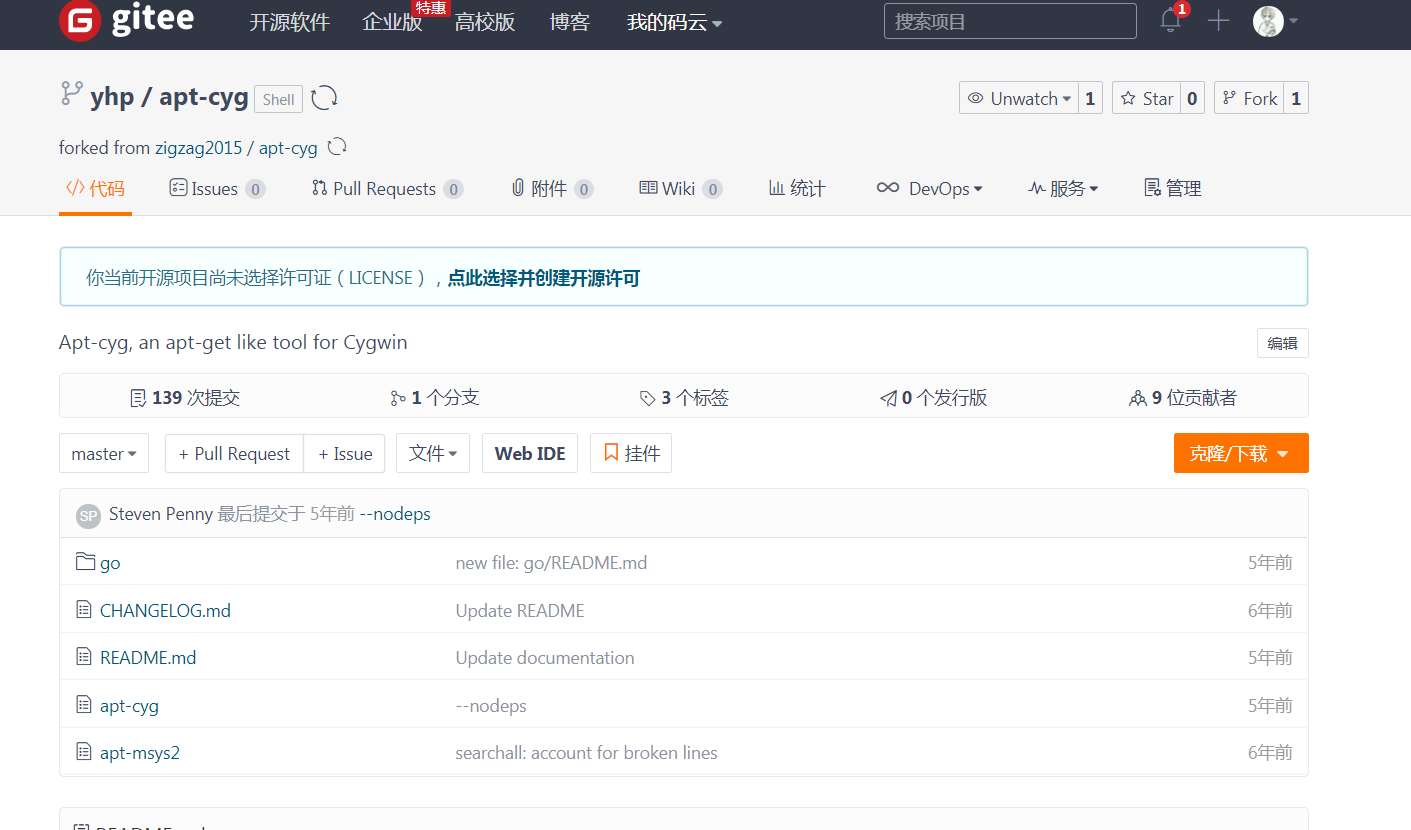
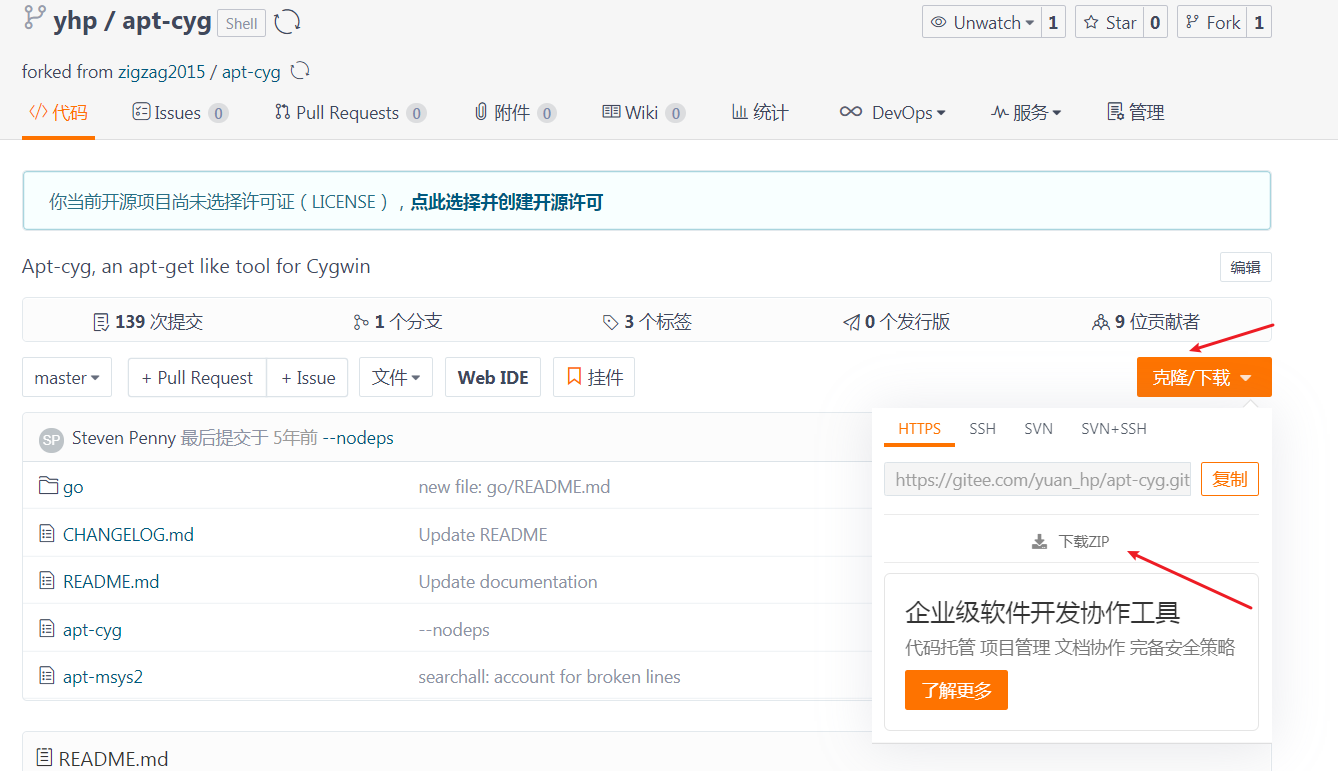
step1、下載apt-cyg的源碼
瀏覽器打開[apt-cyg源碼](https://gitee.com/yuan_hp/apt-cyg)
<br/>
step2、解壓后將apt-cyg文件拷貝到`cygwin安裝目錄/usr/local/bin`目錄下
你可以使用命令,也可以直接使用圖形化的操作進行拷貝。
使用命令拷貝的方法如下:
```bash
cd 你剛剛下載文件的保存路徑
cp apt-cyg /usr/local/bin/
```
然后你就可以看看`apt-cyg`命令是否可以了,在`cygwin`的終端輸入`apt-cyg --help`,如果出現下面這樣的結果就表示可以了。
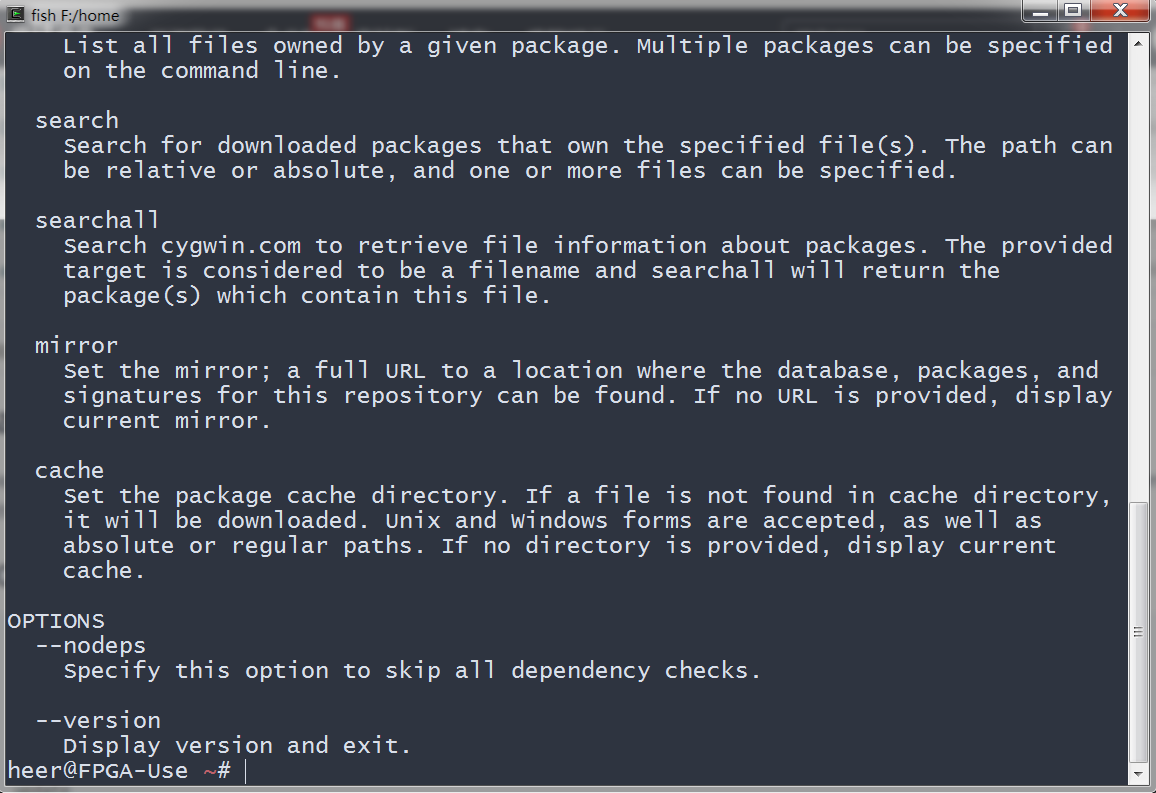
然后你就可以使用`apt-cyg`來安裝一些組件,比如安裝`python3`組件,使用`apt-cyg install python3`即可完成。
依據個人習慣,可以安裝一些組件,比如你可以使用命令安裝vim,wget,tree,openssh:
```bash
apt-cyg install vim wget tree openssh
```
## 一些配置文件
* vim的配置文件路徑`$HOME/.vimrc`
* fish配置文件是在`$HOME/.config/fish/`這個文件夾下面
當第一次安裝的時候,上述文件可能不存在,需要我們自己創建。
為了款速配置,我放出自己的配置文件。
### vimrc配置文件的類容
```vim
"設置 backspace的工作方式
set nocompatible
set backspace=indent,eol,start
"顯示行號
set nu
"忽略大小寫
set ignorecase
"開啟文件類型檢測
filetype plugin indent on
"不忽略大小寫
"set noignorecase
"開啟高亮
syntax on
"顯示光標當前位置
set ruler
"啟用鼠標
set mouse=a
"顯示狀態欄
set laststatus=2
"============
"設置縮進"
"============
"set smartindent " 開啟新行時使用智能自動縮進
"set cindent " 按照C語言語法自動縮進
set shiftwidth=4 " 配置縮進空格數為4
set tabstop=4 " 配置TAB鍵移動距離為4個空格
set autoindent "自動對齊
"========
"括號匹配"
"========
"set showmatch " 插入括號時,短暫地跳轉到匹配的對應括號
"set matchtime=2 " 短暫跳轉到匹配括號的時間
"本文件配置vim新建文件時自動生成的內容"
"===========
"配置新建文件的模板(自動化完成)
"===========
"==================================make file============================================"
"cpp文件自動生成模板"
autocmd BufNewFile *.cpp exec ":call SetTitle()"
func SetTitle()
call setline(1,"/**")
call append(line("."), " * Copyright (C) ".strftime("%Y")." All rights reserved.")
call append(line(".")+1, " *")
call append(line(".")+2, " * FileName :".expand("%:t"))
call append(line(".")+3, " * Author :hpy")
call append(line(".")+4, " * Email :yuan_hp@qq.com")
call append(line(".")+5, " * Date :".strftime("%Y年%m月%d日"))
call append(line(".")+6, " * Description :")
call append(line(".")+7, " */")
call append(line(".")+8, "")
endfunc
"自動將光標定位到末尾"
"autocmd BufNewFile * normal G"
"=============================================================================="
"配置shell腳本新建時的模板"
autocmd BufNewFile *.sh exec ":call SetShTitle()"
func SetShTitle()
call setline(1,"#!/usr/bin/env bash")
call append(line("."), "#-------------------------------------------------------")
call append(line(".")+1, "# FileName : ".expand("%:t"))
call append(line(".")+2, "# Author :hpy")
call append(line(".")+3, "# Date :".strftime("%Y年%m月%d日"))
call append(line(".")+4, "# Description :")
call append(line(".")+5, "#-------------------------------------------------------")
call append(line(".")+6, "")
endfunc
"=============================================================================="
"配置verilog腳本新建時的模板"
autocmd BufNewFile *.v exec ":call SetVTitle()"
func SetVTitle()
call setline(1,"`timescale 1ns / 1ps")
call append(line("."), "// ********************************************************************")
call append(line(".")+1, "// FileName : ".expand("%:t"))
call append(line(".")+2, "// Author :hpy")
call append(line(".")+3, "// Email :yuan_hp@qq.com")
call append(line(".")+4, "// Date :".strftime("%Y年%m月%d日"))
call append(line(".")+5, "// Description :")
call append(line(".")+6, "// --------------------------------------------------------------------")
call append(line(".")+7, "module " .expand("%:r") ."(")
call append(line(".")+8, " input clk, ")
call append(line(".")+9, " input rst_n")
call append(line(".")+10, ");")
call append(line(".")+11, " ")
call append(line(".")+12, "always@(posedge clk or negedge rst_n)")
call append(line(".")+13, "begin")
call append(line(".")+14, " if(!rst_n)begin")
call append(line(".")+15, " ")
call append(line(".")+16, " end ")
call append(line(".")+17, " else begin ")
call append(line(".")+18, " ")
call append(line(".")+19, " end ")
call append(line(".")+20, "end")
call append(line(".")+21, " ")
call append(line(".")+22, "endmodule")
endfunc
"=============================================================================="
"配置tcl腳本新建時的模板"
autocmd BufNewFile *.tcl exec ":call SetTclTitle()"
func SetTclTitle()
call setline(1,"#!/usr/bin/env tclsh")
call append(line("."), "#-------------------------------------------------------")
call append(line(".")+1, "# FileName : ".expand("%:t"))
call append(line(".")+2, "# Author :hpy")
call append(line(".")+3, "# Email :yuan_hp@qq.com")
call append(line(".")+4, "# Date :".strftime("%Y年%m月%d日"))
call append(line(".")+5, "# Description :")
call append(line(".")+6, "#-------------------------------------------------------")
call append(line(".")+7, "")
endfunc
"=============================================================================="
"配置python3腳本新建時的模板"
autocmd BufNewFile *.py exec ":call SetPyTitle()"
func SetPyTitle()
call setline(1,"#!/usr/bin/env python3")
call append(line("."), "# -- coding:utf-8 --")
call append(line(".")+1, "#-------------------------------------------------------")
call append(line(".")+2, "# FileName : ".expand("%:t"))
call append(line(".")+3, "# Author :hpy")
call append(line(".")+4, "# Email :yuan_hp@qq.com")
call append(line(".")+5, "# Date :".strftime("%Y年%m月%d日"))
call append(line(".")+6, "# Description :")
call append(line(".")+7, "#-------------------------------------------------------")
call append(line(".")+8, "")
endfunc
"自動將光標定位到末尾"
autocmd BufNewFile * normal G
"============================key======================================="
"==========="
"配置markdown編輯時的快捷鍵"
"==========="
autocmd Filetype markdown inoremap // <Esc>/<++><CR>:nohlsearch<CR>c4l
"加粗"
autocmd Filetype markdown inoremap /b **** <++><Esc>F*hi
"刪除線"
autocmd Filetype markdown inoremap /d ~~~~ <++><Esc>F~hi
"分割線"
autocmd Filetype markdown inoremap /- <Enter>---<Enter>
"添加代碼塊"
autocmd Filetype markdown inoremap /[ ```<Enter><++><Enter>```<Enter><Enter>
"添加行內代碼"
autocmd Filetype markdown inoremap /e ``<++><Esc>F`i
"文字下劃線"
autocmd Filetype markdown inoremap /u <u></u><++><Esc>F<F<i
"換行實現
autocmd Filetype markdown inoremap /<Enter> <Space><Space><Space><br/><Space><Space><Enter><Enter>
"自動填充3個空格
autocmd Filetype markdown inoremap /<Space> <Space><Space><Space>
"上標
autocmd Filetype markdown inoremap /6 <sup></sup><++><Esc>F<F<i
"下標
autocmd Filetype markdown inoremap /7 <sub></sub><++><Esc>F<F<i
"鏈接
autocmd Filetype markdown inoremap /h [](<++>)<Esc>F]i
"/ 生成"
autocmd Filetype markdown inoremap /z /
"雙引號"
autocmd Filetype markdown inoremap " ""<LEFT>
"花括號"
autocmd Filetype markdown inoremap { {}<LEFT>
"小括號"
autocmd Filetype markdown inoremap ( ()<LEFT>
func! Mdgoto()
if expand('%:t') != 'SUMMARY.md'
return
endif
let currentLine = getline(".")
let len = strlen(currentLine)
"echo currentLine
let a1= stridx(currentLine, '(') + 1
let a2= stridx(currentLine, ')') - 1
let a3 = a2-a1+1
if a3 > 0
let sub=strpart(currentLine,a1,a3)
endif
exec "vsp " .sub
vertical res +200
endfunction
autocmd Filetype markdown map <C-]> :call Mdgoto()<CR>"
autocmd Filetype markdown map <C-q> :wq<CR>"
"調出自定義輸入快捷鍵幫助
autocmd Filetype markdown inoremap /,, <Esc>:!/home/yhp/.vim/mconf/keyhelp markdown<CR><Esc>i
"==================================================================="
"==========="
"配置shell編輯時的快捷鍵"
"==========="
autocmd Filetype sh inoremap // <Esc>/<++><CR>:nohlsearch<CR>c4l
"加粗"
autocmd Filetype sh inoremap /e echo "<++>"<++><Esc>/<++><CR>:nohlsearch<CR>c4l
"引用"
autocmd Filetype sh inoremap /y $() <++><Esc>F)i
"算數運算"
autocmd Filetype sh inoremap /a $[]<++><Esc>F]i
"if流程"
autocmd Filetype sh inoremap /i if [ ];then<++><Esc>F]i
"case流程"
autocmd Filetype sh inoremap /c <Esc>:r !echo -e 'case <++> in\n <++>)<++>;;\nesac'<Esc>/<++><CR>:nohlsearch<CR>c4l
"/ 生成"
autocmd Filetype sh inoremap /z /
"單引號"
autocmd Filetype sh inoremap ' ''<LEFT>
"雙引號"
autocmd Filetype sh inoremap " ""<LEFT>
"花括號"
autocmd Filetype sh inoremap { {}<LEFT>
"小括號"
autocmd Filetype sh inoremap ( ()<LEFT>
"中括號"
autocmd Filetype sh inoremap [ []<LEFT>
"字符串替換"
autocmd Filetype sh inoremap /t ${/<++>/<++>}<++><Esc>F/F/i
"調出自定義輸入快捷鍵幫助
autocmd Filetype sh inoremap /,, <Esc>:!/home/yhp/.vim/mconf/keyhelp shell<CR><Esc>i
"==================================================================="
"==========="
"配置verilog編輯時的快捷鍵"
"==========="
autocmd Filetype verilog inoremap // <Esc>/<++><CR>:nohlsearch<CR>c4l
"always語句"
"autocmd Filetype verilog inoremap /a always@(<++>)<Enter>begin <Enter><Tab><++> end <Esc>/<++><CR>:nohlsearch<CR>c4l
autocmd Filetype verilog inoremap /a <Esc>:r !echo -e 'always@(<++>)\nbegin\n <++>\nend'<CR><Esc>/<++><CR>:nohlsearch<CR>c4l
"if 語句"
autocmd Filetype verilog inoremap /i if()begin<++>end<Esc>F)i
"else 語句"
autocmd Filetype verilog inoremap /e else beginend<Esc>Fei
"initial 語句"
"autocmd Filetype verilog inoremap initial initial beginend<Esc>Fei
"assign 語句"
autocmd Filetype verilog inoremap /= assign = <++><Esc>F=i
"module例化 設置"
autocmd Filetype verilog inoremap /. .(<++>)<++><Esc>F(i
"monitor 語句"
autocmd Filetype verilog inoremap /m $monitor("",<++>)<++><Esc>F"i
"display 語句"
autocmd Filetype verilog inoremap /dd $display()<++><Esc>F)i
"行注釋 語句"
autocmd Filetype verilog inoremap /z /
"parameter 語句"
autocmd Filetype verilog inoremap /p parameter <++> = <++>;<Esc>/<++><CR>:nohlsearch<CR>c4l
"localparam 語句"
autocmd Filetype verilog inoremap /l localparam <++> = <++>;<Esc>/<++><CR>:nohlsearch<CR>c4l
"reg 語句"
autocmd Filetype verilog inoremap /r reg[ : 0 ] <++><Esc>F:i
"wire 語句"
autocmd Filetype verilog inoremap /w wire[ : 0 ] <++><Esc>F:i
"常量 語句"
autocmd Filetype verilog inoremap /d <++>'d<++><Esc>/<++><CR>:nohlsearch<CR>c4l
"case 語句"
autocmd Filetype verilog inoremap /c case()<++>endcase<Esc>F)i
"begin 語句"
autocmd Filetype verilog inoremap /b beginend<Esc>Fei
"? : 語句"
autocmd Filetype verilog inoremap /s ? <++> : <++><Esc>F?i
"function 語句"
autocmd Filetype verilog inoremap /f <Esc>:r !echo -e 'function [ <++> : 0 ]<++>;\n <++>\nendfunction'<CR><Esc>/<++><CR>:nohlsearch<CR>c4l
"中括號"
autocmd Filetype verilog inoremap [ []<LEFT>
"大括號"
autocmd Filetype verilog inoremap { {}<LEFT>
"小括號"
autocmd Filetype verilog inoremap ( ()<LEFT>
"調出自定義輸入快捷鍵幫助
autocmd Filetype verilog inoremap /,, <Esc>:!~/.vim/mconf/keyhelp verilog<CR><Esc>i
"==================================================================="
"==========="
"配置 python 編輯時的快捷鍵"
"==========="
autocmd Filetype python inoremap // <Esc>/<++><CR>:nohlsearch<CR>c4l
"print 語句"
autocmd Filetype python inoremap /p print()<++><Esc>F)i
"多行注釋"
autocmd Filetype python inoremap /n '''<++>'''<++><Esc>/<++><CR>:nohlsearch<CR>c4l
"if語句"
autocmd Filetype python inoremap if if :<++><Esc>F:i
"else語句"
autocmd Filetype python inoremap else else:
"elif語句"
autocmd Filetype python inoremap elif elif :<++><Esc>F:i
"while 語句"
autocmd Filetype python inoremap while while :<++><Esc>F:i
"for 語句"
autocmd Filetype python inoremap for for <++> in <++> :<++><Esc>/<++><CR>:nohlsearch<CR>c4l
"def 函數語句"
autocmd Filetype python inoremap def def () :<++><Esc>F(i
"input 語句"
autocmd Filetype python inoremap input input()<++><Esc>F)i
"中括號"
autocmd Filetype python inoremap [ []<LEFT>
"大括號"
autocmd Filetype python inoremap { {}<LEFT>
"小括號"
autocmd Filetype python inoremap ( ()<LEFT>
"單引號"
autocmd Filetype python inoremap ' ''<LEFT>
"雙引號"
autocmd Filetype python inoremap " ""<LEFT>
```
使用時只需把上面的類容拷貝到`$HOME/.vimrc`文件即可配置vim編輯器。
### fish shell配置
上面提過fish shell的配置路徑在`$HOME/.config/fish/`文件夾下,以下我將簡要介紹一些一些配置文件。
當不存在上述路徑時,我們使用命令`mkdir -p $HOME/.config/fish`進行創建,然后我們使用`cd $HOME/.config/fish`切換到該路徑下。
<br/>
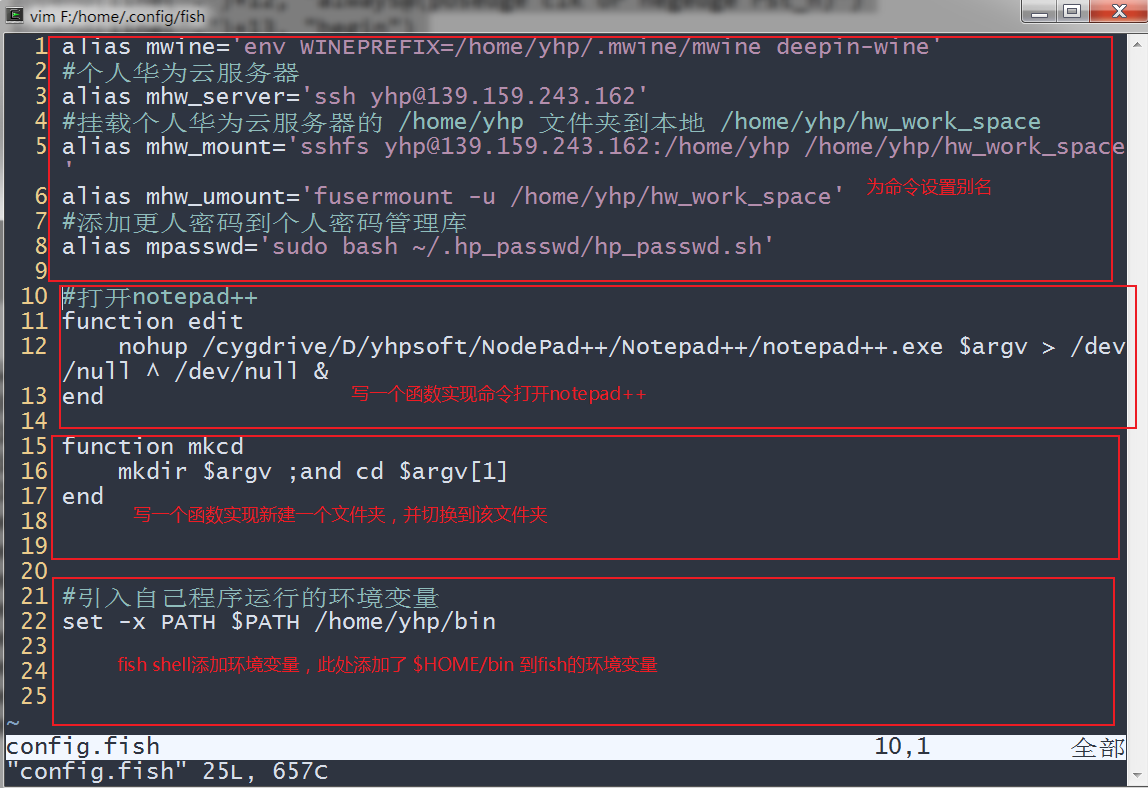
然后我們新建配置文件`config.fish`,這個文件將會是配置fish shell的文件。使用命令`vim config.fish`,
文件內容可根據自己的需要進行配置,我的文件內容如下所示:
上面的函數還可以單獨寫成一個文件,在當前路徑下建立`functions`文件夾,里面放置我們的函數,里面的函數將會自動發的成為一條fish支持的命令。但是有一定的格式要求,就是文件名要求`命令名.fish`,文件中的函數名稱要是`命令名`。比如我實現一個`web`命令,還命令可以快速打開一些指定網頁,那么這個文件名就要是`web.fish`,我自己的web.fish的文件內容如下所示:
```bash
#!/usr/bin/env fish
#UFUNCTION=命令直接打開指定web頁面
#-------路徑存儲的函數-----------
function cat_web_list
printf "\
#-h 顯示幫助
#blbl 打開嗶哩嗶哩 https://www.bilibili.com/
#github 打開個人github頁面 https://github.com/yuan-hp
#gitee 打開gitee個人主頁 https://gitee.com/
#kancloud 打開看云文檔 http://www.hmoore.net/dashboard
#pon 打開ProcessOn在線作圖頁面 https://www.processon.com/diagrams
#idata 打開iData文獻搜索頁面 https://www.cn-ki.net/
#zh 打開知乎 https://www.zhihu.com/
"
end
function web
set cmd_name "web" #設計的指令名稱
set real_cmd "open" #真正執行的指令
set data_src "cat_web_list" #數據來源
set cnt (count $argv)
if test $cnt -gt 0
set CMD_IN $argv
else
echo "使用 $cmd_name -h 查看幫助!"
return
end
switch $CMD_IN
case "-h"
echo "Usage: $cmd_name [option] 快速打開一些網頁"
echo
cat_web_list | awk '{gsub(/#/, "");print $1,$2}' | column -s \ -t
echo
return
case "*"
set find_id "$data_src | awk '/#$argv/{print \$3}' "
#echo $find_id
set find_id (eval $find_id)
if test -n "$find_id"
eval "$real_cmd $find_id"
return
end
echo "使用 $cmd_name -h 查看幫助!"
return
end
end
```
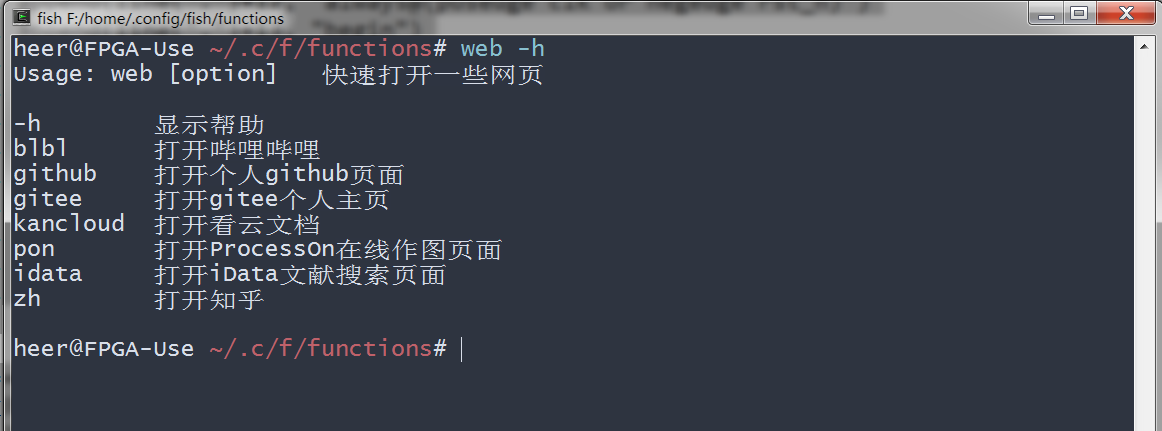
然后我們重新打開cygwin的終端輸入`web -h`可以查看該命令是否成功!
那么我現在打開bilibil就可以在cygwin的終端輸入`web blbl`就可直接打開bilibili的網頁
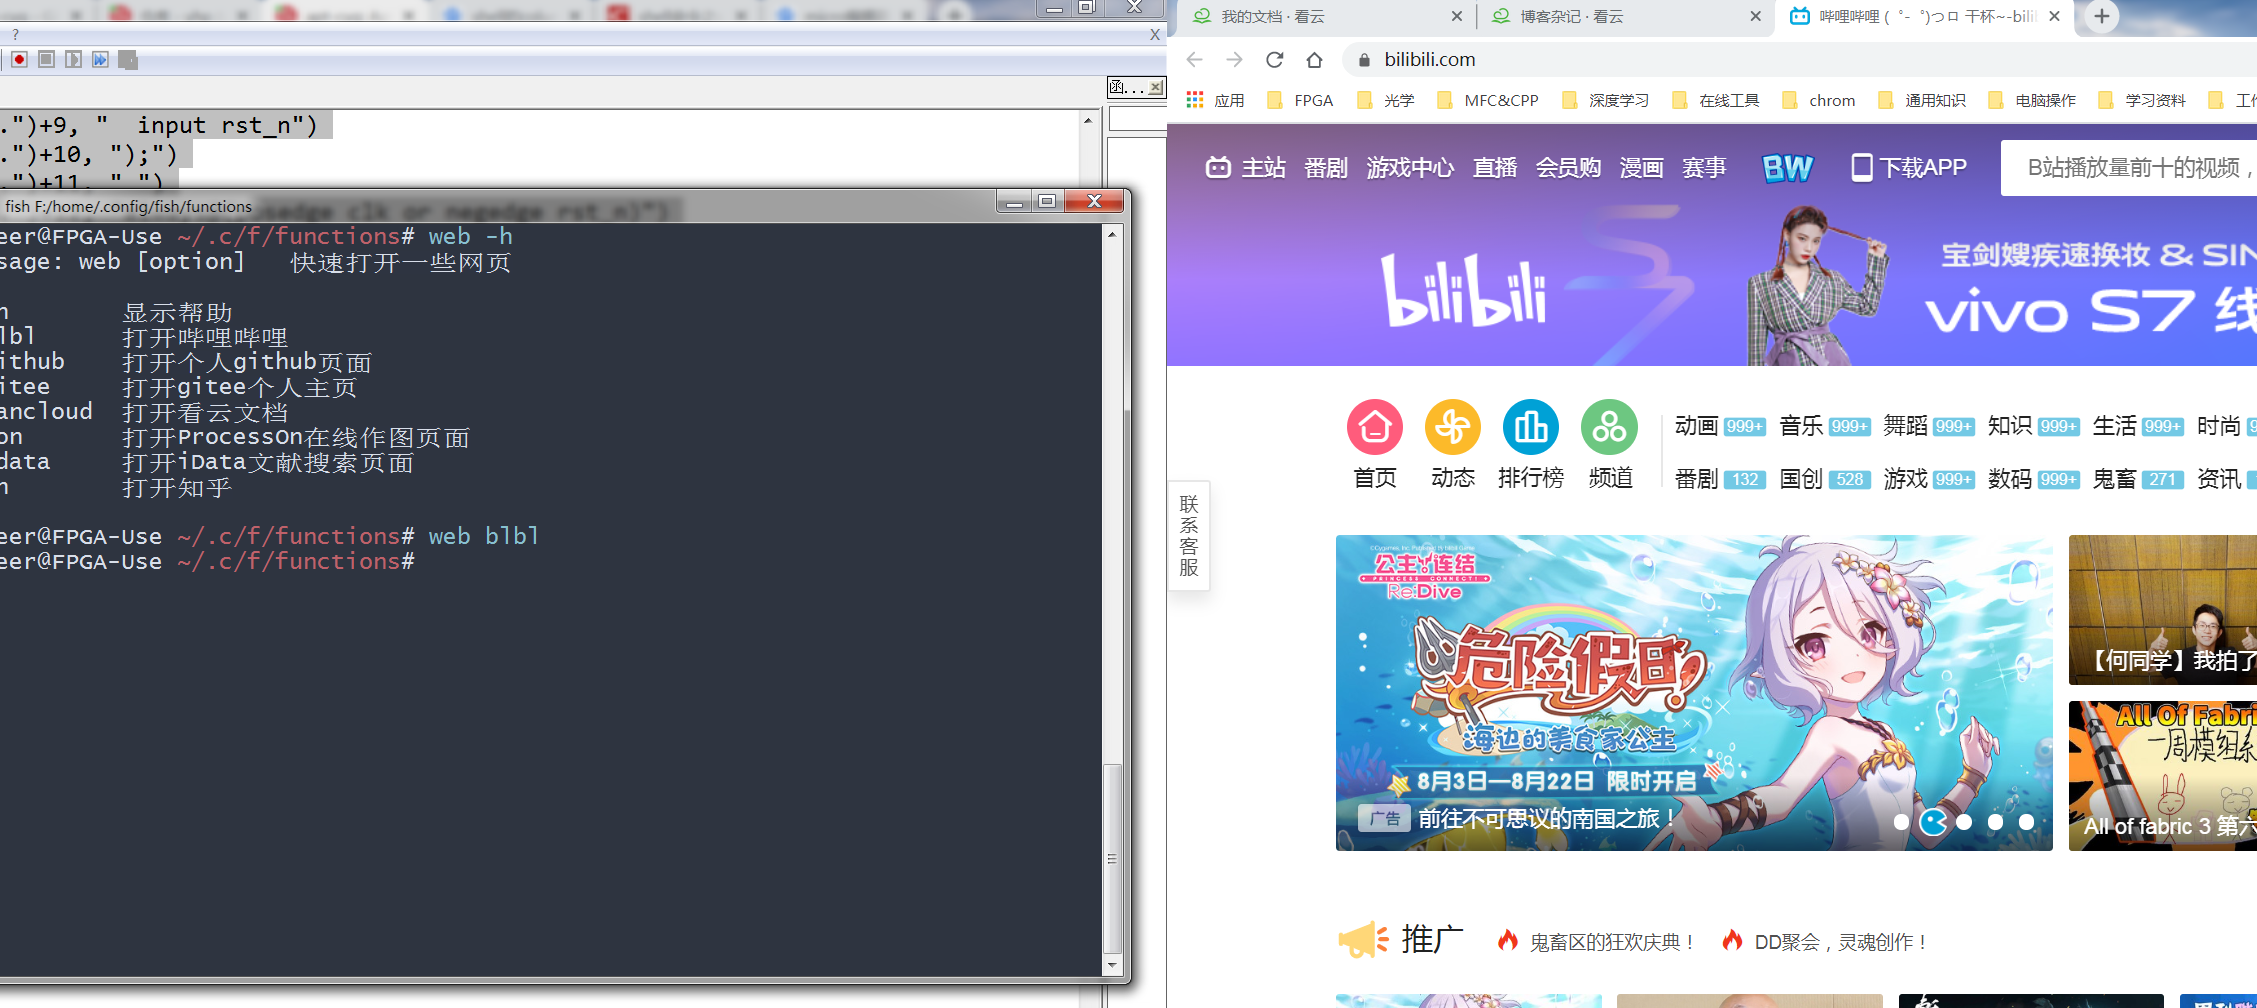
這樣我們就能實現自定義的一些命令。
關于fish shell的使用,就簡單介紹到這里,詳細了解可以到fish shell的官網進行學習,
[fish shell官網](http://fishshell.com/)
## 寫一個shell腳本執行試試
如下所示:

## 結束語
通過配置cygwin,我們可以獲得使用linux的一種體驗,上面的介紹對其使用做了簡單的介紹,很多的功能需要自己慢慢琢磨。
- 第1章 電腦操作篇
- 1.1 電腦高清壁紙下載地址
- 1.2 音樂外鏈在線獲取
- 1.3 markdown,js等表格生成神器
- 1.4 在線使用文檔,表格,演示文檔
- 1.5 開發在線工具
- 1.5.1 toolbox
- 1.5.2 菜鳥工具
- 1.6 vs code遠程調試
- 1.7 windows批處理命令
- 1.8 windows安裝cygwin運行linux指令
- 1.9 windows下某些程序運行慢
- 1.10 win下為鼠標右鍵添加新項目
- 1.11 win上自己常用的開發軟件
- 1.12 win下vscode配置
- 第2章 Electron 用前端技術開發跨平臺桌面應用
- 2.1 介紹
- 2.2 入門鏈接地址
- 2.3 cnpm使用
- 第3章 Git使用
- 3.1 介紹
- 3.2 同步GitHub的基本使用方法
- 3.3 同步Gitee的基本使用方法
- 3.4 獲取當前git分支
- 3.5 LF和CRLF換行的轉換
- 第4章 HTML,CSS,JS
- 4.1 HTML速查列表
- 第5章 python使用
- 5.1 文件操作
- 5.2 一句話建立服務器
- 第6章 我的女友叫Linux
- 6.1 使用shell寫俄羅斯方塊
- 6.2 那些有趣的shell
- 6.2.1 40個有趣的LInux命令行
- 6.2.2 命令行下的網易云搜索播放器
- 6.2.3 從網上獲取一條語句并顯示
- 6.3 在linux上寫匯編
- 6.4 在linux終端連接另一臺linux
- 6.5 makefile文件的編寫
- 6.6 deepin掛載遠程文件夾到本地文件夾
- 6.7 本地lnux和遠程linux進行文件拷貝
- 6.8 超好用的linux下的ssh管理工具(electerm)
- 6.9 那些不重要的技巧
- 6.10 linux文件加密
- 6.11 論文畫圖軟件gnuplot
- 6.12 自定義mrun命令用于執行當前路徑下的run文件
- 6.13 fish shell后臺運行程序
- 第7章 在線工具收集
- 7.1 各種編程語言的在線編輯運行
- 7.2 html js 在線嘗試
- 第8章 搭建自己的私有云盤
- 第9章 linux下的一些軟件
- 9.1 remarkable--markdown文件輕量編輯器
- 9.2 gnuplot畫圖軟件
- 9.3 Graphviz繪圖(流程圖,狀態圖)
- 第10章 TCL腳本編程
- 10.1 基礎教程
- 10.2 在tcl腳本文件其他tcl腳本文件運行
- 10.3 在tcl腳本文件中調用bash/fish
- 10.4 TCL培訓教程
- 10.5 tcl腳本參數傳遞
- 第11章 看云的使用
- 11.1 markdown添加公式
- 11.2 看云在linux本地編輯腳本
- 第12章 Go語言在linux下的使用
- 12.1 簡介
- 12.2 調用自己的包
- 12.3 Go語言學習的資料
- 12.4 golang使用flag完成命令行解析
- 12.5 Golang文件操作大全
- 12.5.1 創建空文件
- 12.5.2 Truncate文件
- 12.5.3 得到文件信息
- 12.5.4 重命名和移動
- 12.5.5 刪除文件
- 12.5.6 打開和關閉文件
- 12.5.7 檢查文件是否存在
- 12.5.8 檢查讀寫權限
- 12.5.9 改變權限、擁有者、時間戳
- 12.5.10 硬鏈接和軟鏈接
- 12.5.11 復制文件
- 12.5.12 跳轉到文件指定位置(Seek)
- 12.5.13 寫文件
- 12.5.14 快寫文件
- 12.5.15 使用緩存寫
- 12.5.16 讀取最多N個字節
- 12.5.17 文件追加內容
- 12.6 操作CSV文件
- 第13章 搜集資源的一些方法
- 13.1 電子書_電子課本
- 第14章 EndNote的使用
- 14.1 安裝
- 14.2 文件檢索