
# 一、介紹
前端框架的文件預覽功能,實現思路是后端UPMS服務將office文檔先轉換成pdf文件,前端頁面展示PDF文件,后端采用openoffice轉換office文檔。
目前已知的可以通過openoffice將文檔轉換為PDF或者HTML以及CSV。其他的轉換類型需要自行摸索。
*****
# 二、openoffice安裝
[安裝包下載地址](http://www.openoffice.org/download/index.html)
~~~
1、下載安裝包,部署UPMS服務器的任一目錄,命令下載:
wget https://jaist.dl.sourceforge.net/project/openofficeorg.mirror/4.1.7/binaries/zh-CN/Apache_OpenOffice_4.1.7_Linux_x86-64_install-rpm_zh-CN.tar.gz
2、解壓:tar -zxvf Apache_OpenOffice_4.1.7_Linux_x86-64_install-rpm_zh-CN.tar.gz
3、進入cd zh-CN/RPMS,安裝必要的包,執行 yum localinstall *.rpm
4、再進入RPMS/desktop-integration目錄,執行:rpm -ivh openoffice4.1.7-redhat-menus-4.1.7-9790.noarch.rpm
5、啟動Openoffice服務:
cd /opt/openoffice4/program
soffice -headless -accept="socket,host=127.0.0.1,port=8100;urp;" -nofirststartwizard &
完成本地啟動,如果需要遠程訪問,需要將host地址改成機器對應IP地址
6、查看服務是否啟動(端口8100是否被soffice占用):netstat -lnp |grep 8100
顯示結果:tcp 0 0 127.0.0.1:8100 0.0.0.0:* LISTEN 19501/soffice.bin
7、因為一般安裝完后openoffice在轉換pdf時候會因為缺失字體造成中文亂碼情況,所以一般要將window下的字體庫打包拷貝到linux服務器上。
(1) 查看系統字體文件cat /etc/fonts/fonts.conf
(2) 將window下的字符庫上傳到linux下。一般是在/usr/share/fonts目錄下,創建fonts目錄。
(3) 執行fc-cache。
(4) 重啟openoffice。
~~~
*****
# 三、中文字體安裝
如果需要預覽的文檔中包含中文字體,則需要在安裝了openoffice軟件的linux服務器上安裝中文字體,安裝過程如下:
~~~
1、使用fc-list查看服務器系統中已經安裝的字體;如果沒有該命令則可以根據實際情況使用如下命令安裝:
在centos上,使用如下命令進行安裝:
yum install -y fontconfig mkfontscale
在ubuntu上,使用如下命令進行安裝:
sudo apt-get -y install fontconfig xfonts-utils
如果要查看系統中已經安裝的中文字體,我們可以使用如下命令:
fc-list :lang=zh
2、上傳Windows系統中的中文字體安裝文件到服務器上的/usr/share/fonts/目錄:
進入C:\Windows\Fonts目錄,該目錄下的所有的字體安裝包都是可以上傳到服務器的
選擇一個或幾個常用的中文字體安裝包上傳到服務器的/usr/share/fonts/目錄
然后建立字體索引信息,更新字體緩存,使用如下命令:
cd /usr/share/fonts/
mkfontscale
mkfontdir
fc-cache
3、重啟openoffice
使用kill命令殺死openoffice進程
執行上一章節的第5步驟
~~~
*****
# 四、項目中使用openoffice將文檔轉換為PDF預覽
使用快開平臺框架在項目中進行文檔轉換及預覽時,需要文件先上傳到minio文件服務中心,然后才能進行后續的轉換及預覽
## 4.1、修改upms配置
1. 進入nacos注冊中心
2. 進入“配置管理/配置中心”菜單頁面
3. 編輯sca-upms-biz的服務配置
4. 修改配置內容,示例說明如下:
```
#openoffice配置
jodconverter:
local:
enabled: false #是否啟用openoffice
max-tasks-per-process: 10 #設置一個office進程在重啟之前所能執行的最大任務數。默認為200個
port-numbers: 8100 #openoffice端口號
office-home: /opt/openoffice4/ #該屬性是office的安裝目錄 .
```
更詳細的配置說明可以前往該網址查看[jobconverter文檔詳解](https://blog.csdn.net/qingtian_1993/article/details/79901843)
5. 發布最新配置
6. 重啟upms服務
*****
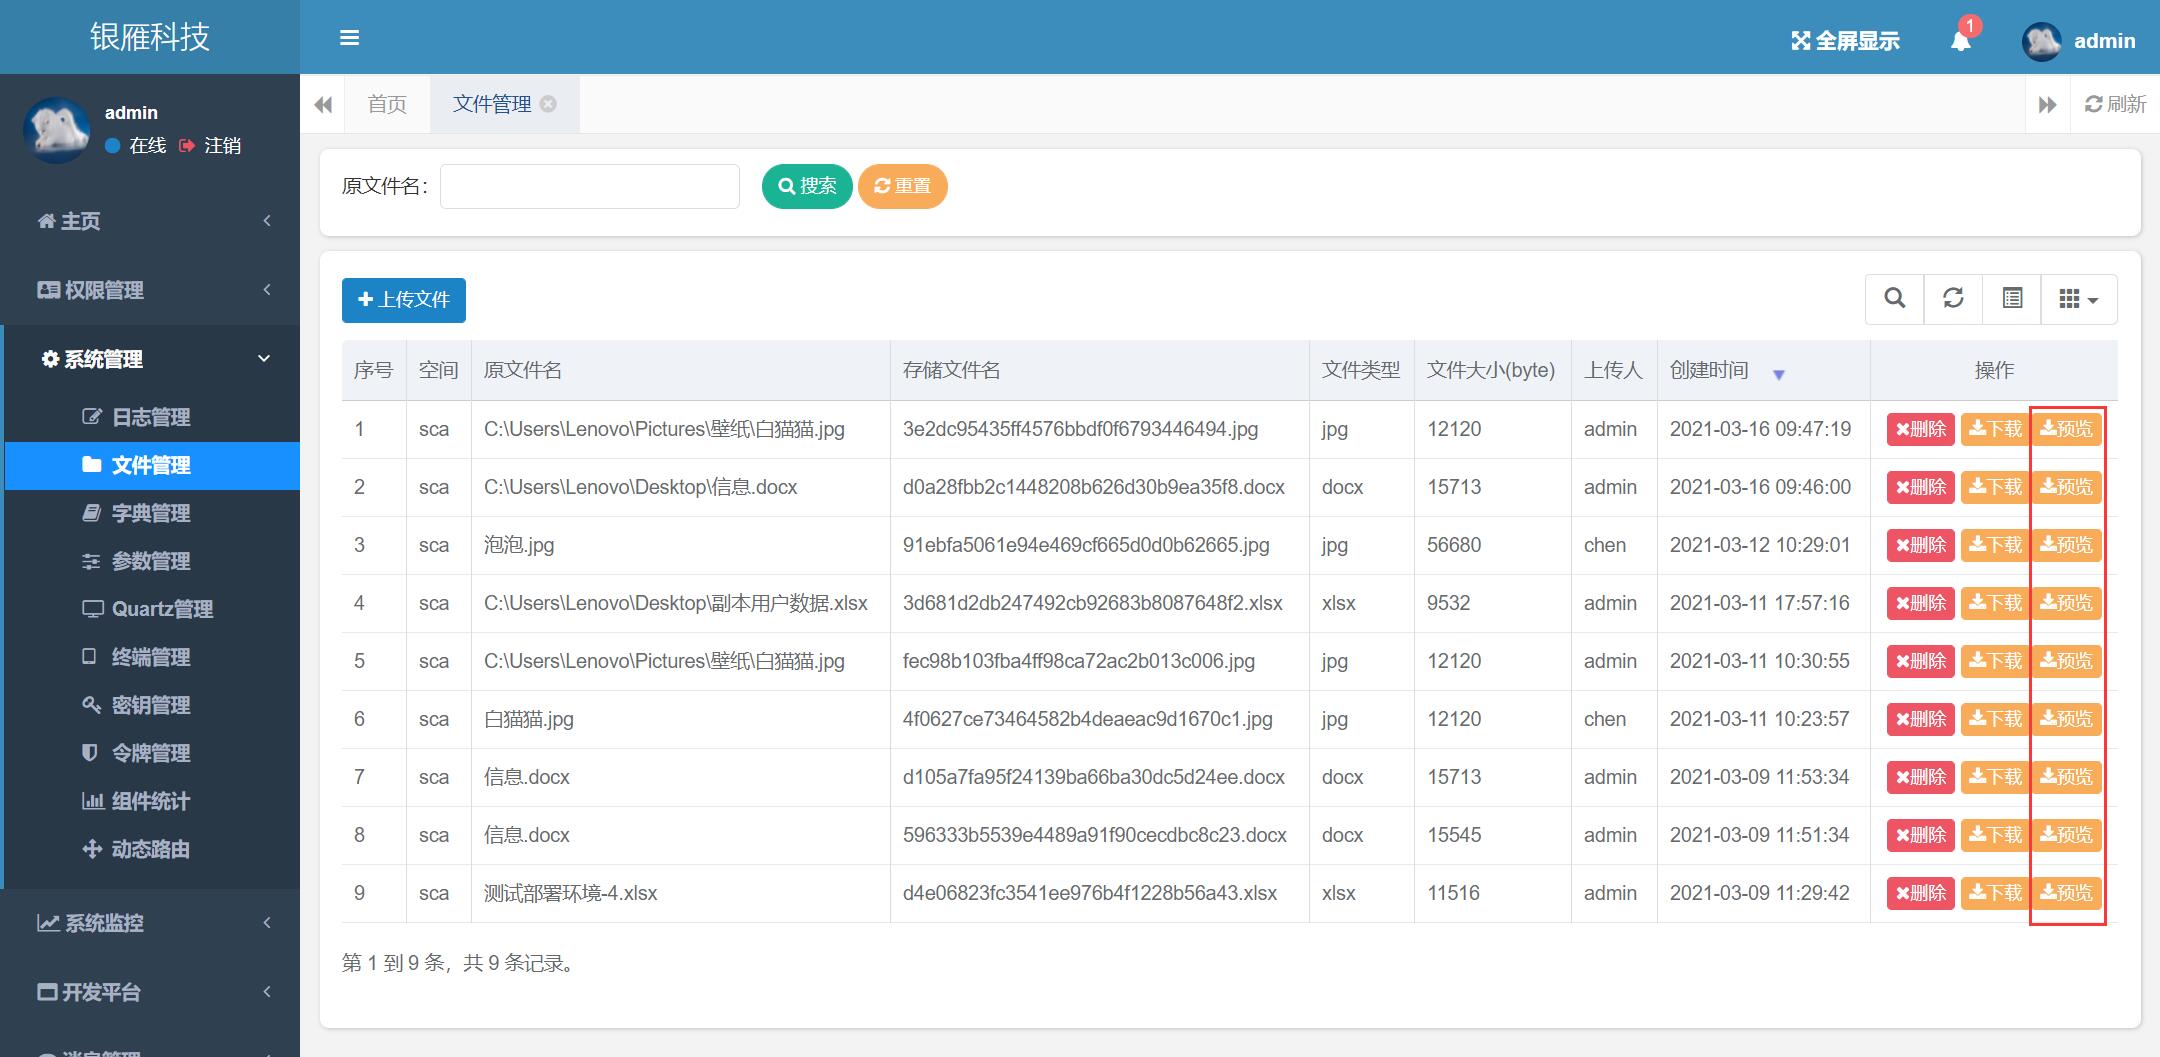
## 4.2、bootstrap頁面使用預覽功能示例
```
function viewFile(filename,bucketName) {
var urlView = api + '/admin/sys-file/fileView/' + bucketName + '/' + filename
var windowUrl = window.URL || window.webkitURL;//處理瀏覽器兼容性
var xhr = new XMLHttpRequest();
xhr.open("GET", urlView, true);
xhr.responseType = "blob";
// xhr.setRequestHeader("Authorization", 'Bearer ' + session.get('token'),);
xhr.onload = function () {
if (this.status == 200) {
var blob = this.response;
var url="";
if (window.createObjectURL != undefined) { // basic
url = window.createObjectURL(blob);
} else if (window.webkitURL != undefined) { // webkit or chrome
try {
url = window.webkitURL.createObjectURL(blob);
} catch (error) {}
} else if (window.URL != undefined) { // mozilla(firefox)
try {
url = window.URL.createObjectURL(blob);
} catch (error) {}
}
window.open('/static/js/pdf/web/viewer.html?file='+encodeURIComponent(url))
}
}
xhr.send();
}
```
主要是訪問`/admin/sys-file/fileView/ + bucketName + '/' + filename`后臺請求地址,其中需要傳遞的那個參數分別是minio中的桶名稱bucketName和需要預覽的文件名稱filename。
更完整的示例可以參看bootstrap前端框架下的`static\pages\sysadm\file`目錄下的fileList.js文件
*****
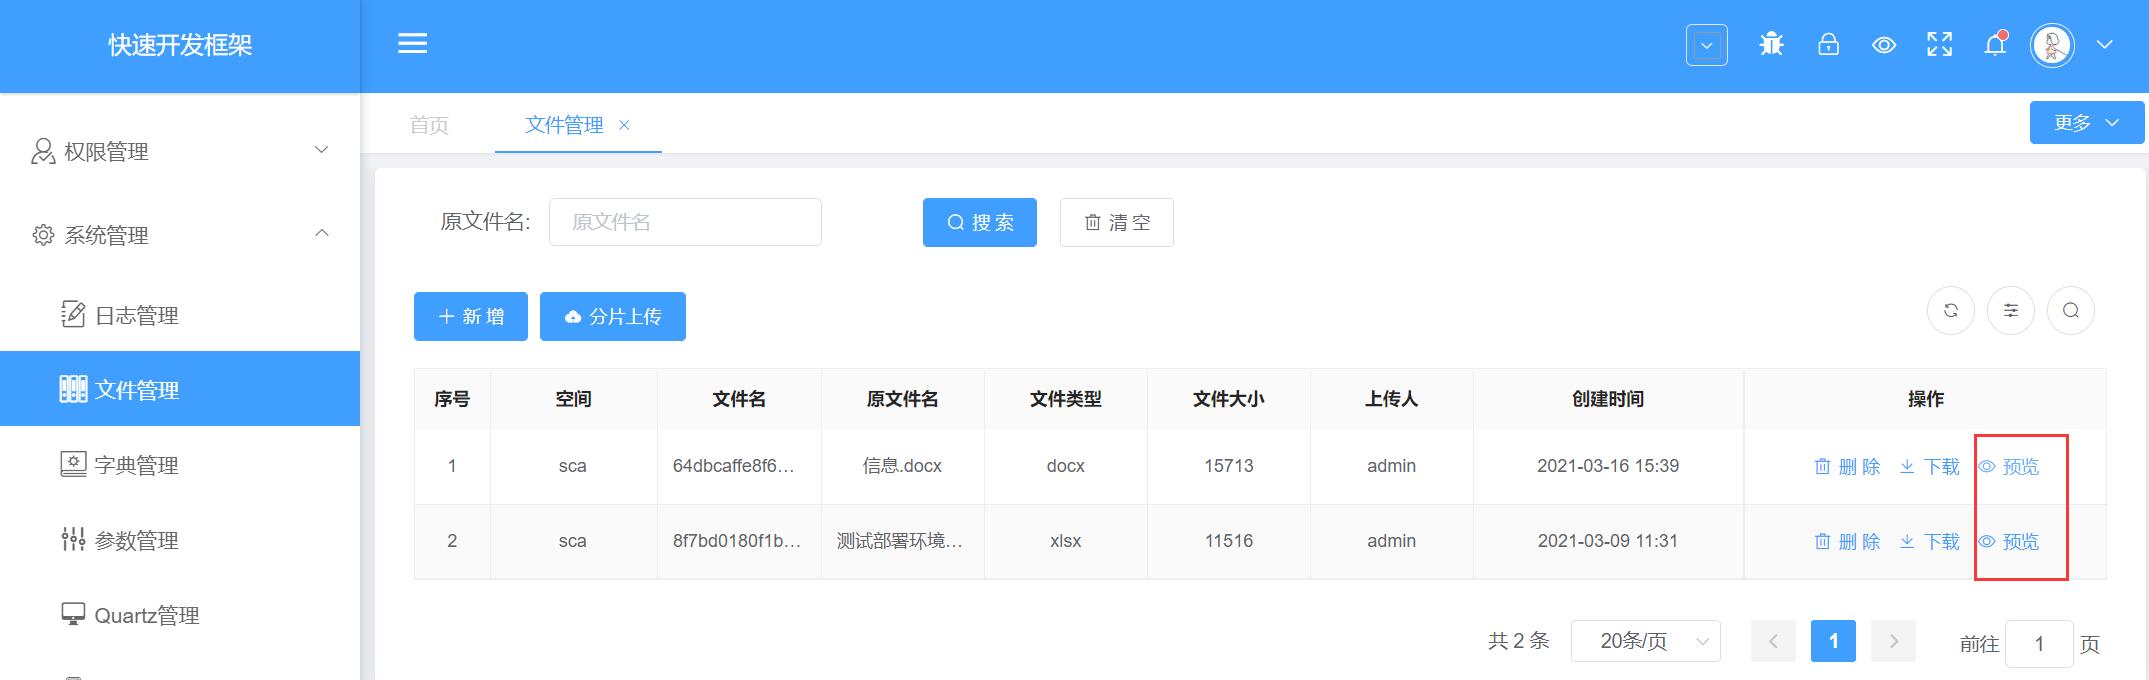
## 4.3、vue頁面使用預覽功能示例
```
<script>
import { handleDown,previewPdf } from '@/util/util'
export default {
name: 'sys-file',
components:{uploadCard},
data() {
return {
}
},
created() {
},
mounted: function() {
},
computed: {
...mapGetters(['permissions']),
},
methods: {
viewPdf(row, index){
let type = matchType(row.fileName)
if (type === 'word' || type === 'excel' || type === 'ppt' || type === 'pdf' || type === 'txt'){
previewPdf(row.bucketName,row.fileName)
}else if (type === 'image' || type === 'video' || type === 'radio'){
this.$message.error('該文件暫不支持預覽')
}else{
this.$message.error('該文件暫不支持預覽')
}
},
}
}
</script>
```
調用`previewPdf`方法即可在瀏覽器中打開新的標簽頁進行文件預覽,可以參考vue前端框架下的`src\views\admin\file`下的index.vue文件。
*****
## 4.4、在后臺代碼中集成openoffice
### 首先添加依賴
```
<dependency>
<groupId>org.jodconverter</groupId>
<artifactId>jodconverter-spring-boot-starter</artifactId>
<version>4.3.0</version>
</dependency>
<dependency>
<groupId>org.jodconverter</groupId>
<artifactId>jodconverter-core</artifactId>
<version>4.3.0</version>
</dependency>
<dependency>
<groupId>org.jodconverter</groupId>
<artifactId>jodconverter-local</artifactId>
<version>4.3.0</version>
</dependency>
<!-- https://mvnrepository.com/artifact/commons-io/commons-io -->
<dependency>
<groupId>commons-io</groupId>
<artifactId>commons-io</artifactId>
<version>2.8.0</version>
</dependency>
<dependency>
<groupId>com.thoughtworks.xstream</groupId>
<artifactId>xstream</artifactId>
<version>1.3.1</version>
</dependency>
<dependency>
<groupId>cn.hutool</groupId>
<artifactId>hutool-all</artifactId>
<version>5.3.2</version>
</dependency>
<dependency>
<groupId>com.github.livesense</groupId>
<artifactId>jodconverter-core</artifactId>
<version>1.0.5</version>
</dependency>
```
### 添加配置
配置說明參考本文檔`4.1、修改upms配置`章節
### 注入類
```
@Autowired(required = false)
private DocumentConverter converter;
```
### 使用示例
```
/**
* 文件轉PDF預覽
*
* @param bucket
* 桶名稱
* @param fileName
* 文件空間/名稱
* @param response
* @return
*/
@Inner(false)
@GetMapping("/fileView/{bucket}/{fileName}")
public void fileView(@PathVariable String bucket, @PathVariable String fileName, HttpServletResponse response) {
//獲取文件并轉換為input流
InputStream inputStream = sysFileService.getFile(bucket, fileName);
File targetFile = this.transfer(fileName, inputStream);
try {
if (targetFile != null) {
response.setContentType("application/pdf; charset=UTF-8");
IoUtil.copy(cn.hutool.core.io.IoUtil.toStream(targetFile), response.getOutputStream());
}
} catch (Exception e) {
log.error("文件轉換異常: {}", e.getLocalizedMessage());
} finally {
cn.hutool.core.io.IoUtil.close(inputStream);
if (targetFile != null) {
//為了不占用服務器資源,故獲取PDF文件流后,最后將臨時文件刪除
targetFile.deleteOnExit();
}
}
}
/*
* 將文件轉換為PDF文檔,根據需求可轉換為其他類型
*/
private File transfer(String fileName, InputStream inputStream) {
File targetFile = null;
try {
targetFile = java.io.File.createTempFile(fileName.substring(0, fileName.lastIndexOf(".")), ".pdf");
// 文件轉化
converter.convert(inputStream).to(targetFile).execute();
} catch (Exception e) {
log.error("文件讀取異常: {}", e.getLocalizedMessage());
}
return targetFile;
}
```
網上可參考的集成示例:[SpringBoot2.x整合OpenOffice4](https://blog.csdn.net/li_jiazhi/article/details/105386337)、[SpringBoot集成jodconverter使用openoffice將word轉為pdf](https://www.jianshu.com/p/77e0b6f5c7dd)
### 設置自定義轉換PDF寬度
當excel寬度超過A4紙寬度后,需要實現如下代碼,將PDF的寬度設置長,就可以避免excel轉換為PDF時被默認截取
```
import org.jodconverter.core.DocumentConverter;
import org.jodconverter.core.document.DocumentFormatRegistry;
import org.jodconverter.core.office.OfficeManager;
import org.jodconverter.local.LocalConverter;
import org.springframework.context.annotation.Bean;
import org.springframework.context.annotation.Configuration;
/**
* @Author xiangyu
* @Date 2021/3/19 17:13
* @Version 1.0
*/
@Configuration
public class JodConverterConfiguration {
@Bean
DocumentConverter localDocumentConverter(OfficeManager localOfficeManager, DocumentFormatRegistry documentFormatRegistry) {
return LocalConverter.builder().filterChain(
// new PageMarginsFilter(0,0,0,0), // 對word有用,對excel似乎沒什么用
new JodConverterRefreshFilter(true) ).officeManager(localOfficeManager).formatRegistry(documentFormatRegistry).build();
}
}
```
```
import com.sun.star.awt.Size;
import com.sun.star.beans.PropertyValue;
import com.sun.star.lang.IllegalArgumentException;
import com.sun.star.lang.XComponent;
import com.sun.star.uno.UnoRuntime;
import com.sun.star.view.PaperFormat;
import com.sun.star.view.XPrintable;
import org.jodconverter.core.office.OfficeContext;
import org.jodconverter.local.filter.FilterChain;
import org.jodconverter.local.filter.RefreshFilter;
/**
* @Author xiangyu
* @Date 2021/3/19 17:16
* @Version 1.0
*/
public class JodConverterRefreshFilter extends RefreshFilter {
public final static Size A6, A5, A4, A3, A2, A1, A0;
public final static Size B6, B5, B4, B3, B2, B1, B0;
static {
A6 = new Size(10500, 14800);
A5 = new Size(14800, 21000);
A4 = new Size(21000, 29700);
A3 = new Size(29700, 42000);
A2 = new Size(42000, 59400);
A1 = new Size(59400, 84100);
A0 = new Size(84100, 118900);
B6 = new Size(12500, 17600);
B5 = new Size(17600, 25000);
B4 = new Size(25000, 35300);
B3 = new Size(35300, 50000);
B2 = new Size(50000, 70700);
B1 = new Size(70700, 100000);
B0 = new Size(100000, 141400);
}
/**
* Creates a new refresh filter.
*/
public JodConverterRefreshFilter() {
this(false);
}
/**
* Creates a new refresh filter that will call or not the next filter in the chain according to
* the specified argument.
*
* @param lastFilter If {@code true}, then the filter won't call the next filter in the chain. If
* {@code false}, the next filter in the chain, if any, will be applied.
*/
public JodConverterRefreshFilter(final boolean lastFilter) {
super(lastFilter);
}
@Override
public void doFilter(
final OfficeContext context,
final XComponent document,
final FilterChain chain)
throws Exception {
setPaperInfo(document, new Size(67000, 20000));
super.doFilter(context, document, chain);
}
/**
* 設置紙張信息
* 請注意!!!PaperOrientation 和 PaperSize 不可以同時配置,否則有一個無效!
* <p>
* The default paper format and orientation is A4 and portrait.
*
* @param paperSize
*/
private void setPaperInfo(final XComponent document, final Size paperSize) throws IllegalArgumentException {
XPrintable xPrintable = UnoRuntime.queryInterface(XPrintable.class, document);
PropertyValue[] printerDesc = new PropertyValue[2];
// Paper Orientation(縱向橫向)
// printerDesc[0] = new PropertyValue();
// printerDesc[0].Name = "PaperOrientation";
// printerDesc[0].Value = PaperOrientation.LANDSCAPE;
// Paper Format
printerDesc[0] = new PropertyValue();
printerDesc[0].Name = "PaperFormat";
printerDesc[0].Value = PaperFormat.USER;
// Paper Size
printerDesc[1] = new PropertyValue();
printerDesc[1].Name = "PaperSize";
printerDesc[1].Value = paperSize;
xPrintable.setPrinter(printerDesc);
}
}
```
- 服務組件
- sca-register注冊配置中心
- sca-gateway服務網關
- sca-auth認證授權服務
- sca-upms權限管理服務
- sca-quartz定時任務服務
- sca-monitor系統監控服務
- sca-commservie通訊前置服務
- sca-sentinel限流熔斷服務
- sca-codegen代碼生成服務
- sca-message消息發送服務
- sca-rule規則引擎服務
- sca-workflow工作流引擎服務
- sca-report報表服務
- ELK日志服務
- SkyWalking鏈路跟蹤
- Prometheus監控
- 技術組件
- sca-common-swagger(聚合文檔)
- sca-common-log(系統日志)
- sca-common-sentinel(熔斷限流)
- sca-common-feign(Feign接口調用)
- sca-common-sequence(分布式發號器)
- sca-common-gray(灰度發布)
- sca-common-security(授權認證)
- sca-common-datasource(動態數據源)
- sca-common-data(數據庫及緩存)
- sca-common-oss(文件服務)
- sca-common-xss(XSS安全過濾)
- sca-common-test(微服務單元測試)
- sca-common-test-alone(單體應用單元測試)
- sca-common-memdb(內存數據庫)
- 日志脫敏
- Pdf文檔轉換及預覽
- IDE組件
- IDE技術組件介紹
- FastJson技術組件類
- 對象轉string技術組件
- JDBC操作技術組件類
- SQL查詢(完整SQL)技術組件
- 關閉連接技術組件
- 執行預編譯SQL(update)技術組件
- 數據分頁查詢技術組件
- 數據刪除技術組件
- 數據批量插入技術組件
- 數據插入技術組件
- 數據更新技術組件
- 標準數據查詢方法(單表)技術組件
- 獲取序列號技術組件
- 行數統計技術組件
- 調用存儲過程技術組件
- 預編譯SQL查詢(參數)
- 集合操作技術組件類
- Set和List類型互轉技術組件
- 交集技術組件
- 增加元素(批量)技術組件
- 增加元素技術組件
- 差集技術組件
- 并集技術組件
- 替換元素技術組件
- 集合刪除(下標)技術組件
- 集合刪除(元素)技術組件
- 集合清空技術組件
- 金額處理技術組件類
- 乘技術組件
- 元轉換為分技術組件
- 減技術組件
- 刪除千分符技術組件
- 加技術組件
- 取金額絕對值技術組件
- 字符串轉BigDecimal技術組件
- 是否為0技術組件
- 金額格式化技術組件
- 金額比較技術組件
- 金額舍入技術組件
- 金額轉大寫技術組件
- 除技術組件
- Redishash操作的組件集合
- 刪除字段技術組件
- 字段是否存在技術組件
- 設置字段值(覆蓋)技術組件
- 獲取字段值技術組件
- 設置字段值(不覆蓋)技術組件
- 批量設置字段值技術組件
- 批量獲取字段值技術組件
- 獲取字段數量技術組件
- 獲取字段名稱列表技術組件
- 獲取字段值列表技術組件
- 獲取字段和值列表技術組件
- Redis_Key操作技術組件類
- 獲得redisTemplate技術組件
- 重命名key技術組件
- 清空Redis技術組件
- key是否存在技術組件
- 取消過期時間技術組件
- 獲取數據結構類型技術組件
- 設置過期時間(毫秒)技術組件
- 設置固定過期時間技術組件
- 剩余存活時間(秒)技術組件
- 刪除(批量)技術組件
- 刪除(單個)技術組件
- 移動key到指定db技術組件
- 集合排序(正序)技術組件
- Redis_List操作組件操作類
- 插入(尾部)技術組件
- 插入(頭部)技術組件
- 列表長度技術組件
- 截取區間列表元素技術組件
- 保留列表元素技術組件
- 獲取列表元素(按下標)技術組件
- 設置列表元素(按下標)技術組件
- 刪除元素(按值出現次數)技術組件
- 移除并返回元素(頭部)技術組件
- 移除并返回元素(尾部)技術組件
- 已有列表插入(尾部)技術組件
- 已有列表插入(頭部)技術組件
- 已有列表插入(按位置)技術組件
- 配置中心技術組件類
- 獲取Nacos配置內容技術組件
- 通訊前置技術組件類
- 異步應答技術組件
- 組報文(前置)技術組件
- 解報文(前置)技術組件
- 調用第三方交易技術組件
- 調試輸出技術組件類
- 輸出日志(debug)技術組件
- 輸出日志(warn)技術組件
- 輸出日志(error)技術組件
- 輸出日志(info)技術組件
- 編解碼處理技術組件類
- BCD編碼技術組件
- BCD解碼技術組件
- Base64編碼技術組件
- Base64解碼技術組件
- 服務調用技術組件類
- 交易調用(分布式)技術組件
- 交易調用(第三方系統)技術組件
- 服務調用(rest服務名)技術組件
- 服務調用(ip-port)技術組件
- 日期時間技術組件類
- 當前時間(date)技術組件
- 當前時間(字符串)技術組件
- 當前時間(毫秒)技術組件
- 日期格式檢查技術組件
- 日期比較技術組件
- 日期相加技術組件
- 格式化日期技術組件
- 獲取日歷字段技術組件
- 計算時間差(Date)技術組件
- 計算時間差(字符串)技術組件
- 轉換日期對象技術組件
- 文件操作技術組件類
- MD5計算簽名技術組件
- ZIP文件壓縮技術組件
- ZIP文件解壓縮技術組件
- 寫文件內容技術組件
- 創建文件技術組件
- 創建文件目錄技術組件
- 文件刪除技術組件
- 文件合并技術組件
- 文件大小技術組件
- 文件存在檢查技術組件
- 文件拷貝技術組件
- 文件查找技術組件
- 讀文件內容技術組件
- 讀文件行技術組件
- 數據庫操作技術組件類
- 切換數據源技術組件
- 刪除(BatchIds)技術組件
- 刪除(Entity)技術組件
- 刪除(ID)技術組件
- 刪除(columnMap)技術組件
- 回滾上一事務技術組件
- 回滾全部事務技術組件
- 開啟事務技術組件
- 執行指定方法技術組件
- 提交上一事務技術組件
- 提交全部事務技術組件
- 新增數據技術組件
- 更新(Entity)技術組件
- 更新(ID)技術組件
- 查詢(BatchIds)技術組件
- 查詢(ID)技術組件
- 查詢(Objects)技術組件
- 查詢(columnMap)技術組件
- 查詢(list)技術組件
- 查詢(map)技術組件
- 查詢(分頁)技術組件
- 查詢(單條)技術組件
- 查詢(總條數)技術組件
- 清理數據源技術組件
- 數據字典技術組件類
- 平臺字典技術組件
- 應用字典技術組件
- 銀行字典技術組件
- 平臺內置組件技術組件類
- switch選擇器技術組件
- 從異步組件中獲取數據技術組件
- 初始化線程池技術組件
- 判斷異步組件是否已完成技術組件
- 當期線程休眠技術組件
- 獲取異常信息到容器技術組件
- 獲取環境變量技術組件
- 獲取系統變量技術組件
- 表達式判斷技術組件
- 設置全局錯誤技術組件
- 隨機正整數技術組件
- 對象操作技術組件類
- map轉對象技術組件
- 創建list技術組件
- 創建實體類對象(空對象)技術組件
- 創建實體對象(賦值)技術組件
- 反序列化對象技術組件
- 對象屬性賦值技術組件
- 對象序列化成數組技術組件
- 獲取對象類型名稱技術組件
- 獲得對象字段值技術組件
- 獲得對象屬性及值列表技術組件
- Redis_Set操作技術組件類
- 添加元素技術組件
- 獲取所有元素技術組件
- 移除指定元素技術組件
- 隨機移除并返回(一個)技術組件
- 隨機移除并返回(多個)技術組件
- 集合元素數量技術組件
- 是否包含指定元素技術組件
- 隨機返回元素(一個)技術組件
- 隨機返回元素(多個)技術組件
- Redis_String操作技術組件類
- 設置值(覆蓋)技術組件
- 獲取值技術組件
- 獲取值(批量)技術組件
- 字符串追加值技術組件
- 設置值(不覆蓋)技術組件
- 設置值(帶過期時間:秒)技術組件
- 覆蓋部分值技術組件
- 截取區間字符串技術組件
- 賦值并返回舊值技術組件
- 值長度技術組件
- Redis_ZSet操作技術組件類
- ZSet添加元素技術組件
- 獲取區間集合元素(正序按下標)技術組件
- 獲取區間集合元素(倒序按下標)技術組件
- 移除集合元素技術組件
- 增加元素的排序值技術組件
- 獲取元素排名(正序)技術組件
- 獲取元素排名(倒序)技術組件
- ZSet集合元素數量技術組件
- 獲取元素排序值技術組件
- 統計區間元素數量技術組件
- 移除區間元素(按排名)技術組件
- 移除區間元素(按排序值)技術組件
- 容器操作技術組件類
- 取容器深度技術組件
- 容器刪除(按value)技術組件
- 容器變量刪除(保留keys)技術組件
- 容器變量刪除(刪除單個key)技術組件
- 容器變量刪除(刪除多個key)技術組件
- 容器變量賦值技術組件
- 容器變量賦值(批量)技術組件
- 獲取容器變量值技術組件
- 容器變量拷貝技術組件
- 容器變量獲取(批量)技術組件
- 容器清空技術組件
- 容器多層次賦值技術組件
- Redis計算操作組件類
- 減(整數)技術組件
- 減1技術組件
- 加(整數)技術組件
- 加1技術組件
- 加(浮點數)技術組件
- hash字段加(整數)技術組件
- UUID和ID技術組件類
- 生成UUID技術組件
- 生成ID技術組件
- 批量生成ID技術組件
- 公共方法源碼
- 安全組件技術組件類
- 3DES加密技術組件
- 3DES解密技術組件
- DES加密技術組件
- DES解密技術組件
- MD5十進制字符串技術組件
- MD5計算簽名技術組件
- 獲取CRC16碼技術組件
- excel技術組件類
- 獲取工作簿技術組件
- 獲取工作簿(文件名)技術組件
- 工作簿寫文件技術組件
- sheet數技術組件
- sheet行數技術組件
- 工作簿數據行數技術組件
- sheet列表技術組件
- 獲取sheet技術組件
- 創建工作簿(xlsx)技術組件
- 創建工作簿(指定格式)技術組件
- 工作簿64編碼技術組件
- 文件是否超出限制技術組件
- 文件是否超出限制(文件名)技術組件
- 輸出文件地址技術組件
- 新建日期文件夾技術組件
- 截取文件路徑技術組件
- 工作簿清理技術組件
- 打開Excel文件技術組件
- 取Excel列數據技術組件
- 取Excel單元格技術組件
- 取Excel行列數技術組件
- 取Excel行數據技術組件
- 公共方法
- 字符串技術組件類
- 字符串切割技術組件
- 字符串去空格技術組件
- 字符串是否包含技術組件
- 字符串截取技術組件
- 統計字符數技術組件
- 統計字節數技術組件
- 以子字符串開始技術組件
- 以子字符串結尾技術組件
- 字符串轉大寫技術組件
- 字符串轉小寫技術組件
- 是否包含全角字符技術組件
- 字符串拼接技術組件
- 字符串連接技術組件
- 字符串替換技術組件
- 字符串正則表達式替換技術組件
- 字符串非空技術組件
- 字符串補齊技術組件
- 正則表達式匹配技術組件
- 字符串編碼轉換技術組件
- 字符串查找定位技術組件
- 變量操作技術組件類
- 字段檢查(長度范圍)技術組件
- 正則表達式檢查技術組件
- 數字檢查(大小區間)技術組件
- 變量字段檢查(類型、長度)技術組件
- 身份證號校驗技術組件
- 身份照15位轉18位技術組件
- 上傳下載技術組件類
- FTP文件上傳技術組件
- FTP文件下載技術組件
- SFTP文件上傳技術組件
- SFTP文件下載技術組件
- 自定義組件開發
- IDE技術組件包,技術組件類創建
- 新建、編輯IDE技術組件
- 過時組件介紹
- 技術組件API
- 新建普通java類
- 注冊技術組件
- 打包技術組件
- 前端控件