[TOC]
## 一、下載
下載地址:[https://www.elastic.co/cn/downloads/elasticsearch](https://www.elastic.co/cn/downloads/elasticsearch)
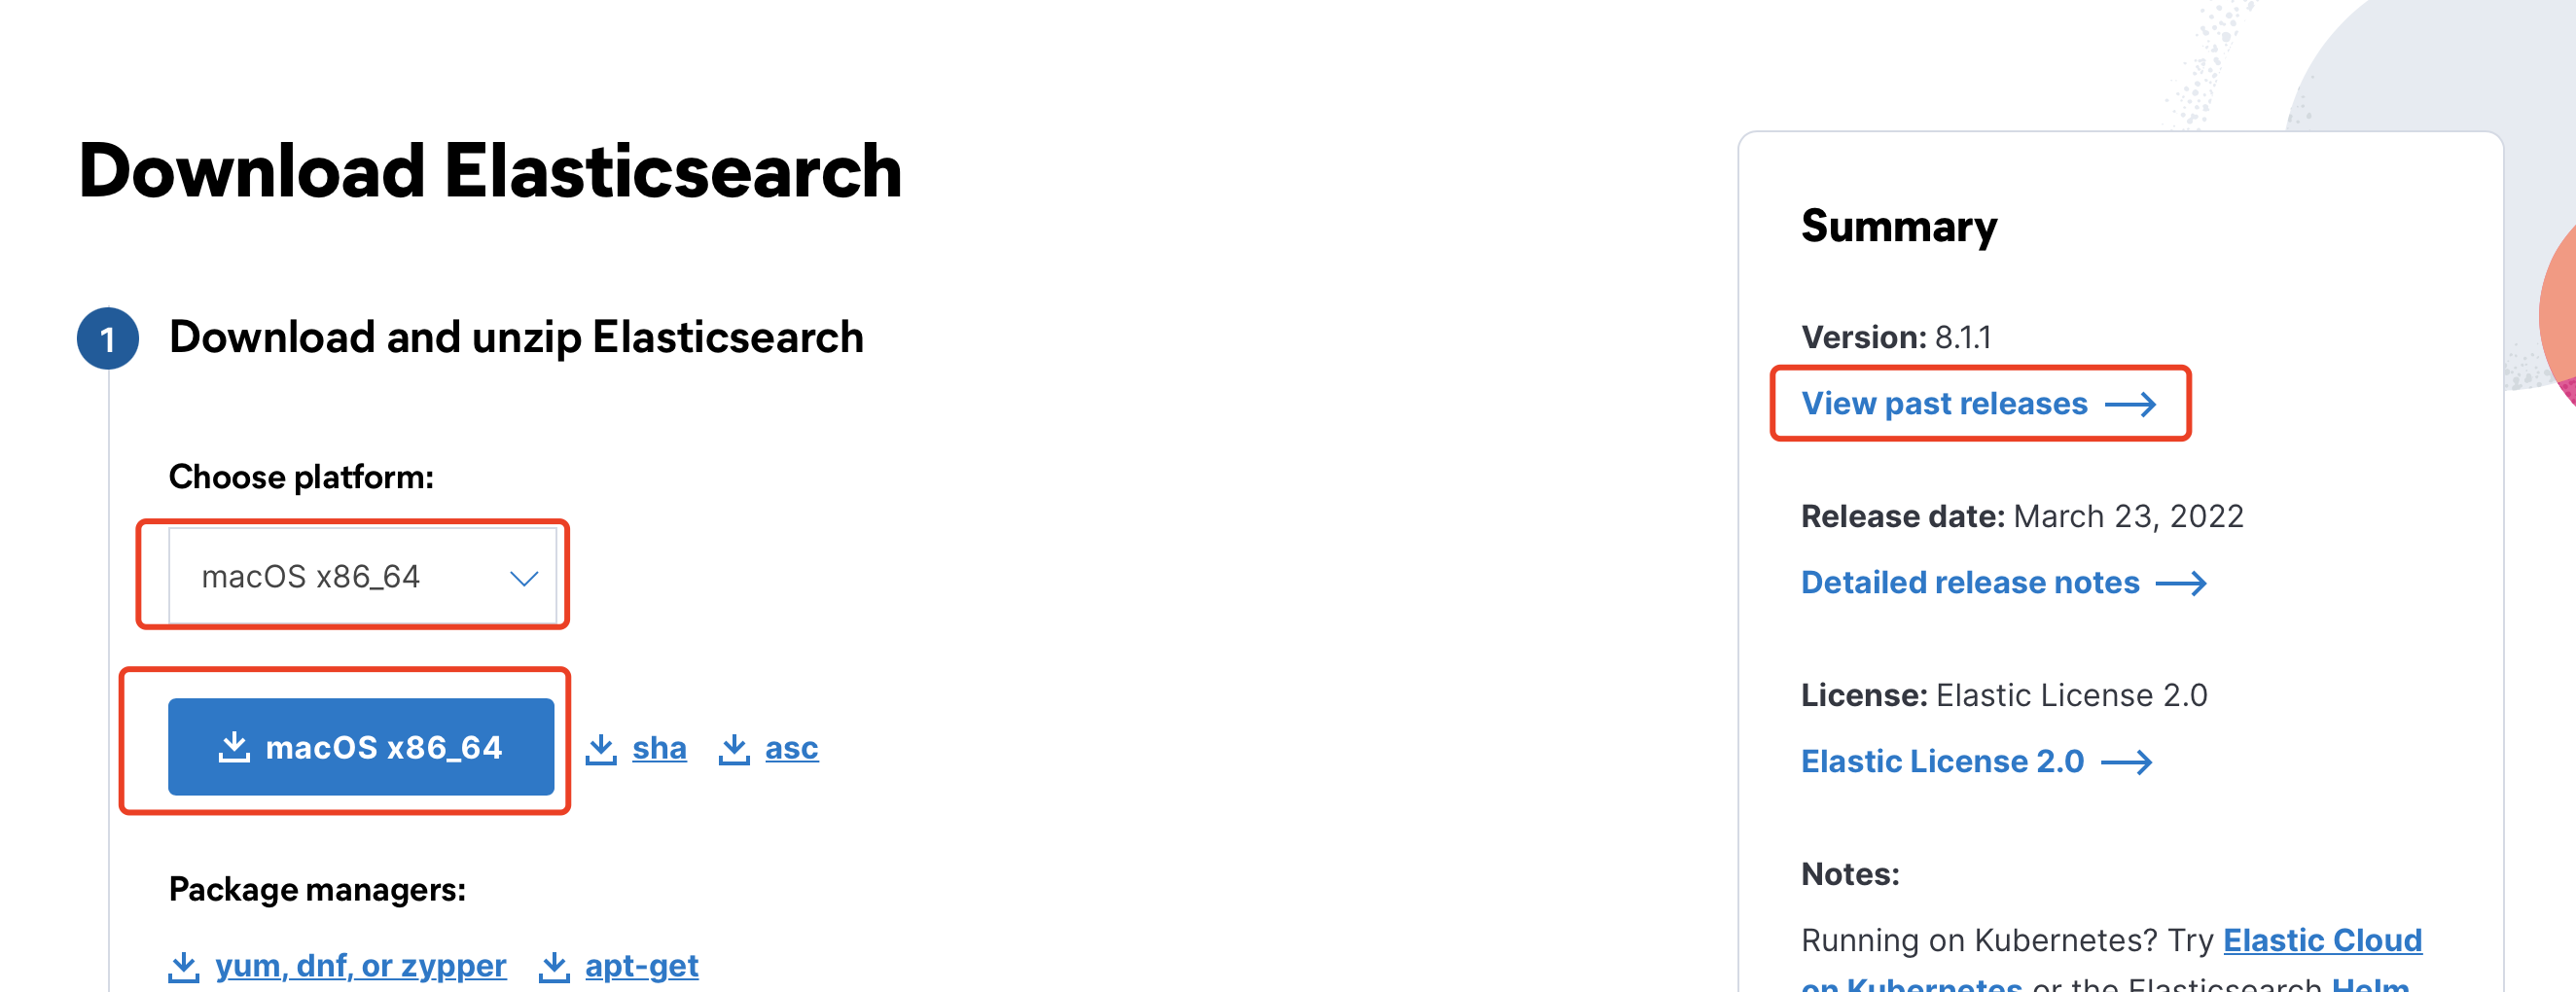
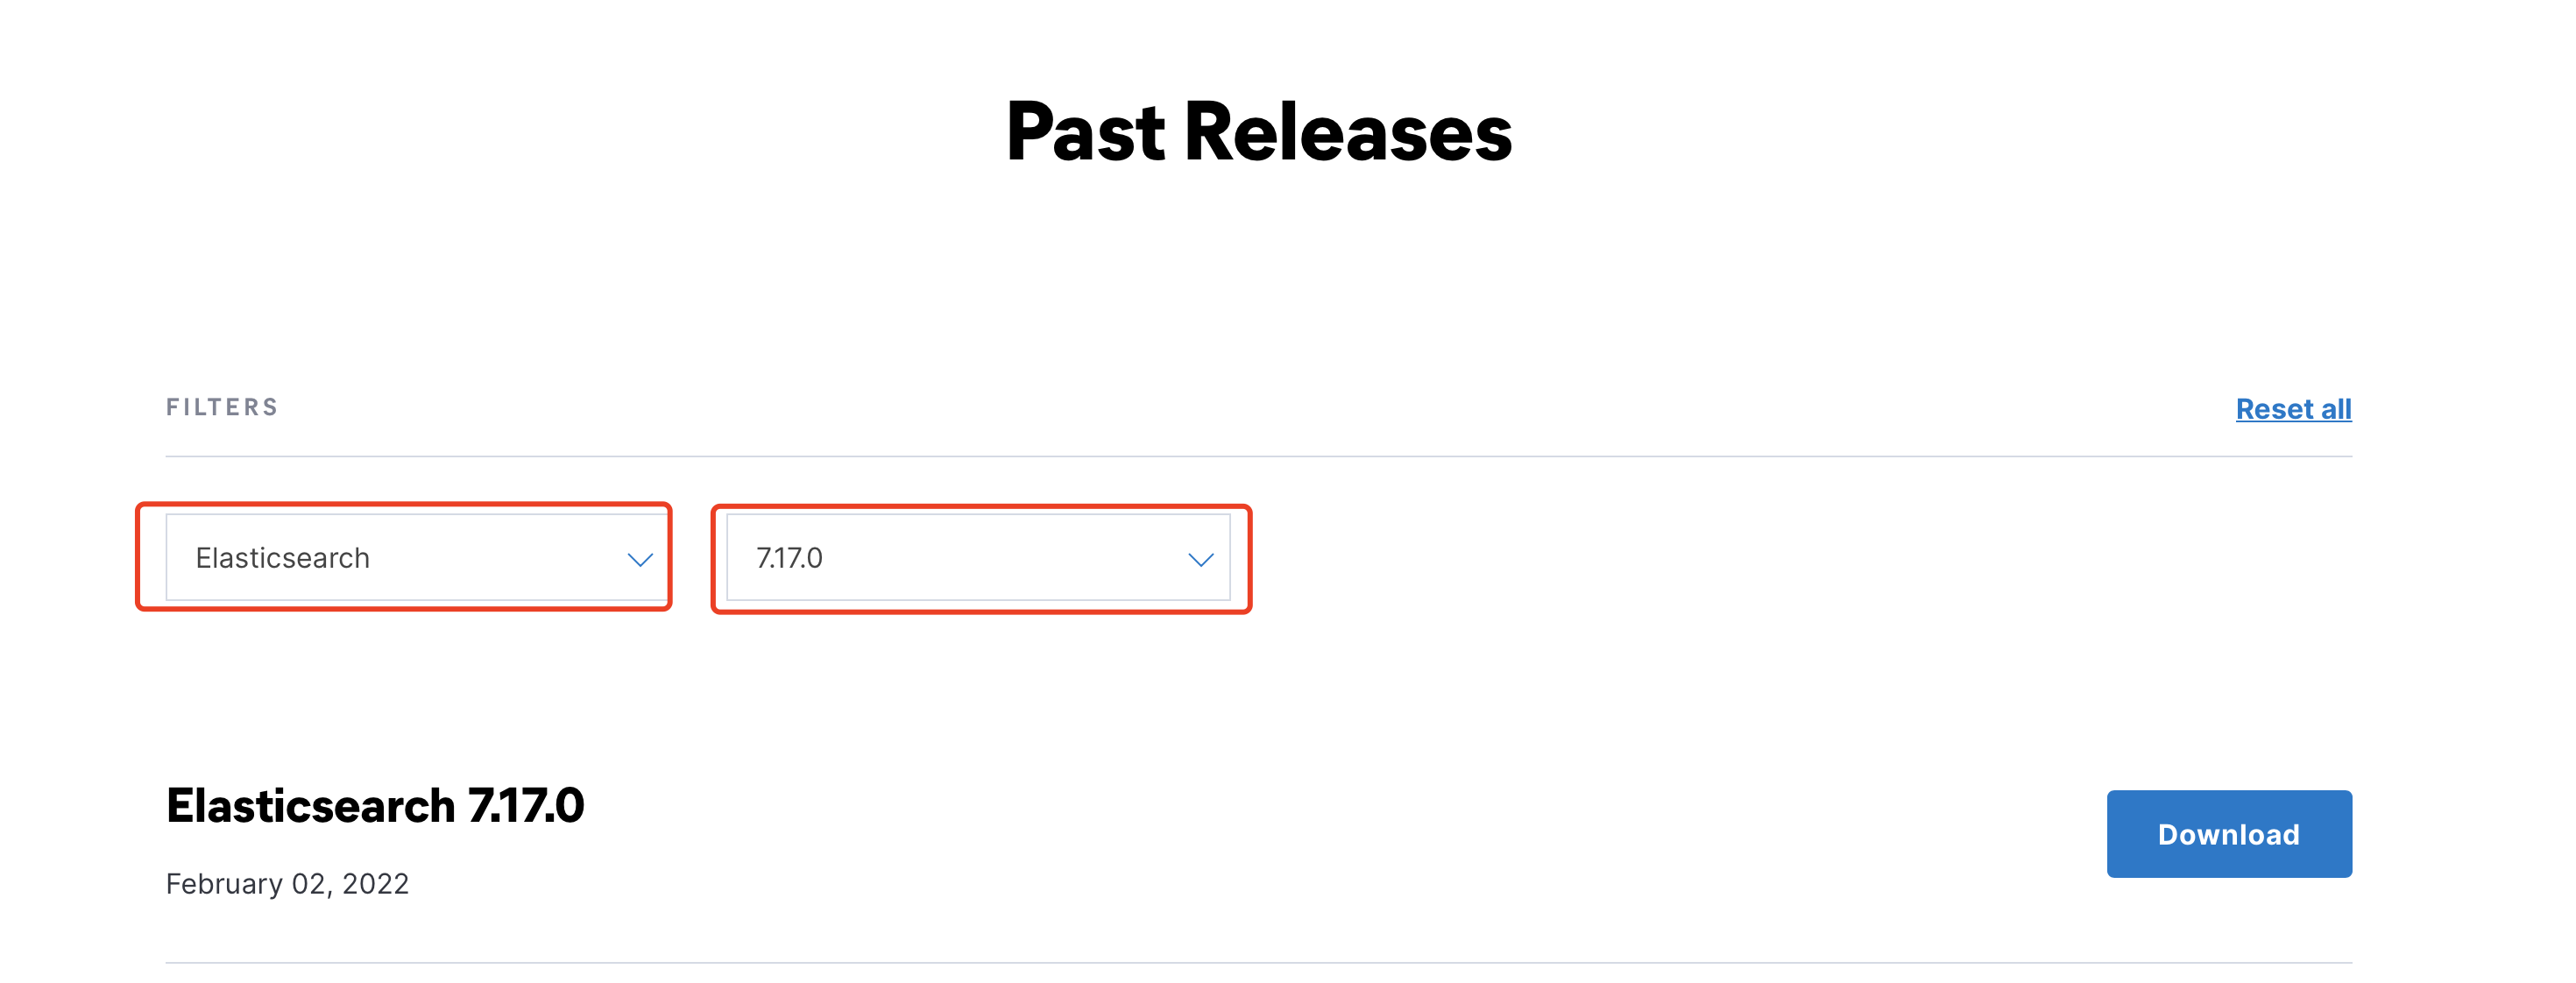
獲取歷史版本:
## 二、安裝
### 2. 配置xpack

#### 2.1. 生成證書
```
bin/elasticsearch-certutil cert -out config/elastic-certificates.p12 -pass ""
```
#### 2.2. 修改配置
```
vim config/elasticsearch.yml
```
修改config目錄下elasticsearch.yml文件,在最后新增以下參數
```
xpack.security.enabled: true
xpack.security.transport.ssl.enabled: true
xpack.security.transport.ssl.verification_mode: certificate
xpack.security.transport.ssl.keystore.path: elastic-certificates.p12
xpack.security.transport.ssl.truststore.path: elastic-certificates.p12
```
配置elasticsearch.yml
```
cluster.name: my-es
network.host: 0.0.0.0
node.name: node-1
cluster.initial_master_nodes: ["node-1"]
http.cors.enabled: true
http.cors.allow-origin: "*"
bootstrap.memory_lock: false
bootstrap.system_call_filter: false
xpack.security.enabled: true
xpack.security.transport.ssl.enabled: true
xpack.security.transport.ssl.verification_mode: certificate
xpack.security.transport.ssl.keystore.path: elastic-certificates.p12
xpack.security.transport.ssl.truststore.path: elastic-certificates.p12
```
## 三、啟動
```
bin/elasticsearch
```
> 后臺運行:bin/elasticsearch -d
## 四、初始化密碼
兩種方式二選一
### 4.1. 自動生成密碼
```
bin/elasticsearch-setup-passwords auto
```
### 4.2. 手動設置密碼
```
bin/elasticsearch-setup-passwords?interactive
```
> 【重要】記錄密碼,很多地方需要驗證密碼。如:logstash,kibana。
```
Changed password for user apm_system
PASSWORD apm\_system = vKqf8FtzpUqPDrYfbsjt
Changed password for user kibana_system
PASSWORD kibana_system = 45CnPubkY740mul0BGst
Changed password for user kibana
PASSWORD kibana = 45CnPubkY740mul0BGst
Changed password for user logstash_system
PASSWORD logstash_system = KIUsb7e2cJePAWH5KW1t
Changed password for user beats_system
PASSWORD beats_system = zAnlSRyBEWJ1oOyUjxSK
Changed password for user remote_monitoring_user
PASSWORD remote_monitoring_user = K1YDZxvqURqIVylvUq0J
Changed password for user elastic
PASSWORD elastic = 7kgH0ARRpwLbhrdCTvrO
```
## 五、IK分詞器
查詢數據,都是使用的默認的分詞器,分詞效果不太理想,會把text的字段分成一個一個漢字,然后搜索的時候也會把搜索的句子進行分詞,所以這里就需要更加智能的分詞器IK分詞器了
### 5.1. 下載
下載地址:[https://github.com/medcl/elasticsearch-analysis-ik/releases](https://github.com/medcl/elasticsearch-analysis-ik/releases)
> 這里你需要根據你的**Es的版本來下載對應版本的IK**
### 5.2. 將解壓文件復制到 es的安裝目錄/plugin/ik下面即可

### 5.3. 重啟es并檢查插件是否安裝成功
[http://localhost:9200/\_cat/plugins](http://localhost:9200/_cat/plugins)

## 六、訪問
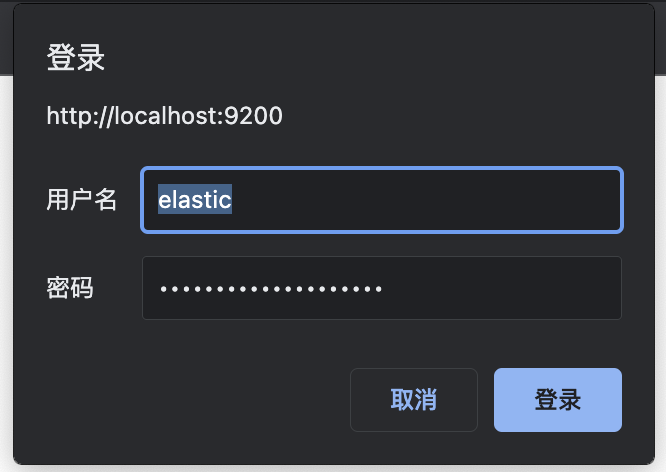
1. 驗證密碼
[http://localhost:9200](http://localhost:9200)
打開瀏覽器,輸入我們的elasticsearch的網址,比如本地的[http://localhost:9200/](http://localhost:9200/)?,然后會彈出一個輸入框,讓我們輸入賬號和密碼
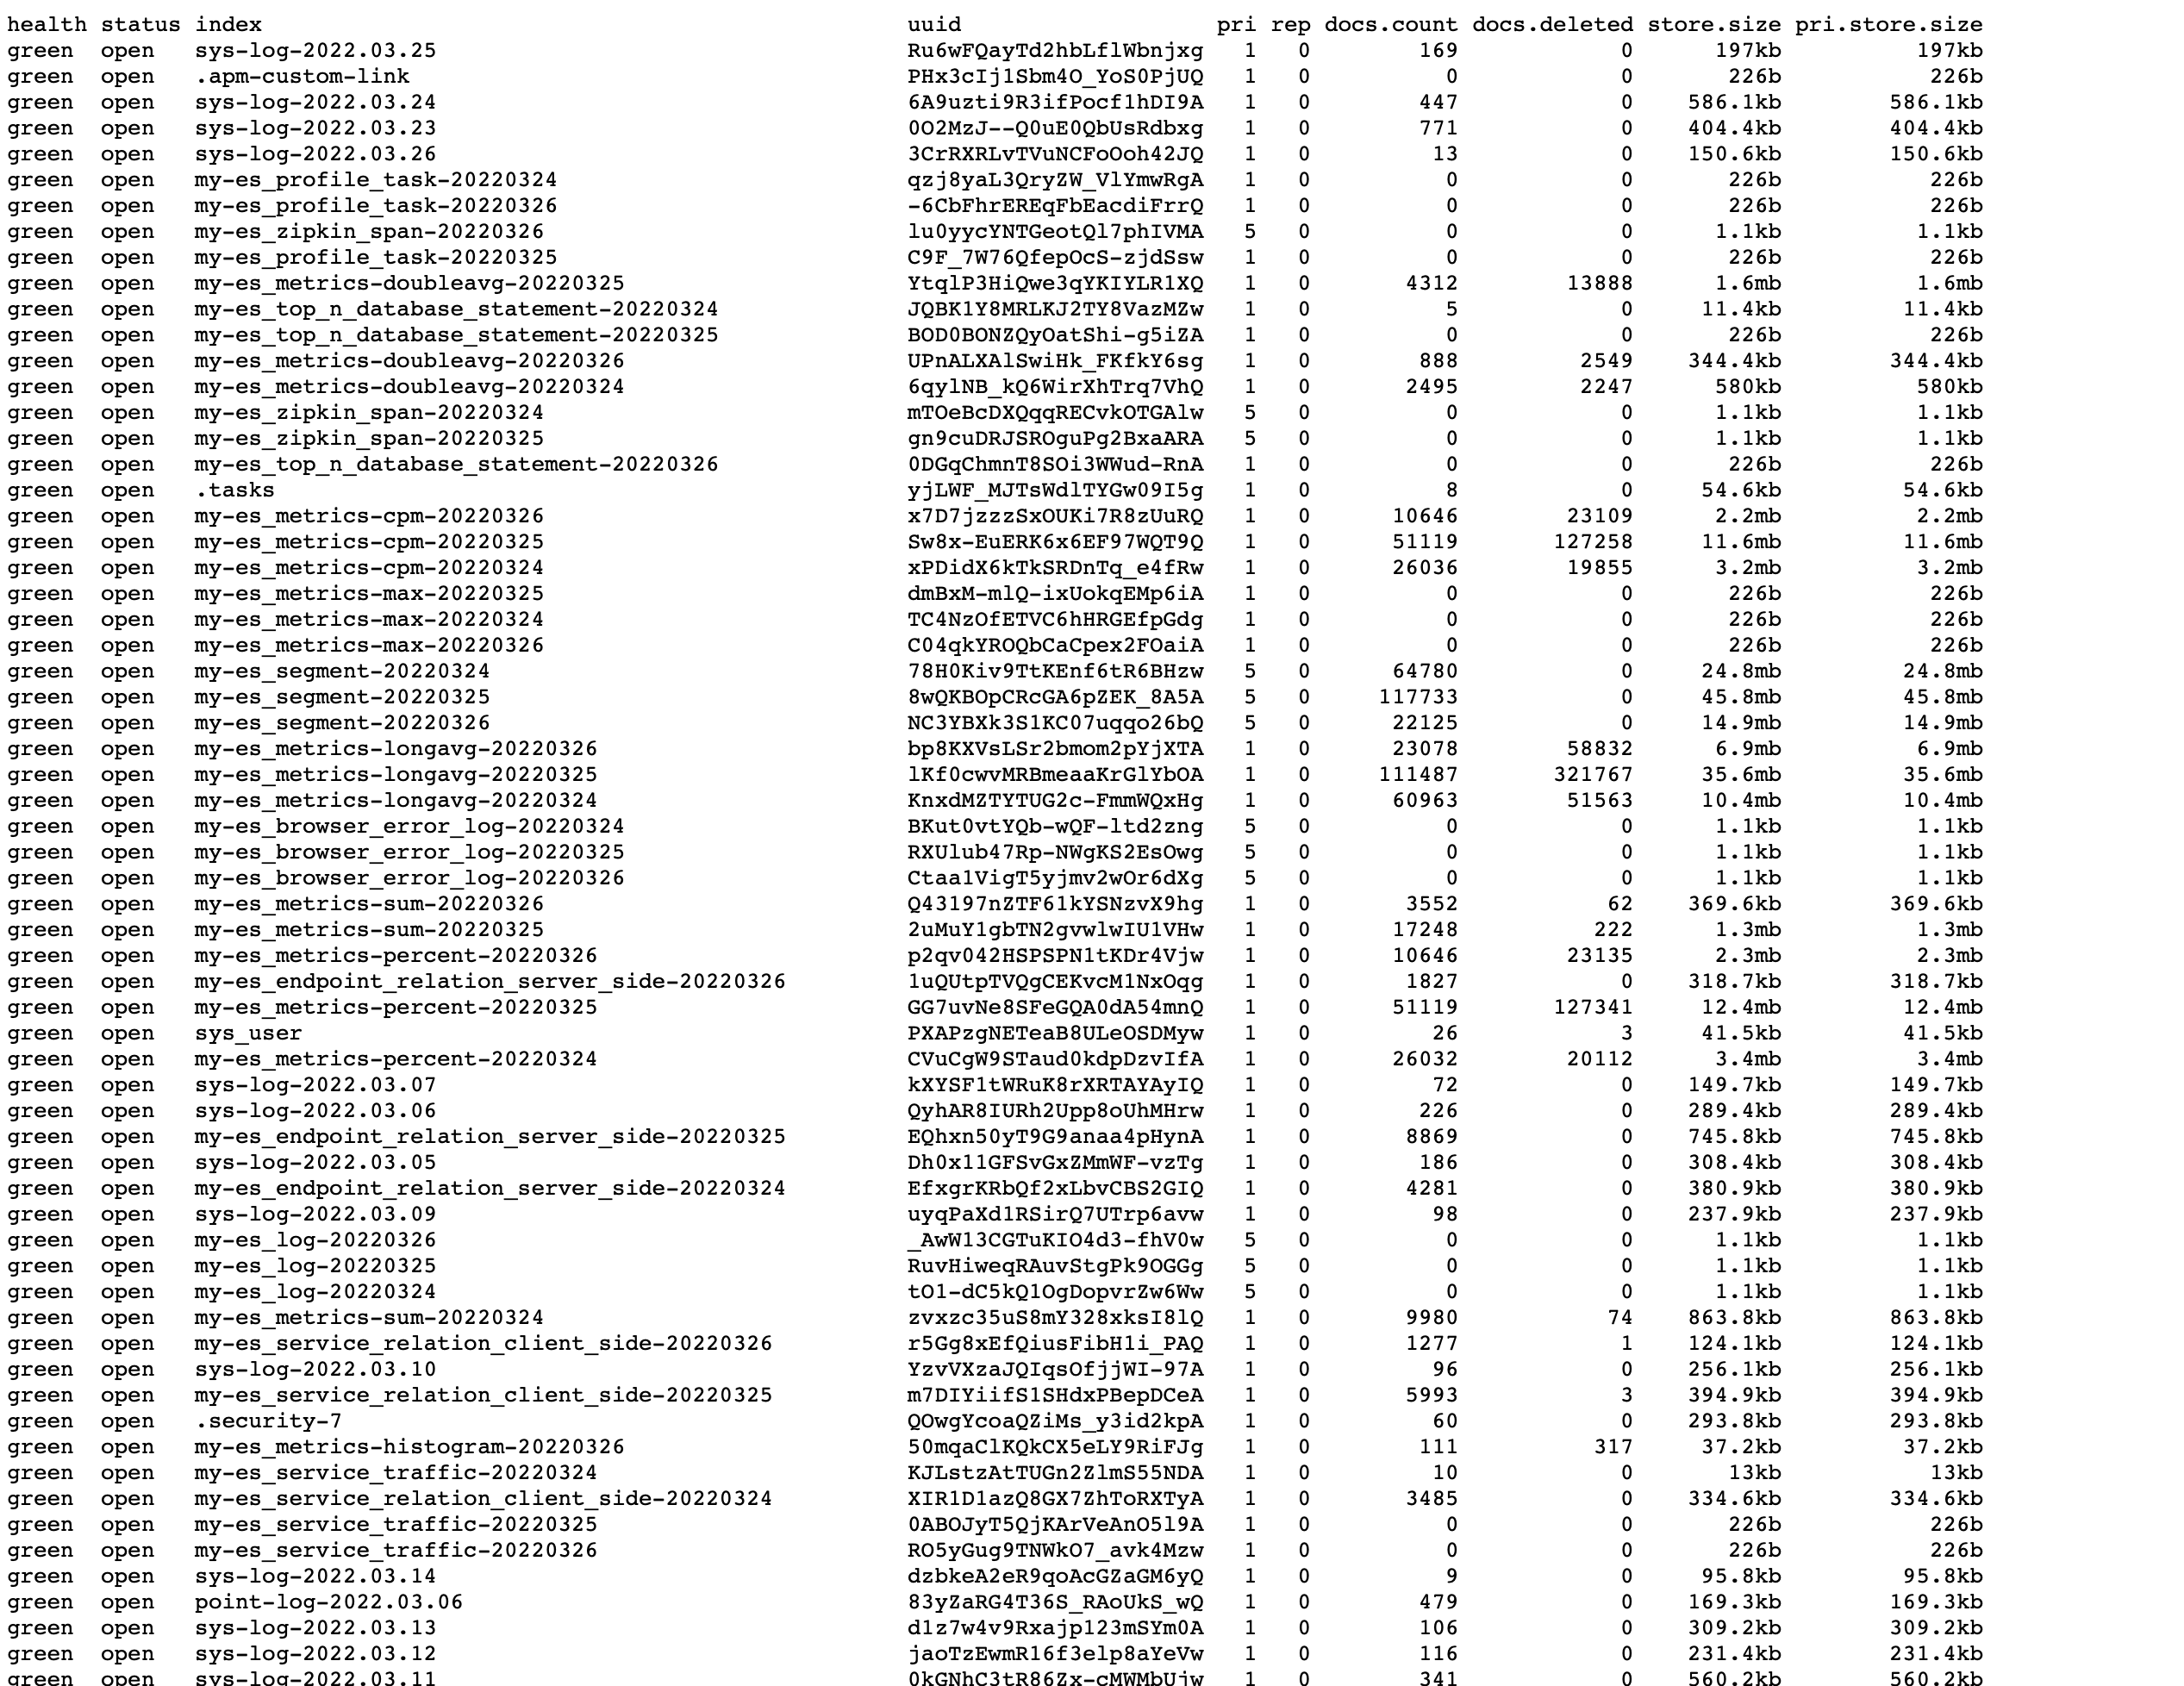
2. 查看索引
[http://localhost:9200/\_cat/indices?v](http://localhost:9200/_cat/indices?v)
3. 查看插件
[http://localhost:9200/\_cat/plugins](http://localhost:9200/_cat/plugins)

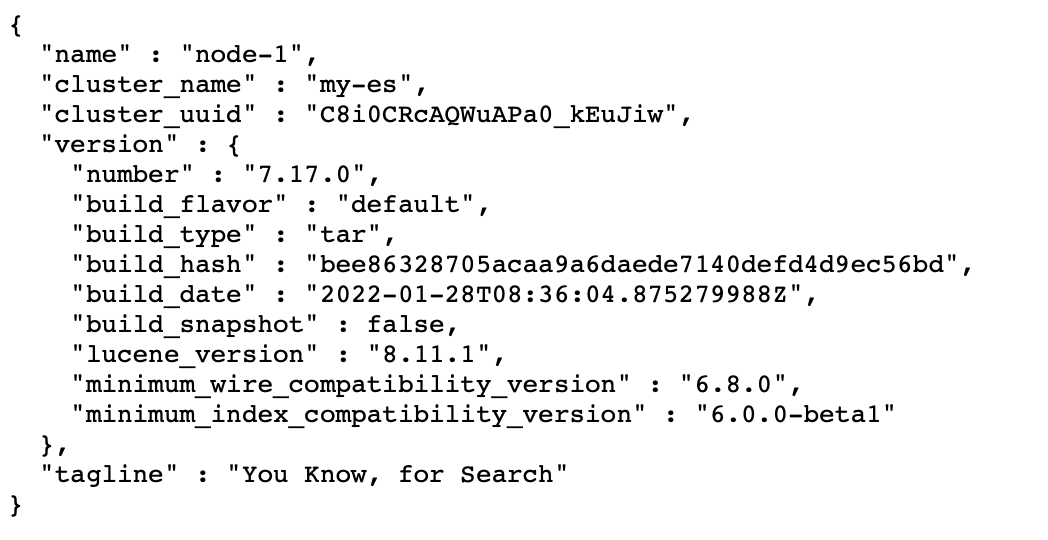
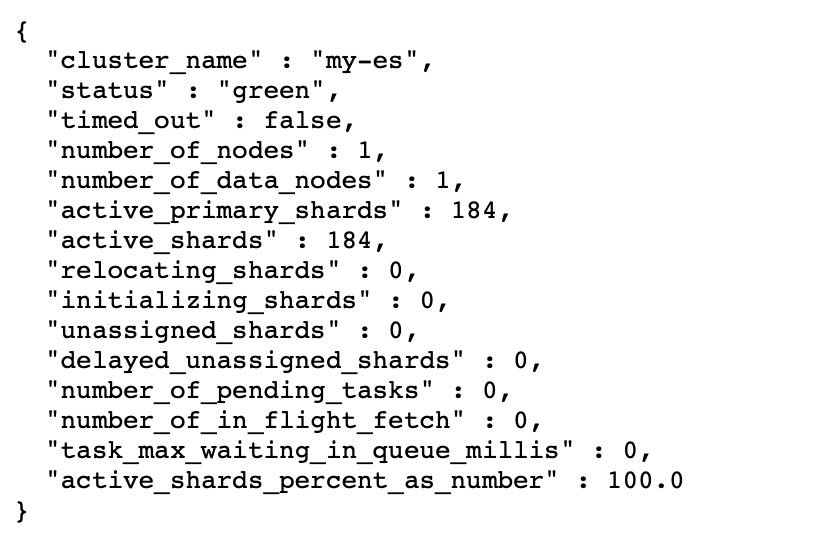
4. 查看狀態
[http://localhost:9200/\_cluster/health?pretty=true](http://localhost:9200/_cluster/health?pretty=true)
- 快速開始
- 項目簡介
- 快速了解
- 項目啟動
- 常見問題
- 開發計劃
- 后端手冊
- ELK【日志分析系統】
- 文檔說明
- 應用效果圖
- 運行環境
- Filebeat
- Elastsearch
- Logstash
- Kibana
- APM【鏈路跟蹤系統】
- SkyWalking
- 簡介
- server部署
- agent部署
- 本地eclipse配置
- 使用Console
- GPE【監控預警系統】
- Prometheus
- Grafana
- Exporter
- node-exporter【服務器監控】
- mysql-exporter【MySQL監控】
- elasticsearch-exporter【Elasticsearch監控】
- nacos-exporter【Nacos監控】
- redis-exporter【Redis監控】
- microservices-exporter【微服務監控】
- DFS【分布式文件系統】
- MinIO
- 注冊中心
- nacos
- 簡介
- 架構
- 部署
- 限流熔斷
- sentinel
- 軟件簡介
- Sentinel 的歷史
- Sentinel 基本概念
- Sentinel 功能和設計理念
- 熔斷降級
- Sentinel 是如何工作的
- 啟動 Sentinel 控制臺
- Zookeeper
- canal
- 簡介
- 工作原理
- MySQL準備
- canal-admin部署
- canal-deployer部署
- canal-adapter部署
- GPE監控
- 分布式任務
- xxl-job
- 簡介xxl-job
- 特性
- 接入
- demo
- 前端手冊
- vue
- 項目部署