[TOC]
## WHY
在前面的示例中我們知道了創建一個pyqt項目的基本代碼,若是我們要更快速方便地編輯,我們可以使用圖形化的QTDesigner
## 安裝配置
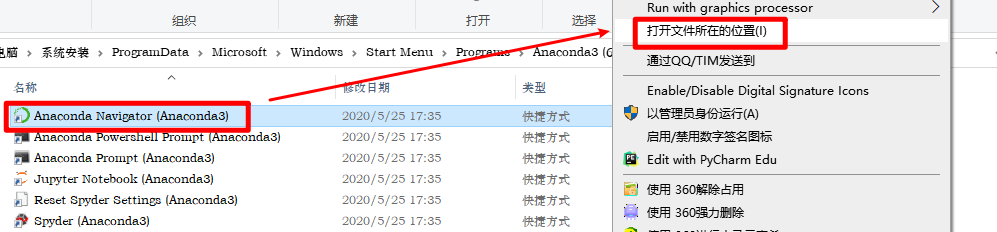
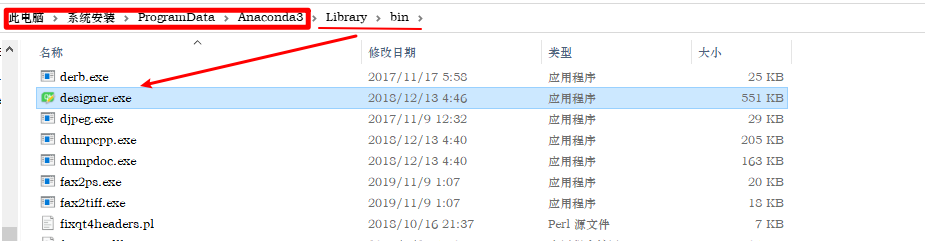
1. 找到你的anaconda目錄中Designer的位置:
2. 在pycharm中添加QTDesigner擴展
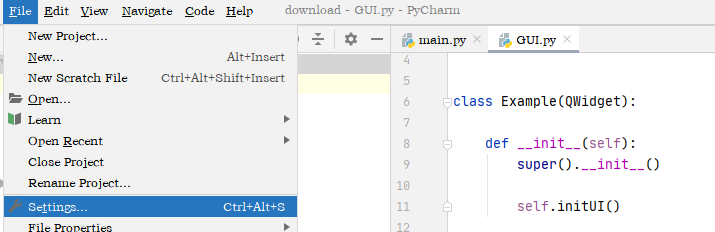
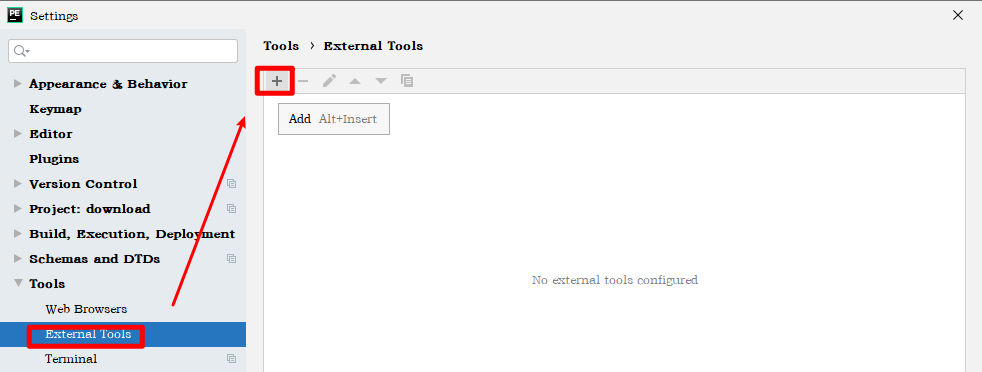
打開pycharm設置
添加額外工具
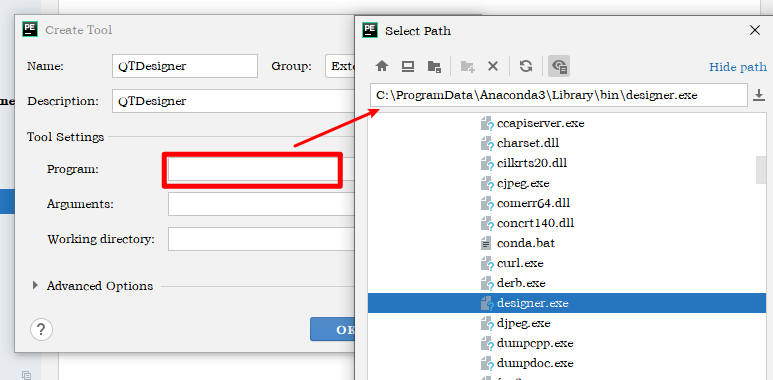
其中的program選擇designer.exe
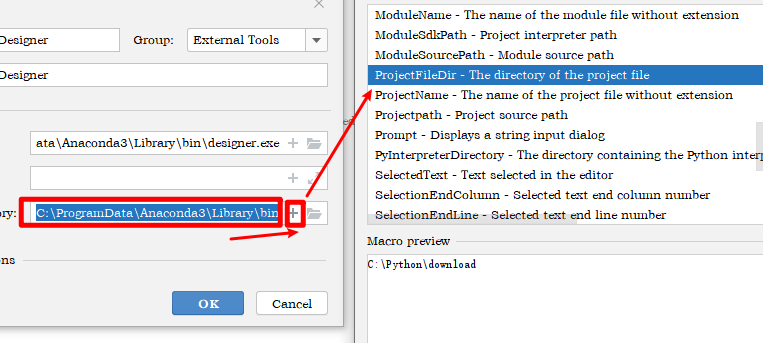
其中的工作目錄使用`$ProjectFileDir$`
## 使用QTDesigner-1
1. 使用QTDesigner生成UI文件
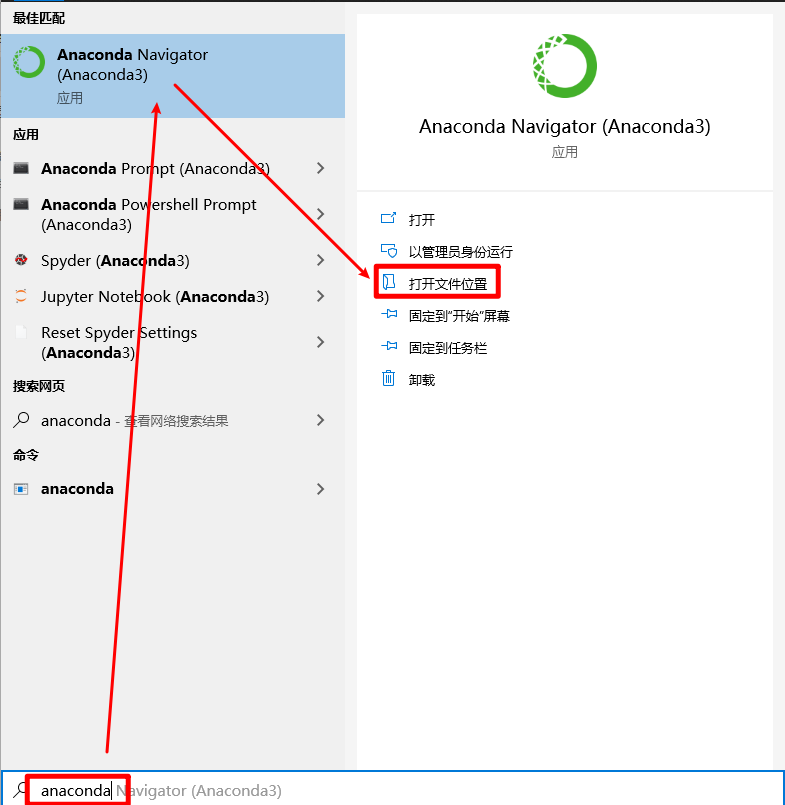
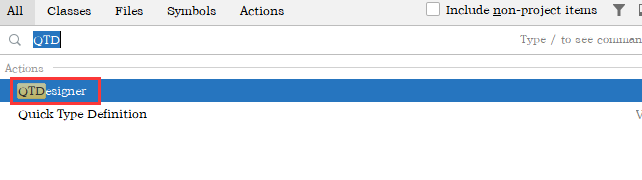
使用pycharm的萬能搜索
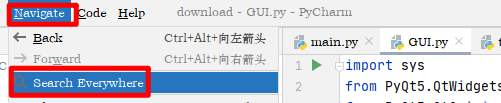
找到QTDesigner
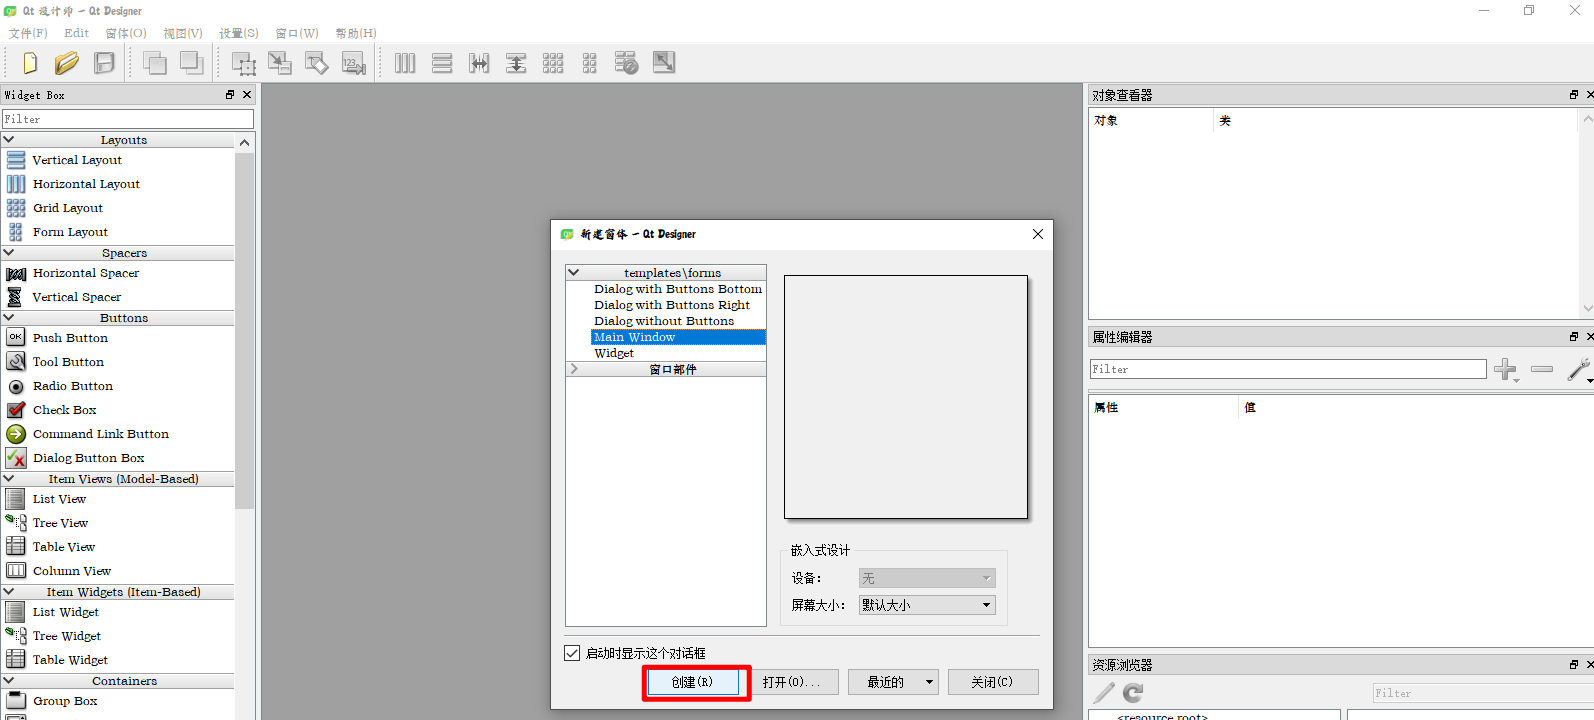
即可打開設計師界面,隨意創建一個窗口
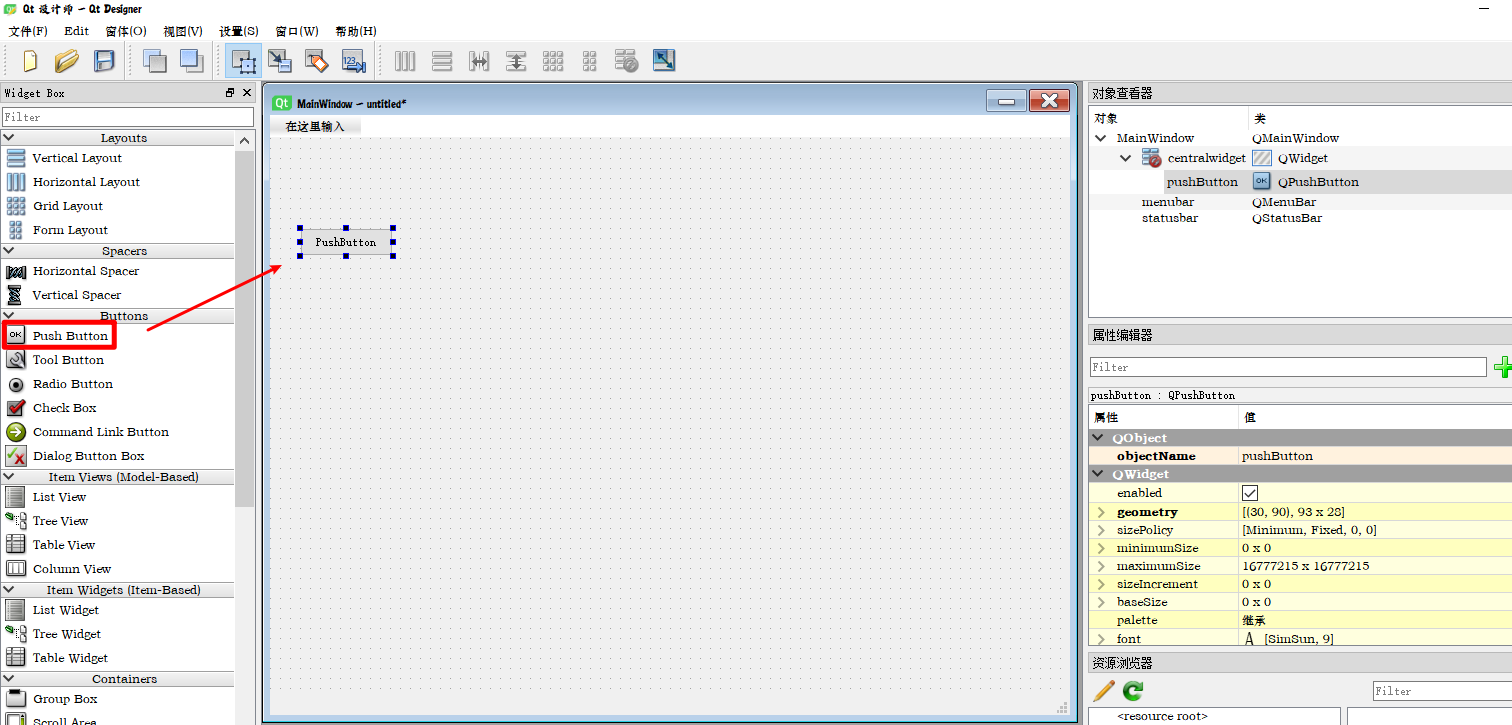
隨意拖動一個按鈕,創建窗口內容
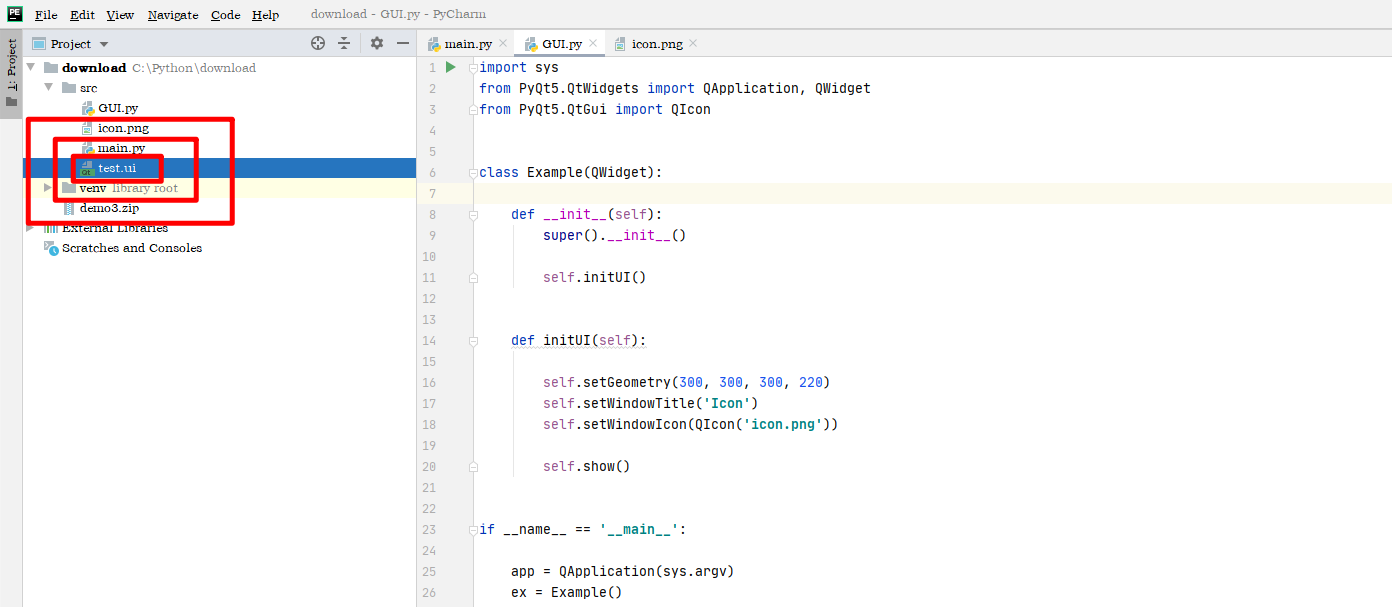
保存到你的工作目錄
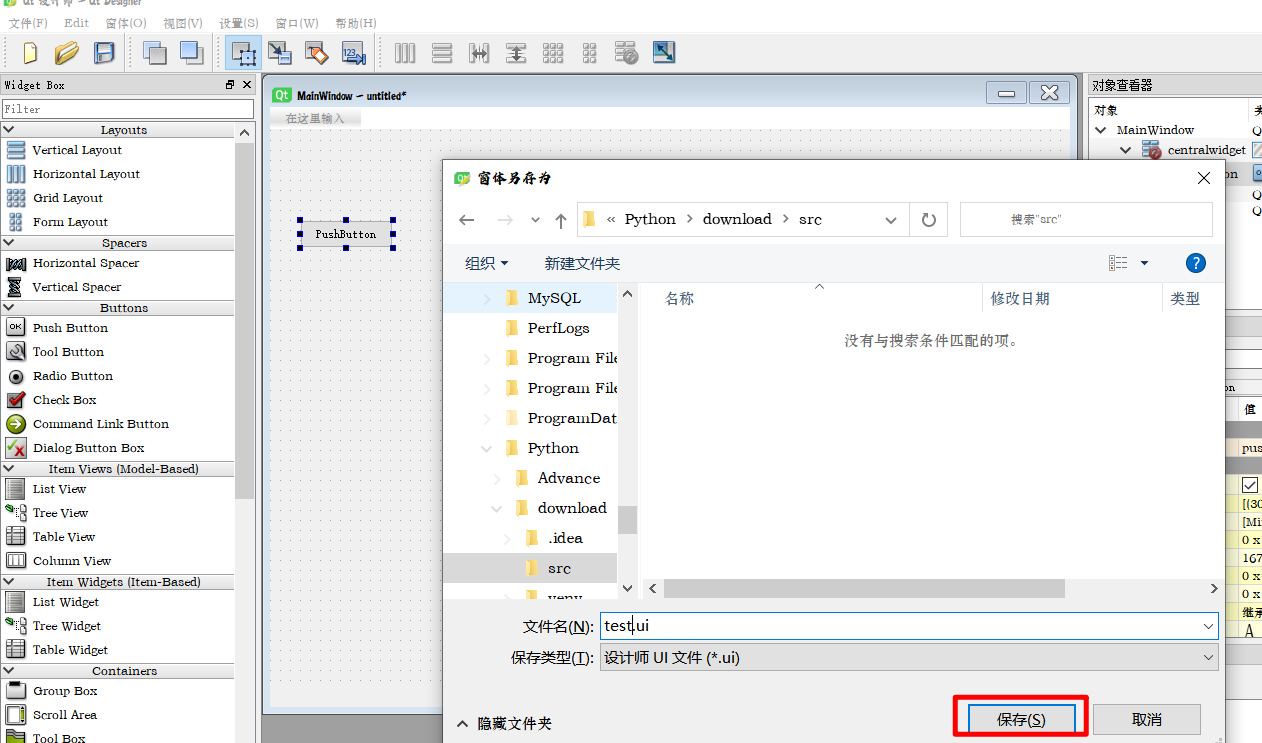
即可在pycharm工作目錄看見一個叫test.ui的xml文件
2. UI文件轉換為可以使用的py文件
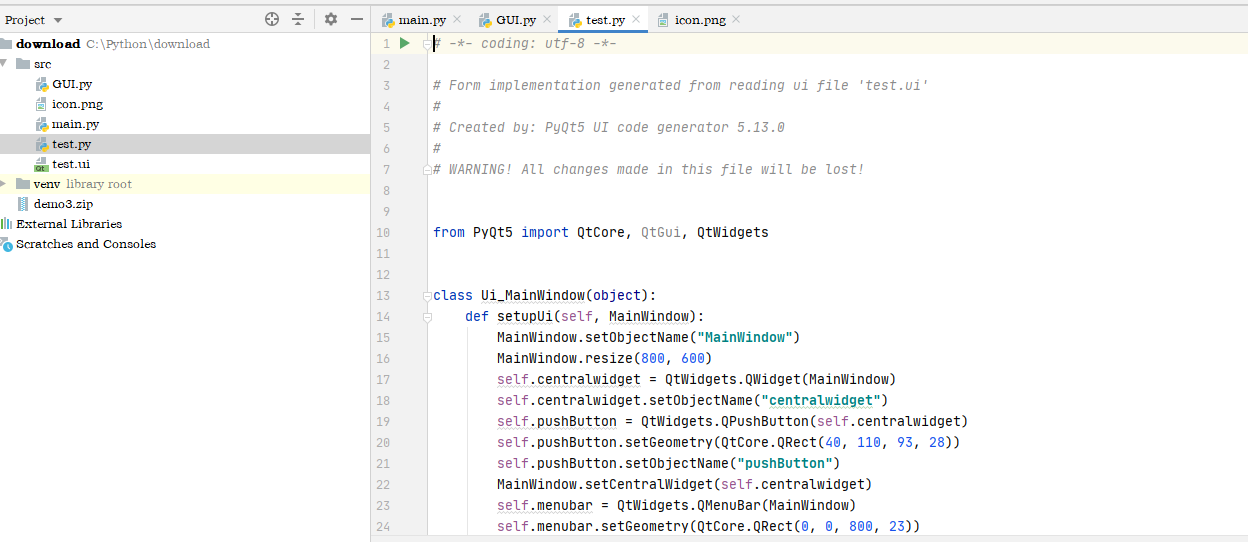
使用pycharm的terminal,進入test.ui所在的目錄,使用下列命令

```
python -m PyQt5.uic.pyuic test.ui -o test.py
```
得到test.py文件
3. 使用test.py文件
## 使用QTDesigner-2
直接動態加載上面生成的UI文件
