
## **1. Function Introduction**
>[danger]**This module allows you to create roles, set different permissions for different roles, and assign corresponding roles for differrnt users.**
## **2.Operate Process**
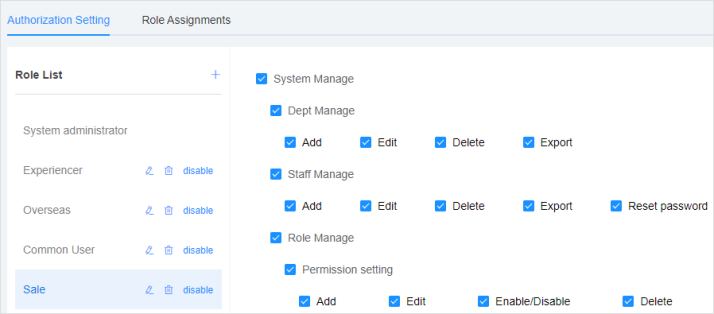
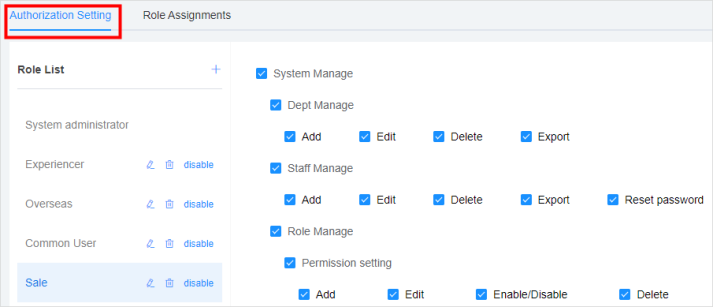
#### **1)Authorization Setting**
Note: the systenm assigns the system adminstrater role by default, which is the highest permission role and cannot be modified, deleted, disabled or assigned to other employees.
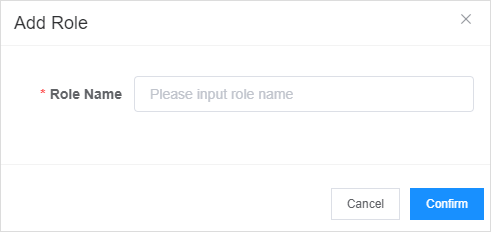
**Add Roles:** Click "+" beside the role list, and input a role name on the "Add Roles" page, click the button "Confirm" to add a role.
**Set a role permission:** Select the role you want to set in the role list on the left, check the permission on the right, and click the button "Confirm" to set the permission for the role.
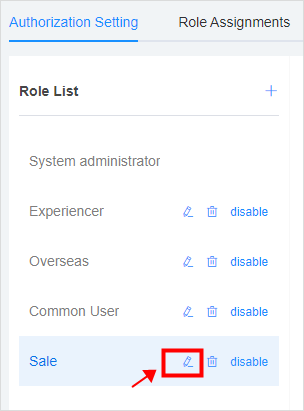
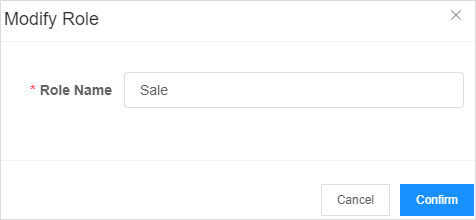
**Modify Roles:** Select the role to be modified, click the button and modify the role on the "Modify Roles" page.
#
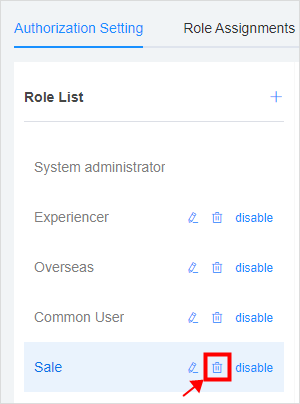
**Delete Roles:** Select the role to be deleted, and click the button to delete the role. Note: if the role has already been assigned to an employee, it cannot be deleted.
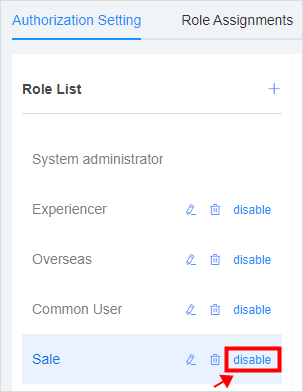
**Disable Roles:** Click the button to disable the role. If the role has already been assigned to an employee, it cannot be disabled.
#### **2)Role Assignment**
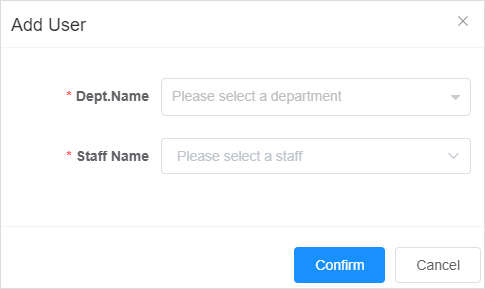
**Assign Users to the Role:** Select the role to be assigned in the role list on the left, click the button "Add", and select "Employee" on the "Add Users" page, click "Confirm" to assign employees to the role.

#
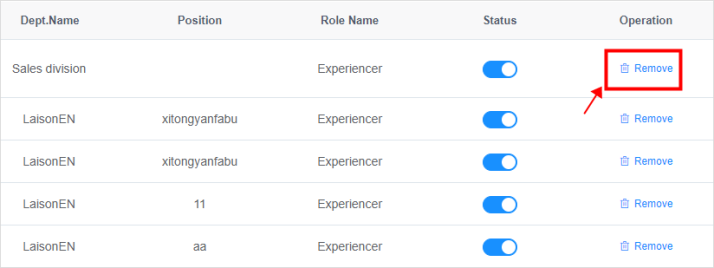
**Remove an employee from the roles:** Click the button in the table operation list, and remove the employee from the current role.
- The Document Overview
- 1.System Overview
- 2.System composition
- 3.System Operation Process Guide
- 4. Detailed Description of System Operations
- 4.1 System Login and Logout
- 4.2 Personal Center
- 4.3 Dashboard
- 4.4 System Management
- 4.4.1 Dept.Management
- 4.4.2 Staff Management
- 4.4.3 Role Management
- 4.5 Meter Management
- 4.5.1 Meter Import
- 4.6 Customer Management
- 4.6.1 Customer Type
- 4.6.2 Registration
- 4.7 Meter Reading Center
- 4.7.1 Meter Grouping
- 4.7.2 Meter Reading Data
- 4.8 Postpaid Center
- 4.8.1 Tariff Scheme
- 4.8.2 Account Management
- 4.9 Prepaid Center
- 4.9.1 Tariff Scheme
- 4.9.2 Account Management
- 4.9.3 Card Management
- 5.0 Monitoring Alarm
- 5.0.1 Alarm Record
- 5.0.2 Alarm Options
- 5.1 Report Management
- 5.1.1 Water Comsumption Report
- 5.1.2 Meter Report