[TOC]
# **Pytest測試框架**
## **一、pycharm安裝和環境配置**
1、
安裝配置Python3環境:
2、官方下載pycharm:
下載專業版需要破解https://www.runoob.com/w3cnote/pycharm-windows-install.html
在官網搜索selenium可以查看到相關的包;
3、通常使用pycharm管理Python環境:
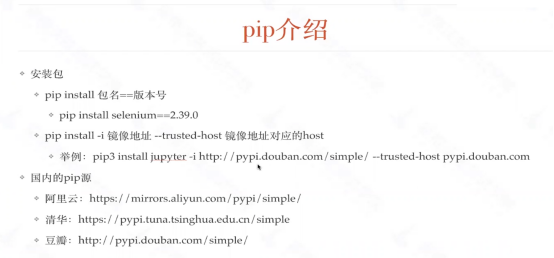
4、Pip --version命令查看pip版本
5、安裝selenium、request、allure、配置pytest
## 二、**pytest測試框架**
1、測試用例的識別與運行:
·測試文件test\_\*.py 、 \*\_test.py
·用例識別Test\*類包含的所有test\_\*的方法(不包含\_\_init\_\_方法)
·不在class中的所有test\_\*方法
·pytest也可以執行unitest框架寫的測試用例
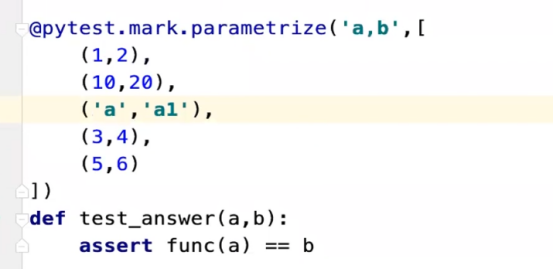
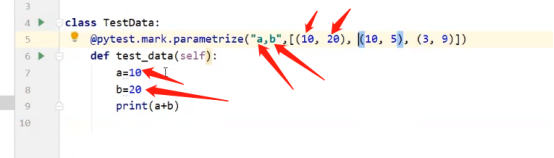
2、參數化生成測試用例:
## 三、**參數化用例**
1、pytest數據參數化
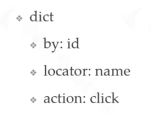
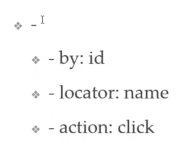
2、Yaml的基本使用
Yaml實現list:

Yaml實現字典:
Yaml進行嵌套:
3、加載yaml文件:\*.yaml
PyYMAL安裝

打印yaml的內容

## 四、**測試報告定制**
1、allure安裝
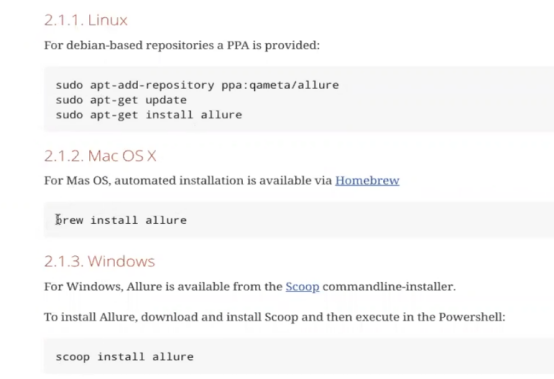
在pycharm中Pip install allure-pytest
2、生成報告:第一部生成測試數據pytest --alluredir=/tmp/my\_allure\_results
第二部轉化成測試報告Allure serve /tmp/my\_allure\_results


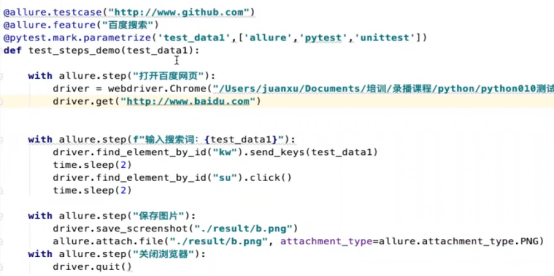
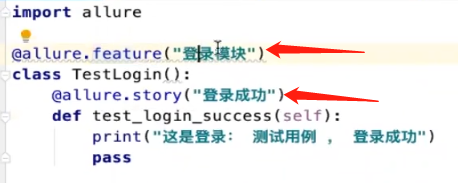
3、在報告中注解
4、測試結果增加鏈接

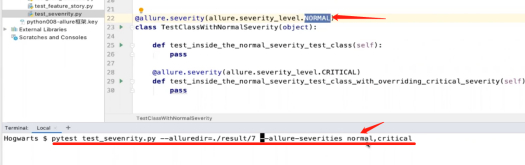
5、設置用例級別
6、添加一個純文本

7、添加一個html

8、添加一個圖片

9、完整演示