# :-: swagger-php
Swagger 是一個規范和完整的框架,用于生成、描述、調用和可視化 RESTful 風格的 Web 服務。
總體目標是使客戶端和文件系統作為服務器以同樣的速度來更新。文件的方法、參數和模型緊密集成到服務器端的代碼,允許 API 來始終保持同步。Swagger 讓部署管理和使用功能強大的 API 從未如此簡單。
## 使用方法
### 1:使用composer 安裝 swagger-php
~~~jsx
composer require zircote/swagger-php
~~~
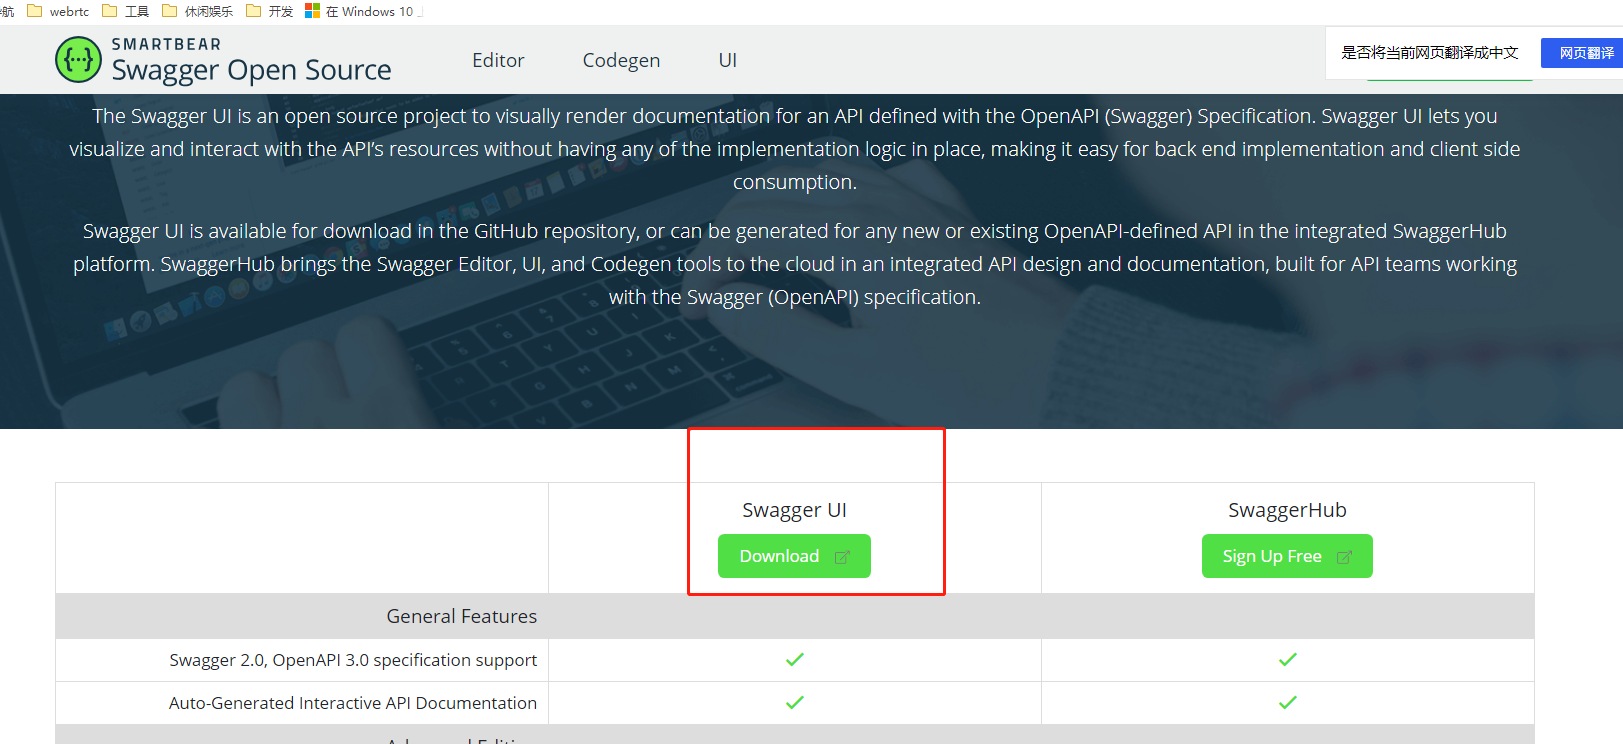
### 2:下載swagger-ui
這一步有兩個下載方式 一種是使用git安裝 一種是直接去github 下載源碼,本人使用的是直接去官網下載的
第一種:使用git方式是安裝
~~~bash
git clone https://github.com/swagger-api/swagger-ui.git
cd swagger-ui
npm install
~~~
第二種:去官網下載安裝
https://swagger.io/tools/swagger-ui/download/
然后復制swagger-ui目錄下的dist文件到php項目目錄
```
如 public/swagger;
```
3:生成接口文檔
~~~
public function create_swagger_json(){
$openapi = \OpenApi\scan(APP_PATH);
$json_url = ROOT_PATH.'/public/swagger.json';
// 檢測模板目錄
$dir = dirname($json_url);
if (!is_dir($dir)) {
mkdir($dir, 0755, true);
}
header('Content-Type: application/x-yaml');
$jsonStr = $openapi->toJson();
$result = file_put_contents($json_url, $jsonStr);
dump($result);
}
~~~
4:修改public/swagger/index.html 文件的json地址
根據自己項目路徑和生成的json文件的路徑進行配置
~~~
window.onload = function() {
// Begin Swagger UI call region
const ui = SwaggerUIBundle({
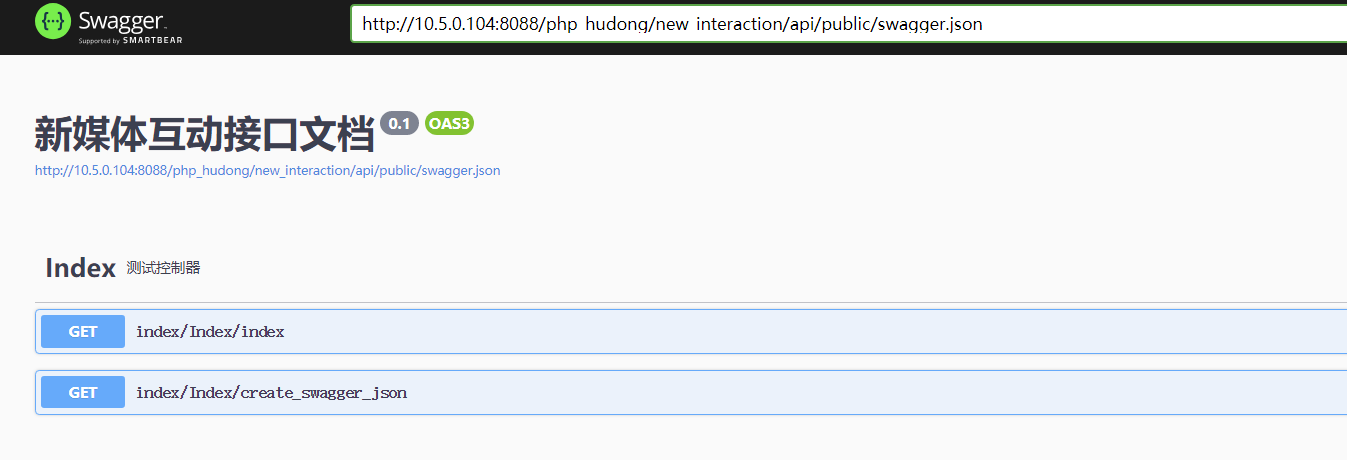
url: "http://10.5.0.104:8088/php_hudong/new_interaction/api/public/swagger.json",
dom_id: '#swagger-ui',
deepLinking: true,
presets: [
SwaggerUIBundle.presets.apis,
SwaggerUIStandalonePreset
],
plugins: [
SwaggerUIBundle.plugins.DownloadUrl
],
layout: "StandaloneLayout"
});
// End Swagger UI call region
window.ui = ui;
};
~~~
5:添加注解
~~~
/**
* @OA\Info(title="接口文檔", version="0.1")
* @OA\Schemes(format="http")
* @OA\Tag(
* name="Index",
* description="測試控制器",
* )
*/
~~~
6:訪問生成接口文檔接口
```
create_swagger_json 訪問第三步開發的生成接口文檔接口
```
7:訪問接口地址
```
http://10.5.0.104:8088/php_hudong/new_interaction/api/public/swagger/index.html#/
```