> 如果想要在微服務下集成積木報表,那么請參考此文檔(以jeecgcloud為示例,其他微服務根據項目本身進行集成即可)
[TOC]
## 1、jeecgcloud項目下載
[gitee](https://gitee.com/jeecg/jeecg-boot)
[github](https://github.com/jeecgboot/jeecg-boot)
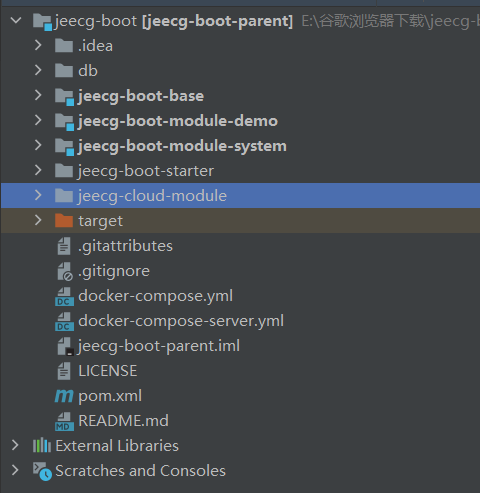
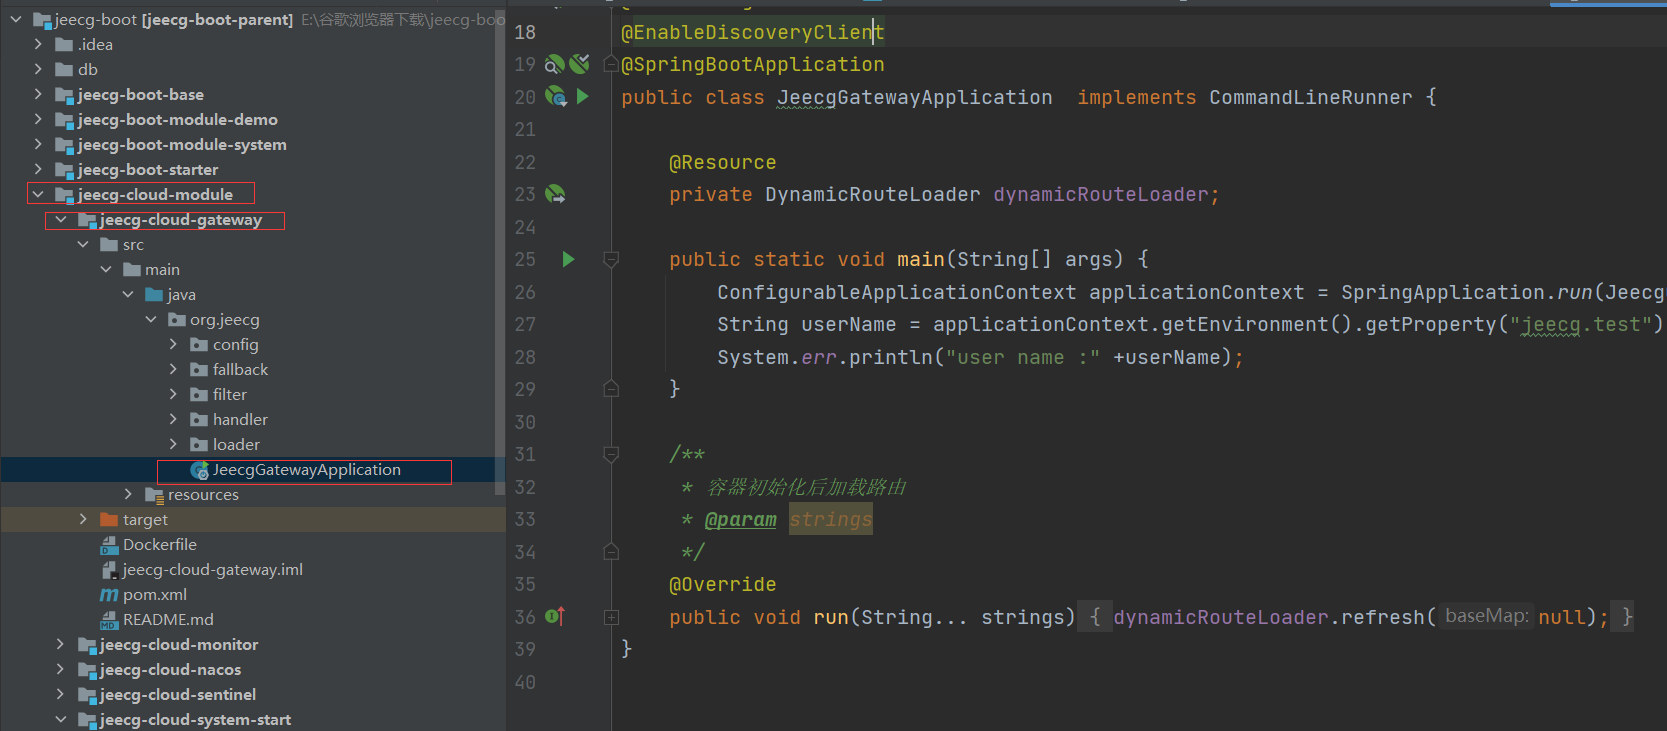
## 2、后臺項目路徑
jeecg-cloud-module 微服務模塊 接下來我們主要操作這個模塊
## 3、執行sql文件

## 4、配置host文件
```
127.0.0.1 jeecg-boot-redis
127.0.0.1 jeecg-boot-mysql
127.0.0.1 jeecg-boot-nacos
127.0.0.1 jeecg-boot-gateway
127.0.0.1 jeecg-boot-system
127.0.0.1 jeecg-boot-xxljob
127.0.0.1 jeecg-boot-rabbitmq
```
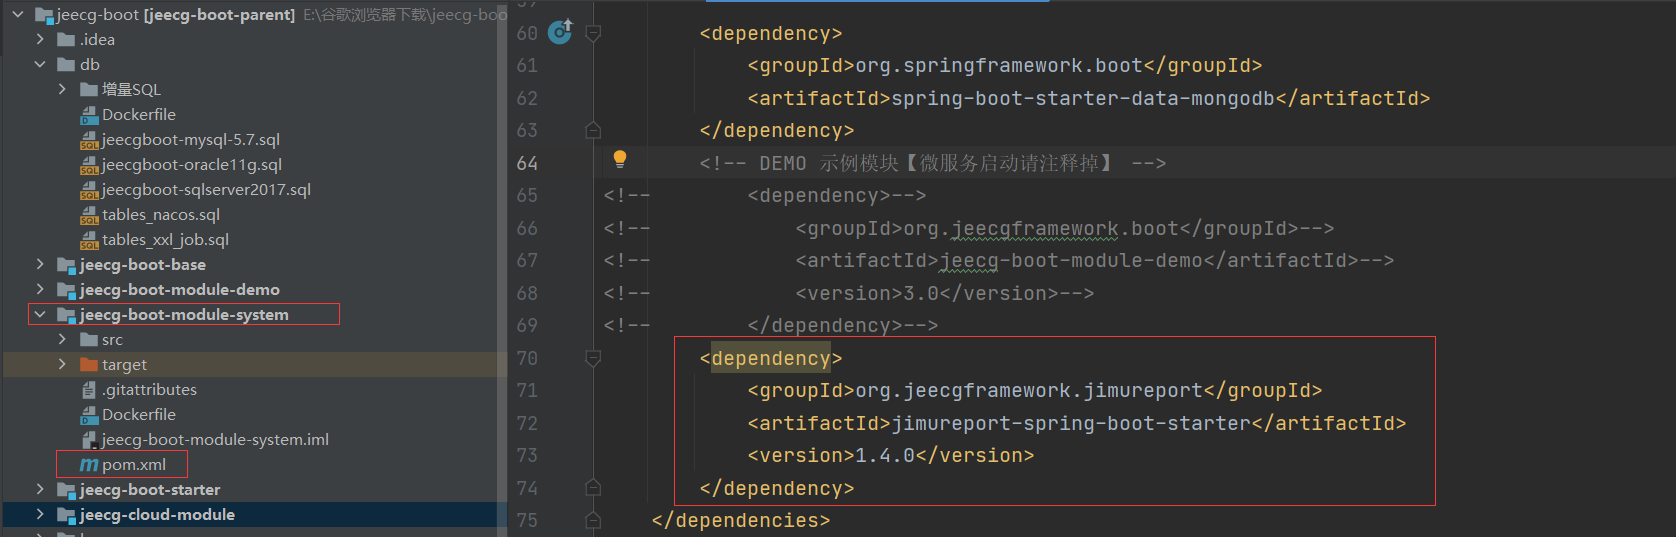
## 5、 jeecg-boot-module-system模塊pom文件修改
### 5.1、將jeecg-boot-module-demo注釋掉

### 5.2、添加積木報表最新依賴
```
<dependency>
<groupId>org.jeecgframework.jimureport</groupId>
<artifactId>jimureport-spring-boot-starter</artifactId>
<version>1.4.1</version>
</dependency>
```
如果存在可以直接修改版本號
### 5.3、將打包插件改成true

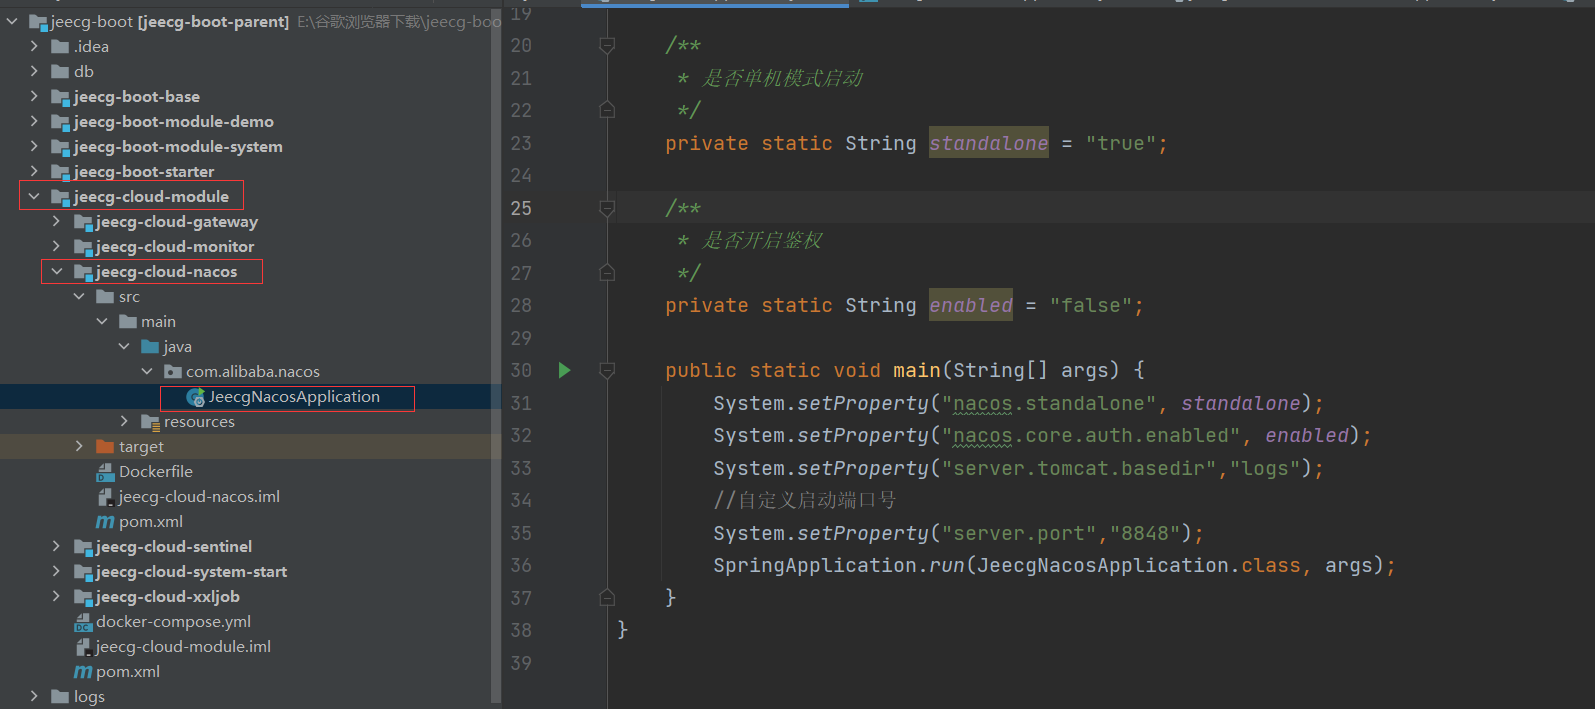
## 6、啟動jeecg-cloud-nacos模塊

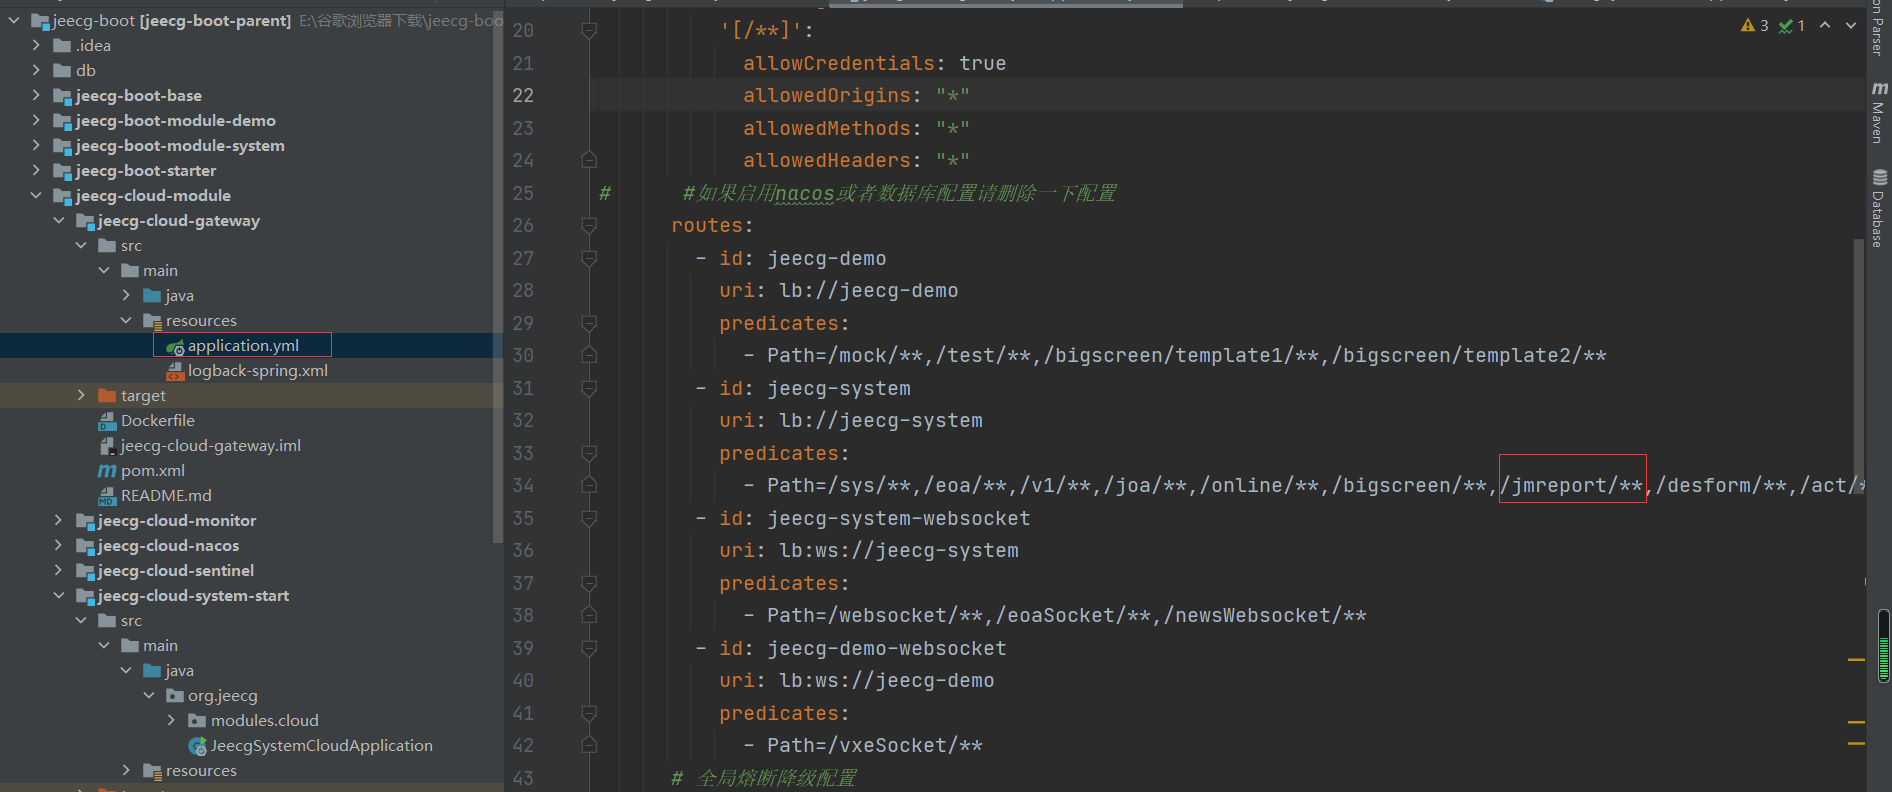
將application.yml中的注釋掉的routes放開,如果在- id: jeecg-system中沒有配置/jmreport/**需要手動添加上
## 7、啟動jeecg-cloud-system-start模塊

## 8、啟動jeecg-cloud-gateway模塊
## 9、訪問報表鏈接
http://localhost:9999/jmreport/list

## 10、常見問題
### 10.1、微服務下靜態資源訪問不到

請參考此文檔:[微服務下靜態資源訪問不到](http://report.jeecg.com/2506684)
### 10.2、jeecgcloud更多配置
請參考此文檔:[微服務開發](http://doc.jeecg.com/2043892)
- 項目介紹
- 常見問題
- 積木報表版本升級注意事項
- 集成文檔
- 快速集成
- Docker部署
- 示例Demo
- 項目集成
- springboot集成積木報表
- JeecgBoot集成積木報表
- 如何配置訪問菜單
- ruoyi單體版集成積木報表
- ruoyi vue版集成積木報表
- eladmin集成積木報表
- guns集成積木報表
- docker-compose部署
- 舊版本
- 快速集成1.4.3
- 快速集成1.0.1
- 快速集成1.2
- 示例demo1.2
- minidao版本出爐
- Maven私服
- 常見問題bak
- 升級說明
- jeecgcloud集成積木報表
- 快速集成1.8.1
- 開發配置
- 數據庫兼容
- yaml配置參數說明
- 文件上傳配置
- 系統上下文變量
- Token權限控制
- 云存儲跨域設置
- 連接池參數配置
- 分庫數據源配置
- 微服務下靜態資源訪問不到
- 多租戶配置
- 快速入門
- 1. 整體頁面布局介紹
- 2. SQL數據源報表制作
- 3. SQL數據源報表帶參制作
- 4. API數據源報表制作
- 5. API數據源報表帶參制作
- 6. 如何從0到1創建一個大屏
- 7.API接口數據格式適配
- 8.api數據集token機制詳解
- 9.api數據集打印全部規則說明
- 10.自定義api接口數據格式轉換器
- 11.數據庫支持類型
- 12、數據源用法介紹
- 錯誤使用數據集示例
- 操作手冊
- 報表設計器
- 一、基礎操作
- 1 登錄
- 2. 創建報表
- 3. 編輯報表
- 4. 背景設置
- 5. 復制、粘貼、剪切
- 6. 行操作
- 7. 添加數據源
- 8. 報表數據集
- 8.1 SQL數據集配置
- 8.2 API數據集配置
- 8.3 JavaBean數據集
- 8.4 對象數據集配置
- 8.5 集合數據集配置
- 8.6 JSON數據集配置
- 8.7 sql數據源解析失敗彈窗
- 8.8 存儲過程
- 8.9 Redis數據集
- 8.10 MongoDB數據集
- 9. 插入數據
- 10. 數據格式化設置
- 11. 數據字典配置
- 12. 導入報表
- 13. 導出報表
- 14. 分頁設置
- 15. 報表集成
- 16. 分享報表
- 17.報表模版庫
- 18.數據源查詢默認值配置
- 19.自定義分頁條數
- 20.報表定時保存配置
- 21.補全空白行
- 22.預覽頁工具條設置
- 23.動態合并格
- 24.圖片設置
- 二、打印設計
- 1.打印設置規則_重要
- 2. 打印區域設置
- 3. 打印清晰度設置
- 4. 打印機樣式設置
- 5. 套打怎樣設置
- 6. 帶背景打印
- 三、數據報表設計
- 1. 分組
- 1.1 縱向分組(相鄰合并)
- 1.2 橫向分組(相鄰合并)
- 1.3 橫向動態列分組
- 1.4 橫向縱向組合動態列分組
- 1.5 橫向分組小計
- 1.6 分組內合計
- 1.7 縱向分組小計
- 1.8 常用分組示例
- 1.9 分組數據排序設置
- 2. 表達式(舊)
- 3.查詢條件
- 3.1 API查詢條件配置
- 3.2 API查詢條件為時間
- 3.3 API自定義查詢條件
- 3.4 SQL配置查詢條件
- 3.5 API接口后臺接收參數說明
- 3.6 API范圍查詢
- 4.條形碼/二維碼
- 4.1 二維碼配置說明
- 4.2 條形碼配置說明
- 4.3 條形碼和二維碼改值
- 5.交叉報表
- 6.明細報表
- 7.主子報表
- 7.1 主子表API數據源(新)
- 7.2 主子表SQL數據源(新)
- 7.3 主子表SQL關聯(舊)
- 8.聯動鉆取
- 8.1 報表聯動(新)
- 8.2 報表鉆取(新)
- 8.3 報表鉆取帶條件用法
- 8.4 圖表鉆取帶條件用法
- 8.5 報表聯動圖表帶條件用法
- 8.6 圖表聯動圖表帶條件用法
- 8.7 報表鉆取(舊)
- 8.8 報表聯動(舊)
- 8.9 鉆取聯動條件規則
- 9.組件交互清單
- 10.循環塊設置
- 11.分欄設置
- 12.分版設置
- 13多表頭復雜報表
- 四、表達式函數
- 數據集表達式
- 單元格表達式
- 統計函數
- 行號函數
- 日期函數
- 數學函數
- 字符串函數
- 條件表達式
- 顏色表達式
- 判斷函數
- 函數庫列表(高級)
- 基本運算符(高級)
- 自定義報表函數
- 五、報表查詢配置
- 報表參數配置
- 報表查詢配置
- 查詢控件類型
- 查詢控件默認值
- 時間控件設置說明
- 時間控件默認值設置
- SQL中條件表達式
- 查詢控件下拉樹
- 范圍查詢設置默認值
- JS增強和CSS增強
- 技巧說明
- 參數公用示例
- 六、圖形報表設計
- 1. 基本配置
- 1.1 圖表背景設置
- 1.2 圖表動態刷新
- 1.3 圖表之間的聯動
- 2. 柱形圖配置
- 數據源配置
- a)單數據源配置
- b)多數據源配置
- 3. 折線圖配置
- 數據源配置
- a)單數據源配置
- b)多數據源配置
- 4. 餅圖配置
- 數據源配置
- 5. 折柱圖配置
- 數據源配置
- 6. 散點圖配置
- 6.1 普通散點圖數據源配置
- 6.2 氣泡散點圖數據源配置
- 7. 漏斗圖配置
- 數據源配置
- 8. 象形圖配置
- 數據源配置
- 9. 地圖配置
- 地圖區配置
- 數據源配置
- 10. 儀表盤配置
- 數據源配置
- 11. 雷達圖配置
- 數據源配置
- 12. 關系圖配置
- 數據源
- 七、專項功能小結
- sql數據集 in查詢
- 聯動/鉆取配置說明
- 數據集字段字典配置
- 傳參渲染到報表上
- 測試超Z列效果
- Issue提問指南
- 鉆取、聯動條件用法
- 導出圖片支持背景導出
- 模板示例補充表
- 暫取消功能
- Pdf導出接口方案
- ExceL導出接口方案
- pdf瀏覽器打印
- 報表分組設計
- 縱向分組
- 縱向分組說明
- 橫向自定義分組
- 組合動態列分組
- 縱向多維分組
- 橫向多維分組
- 橫向組內小計
- 縱向分組小計
- 大屏設計器
- 大屏常見問題
- 一、基礎操作
- 1. 登錄
- 2. 新建大屏
- 3.修改大屏
- 4. 預覽、保存
- 5. 畫布介紹
- 6. 添加組件
- 7. 組件圖層位置
- 8. 其他操作
- 9. 大屏集成
- 10. 組合分組
- 11、大屏屬性配置
- 二、組件配置說明
- 1 通用配置
- 1.1 圖層名稱
- 1.2 標題配置
- 1.3 X軸配置
- 1.4 Y軸配置
- 1.5 提示語設置
- 1.6 數值設置
- 1.7 坐標軸邊距設置
- 1.8 圖例設置
- 1.9 自定義配色
- 1.10 系統配色
- 1.11 動畫設置
- 2 圖表類組件
- 2.1 柱形圖
- 數據格式
- 數據格式(新)
- 2.2 堆疊柱形圖
- 數據格式
- 2.3 膠囊圖
- 數據格式
- 2.4 玉玨圖
- 數據格式
- 2.5 折線圖
- 數據格式
- 數據格式(新)
- 2.6 餅圖
- 數據格式
- 2.7 mini環形圖(已刪)
- 數據格式
- 2.8 動態環圖
- 數據格式
- 2.9 象形柱圖
- 數據格式
- 2.9 象形圖
- 數據格式
- 2.10 雷達圖
- 數據格式
- 2.11 散點圖
- 2.11.1 數據源配置
- 數據格式 (新)
- 2.12 漏斗圖
- 數據格式
- 2.13 折柱圖
- 數據格式
- 2.14 多色儀表盤
- 數據格式
- 2.15 水波圖
- 數據格式
- 2.16 環形圖
- 數據格式
- 2.18 儀盤表
- 數據格式
- 2.19 金字塔漏斗圖
- 數據格式
- 2.20 旋轉餅圖
- 數據格式
- 2.21 子彈圖
- 數據格式
- 2.22 氣泡圖
- 數據格式
- 2.23 男女占比
- 數據格式
- 2.24 對稱條形圖
- 數據格式
- 2.25 百分比條形圖
- 數據格式
- 3 文本類組件
- 3.1 文本框
- 3.2 跑馬燈
- 3.3 超鏈接(舊)
- 3.4 實時時間
- 3.5 翻牌器
- 數據格式
- 3.6 字符云
- 數據格式
- 3.7 圖層字符云
- 數據格式
- 3.8 閃動字符云
- 數據格式
- 3.9 天氣預報
- 3.10 顏色塊
- 數據格式
- 4 裝飾類組件
- 4.1 圖片組件
- 數據格式
- 4.2 邊框
- 4.3 裝飾
- 5 視頻類組件
- 5.1 video
- 數據格式
- 5.2 RTMP 播放器
- 5.3 阿里播放器
- 6 表格類組件
- 6.1 排名表
- 數據格式
- 6.2 輪播表
- 數據格式
- 6.3 表格
- 數據格式
- 6.4 個性排名
- 數據格式
- 6.5 氣泡排名
- 數據格式
- 6.6 發展歷程
- 數據格式
- 7 地圖類組件
- 離線地圖
- 銷量排名地圖
- 數據格式
- 氣泡標注地圖
- 數據格式
- 綜合統計地圖
- 數據格式
- 飛線地圖
- 數據格式
- 全國地圖
- 數據格式
- 城市派件地圖
- 數據格式
- 聯網地圖
- 全國地圖
- 數據格式
- 飛線圖
- 數據格式
- 熱力圖
- 數據格式
- 柱形地圖
- 數據格式
- 標注地圖
- 數據格式
- 百度空氣質量圖
- 數據格式
- 8 其他組件
- 8.1 選項卡
- 數據格式
- 8.2 輪播圖
- 數據格式
- 8.3 iframe
- 數據格式
- 9 萬能組件
- 9.1 堆疊條形圖
- 9.2 正負條形圖
- 9.3 雙向對比柱形圖
- 9.4 圓形柱形圖
- 9.5 嵌套餅圖
- 9.6 矩形樹圖
- 9.7 k線圖
- 10 高級擴展
- 通用處理
- 數據處理
- 提示事件
- 標題事件
- 11 交互配置
- 組件聯動
- 組件鉆取
- 區域點擊
- 12 數據源配置
- 靜態數據
- 動態數據
- WebSocket接口
- 接口參數
- sql數據源
- 三、系統集成
- 1. 大屏訪問Token安全方案
- 儀表盤/門戶設計器
- 新功能20221008
- 打印支持回調接口
- 打印支持設定表頭表尾
- 自動換行改造說明