
## 1.先安裝java jdk
[鏈接](https://www.oracle.com/java/technologies/javase/javase-jdk8-downloads.html)
## 2安裝node.js
[鏈接](http://nodejs.cn/download/)
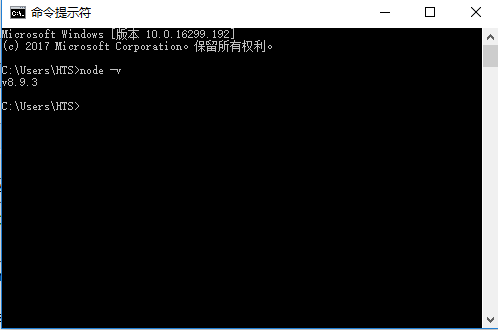
#### (1) 安裝完成用cmd進入安裝目錄執行`** node -v**`可查看版本號,驗證是否安裝成功。
#### (2) 執行**` npm install -g grunt-cli`** 安裝grunt ,安裝完成后執行grunt -version查看是否安裝成功,會顯示安裝的版本號。
#### (3) 進入安裝目錄下的config目錄,修改elasticsearch.yml文件.在文件的末尾加入以下代碼。`http.cors.enabled: true`
`http.cors.allow``-``origin:``"*"`
`node.master: true`
`node.data: true`
然后去掉network.host: 192.168.0.1的注釋并改為network.host: 0.0.0.0,去掉cluster.name;node.name;http.port的注釋(也就是去掉#)。
#### (4)雙擊elasticsearch.bat重啟es。
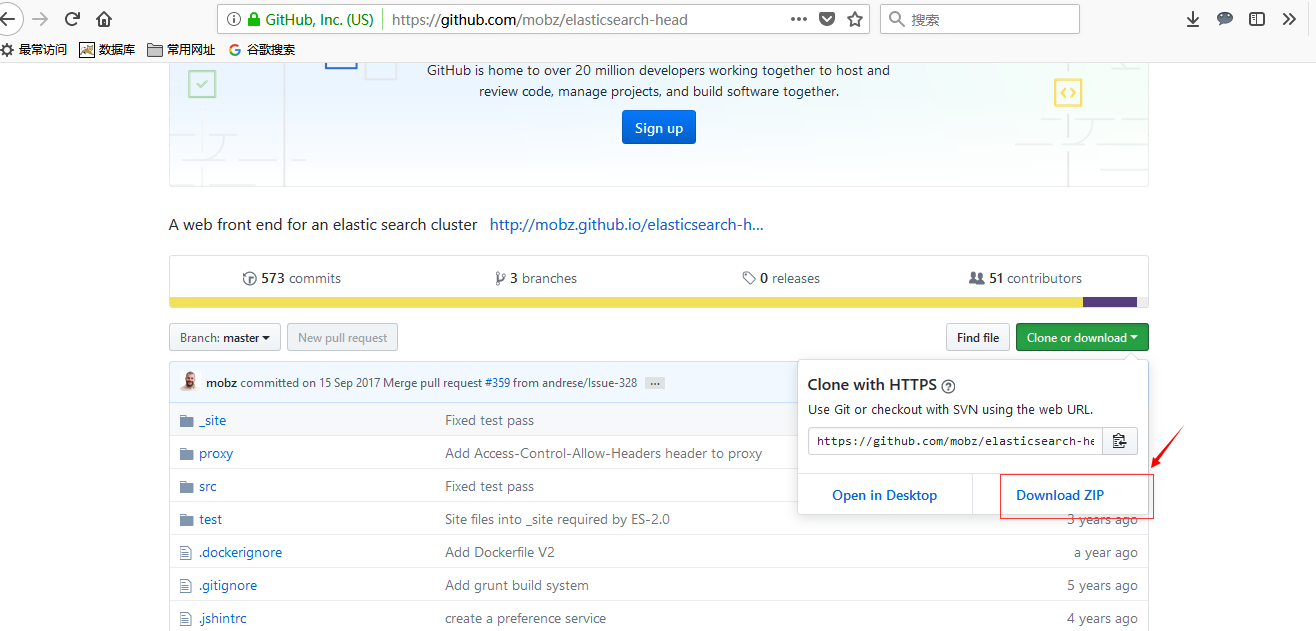
#### (5)在[https://github.com/mobz/elasticsearch-head]()中下載head插件,選擇下載zip。
#### (6)解壓到指定文件夾下,G:\\elasticsearch-6.6.2\\elasticsearch-head-master? 進入該文件夾,修改G:\\elasticsearch-6.6.2\\elasticsearch-head-master\\Gruntfile.js 在對應的位置加上hostname:'\*'。
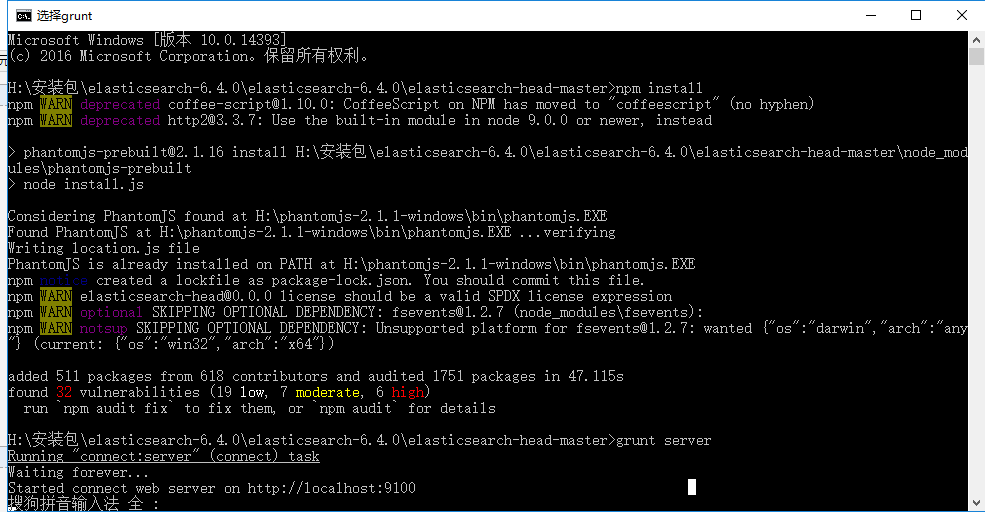
#### (7)在G:\\elasticsearch-6.6.2\\elasticsearch-head-master? 下執行npm install 安裝完成后執行grunt server 或者npm run start 運行head插件,如果不成功重新安裝grunt。成功如下。
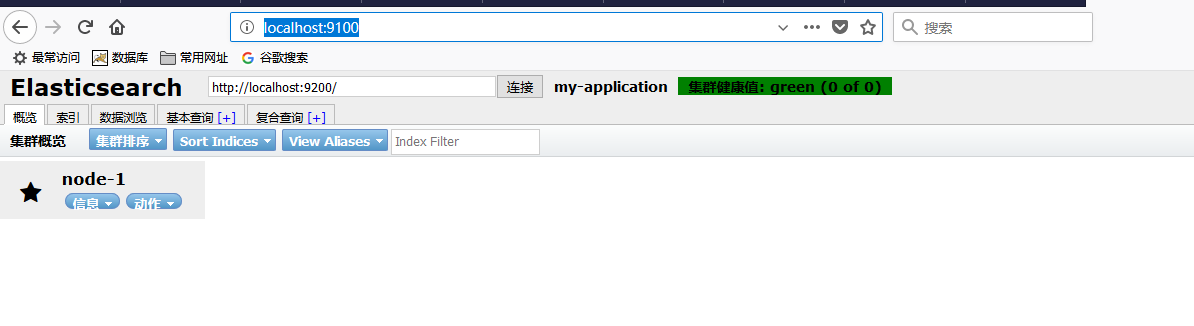
#### (8) 瀏覽器下訪問http://localhost:9100/
## 3.下載壓縮包
[鏈接]([https://www.elastic.co/downloads/elasticsearch](https://www.elastic.co/downloads/elasticsearch))
#### (1) 解壓msi到文件目錄
#### (2) 開啟ElasticSearch服務
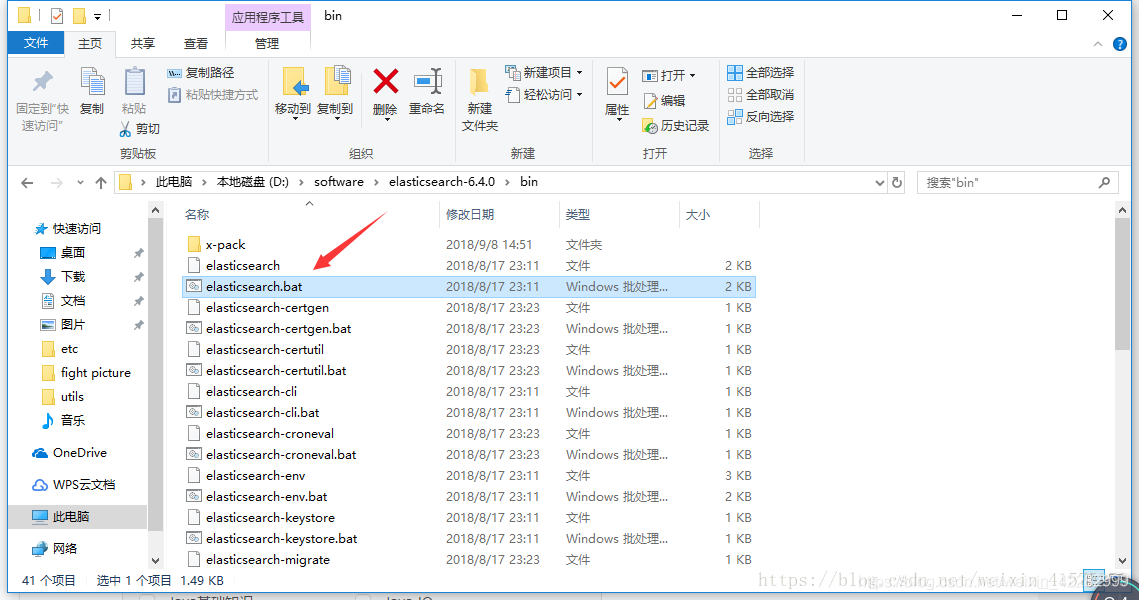
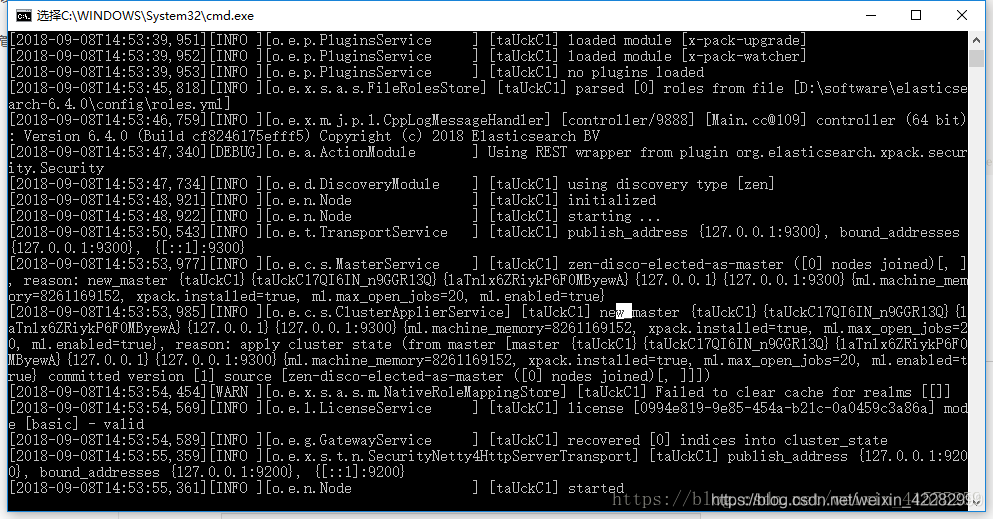
進入安裝目錄下的bin 目錄,雙擊執行 elasticsearch.bat,該腳本文件執行 ElasticSearch 安裝程序,稍等片刻,打開瀏覽器,輸入[http://localhost:9200](http://localhost:9200/),顯式以下畫面,說明ES安裝成功。
- 公共頁面js
- 公共頁面添加js
- 公共頁面編輯js
- 公共頁面列表js
- 文件上傳方法
- 分類相關
- 獲取ip
- Response類
- Curl類
- JWT
- tp5.1下redis的使用
- tp5.1使用RabbitMQ
- tp5.1+easywechat相關
- tp5.1+easywechat實現小程序登錄
- uniapp頁面
- tp控制器
- git相關操作
- php文件操作
- 大文件上傳
- laravel隊列
- 1.安裝laravel并進行相關配置
- nginx反向代理解決微信公眾號,小程序,微信支付域名限制,回調
- readme
- do
- 雜項
- cas單點登錄
- tp6跨域(中間件不起作用版)
- php算法
- 冒泡排序
- knn算法
- 使用es
- 使用mongdb
- tp6+rabbirmq
- 一些問題
- php文件操作/文件操作的一些方法
- 客戶端請求相關