# 2.2 正式安裝
一般我們都需要先裝pcre, zlib,前者為了重寫rewrite,后者為了gzip壓縮。
###2.2.1 選定源碼目錄
可以是任何目錄,本文選定的是/usr/local/src
###2.2.2 安裝PCRE庫
ftp://ftp.csx.cam.ac.uk/pub/software/programming/pcre/
下載最新的PCRE源碼包。
使用下面命令下載編譯和安裝PCRE包:
```bash
cd /usr/local/src
wget ftp://ftp.csx.cam.ac.uk/pub/software/programming/pcre/pcre-8.39.tar.gz
tar -zxvf pcre-8.34.tar.gz
cd pcre-8.34
./configure
make
make install
```
###2.2.3 安裝zlib庫
http://zlib.net/zlib-1.2.8.tar.gz 下載最新的 zlib 源碼包,使用下面命令下載編譯和安裝 zlib包:
```bash
cd /usr/local/src
wget http://zlib.net/zlib-1.2.8.tar.gz
tar -zxvf zlib-1.2.8.tar.gz
cd zlib-1.2.8
./configure
make
make install
```
###2.2.4 安裝ssl
```bash
wget http://www.openssl.org/source/openssl-1.0.1t.tar.gz
tar -zxvf openssl-1.0.1c.tar.gz
./config --prefix=/usr/local --openssldir=/usr/local/openssl
make depend
make
sudo make install
//若要生成libssl.so動態庫文件 需要如下make
make clean
./config shared --prefix=/usr/local --openssldir=/usr/local/openssl
make depend
make
sudo make install
```
###2.2.5 安裝nginx
```bash
cd /usr/local/src
wget http://nginx.org/download/nginx-1.10.1.tar.gz
tar -zxvf nginx-1.10.1.tar.gz
cd nginx-1.10.1
./configure --sbin-path=/usr/local/nginx/nginx
--conf-path=/usr/local/nginx/nginx.conf
--pid-path=/usr/local/nginx/nginx.pid
--with-http_ssl_module
--with-pcre=/usr/local/src/pcre-8.39
--with-zlib=/usr/local/src/zlib-1.2.8
--with-openssl=/usr/local/openssl
make
make install
```
--with-pcre=/usr/src/pcre-8.34 指的是pcre-8.34 的源碼路徑。
--with-zlib=/usr/src/zlib-1.2.7 指的是zlib-1.2.7 的源碼路徑。
安裝成功后 /usr/local/nginx 目錄下如下:
```bash
fastcgi.conf
koi-win
nginx.conf.default
fastcgi.conf.default
logs
scgi_params
fastcgi_params
mime.types
scgi_params.default
fastcgi_params.default mime.types.default
uwsgi_params
html
nginx
uwsgi_params.default
koi-utf
nginx.conf
win-utf
```
### 2.2.6 啟動
確保系統的 80 端口沒被其他程序占用,運行/usr/local/nginx/nginx 命令來啟動 Nginx。
```bash
netstat -ano|grep 80
```
如果查不到結果后執行,有結果則忽略此步驟(ubuntu下必須用sudo啟動,不然只能在前臺運行)
```bash
sudo /usr/local/nginx/nginx
```
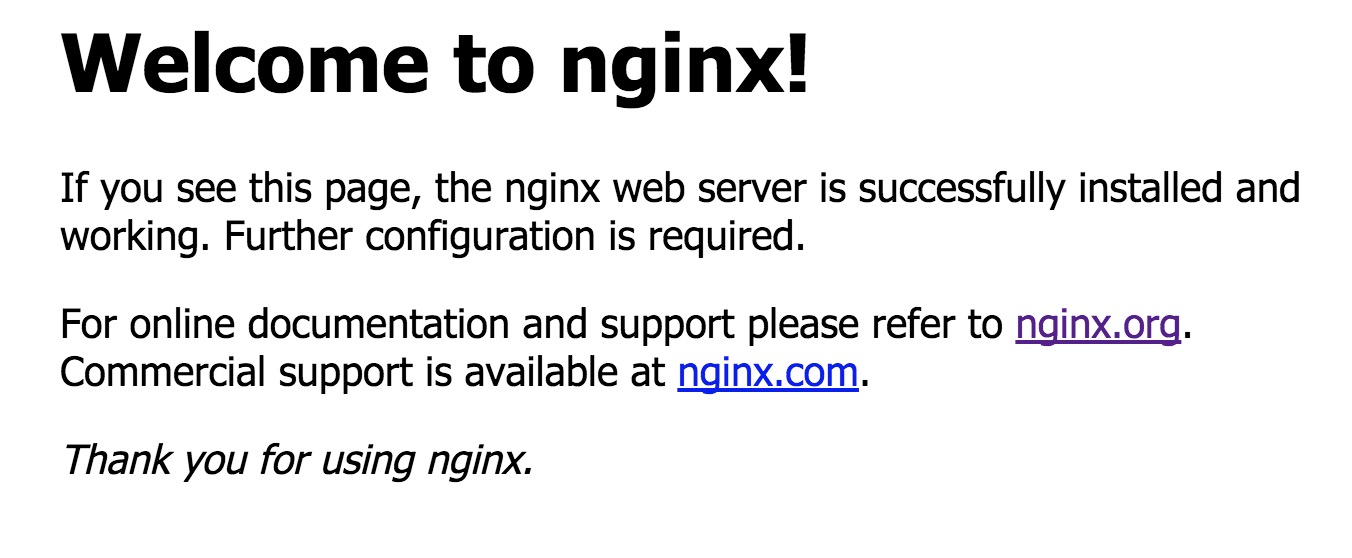
打開瀏覽器訪問此機器的 IP,如果瀏覽器出現 Welcome to nginx! 則表示 Nginx 已經安裝并運行成功。
**Nginx會被安裝在/usr/local/nginx目錄下(也可以使用參數--prefix=指定自己需要的位置), 安裝成功后 /usr/local/nginx 目錄下有四個子目錄分別是:`conf`、`html`、`logs`、`sbin` 。 其中 Nginx 的配置文件存放于 **conf/nginx.conf**, bin文件是位于 sbin 目錄下的 nginx 文件。**
>確保系統的 80 端口沒被其他程序占用,運行 /usr/local/nginx/nginx 命令來啟動 Nginx, 打開瀏覽器訪問此機器的 IP,如果瀏覽器出現 Welcome to nginx! 則表示 Nginx 已經安裝并運行成功
2.2.7 通用配置
```makefile
#運行用戶
user nobody;
#啟動進程,通常設置成和cpu的數量相等
worker_processes 1;
#全局錯誤日志及PID文件
#error_log logs/error.log;
#error_log logs/error.log notice;
#error_log logs/error.log info;
#pid logs/nginx.pid;
#工作模式及連接數上限
events {
#epoll是多路復用IO(I/O Multiplexing)中的一種方式,
#僅用于linux2.6以上內核,可以大大提高nginx的性能
use epoll;
#單個后臺worker process進程的最大并發鏈接數
worker_connections 1024;
# 并發總數是 worker_processes 和 worker_connections 的乘積
# 即 max_clients = worker_processes * worker_connections
# 在設置了反向代理的情況下,max_clients = worker_processes * worker_connections / 4 為什么
# 為什么上面反向代理要除以4,應該說是一個經驗值
# 根據以上條件,正常情況下的Nginx Server可以應付的最大連接數為:4 * 8000 = 32000
# worker_connections 值的設置跟物理內存大小有關
# 因為并發受IO約束,max_clients的值須小于系統可以打開的最大文件數
# 而系統可以打開的最大文件數和內存大小成正比,一般1GB內存的機器上可以打開的文件數大約是10萬左右
# 我們來看看360M內存的VPS可以打開的文件句柄數是多少:
# $ cat /proc/sys/fs/file-max
# 輸出 34336
# 32000 < 34336,即并發連接總數小于系統可以打開的文件句柄總數,這樣就在操作系統可以承受的范圍之內
# 所以,worker_connections 的值需根據 worker_processes 進程數目和系統可以打開的最大文件總數進行適當地進行設置
# 使得并發總數小于操作系統可以打開的最大文件數目
# 其實質也就是根據主機的物理CPU和內存進行配置
# 當然,理論上的并發總數可能會和實際有所偏差,因為主機還有其他的工作進程需要消耗系統資源。
# ulimit -SHn 65535
}
http {
#設定mime類型,類型由mime.type文件定義
include mime.types;
default_type application/octet-stream;
#設定日志格式
log_format main '$remote_addr - $remote_user [$time_local] "$request" '
'$status $body_bytes_sent "$http_referer" '
'"$http_user_agent" "$http_x_forwarded_for"';
access_log logs/access.log main;
#sendfile 指令指定 nginx 是否調用 sendfile 函數(zero copy 方式)來輸出文件,
#對于普通應用,必須設為 on,
#如果用來進行下載等應用磁盤IO重負載應用,可設置為 off,
#以平衡磁盤與網絡I/O處理速度,降低系統的uptime.
sendfile on;
#tcp_nopush on;
#連接超時時間
#keepalive_timeout 0;
keepalive_timeout 65;
tcp_nodelay on;
#開啟gzip壓縮
gzip on;
gzip_disable "MSIE [1-6].";
#設定請求緩沖
client_header_buffer_size 128k;
large_client_header_buffers 4 128k;
#設定虛擬主機配置
server {
#偵聽80端口
listen 80;
#也可以設置為 合法域名
server_name localhost;
#定義服務器的默認網站根目錄位置
root html;
#設定本虛擬主機的訪問日志
access_log logs/nginx.access.log main;
#默認請求
location / {
#定義如果訪問根目錄的請求目錄
root html;
#定義首頁索引文件的名稱
index index.php index.html index.htm;
}
# 定義錯誤提示頁面
error_page 500 502 503 504 /50x.html;
location = /50x.html {
}
#靜態文件,nginx自己處理
location ~ ^/(images|javascript|js|css|flash|media|static)/ {
#過期30天,靜態文件不怎么更新,過期可以設大一點,
#如果頻繁更新,則可以設置得小一點。
expires 30d;
}
#PHP 腳本請求全部轉發到 FastCGI處理. 使用FastCGI默認配置.
location ~ .php$ {
fastcgi_pass 127.0.0.1:9000;
fastcgi_index index.php;
fastcgi_param SCRIPT_FILENAME $document_root$fastcgi_script_name;
include fastcgi_params;
}
#禁止訪問 .htxxx 文件
location ~ /.ht {
deny all;
}
}
}
```
