# 配置路由
[TOC]
當我們進入一條鏈接時,應用程序做了以下處理:
1. 路由尋找 URL 對應的控制器。
2. 控制臺將指定的方法進行操作。
## ThinkPHP 的路由
打開 route/app.php 看到這條語句,將路由做如下修改:
```php title="route/app.php"
Route::get('hello', 'index/hello');
```
以上命令的功能:
* Route:: 注冊路由靜態方法
* get 請求方式
* 'hello' 請求 URL
* 'index/hello' 響應默認控制器中 hello 方法 (`app/controller/Index.php/:function hello`)
打開上述控制器文件,找到 `hello` 方法并修改為:
app/controller/Index.php/:function hello
```php title="app/controller/Index.php/:function hello"
public function hello()
{
return 'hello world';
}
```
打開瀏覽器,訪問 `http://127.0.0.1:8000/hello` 則會出現 `hello world`,一個簡單的 GET 路由就完成了。
## 在路由中直接輸出
在閱讀本小節之前,首先要知道一個概念閉包: http://php.net/manual/zh/functions.anonymous.php
稍作了解之后,我們來學習在路由中使用閉包。
打開路由文件,將剛才的語句進行修改:
route/app.php
```php title="route/app.php"
Route::get('hello', function() {
return 'hello closures';
});
```
這時候再刷新瀏覽器,輸出語句就變成了 `hello closures`。
這就是路由中閉包的基本用法。
## 在控制器中響應 JSON
現在請刪除剛才的閉包語句,重新寫入:
route/app.php
```php title="route/app.php"
Route::get('hello', 'index/hello');
```
進入路由對應的控制器,修改代碼:
app/controller/Index.php/:function hello
```php title="app/controller/Index.php/:function hello"
public function hello()
{
$data = ['TP6-P01' => 'API Server'];
return json($data);
}
```
> return json(); 是一個助手函數,可以輸出一個 JSON 數據給客戶端。
此時再刷新頁面,就會發現輸出了 JSON 數據。
## 為路由提供參數
我們在第一次對路由文件進行修改的時候,將 `Route::get('hello/:name', 'index/hello');` 變為了 `Route::get('hello', 'index/hello');`。
其中,我們刪除了 `:name` 這幾個字符,`:name` 就是本節提到的參數。
將剛才寫入的語句改為:
route/app.php
```php title="route/app.php"
Route::get('hello/:name', function ($name) {
return 'Hello,' . $name;
});
```
`function($name)` 中的 `$name` 賦值為 `:name `。
如果我們進入 `http://127.0.0.1:8000/hello/param`,那么就會輸出 `hello param`
## 調試 API
> 之后的章節我們都將使用 Postman 來調試 API。
打開之前安裝好的 Postman,點擊右邊的 + ,在輸入框內輸入 `http://127.0.0.1:8000/hello/param` 并點擊藍色的 `Send` 按鈕。
你會發現返回了一段 HTML 片段,因為在上面的代碼中,我們并沒有使用 `json()` 函數來返回一個 JSON 數據。
所以重新修改之前的語句:
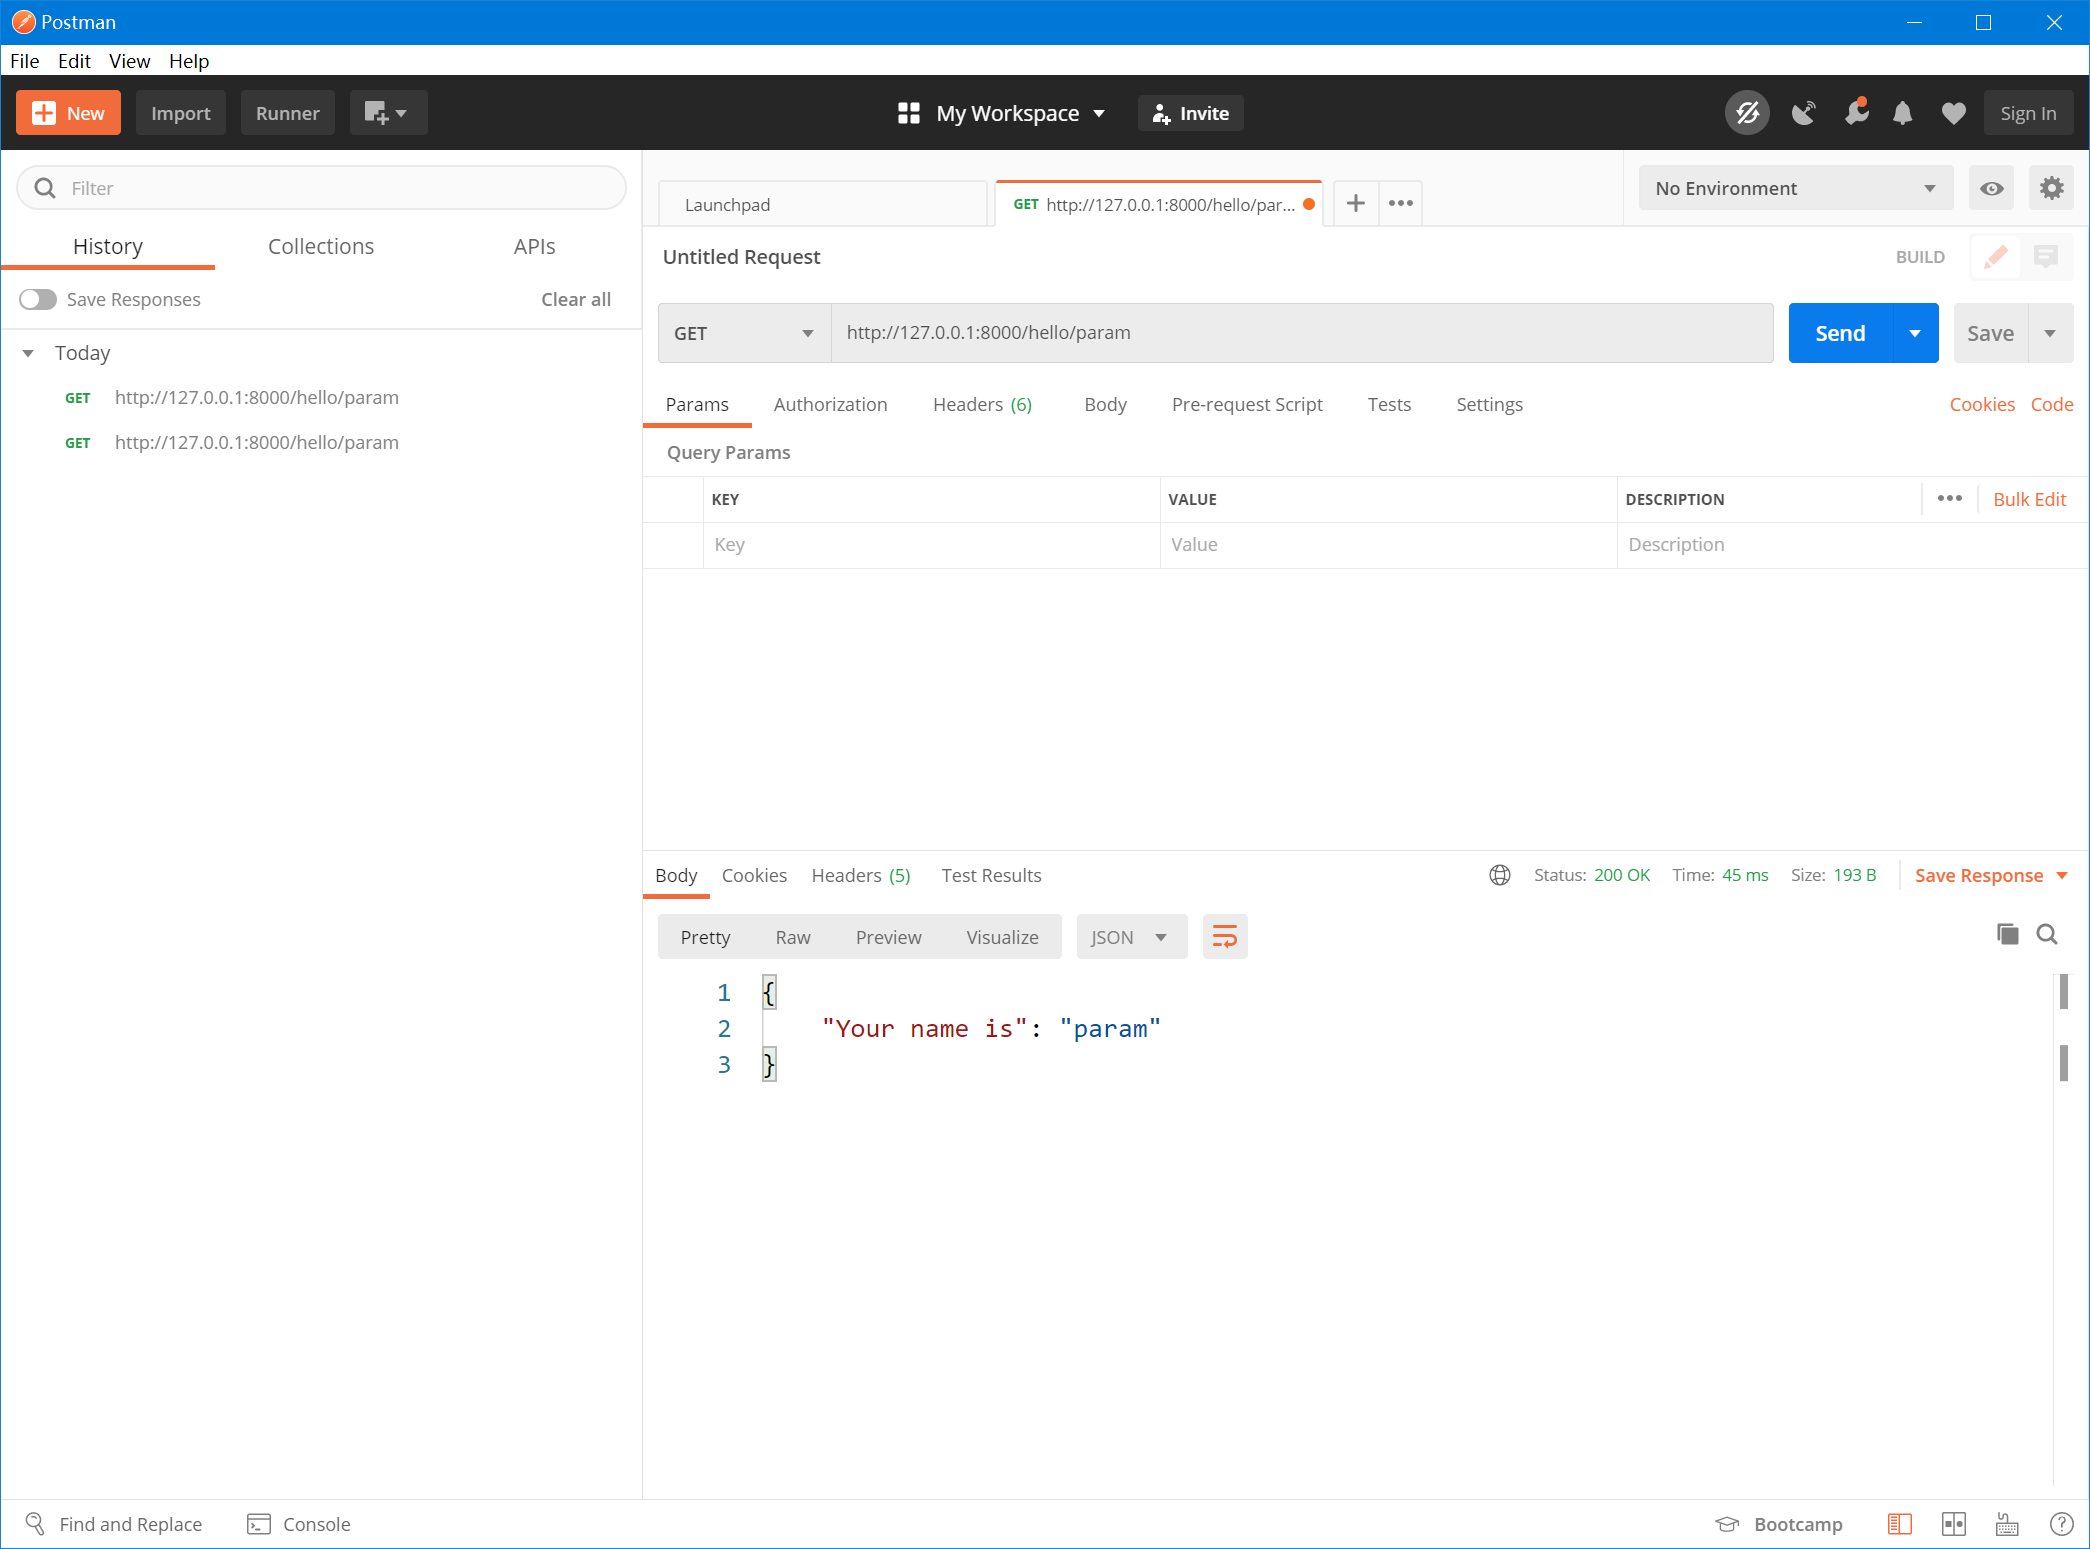
```php title="route/app.php"
Route::get('hello/:name', function ($name) {
return json(
[
'Your name is' => $name
]
);
});
```
此時再使用 Postman 調試,則會返回一個符合格式的 JSON 數據了。
- 第一章. 基礎信息
- 1.1 序言
- 1.2 關于作者
- 1.3 本書源碼
- 1.4 問題反饋
- 第二章. 舞臺布置
- 2.1 開發環境搭建
- 2.2 產品分析
- 2.3 創建后端應用
- 2.4 創建前端應用
- 第三章. 構建頁面
- 3.1 章節說明
- 3.2 第一個 API
- 3.3 靜態頁面
- 3.4 Think 命令
- 3.5 小結
- 第四章. 優化頁面
- 4.1 章節說明
- 4.2 使用路由
- 4.3 注冊頁面
- 4.4 樣式美化
- 4.5 小結
- 第五章. 用戶模型
- 5.1 章節說明
- 5.2 數據庫遷移
- 5.3 模型
- 5.4 小結
- 第六章. 用戶注冊
- 6.1 章節說明
- 6.2 接收數據
- 6.3 數據驗證
- 6.4 寫入數據
- 6.5 前端頁面
- 6.6 小結
- 第七章. 會話管理
- 7.1 章節說明
- 7.2 會話控制
- 7.3 前端攔截
- 7.4 使用 Vuex
- 7.5 用戶登入
- 7.6 用戶登出
- 7.7 小結
- 第八章. 用戶數據
- 8.1 章節說明
- 8.2 查找用戶
- 8.3 重構代碼
- 8.4 錯誤處理
- 8.5 個人資料
- 8.6 更新資料
- 8.7 小結
- 第九章. 推文數據
- 9.1 章節說明
- 9.2 推文模型
- 9.3 發送推文
- 9.4 發送推文前端頁面
- 9.5 推文流
- 9.6 用戶的所有推文
- 9.7 小結
- 第十章. 用戶關系
- 10.1 章節說明
- 10.2 粉絲模型
- 10.3 關注與取消關注
- 10.4 已關注用戶的推文
- 10.5 小結