
[TOC]
# 介紹 Vuex
[Vuex](vuex.vuejs.org/zh) 是一個 Vue 官方的狀態管理庫,主要是解決組件之間的數據共享問題。
Vue 中組件的數據交流可以通過2種方式:
- **props**:從父組件傳遞數據(狀態)到子組件;
- **events**, 子組件更改父組件狀態,或者使用 event bus。
有時狀態會比這些更復雜,在這種情況下,一個好的選擇是將狀態集中到單個存儲中。這就是Vuex 所做的。
# 為什么要使用 Vuex
在 Vue 中 Vuex 不是唯一選擇(使用 Redux 也可),但是它是官方的,而且和 Vue 緊密集成。
使用React時,你不得不從眾多可用的庫中選擇一個,因為生態系統非常龐大,而且沒有實際的標準。最近 Redux 是最受歡迎的選擇,MobX 緊隨其后。對于Vue,我想說的是,除了 Vuex,你不需要尋找其他任何東西,尤其是在開始的時候。
Vuex 從 React 生態系統借鑒了很多想法,因為這是 Redux 流行的 Flux 模式。如果你知道 Flux 或 Redux已經,Vuex將非常熟悉。如果你沒有,沒問題——我將從頭到尾解釋每一個概念。
Vue 應用程序中的組件可以有自己的狀態。例如,輸入框將在本地存儲輸入的數據。
這是完美的,組件可以有本地狀態,即使使用 Vuex。當你開始做很多工作來傳遞一個狀態時,你知道你需要像 Vuex 這樣的東西。
Vuex為狀態提供了一個中央存儲庫存儲,您可以通過請求存儲庫來更改狀態。
依賴于特定狀態塊的每個組件都將使用存儲上的 getter 來訪問它,以確保一旦該狀態塊發生更改,它就會被更新。
使用 Vuex 會給應用程序帶來一些復雜性,因為事情需要以某種方式正確地進行設置,但是如果這有助于解決無組織的混亂的 props 傳遞和事件系統,那么這是一個不錯的選擇。
# 開始
推薦在 [CodeSandbox](https://codesandbox.io/s/vue) 。它上面有一個 Vue CLI 的示例,可以直接把玩 vue,
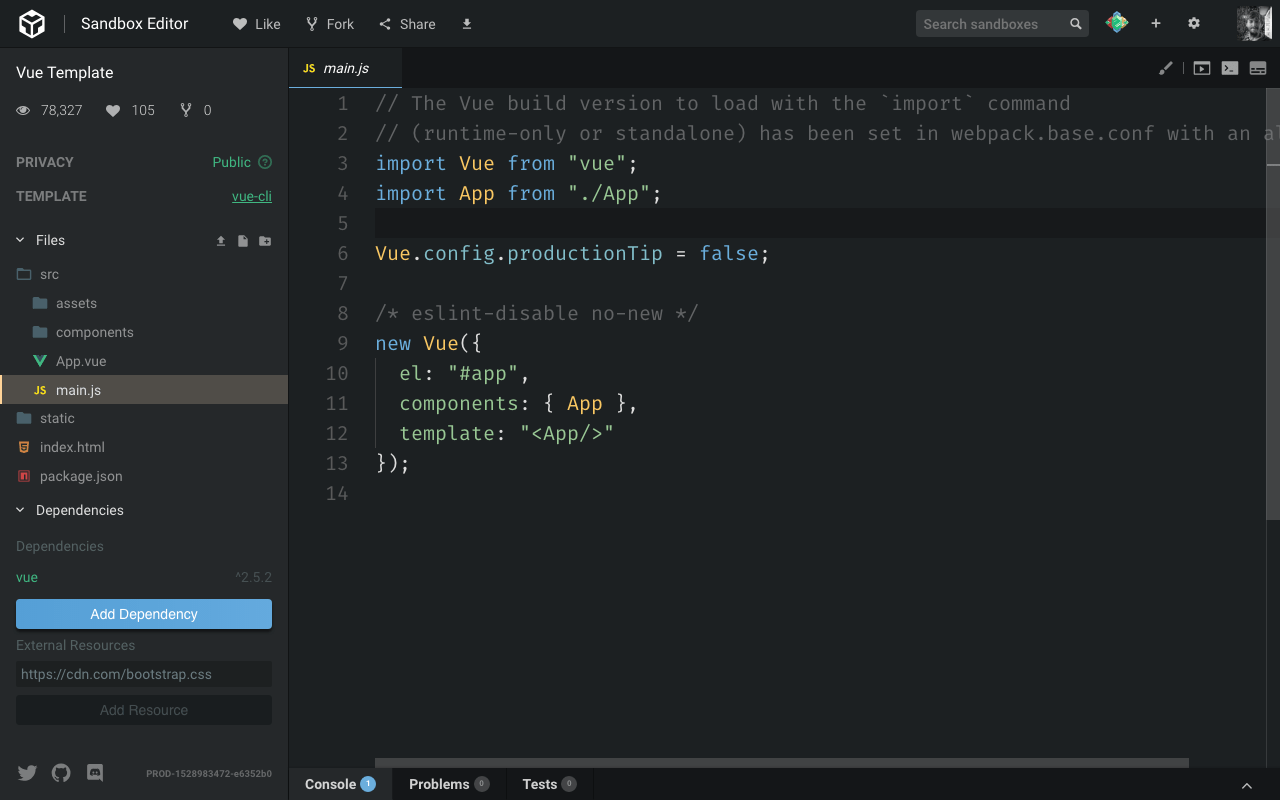
可以 **Add dependency** 按鈕,然后輸入 `vuex`,進行安裝。
本地安裝的話:
`npm install vuex` 或者 `yarn add vuex`
# 創建 Vuex store
推薦 新建 `src/store/store.js`文件,然后 初始化 Vuex ,然后編寫以下代碼:
```
import Vue from 'vue'
import Vuex from 'vuex'
Vue.use(Vuex)
export const store = new Vuex.Store({})
```
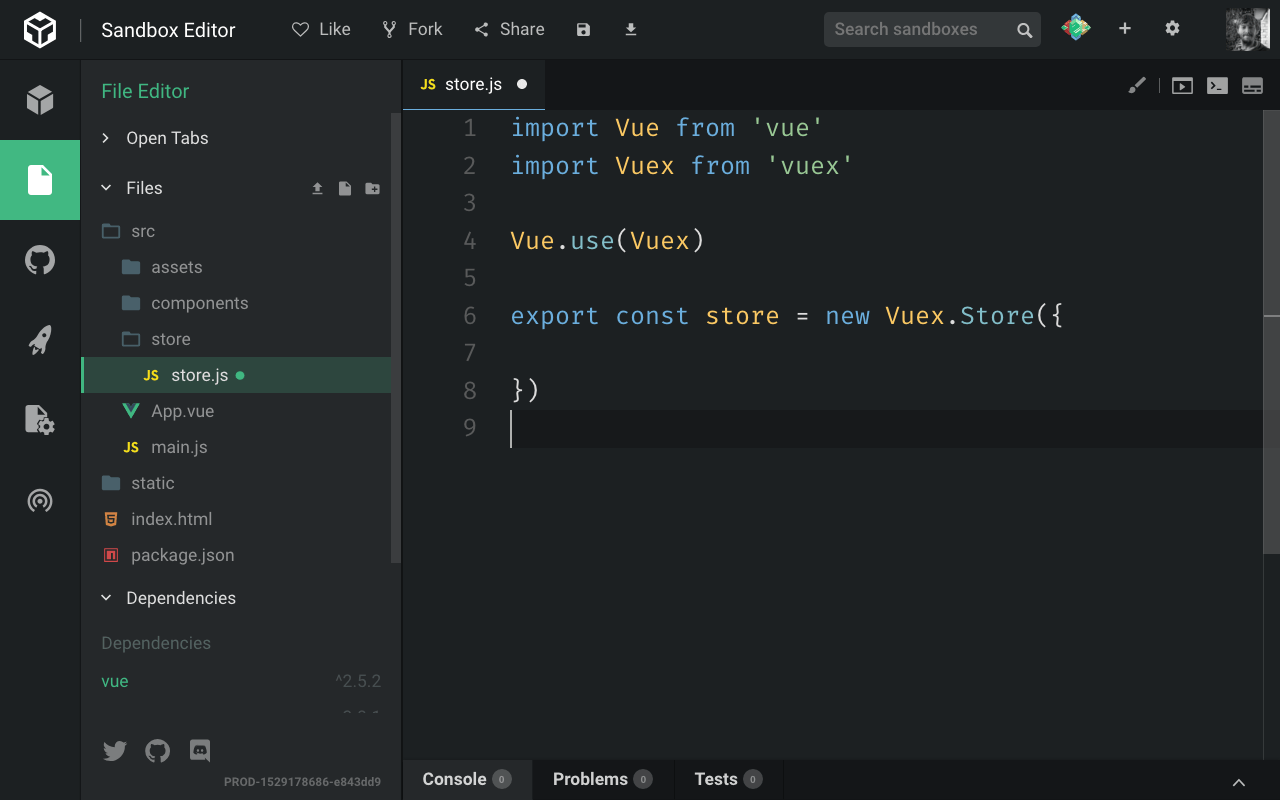
通過 `Vuex.Store()` api 來創建一個 Vuex store 對象,并通過 `export` 導出;
# 一個store 示例
現在我們做個示例,有兩個兄弟組件,一個有輸入框,一個顯示輸入的內容。
當輸入框的數據發生變化,另一個組件的顯示內容也變化。
首先刪除默認的 HelloWorld 組件,然后添加一個Form 組件,和一個 Display 組件。
```
<template>
<div>
<label for="flavor">Favorite ice cream flavor?</label>
<input name="flavor">
</div>
</template>
```
```
<template>
<div>
<p>You chose ???</p>
</div>
</template>
```
# 添加組件到 app
我們添加它們到 App.vue 中,替換原來的 HelloWorld 組件:
```
<template>
<div id="app">
<Form/>
<Display/>
</div>
</template>
<script>
import Form from './components/Form'
import Display from './components/Display'
export default {
name: 'App',
components: {
Form,
Display
}
}
</script>
```
# 添加狀態到 store中
在 `store.js` 中 添加一個鍵名為 `state`的對象,該 `state` 對象 含一個值為空字符串的 `flavor` 屬性。
```
import Vue from 'vue'
import Vuex from 'vuex'
Vue.use(Vuex)
export const store = new Vuex.Store({
state: {
flavor: ''
}
})
```
當用戶一有輸入,我們便更新該值!
# 添加一個 mutation
除了使用 **mutations**,其他操作無法更改狀態。我們需要在 Form 組件中設置一個 mutation,用來通知 store 更改狀態。
```
import Vue from 'vue'
import Vuex from 'vuex'
Vue.use(Vuex)
export const store = new Vuex.Store({
state: {
flavor: ''
},
mutations: {
change(state, flavor) {
state.flavor = flavor
}
}
})
```
# 添加一個 getter 來引用狀態屬性
以上操作之后,我們需要添加一種查看狀態的方法。我們使用 **getter** 來實現。我們為 `flavor` 屬性設置了一個 getter:
```
import Vue from 'vue'
import Vuex from 'vuex'
Vue.use(Vuex)
export const store = new Vuex.Store({
state: {
flavor: ''
},
mutations: {
change(state, flavor) {
state.flavor = flavor
}
},
getters: {
flavor: state => state.flavor
}
})
```
`getters` 是一個對象。這里的 `flavor` 是一個對象的屬性,它接收了應用的狀態作為參數,并且返回了狀態的 `flavor`值。
# 添加 Vuex store 到 app
現在 整個 store 已經準備就緒,我們返回 `main.js` 文件中,我們需要導入該狀態,并且使它在我們的app 中可用。
首先導入加:
```
import { store } from './store/store'
```
并且添加到我們 Vue 應用中:
```
new Vue({
el: '#app',
store,
components: { App },
template: '<App/>'
})
```
一旦我們添加這個,因為這是主要的Vue組件,每個Vue組件中的 `store` 變量將指向該 Vuex store。
# 通過 `commit` 在用戶的操作中更新狀態
當用戶輸入時,我們通過 `store.commit` api,來更新狀態。
但是首先,我們需要一個方法,當用戶輸入時,用來被調用。我們使用 `@input` 而不是 `@change` 事件,因為后者只在焦點從輸入框移開時觸發,而 `@input` 則在每次按鍵時調用。
```
<template>
<div>
<label for="flavor">Favorite ice cream flavor?</label>
<input @input="changed" name="flavor">
</div>
</template>
<script>
export default {
methods: {
changed: function(event) {
alert(event.target.value)
}
}
}
</script>
```
現在我們有了 `flavor` 的值,然后我們使用 Vuex API:
```
<script>
export default {
methods: {
changed: function(event) {
this.$store.commit('change', event.target.value)
}
}
}
</script>
```
看到我們如何使用 `this.$store` 引用 store 了嗎? 這是因為在主Vue組件初始化中包含了 store 對象。
`commit()` 方法接受一個突變(mutation)名(我們在Vuex store 中使用了 `change`)和一個有效負載(payload),它將作為回調函數的第二個參數傳遞給突變。
# 使用 getter 打印狀態值
現在我們需要在顯示模板中使用 `this.$store.getters.flavor` 引用這個值的getter。 `this` 可以被刪除,因為我們在模板中,而 `this` 是隱式的。
```
<template>
<div>
<p>You chose {{ $store.getters.flavor }}</p>
</div>
</template>
```
# 頁面刷新state數據初始化
解決思路:將state中的數據放在瀏覽器的 sessionStorage 和 localStorage 中
在實際的Vue項目中,當我們的應用遇到多個組件之間的共享問題時,通常會用到Vuex(狀態管理工具,可以解決不同組件之間的數據共享和數據持久化)解決組件之間同一狀態的共享問題
解決方法:
① 存儲在 `sessionStorage `中
單頁面應用,操作都是在一個頁面跳轉路由,因此`sessionStorage`較為合適,原因如下:
1. sessionStorage 可以保證打開頁面時 sessionStorage 的數據為空;
2. 每次打開頁面 localStorage 存儲著上一次打開頁面的數據,因此需要清空之前的數據。
vuex 中 state 數據的修改必須通過 mutation 方法進行修改,因此 mutation 修改 state的同時需要修改 sessionstorage,問題倒是可以解決但是感覺很麻煩,state中有很多數據,很多 mutation 修改state就要很多次 sessionstorage 進行修改,既然如此直接用sessionstorage解決不就行了,為何還要用vuex多此一舉呢? vuex 的數據在每次頁面刷新時丟失,是否可以在頁面刷新前再將數據存儲到sessionstorage中呢,是可以的,[beforeunload](https://www.w3cschool.cn/fetch_api/fetch_api-9vhu2oq0.html) 事件可以在頁面刷新前觸發,但是在每個頁面中監聽beforeunload事件感覺也不太合適,那么最好的監聽該事件的地方就在 `app.vue` 中。
1. 在 `app.vue` 的 `created `方法中讀取`sessionstorage`中的數據存儲在store中,此時用`vuex.store`的[replaceState](https://vuex.vuejs.org/zh/api/#replacestate)方法,替換 `store `的根狀態
2. 在`beforeunload`方法中將 `store.state` 存儲到 `sessionstorage `中。
示例:
```
export default {
name: 'App',
created () {
// 在頁面加載時讀取sessionStorage里的狀態信息
sessionStorage.getItem("store") && this.$store.replaceState(Object.assign({}, this.$store.state,JSON.parse(sessionStorage.getItem("store"))))
// 在頁面刷新時將vuex里的信息保存到sessionStorage里
window.addEventListener("beforeunload",()=>{
sessionStorage.setItem("store",JSON.stringify(this.$store.state))
})
}
}
```
② 使用 [vuex-persistedstate](https://npm.io/package/vuex-persistedstate) 、[vuex-along](https://github.com/boenfu/vuex-along)、[vuex-persist](https://npm.io/package/vuex-persist) 插件
安裝插件:
~~~
npm install vuex-persistedstate --save
~~~
配置:
在 store 的 `index.js` 中,手動插入并配置
```
import createPersistedState from "vuex-persistedstate"
const store =new Vuex.Store({
plugins: [createPersistedState()]
})
```
該插件默認持久化所有 state,當然也可以指定需要持久化的 state:
```
import createPersistedState from "vuex-persistedstate"
const store =new Vuex.store({
plugins: [createPersistedState({
storage:window.sessionStorage,
reducer(data) {
return {
// 設置只存儲state中的myData
myData:data.myData
}
}
})]
})
```
# 總結
這是介紹 Vuex!
完整的工作源代碼可以在 <https://codesandbox.io/s/zq7k7nkzkm> 找到。
在這個謎題中仍然有許多概念缺失:
- actions
- modules
- helpers
- plugins
但是你已經有了一些基礎去閱讀官方文檔中的相關內容。
編碼快樂!
- Introduction
- Introduction to Vue
- Vue First App
- DevTools
- Configuring VS Code for Vue Development
- Components
- Single File Components
- Templates
- Styling components using CSS
- Directives
- Events
- Methods vs Watchers vs Computed Properties
- Props
- Slots
- Vue CLI
- 兼容IE
- Vue Router
- Vuex
- 組件設計
- 組件之間的通信
- 預渲染技術
- Vue 中的動畫
- FLIP
- lottie
- Unit test
- Vue3 新特性
- Composition API
- Reactivity
- 使用 typescript
- 知識點
- 附錄
- 問題
- 源碼解析
- 資源