
:-: 服務器列表(虛擬機統一采用CentOS7)
|名稱 |主機名 |安裝的軟件|
|----|----|----|
|<mark>代碼托管服務器</mark>| gitlab-master |gitlab-ce-14.6.0-ce.0.el7.x86_64.rpm|
|持續集成服務器| jenkins-master |Jenkins-2.190.3、JDK1.8、Maven3.6.2、Git、SonarQube|
|應用測試服務器| tomcat-master |JDK1.8、Tomcat8.5|
<br/>
[TOC]
# 1. Gitlab代碼托管服務器安裝
**1. 安裝相關依賴**
```shell
yum -y install policycoreutils policycoreutils-python openssh-server openssh-clients postfix
```
**2. 啟動ssh服務&設置為開機啟動**
```shell
systemctl enable sshd && sudo systemctl start sshd
```
**3. 設置postfix開機自啟,并啟動postfix支持gitlab發信功能**
```shell
systemctl enable postfix && systemctl start postfix
```
**4. 開放ssh以及http服務,然后重新加載防火墻列表**
如果關閉防火墻就不需要做該配置。
```shell
firewall-cmd --add-service=ssh --permanent
firewall-cmd --add-service=http --permanent
firewall-cmd --reload
```
**5. 下載gitlab包,并且安裝**
軟件源地址:https://mirrors.tuna.tsinghua.edu.cn/gitlab-ce/yum/
注意:centos7只能安裝el6,或者el7的gitlab。
```shell
wget https://mirrors.tuna.tsinghua.edu.cn/gitlab-ce/yum/el7/gitlab-ce-14.6.0-ce.0.el7.x86_64.rpm --no-check-certificate
rpm -i gitlab-ce-14.6.0-ce.0.el7.x86_64.rpm
```
**6. 修改gitlab配置**
```shell
vim /etc/gitlab/gitlab.rb
# 修改gitlab訪問地址和端口,默認為80,我們改為82
external_url 'http://192.168.1.22:82'
nginx['listen_port'] = 82
```
**7. 重載配置及啟動gitlab**
```shell
gitlab-ctl reconfigure
gitlab-ctl restart
```
**8. 獲取初始密碼**
```shell
--重載配置后控制臺會打印如下信息
Username: root 管理員賬號
Password: You didn't opt-in to print initial root password to STDOUT.
Password stored to /etc/gitlab/initial_root_password. 初始密碼所在文件
--拿到初始密碼
cat /etc/gitlab/initial_root_password
Password: 7UgjZYA9VYEbGzp83FZdAbw/7RwxZuy7rGpIKQ08H9w=
```
**9. 把端口添加到防火墻**
```shell
firewall-cmd --zone=public --add-port=82/tcp --permanent
firewall-cmd --reload
```
**10. 訪問gitlab:http://192.168.1.22:82/**
輸入管理員賬號`root`,密碼`7UgjZYA9VYEbGzp83FZdAbw/7RwxZuy7rGpIKQ08H9w=`,登錄即可。

**11. 修改管理員賬號密碼**
默認的管理員賬號密碼24小時后會失效,需要自己重置。
訪問:http://192.168.1.22:82/admin/users/root/edit 頁面修改賬號`root`的密碼。
<br/>
# 2. Gitlab添加組、創建用戶、創建項目
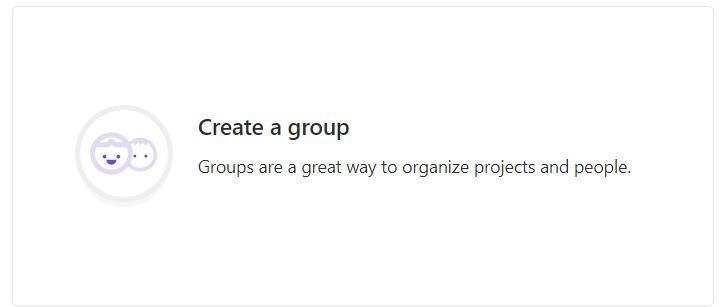
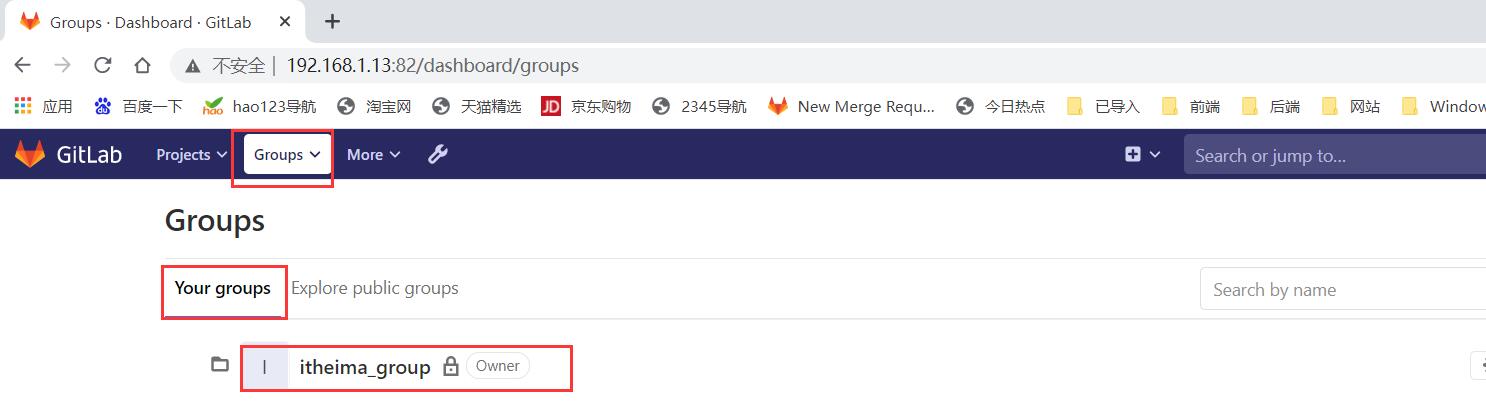
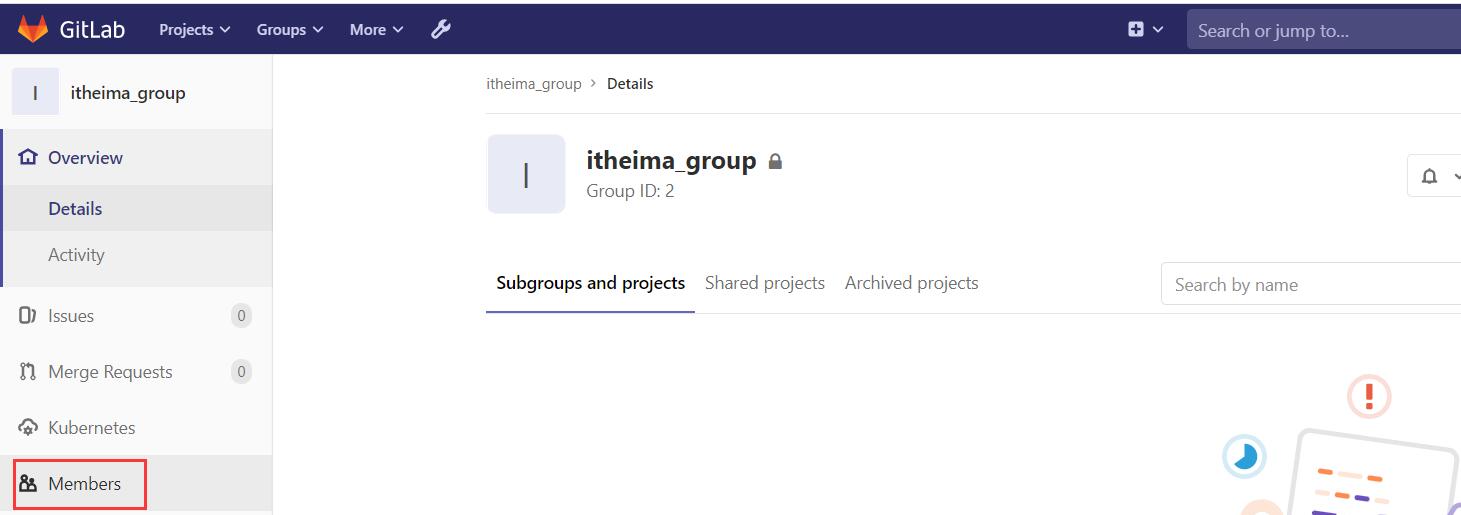
**1. Gitlab添加組—itheima_group**
使用管理員 `root` 創建組,一個組里面可以有多個項目分支,可以將開發添加到組里面進行設置權限,不同的組就是公司不同的開發項目或者服務模塊,不同的組添加不同的開發即可實現對開發設置權限的管理。
:-: 
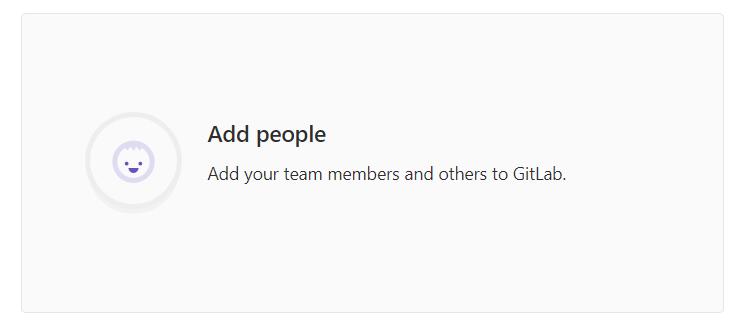
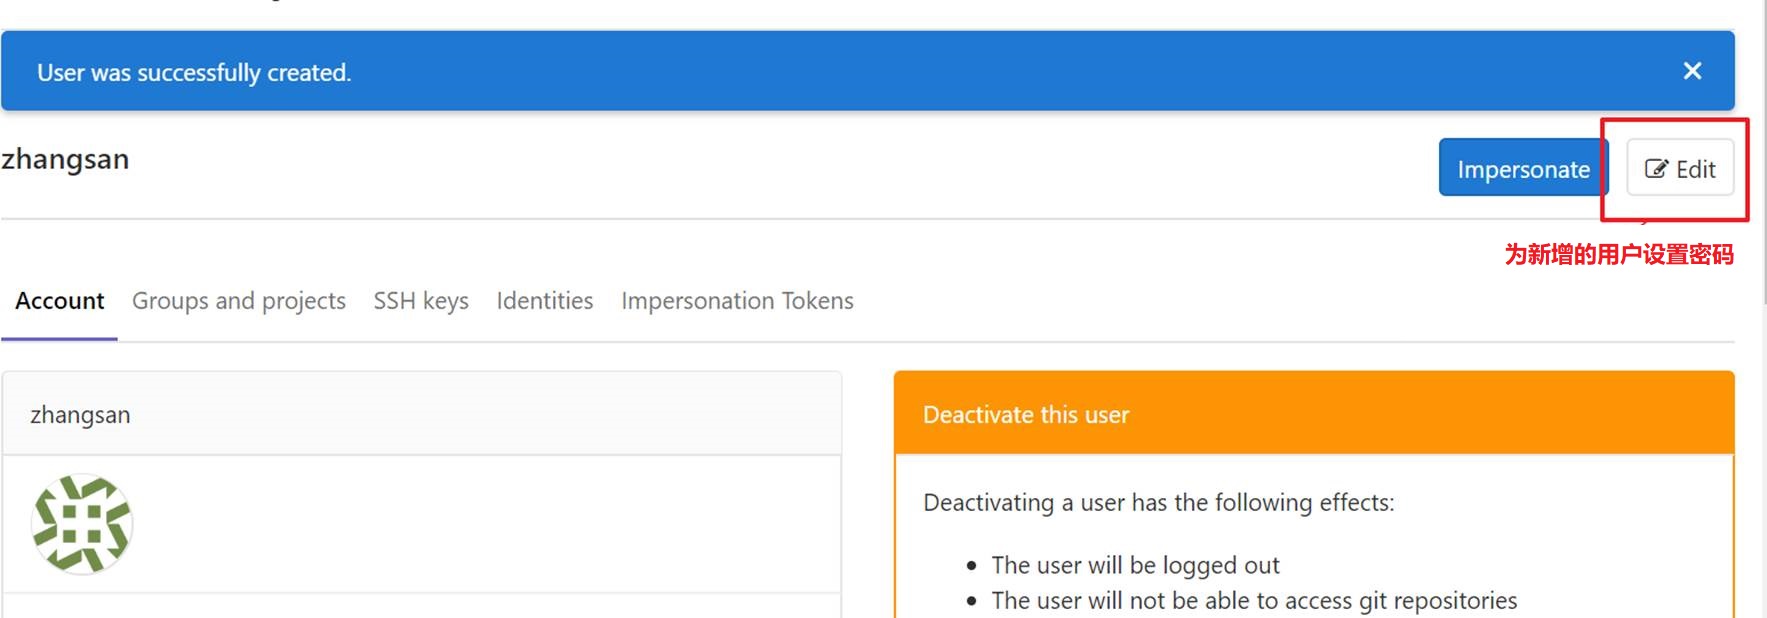
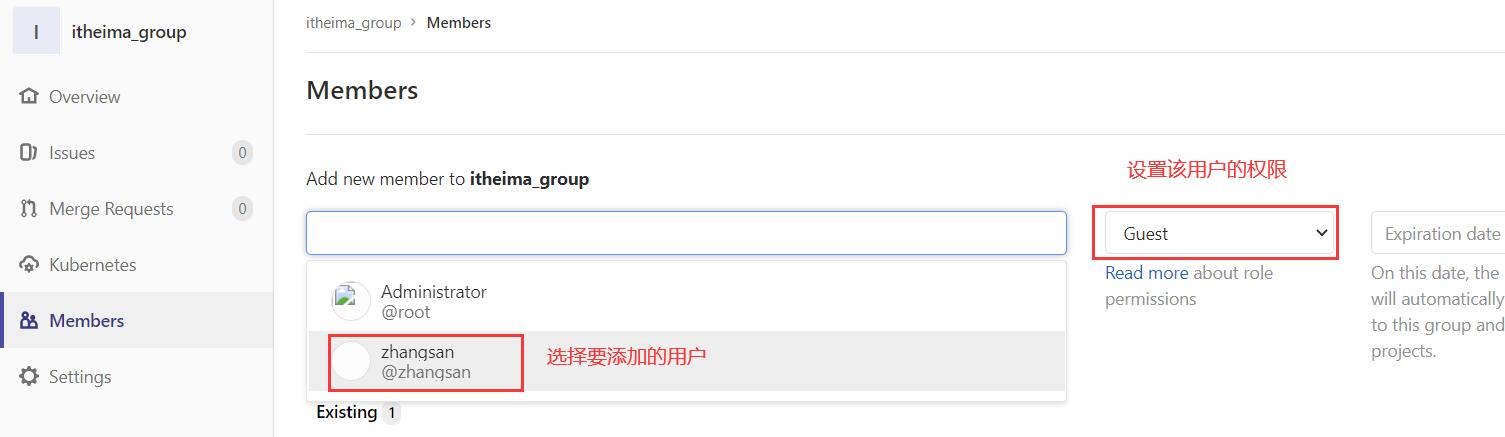
**2. 創建用戶—zhangsan**
:-: 
創建好用戶后為新增的用戶設置密碼:
**3. 將用戶添加到組中**
```
Gitlab用戶在組里面有5種不同權限:
Guest:可以創建issue、發表評論,不能讀寫版本庫。
Reporter:可以克隆代碼,不能提交,QA、PM可以賦予這個權限。
Developer:可以克隆代碼、開發、提交、push,普通開發可以賦予這個權限。
Maintainer:可以創建項目、添加tag、保護分支、添加項目成員、編輯項目,核心開發可以賦予這個權限。
Owner:可以設置項目訪問權限 - Visibility Level、刪除項目、遷移項目、管理組成員,開發組組長可以賦予這個權限。
```
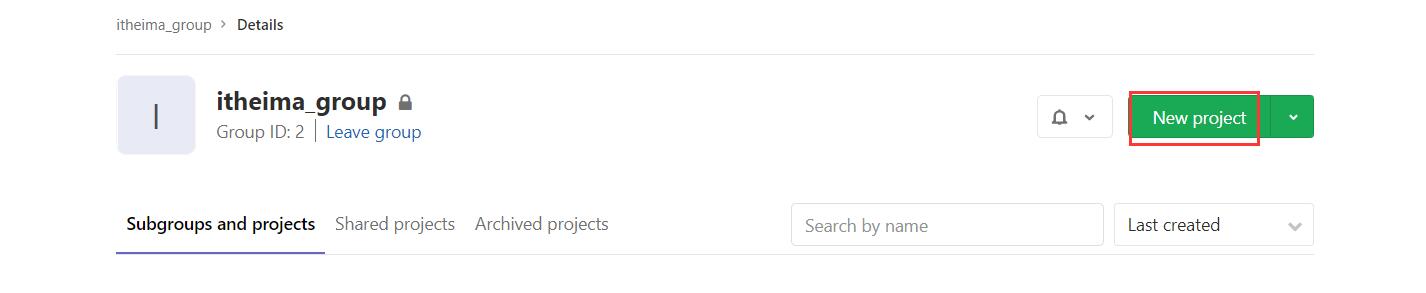
**4. 在用戶組中創建項目**
<br/>
- 相關概念
- 軟件開發生命周期
- 軟件開發瀑布模型
- 軟件的敏捷開發
- 持續集成
- Jenkins介紹
- Jenkins是什么
- Jenkins的特征
- Jenkins環境搭建
- 搭建架構說明
- Gitlab安裝與配置
- Jenkins安裝與配置
- Tomcat安裝和配置
- Jenkins構建項目
- 自由風格軟件項目構建
- Maven項目構建
- Pipeline流水線項目構建
- Pipeline是什么
- Pipeline語法
- 流水線項目構建演示
- Pipeline Script from SCM
- 構建觸發器
- 觸發遠程構建
- 其他工程構建后觸發
- 定時構建
- 輪詢SCM
- Git hook自動觸發構建
- 參數化構建
- 配置郵箱發送構建結果
- SonarQube代碼審查平臺
- SonarQube是什么
- SonarQube平臺搭建
- 安裝jdk11
- 安裝數據庫PostgreSQL12
- 安裝SonarQube
- SonarQube實現代碼審查
- Jenkins+Docker+SpringCloud(1)
- 流程說明
- 環境搭建
- 服務器列表
- Docker安裝與配置
- Harbor安裝與配置
- Nginx安裝與配置
- 微服務持續集成演示
- Jenkins上配置
- 微服務項目配置
- 部署前端靜態web網站