
# h5單獨部署域名
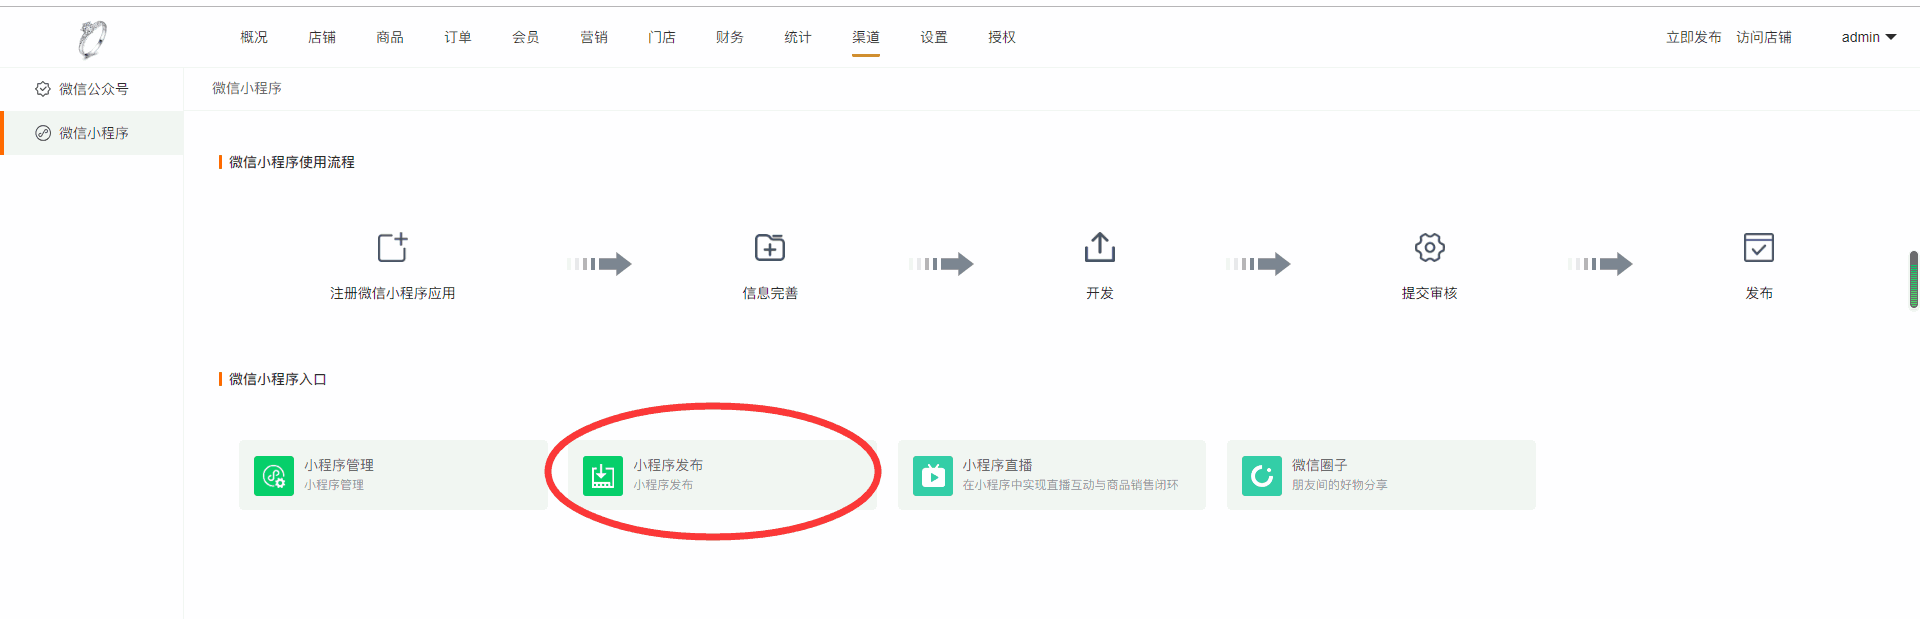
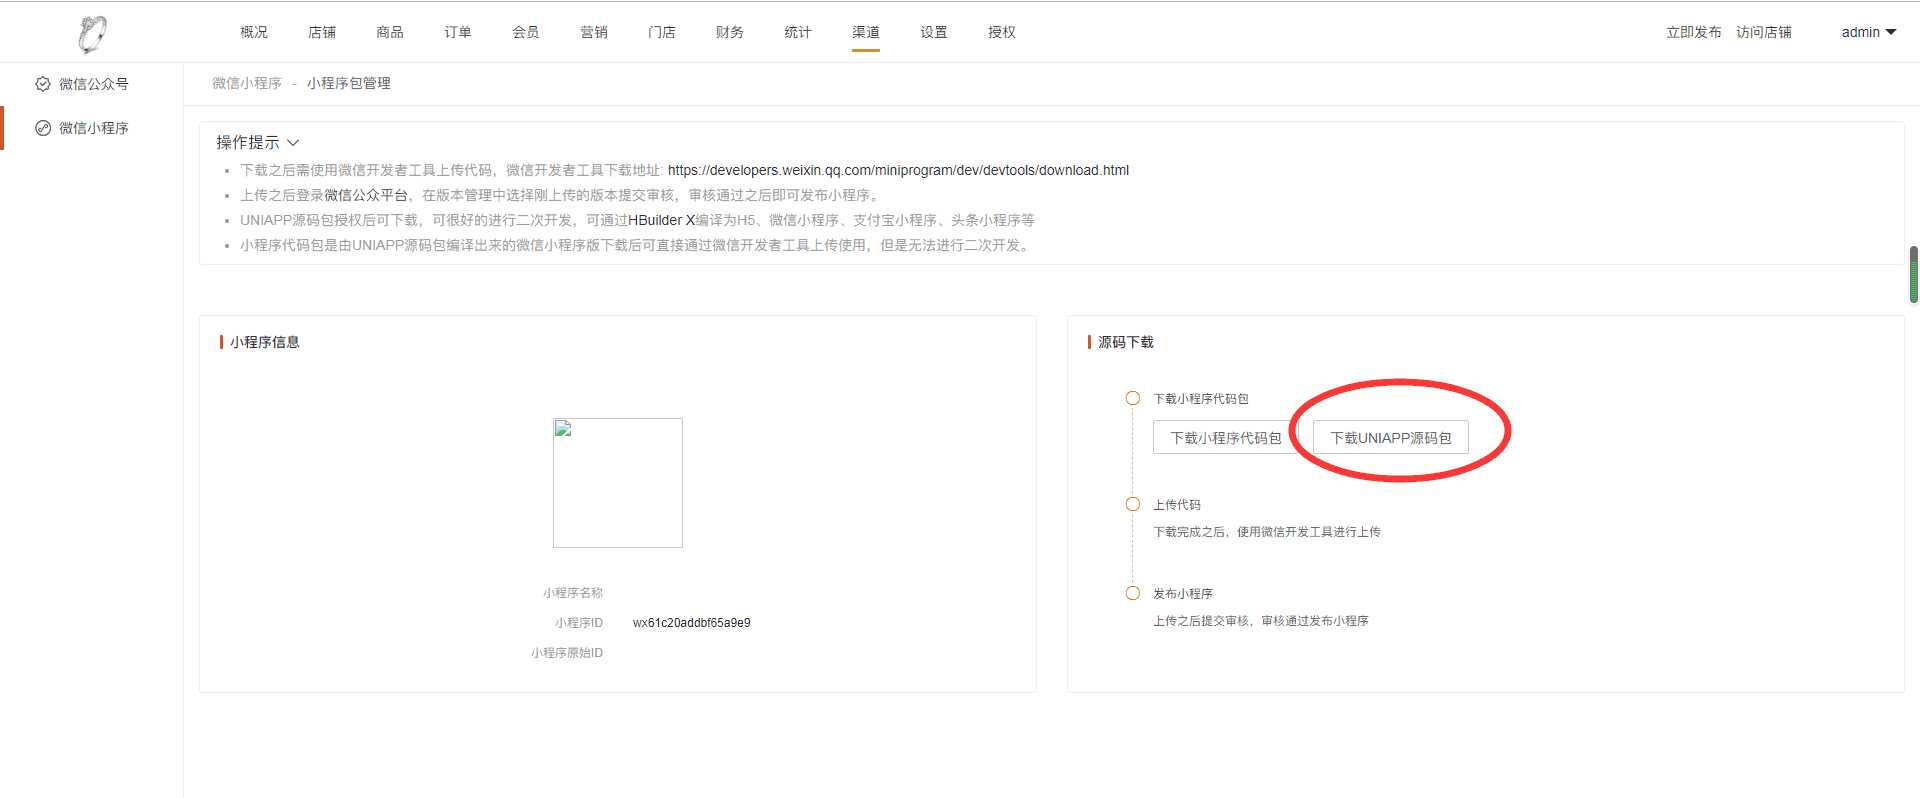
第一步:下載uniapp源碼
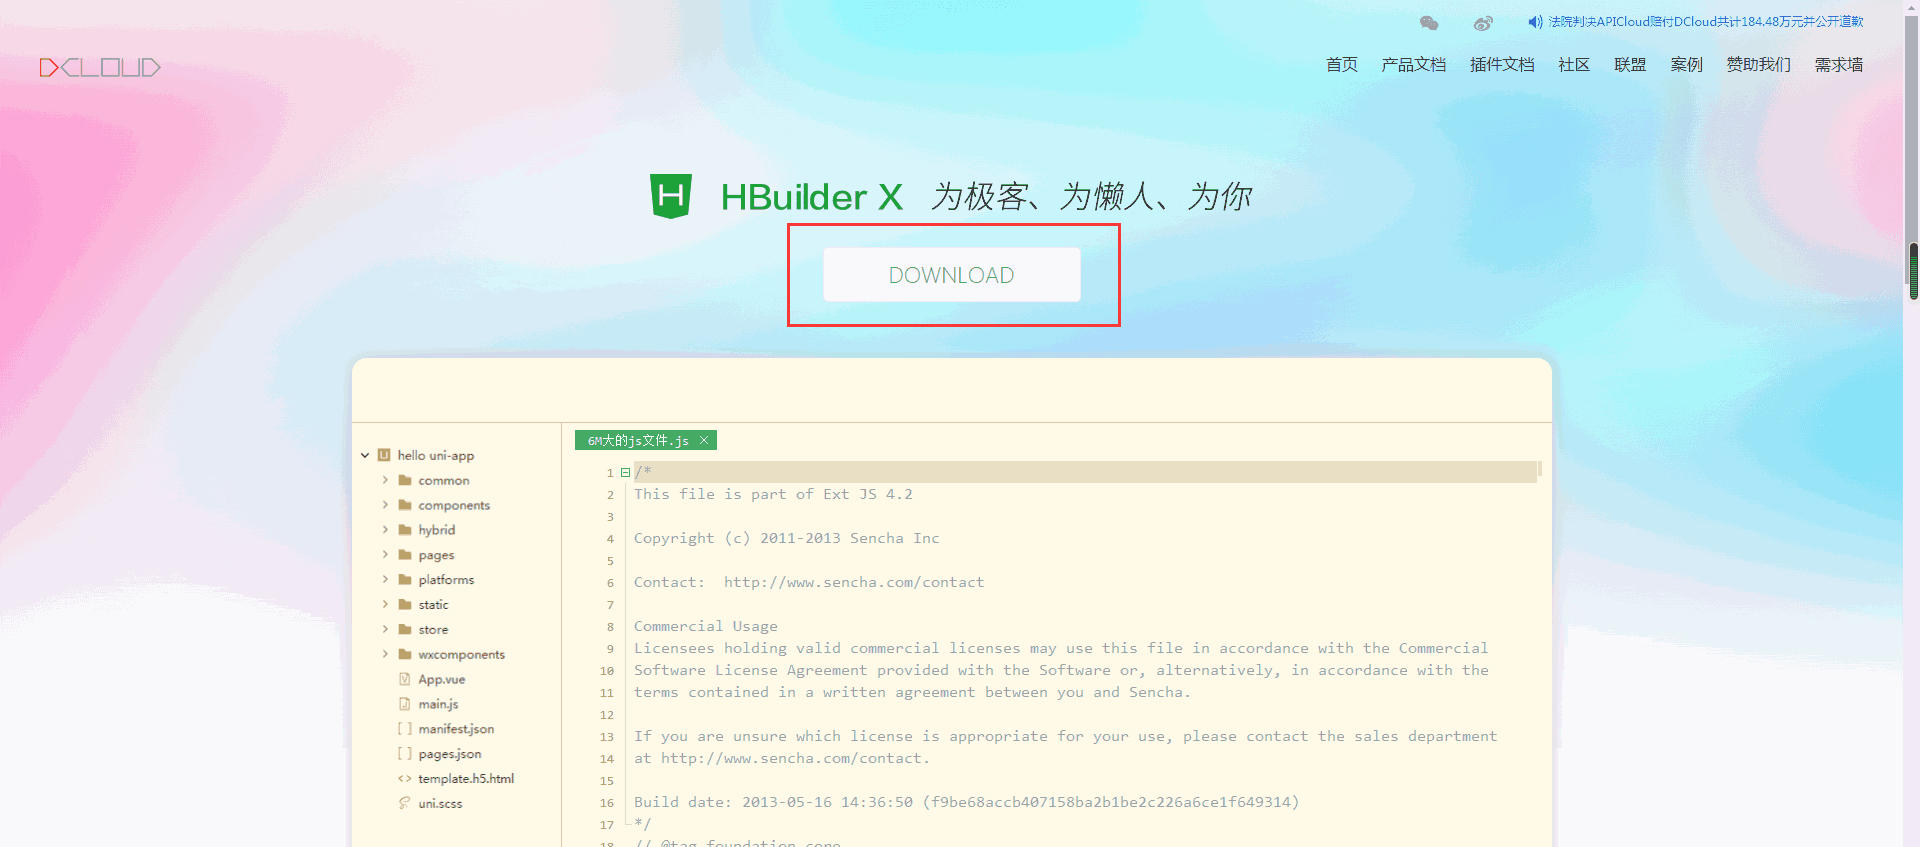
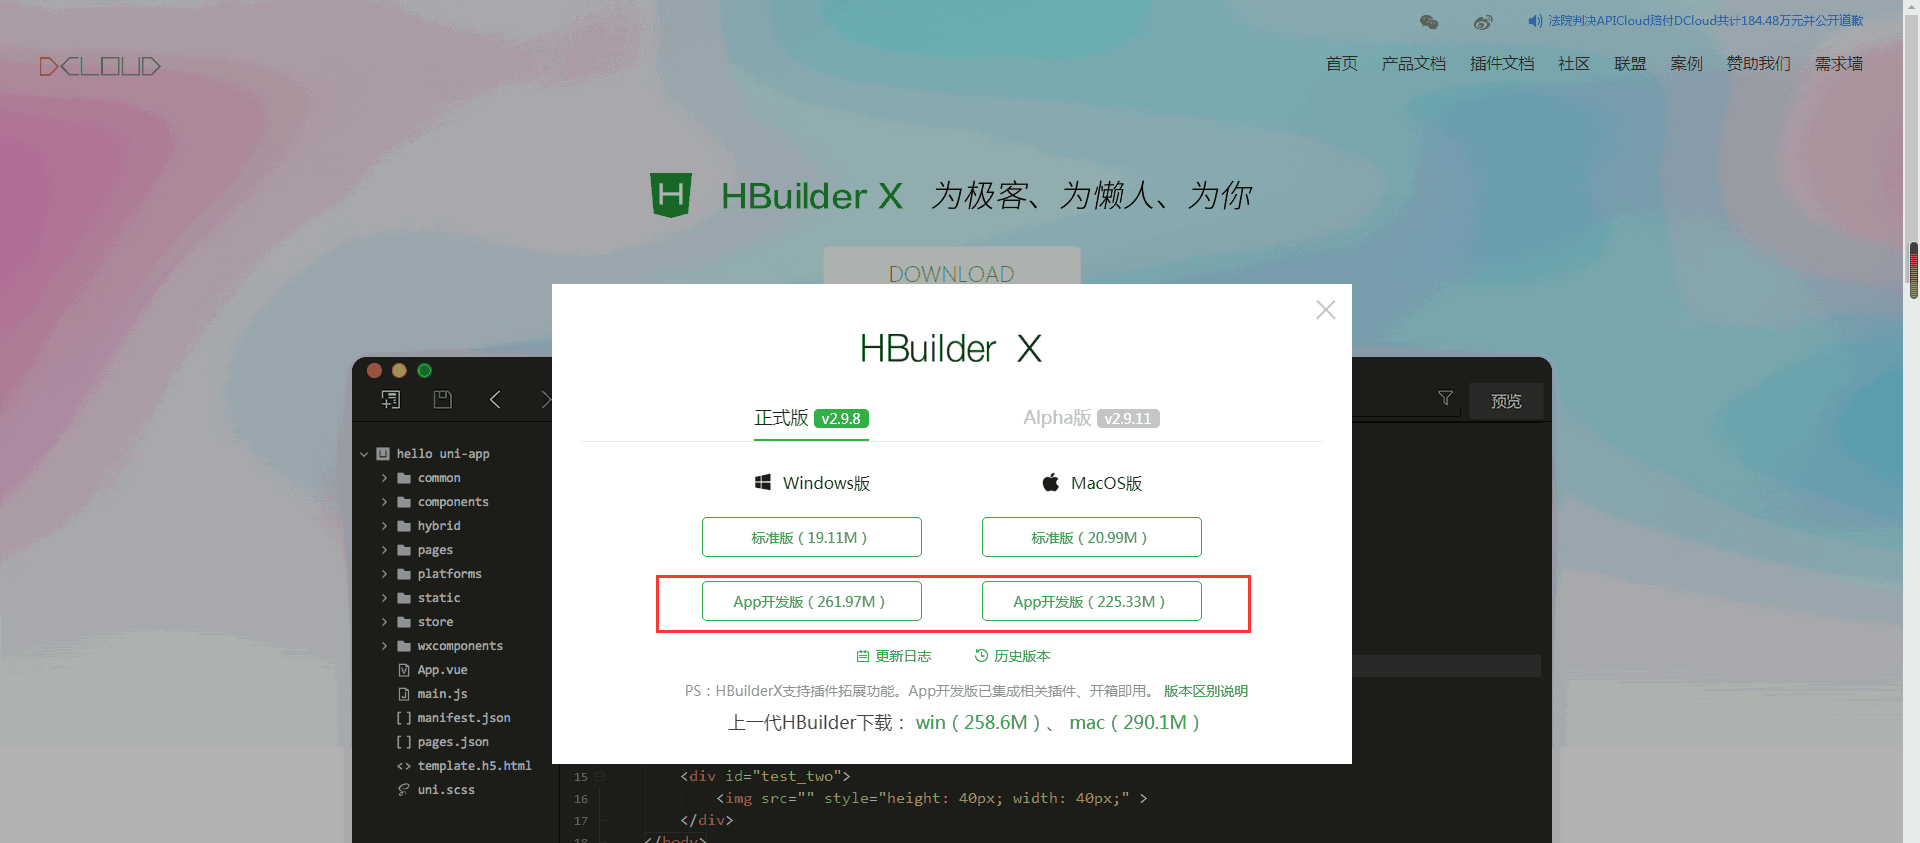
第二步:下載hbuilder(\[[https://www.dcloud.io/hbuilderx.html](https://www.dcloud.io/hbuilderx.html)\])
第三步:導入下載下的uniapp源碼
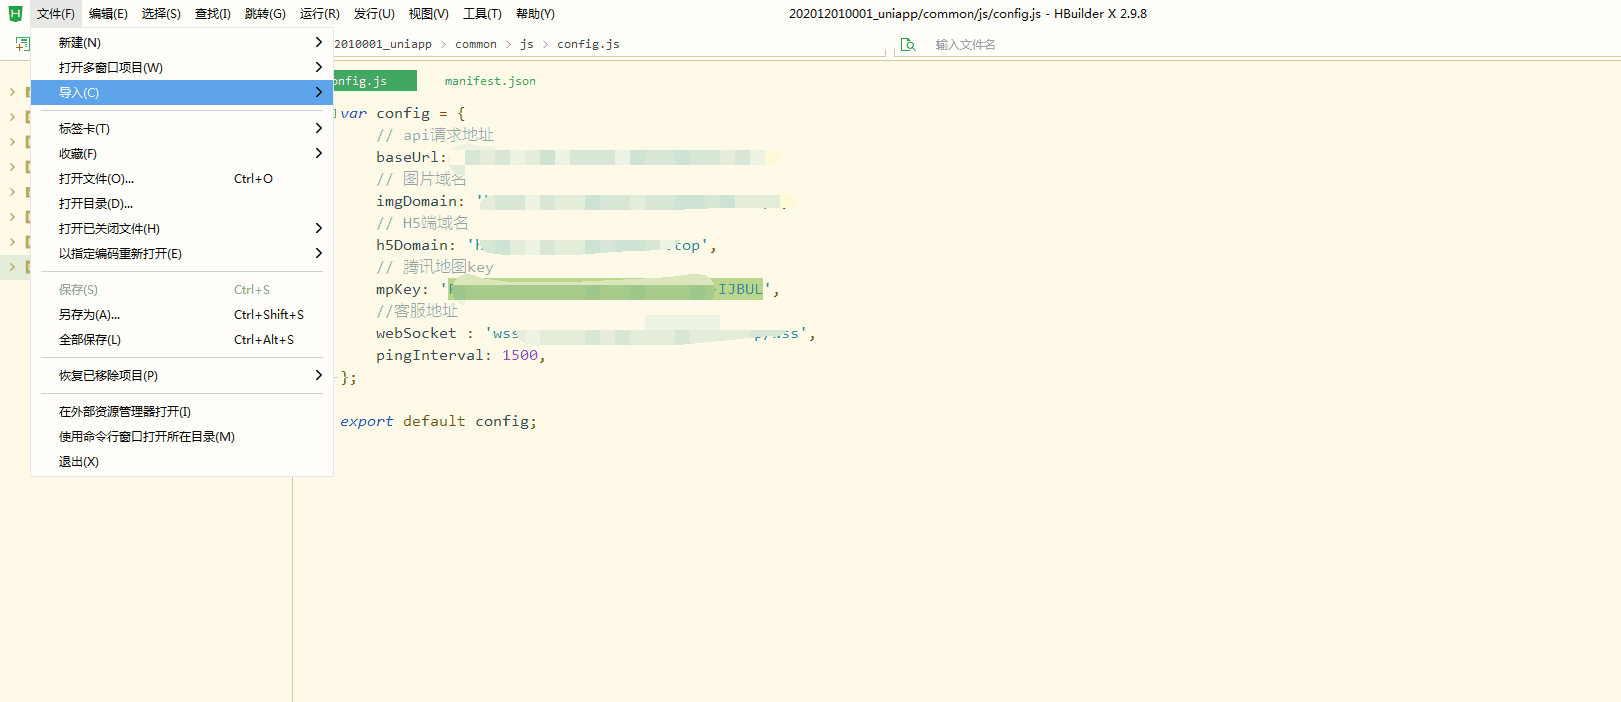
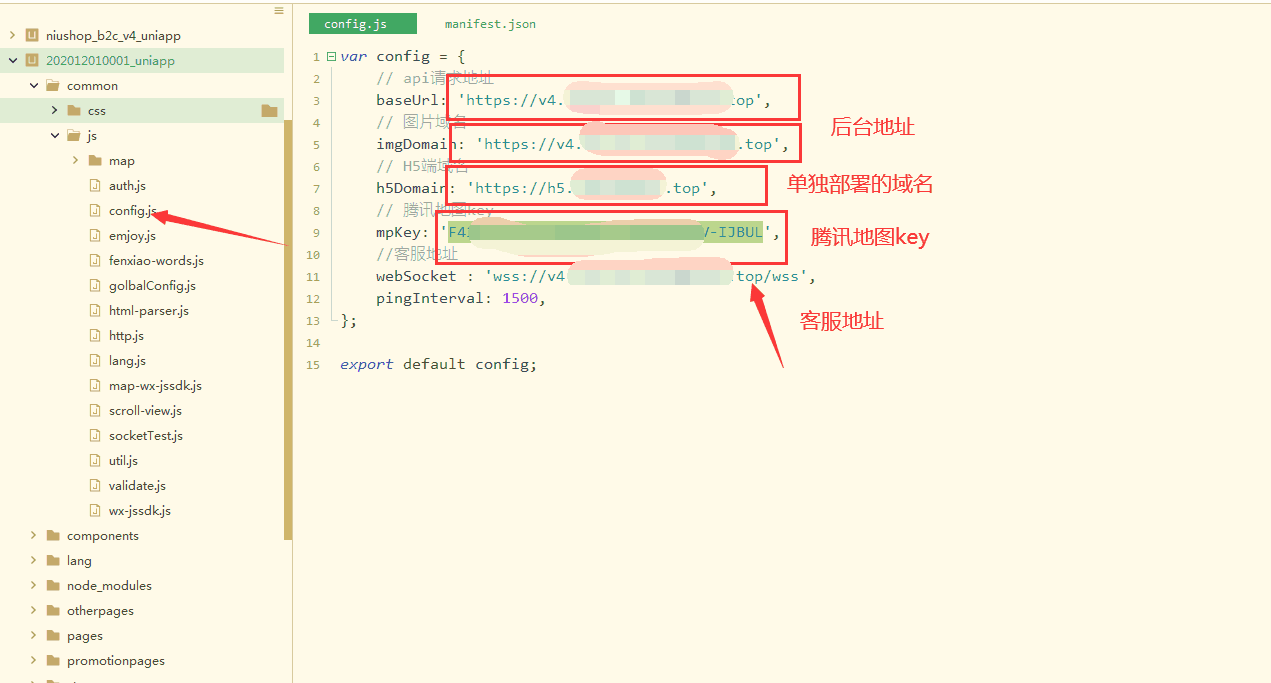
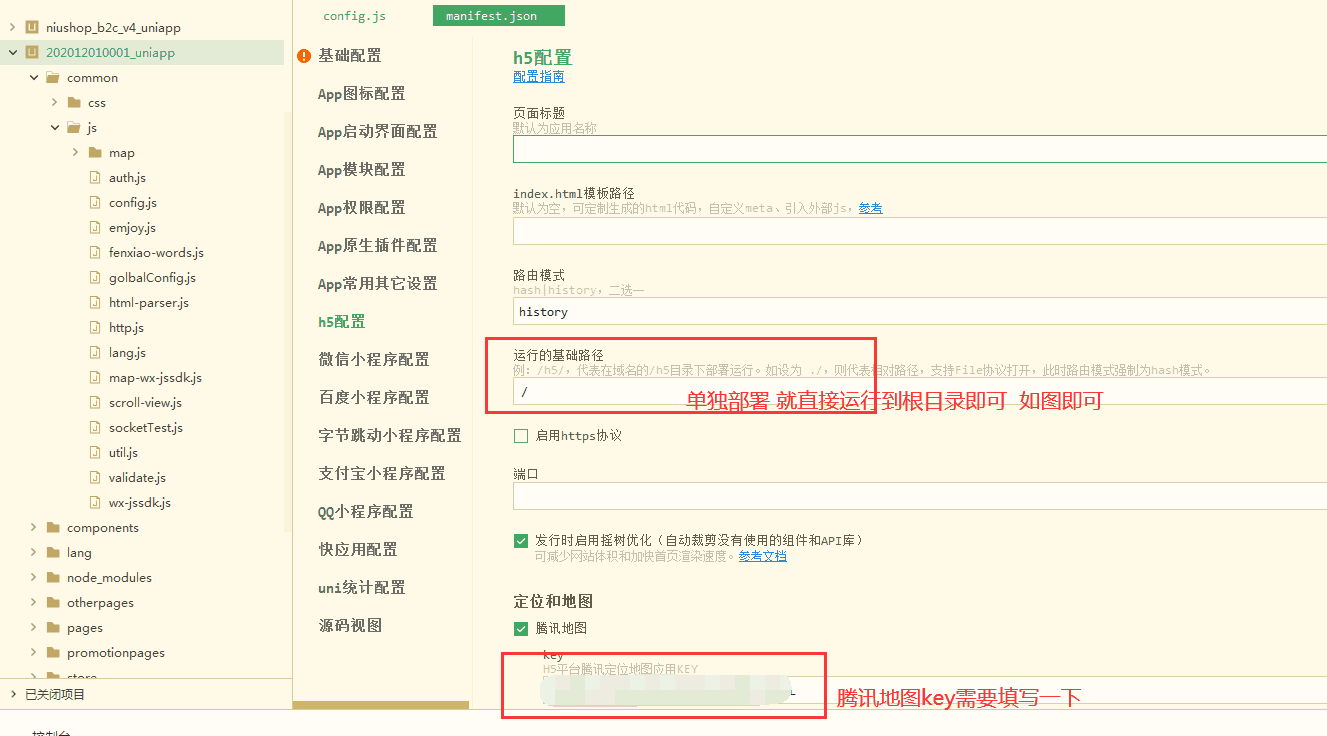
第四步:把配置文件配置好
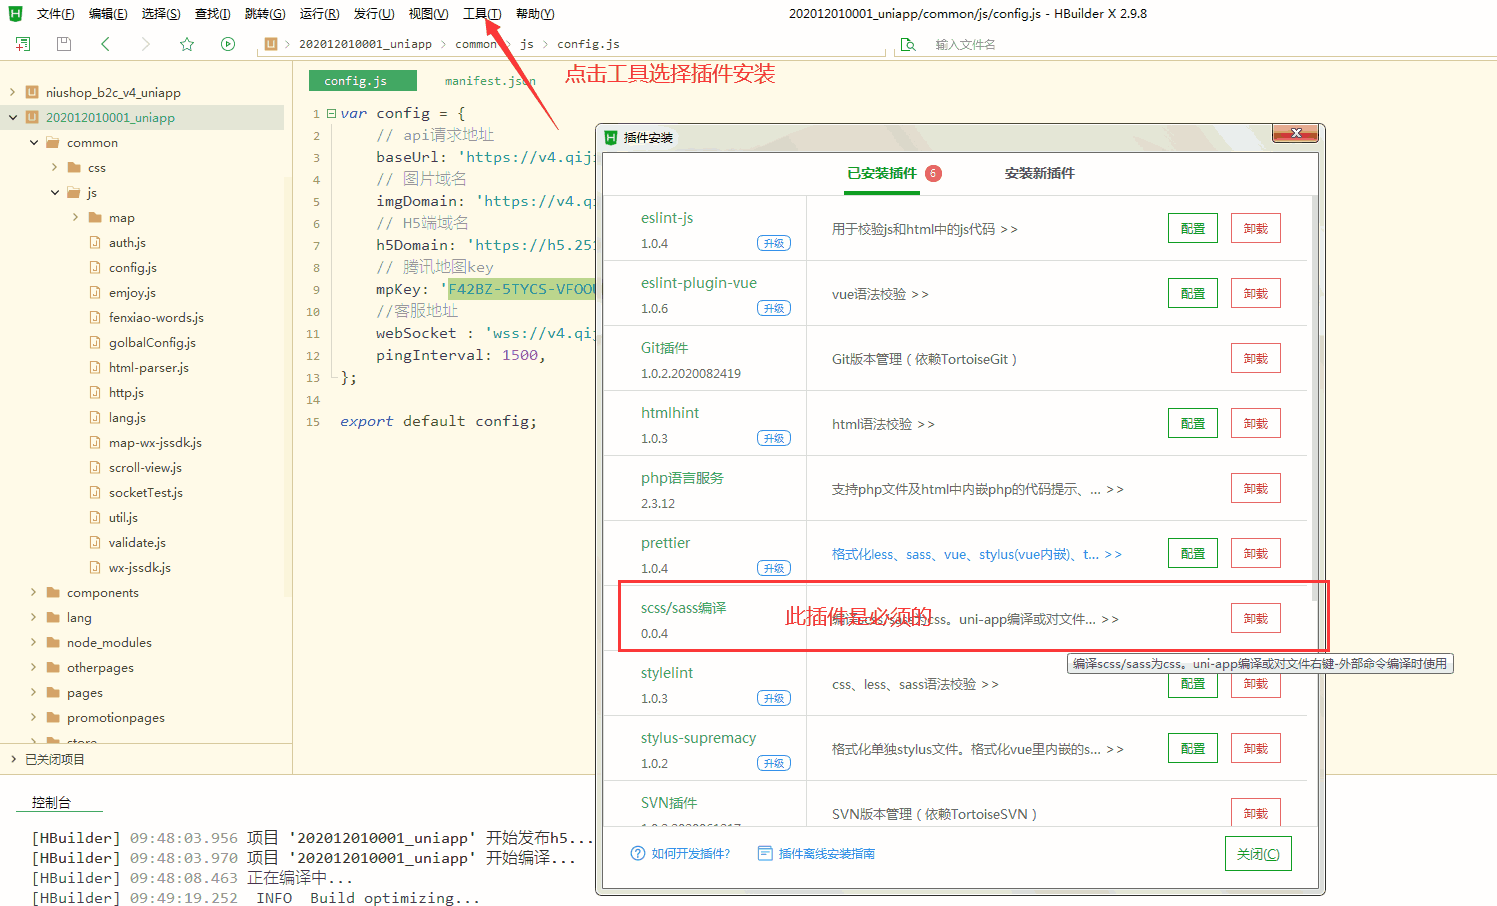
第五步:需要先安裝一個插件scss/sass插件
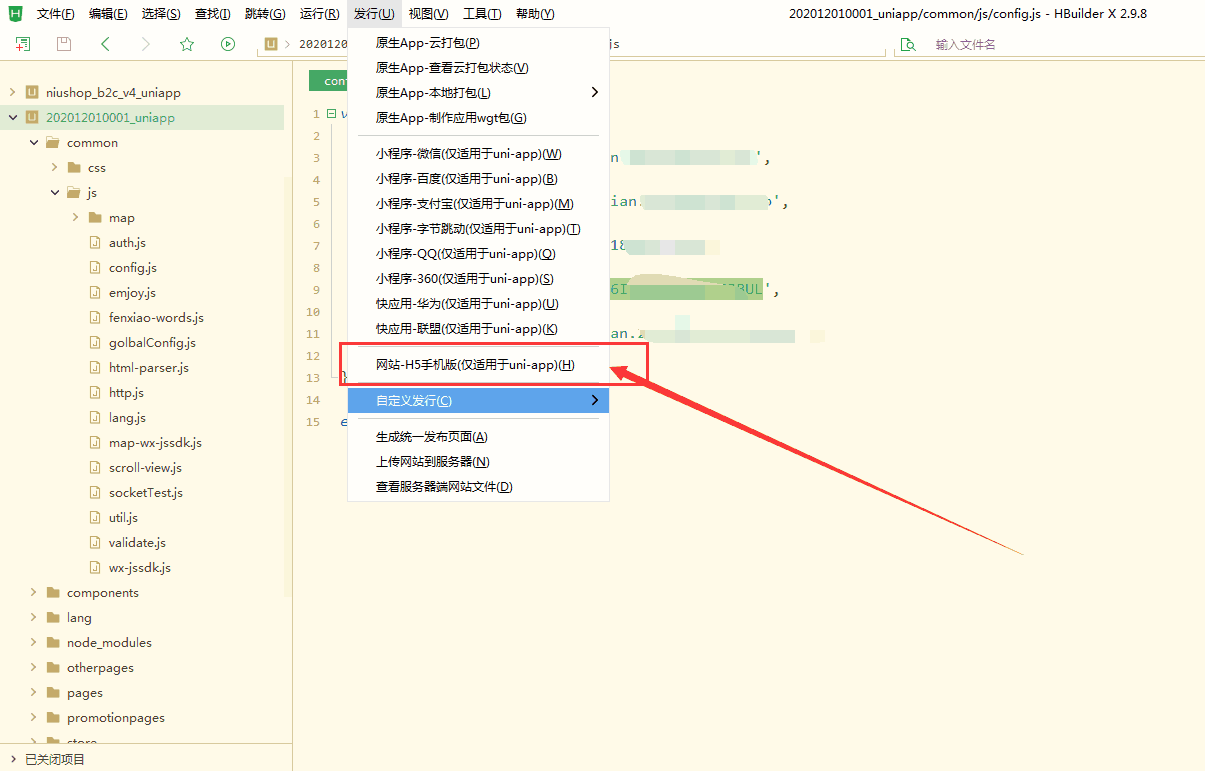
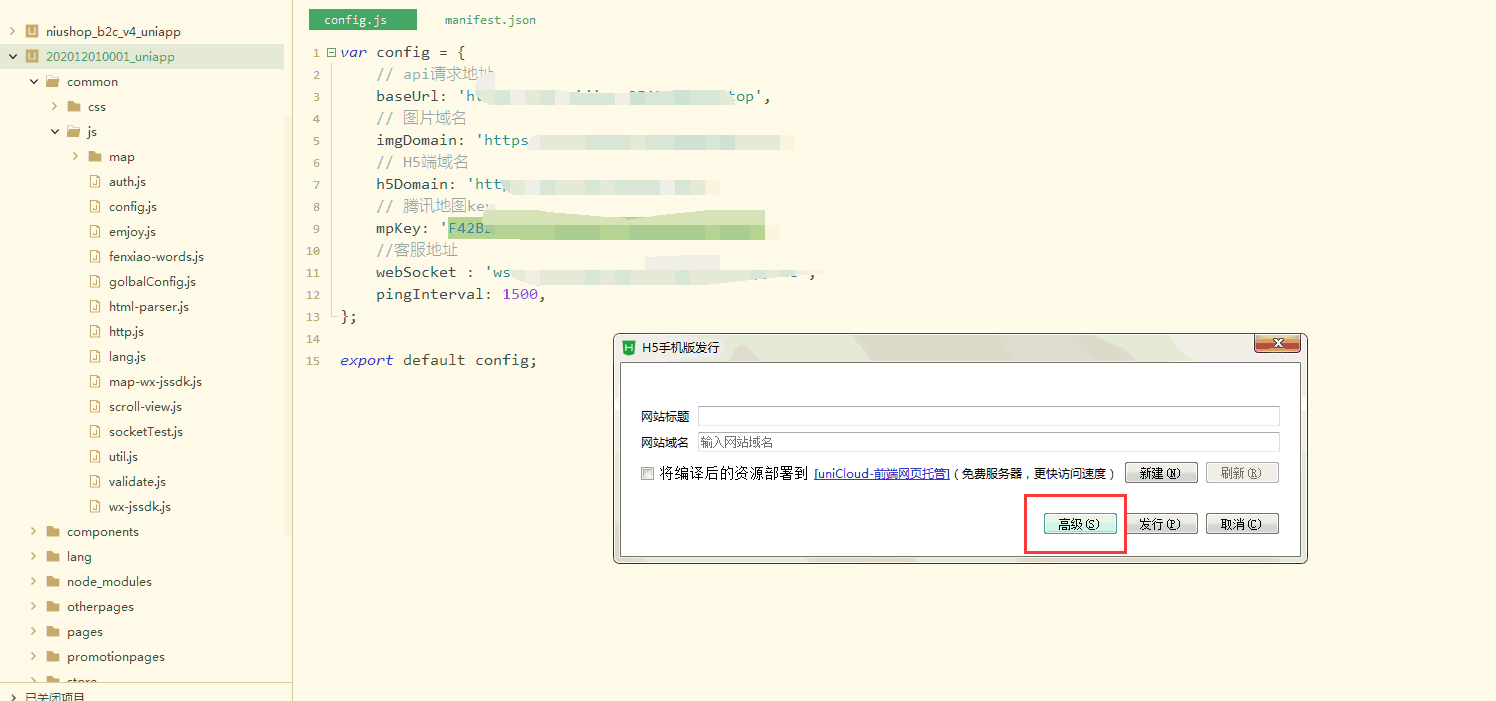
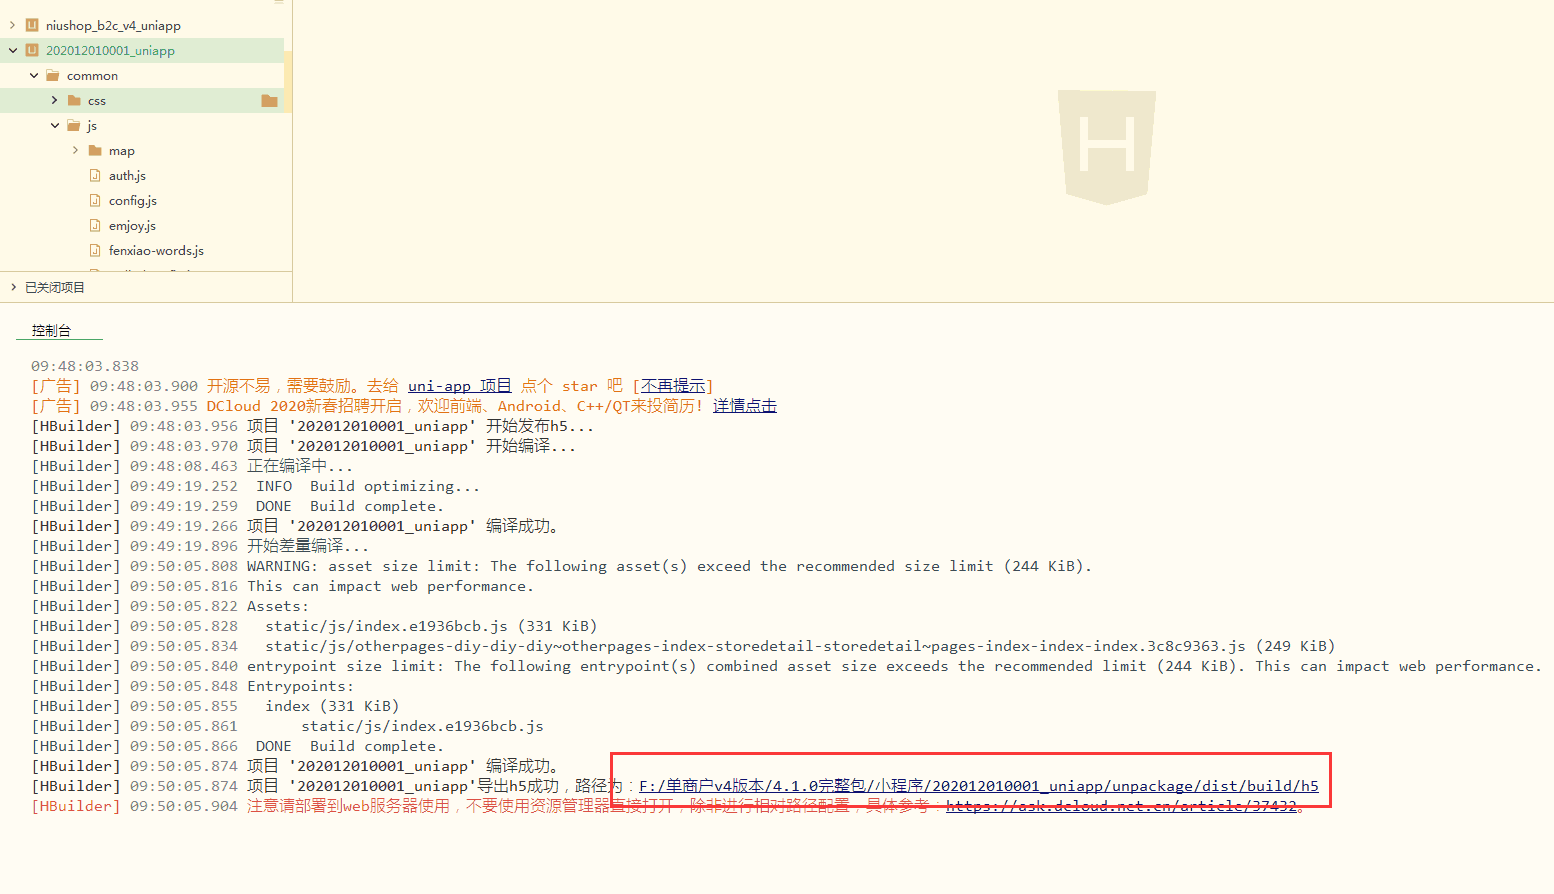
第六步:發行h5
第七步:發行完之后 找到路徑 把代碼壓縮上傳到新建的站點根目錄并解壓到根目錄
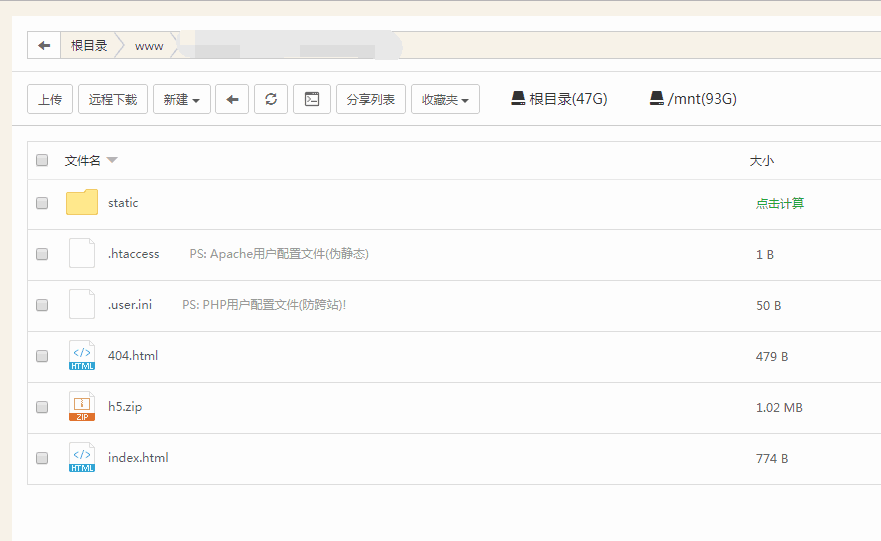
第八步:給該網站配置偽靜態
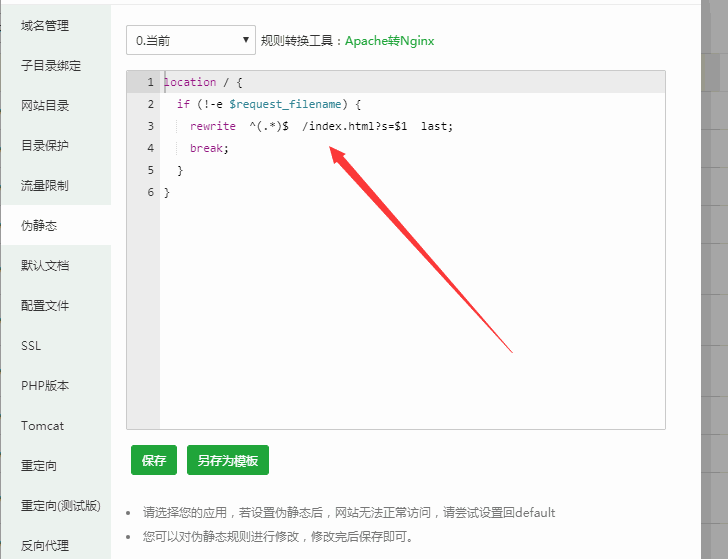
nginx環境下偽靜態配置
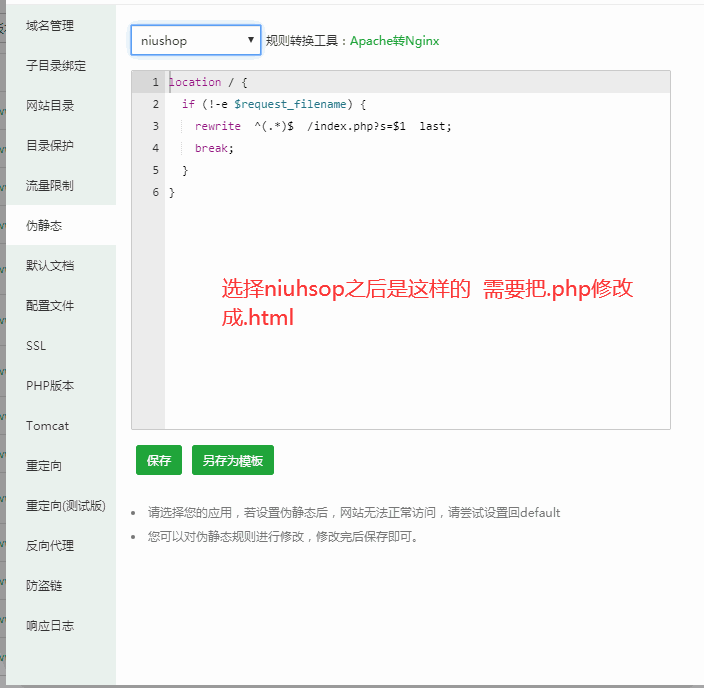
修改成如下圖
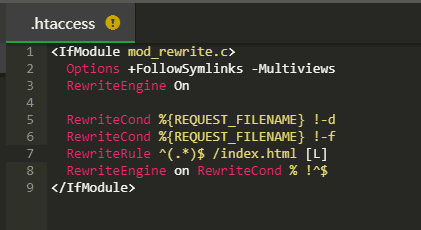
apache環境下偽靜態配置
根目錄下的.htaccess文件添加偽靜態配置如下圖
<IfModule mod_rewrite.c>
Options +FollowSymlinks -Multiviews
RewriteEngine On
RewriteCond %{REQUEST_FILENAME} !-d
RewriteCond %{REQUEST_FILENAME} !-f
RewriteRule ^(.*)$ /index.html [L]
RewriteEngine on RewriteCond % !^$
</IfModule>
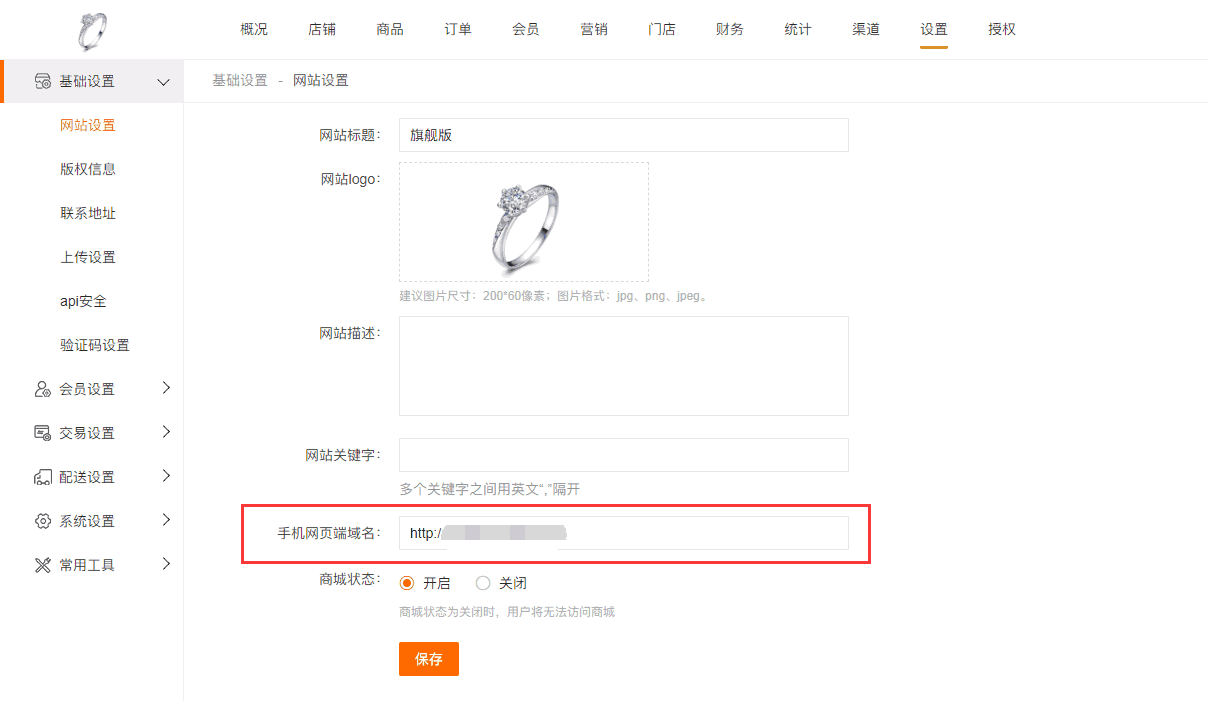
第九步:后臺訪問手機端域名設置需要修改成你的單獨配置的域名
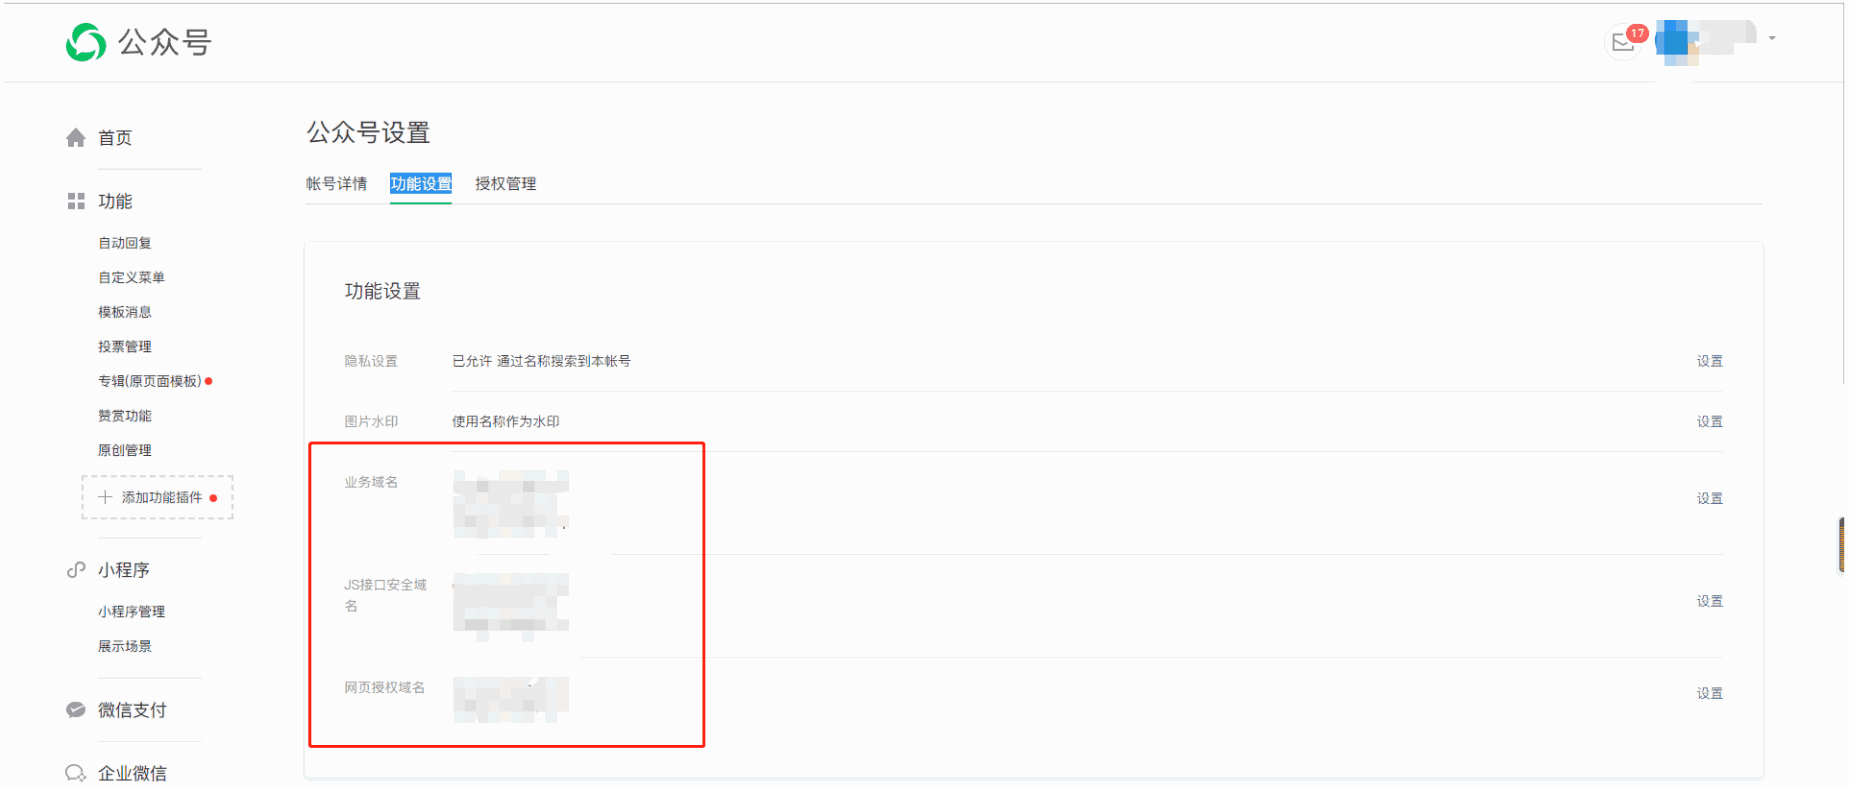
第十步:如果需要在微信公眾號中拿單獨域名訪問 請把此域名配置到微信公眾號的業務域名、js域名、網頁域名即可
這樣就單獨域名配置完成了!
- 序言
- 商城簡介
- 系統部署
- 功能列表
- 系統部署
- 寶塔部署
- apache部署
- iis部署(待做)
- 基礎配置(基礎安裝)
- 微信公眾號配置
- 微信公眾號菜單
- 微信小程序配置
- 微信支付配置
- 微信模板消息
- 微信小程序直播配置
- 牛云短信配置
- 阿里云短信消息模板消息配置
- 地圖設置
- 商家消息通知設置
- 微信小程序訂閱消息
- 店鋪設置
- 店鋪信息
- 會員信息
- 配送設置
- 系統設置
- 會員設置
- 公眾號設置
- 版權信息
- 擴展功能配置
- 支付寶支付配置
- 電子面單配置
- 小票打印
- 阿里云短信配置
- 阿里云上傳
- 微信小程序開源版
- 開源版小程序發行默認h5
- 后臺登錄路徑配置
- h5單獨部署
- 店鋪裝修
- 主頁裝修
- 底部導航
- 微頁面
- 模板選擇
- 商城風格
- 店鋪幫助
- 店鋪公告
- 商品管理
- 商品分類
- 商品評價
- 相冊管理
- 售后保障
- 商品服務,屬性
- 商品分組
- 默認搜索
- 熱門搜索
- 會員
- 會員注冊
- 會員價
- 會員消費
- 會員充值
- 會員簽到
- 訂單管理
- 訂單列表
- 配送單管理
- 退款維權
- 發票列表
- 資產統計
- 營銷活動
- 優惠券
- 限時折扣
- 滿減活動
- 限時秒殺
- 刮刮樂
- 幸運轉盤
- 砸金蛋
- 應用管理
- 小程序直播
- 直播間
- 直播商品
- 積分抵現
- 微信圈子
- 店鋪筆記
- 草稿箱
- 筆記分組
- 會員注銷
- 團長
- 團長列表
- 入駐申請
- 團長等級
- 入駐協議
- 團長設置
- 客服配置
- 補丁上傳