**寫在前面**
該系列文章是為具有開發能力的朋友寫作的,目的是幫助他們在scratch 3.0的基礎上開發一套完整的集scratch 3.0編程工具、用戶社區和作品云端存儲及分享、品牌集成于一體的scratch編程平臺。如果您不是開發者,但想要擁有自己的教育平臺和品牌,也歡迎學習交流和洽談合作。
所以如果您是想學習scratch少兒編程課程,那請忽略該系列的文章。
**前言**
我們繼續之前的集成后臺用戶系統的工作。?
這一章我們將增加登錄界面,在用戶點擊登錄按鈕時,彈出一個登錄窗口,用戶輸入用戶名密碼,如果登錄成功,回到主界面并且在右上角的menu-bar展示用戶信息。
**開始實現**
先來實現登錄的彈窗組件。
我們發現scratch-gui中已經定義了自己的ModalCompoent組件和container Modal。這樣最好。我們可以在這個modal基礎上來完成我們的登錄彈窗組件,從而保持與已有的風格樣式一致。
在components中新建login-modal文件夾,并在里面創建login-modal.jsx文件,我們來在login-modal.jsx中實現登錄組件的樣式,包括一個彈窗,兩個輸入框和一個提交按鈕。?
定義LoginModal的基本結構:
>
>
> ~~~
> import Modal from '../../containers/modal.jsx';
> import styles from './login-modal.css';
> import React from 'react';
> import PropTypes from 'prop-types';
> import Box from '../box/box.jsx';
> import SubmitLoginButton from './submit-login-button.jsx';
> import connect from 'react-redux/es/connect/connect';
> const LoginModal = props => (
> ? ? <Modal
> ? ? ? ? className={styles.modalContent}
> ? ? ? ? contentLabel={props.title}
> ? ? ? ? id="loginModal"
> ? ? >
> ? ? ? ? <Box>
> ? ? ? ? ? ? <input
> ? ? ? ? ? ? ? ? className={styles.minInput}
> ? ? ? ? ? ? ? ? name="account"
> ? ? ? ? ? ? ? ? placeholder="賬號"
> ? ? ? ? ? ? ? ? type="text"
> ? ? ? ? ? ? /><br />
> ? ? ? ? ? ? <input
> ? ? ? ? ? ? ? ? className={styles.minInput}
> ? ? ? ? ? ? ? ? name="password"
> ? ? ? ? ? ? ? ? placeholder="密碼"
> ? ? ? ? ? ? ? ? type="password"
> ? ? ? ? ? ? /><br />
> ? ? ? ? ? ? <SubmitLoginButton className={styles.btnSubmit} />
> ? ? ? ? </Box>
> ? ? </Modal>
> );
> LoginModal.propTypes = {
> ? ? title: PropTypes.string.isRequired
> }
> export default LoginModal;
> ~~~
>
>
其中包括一個提交登錄的按鈕組件SubmitLoginButton,實現于submit-login-button.jsx中:
>
>
> ~~~
> import classNames from 'classnames';
> import {FormattedMessage} from 'react-intl';
> import PropTypes from 'prop-types';
> import React from 'react';
> import Button from '../button/button.jsx';
> import styles from './login-modal.css';
> const SubmitLoginButton = ({
> ? ? className,
> ? ? onClick
> }) => (
> ? ? <div>
> ? ? ? ? <Button
> ? ? ? ? ? ? className={classNames(
> ? ? ? ? ? ? ? ? className,
> ? ? ? ? ? ? ? ? styles.SubmitLoginButton
> ? ? ? ? ? ? )}
> ? ? ? ? ? ? onClick={onClick}
> ? ? ? ? >
> ? ? ? ? ? ? <FormattedMessage
> ? ? ? ? ? ? ? ? defaultMessage="登錄"
> ? ? ? ? ? ? ? ? description="Label for submit login"
> ? ? ? ? ? ? ? ? id="gui.loginModal.submitLogin"
> ? ? ? ? ? ? />
> ? ? ? ? </Button>
> ? ? </div>
> );
> SubmitLoginButton.propTypes = {
> ? ? className: PropTypes.string,
> ? ? onClick: PropTypes.func
> };
> SubmitLoginButton.defaultProps = {
> ? ? onClick: () => {}
> };
> export default SubmitLoginButton;
> ~~~
>
>
login-modal.css中樣式內容:
>
>
> ~~~
> @import "../../css/colors.css";
> @import "../../css/units.css";
> .modal-content {
> ? ? width: 360px;
> }
> .min-input, .max-input {
> ? ? margin-bottom: 1.5rem;
> ? ? width: 100%;
> ? ? border: 1px solid $ui-black-transparent;
> ? ? border-radius: 5px;
> ? ? padding: 0 1rem;
> ? ? height: 3rem;
> ? ? color: $text-primary-transparent;
> ? ? font-size: .875rem;
> }
> .submit-login-button {
> ? ? background: $data-primary;
> }
> .btn-submit {
> ? ? background: hsla(30, 100%, 55%, 1);
> ? ? height: 2rem;
> ? ? alignment: center;
> ? ? cursor: pointer;
> ? ? border-radius: $form-radius;
> ? ? font-weight: bold;
> ? ? display: flex;
> ? ? flex-direction: row;
> ? ? align-items: center;
> ? ? padding-left: 9.75rem;
> ? ? user-select: none;
> }
> ~~~
>
>
我們盡量復用已有組件的樣式,從而保持整體風格一致。
現在我們可以先在gui.jsx組件里使用一下,看一下當前的效果,將它寫到gui.jsx的組件中:
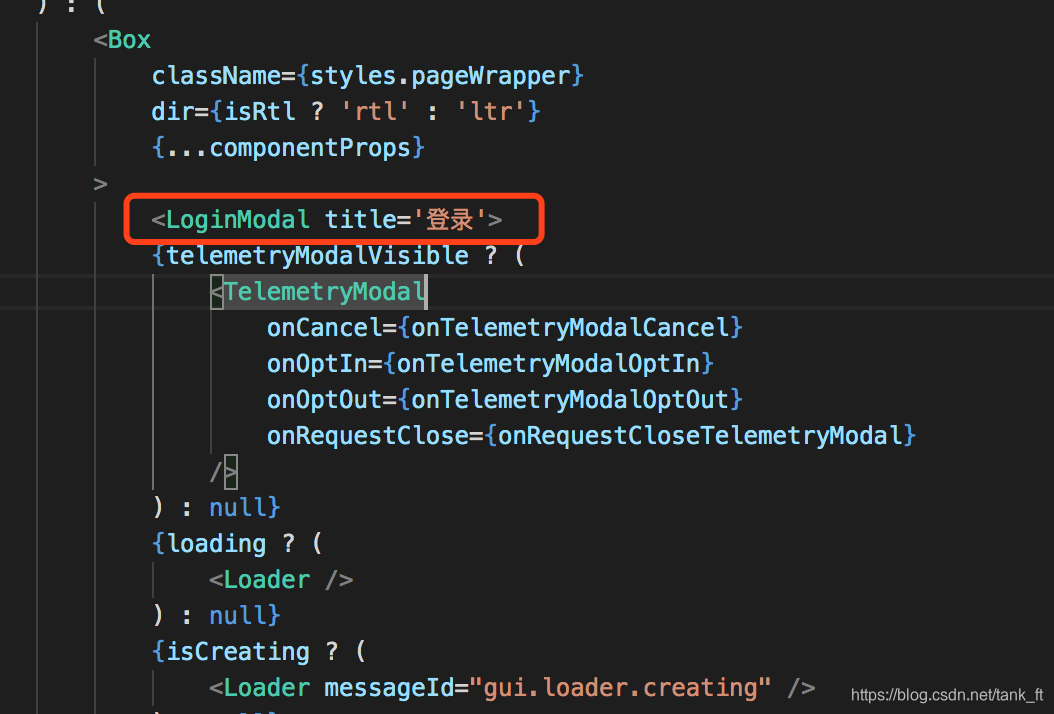?
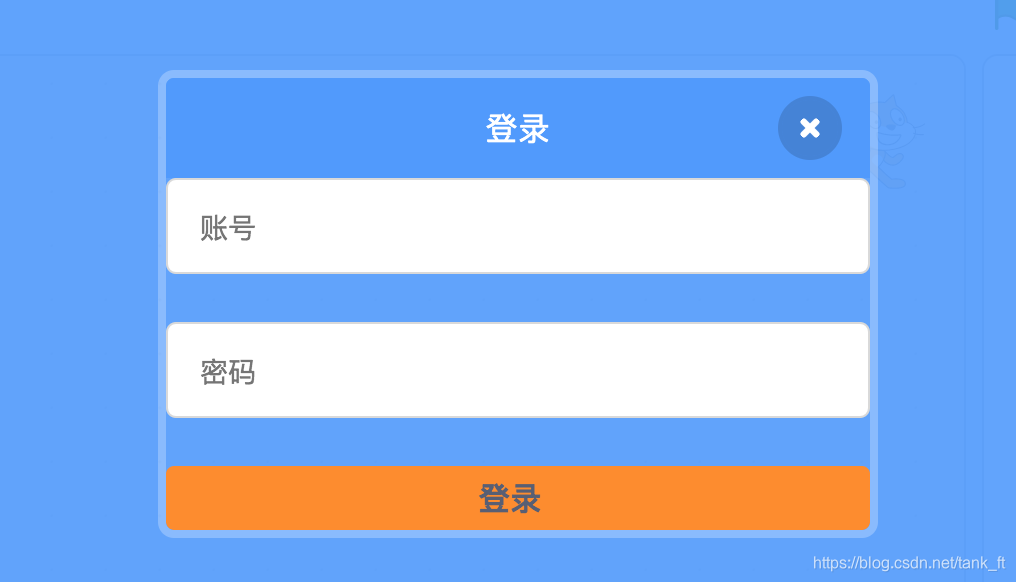
編譯運行:
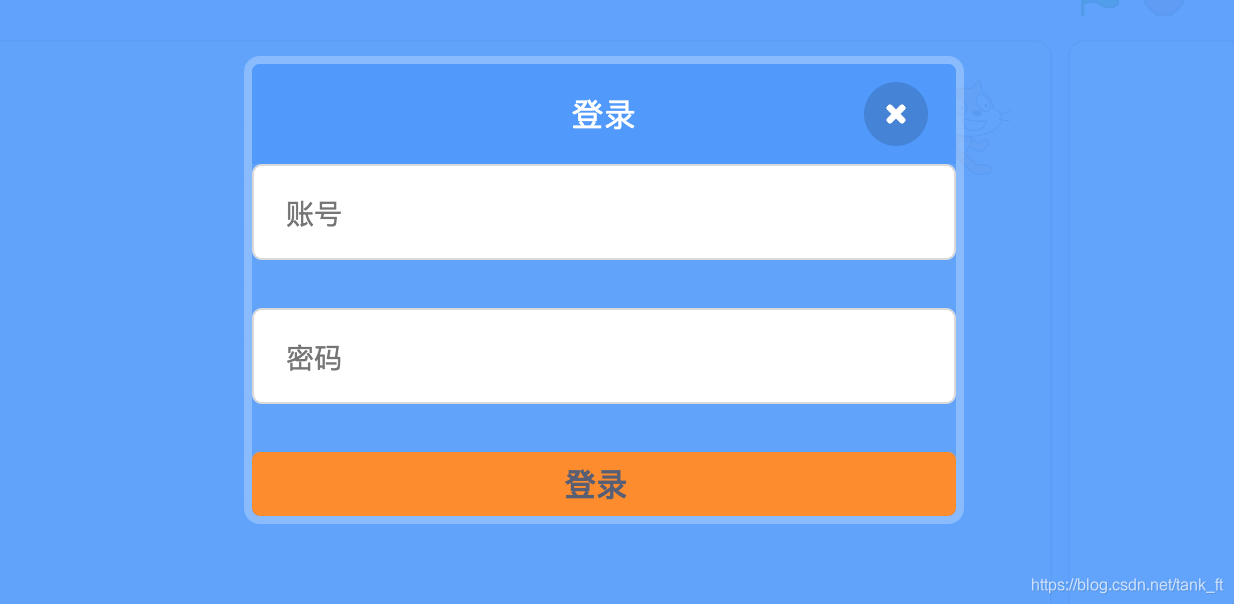
看到確實出現了登錄彈窗界面。
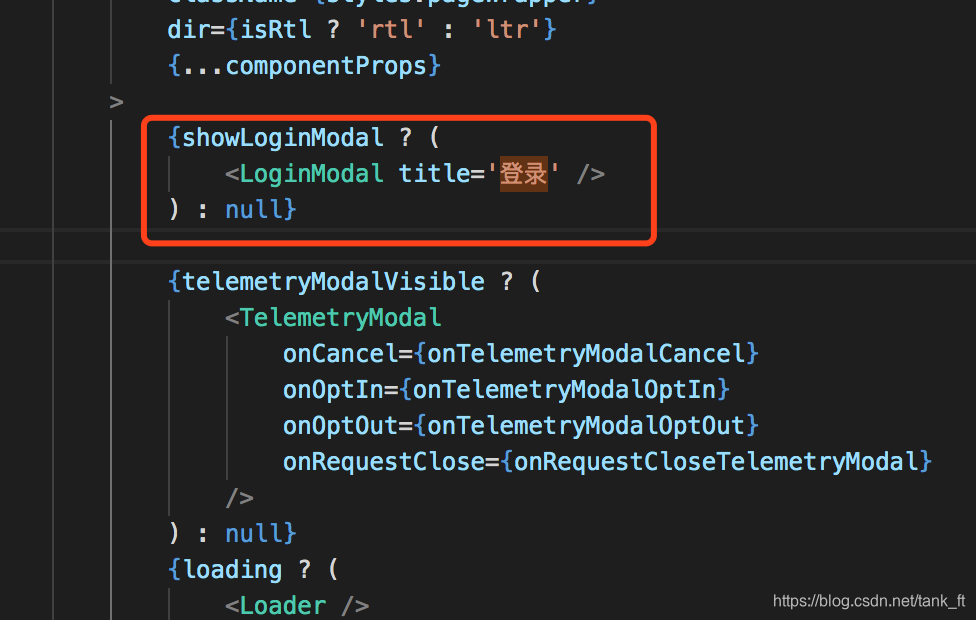
好了。剛才為了調試樣式,我們在components/gui.jsx中寫死了顯示LoginModal,現在我們需要在Login被點擊時顯示它,點擊右上角的X時關閉它。
為了實現LoginModal在GUIComponent中的顯示,我們需要先為GUIComponent添加一個屬性showLoginModal,通過它的值來判斷是否展示。

components/gui/gui.jsx:?
然后修改containers/gui.jsx,將showLoginModal的值與state映射起來:
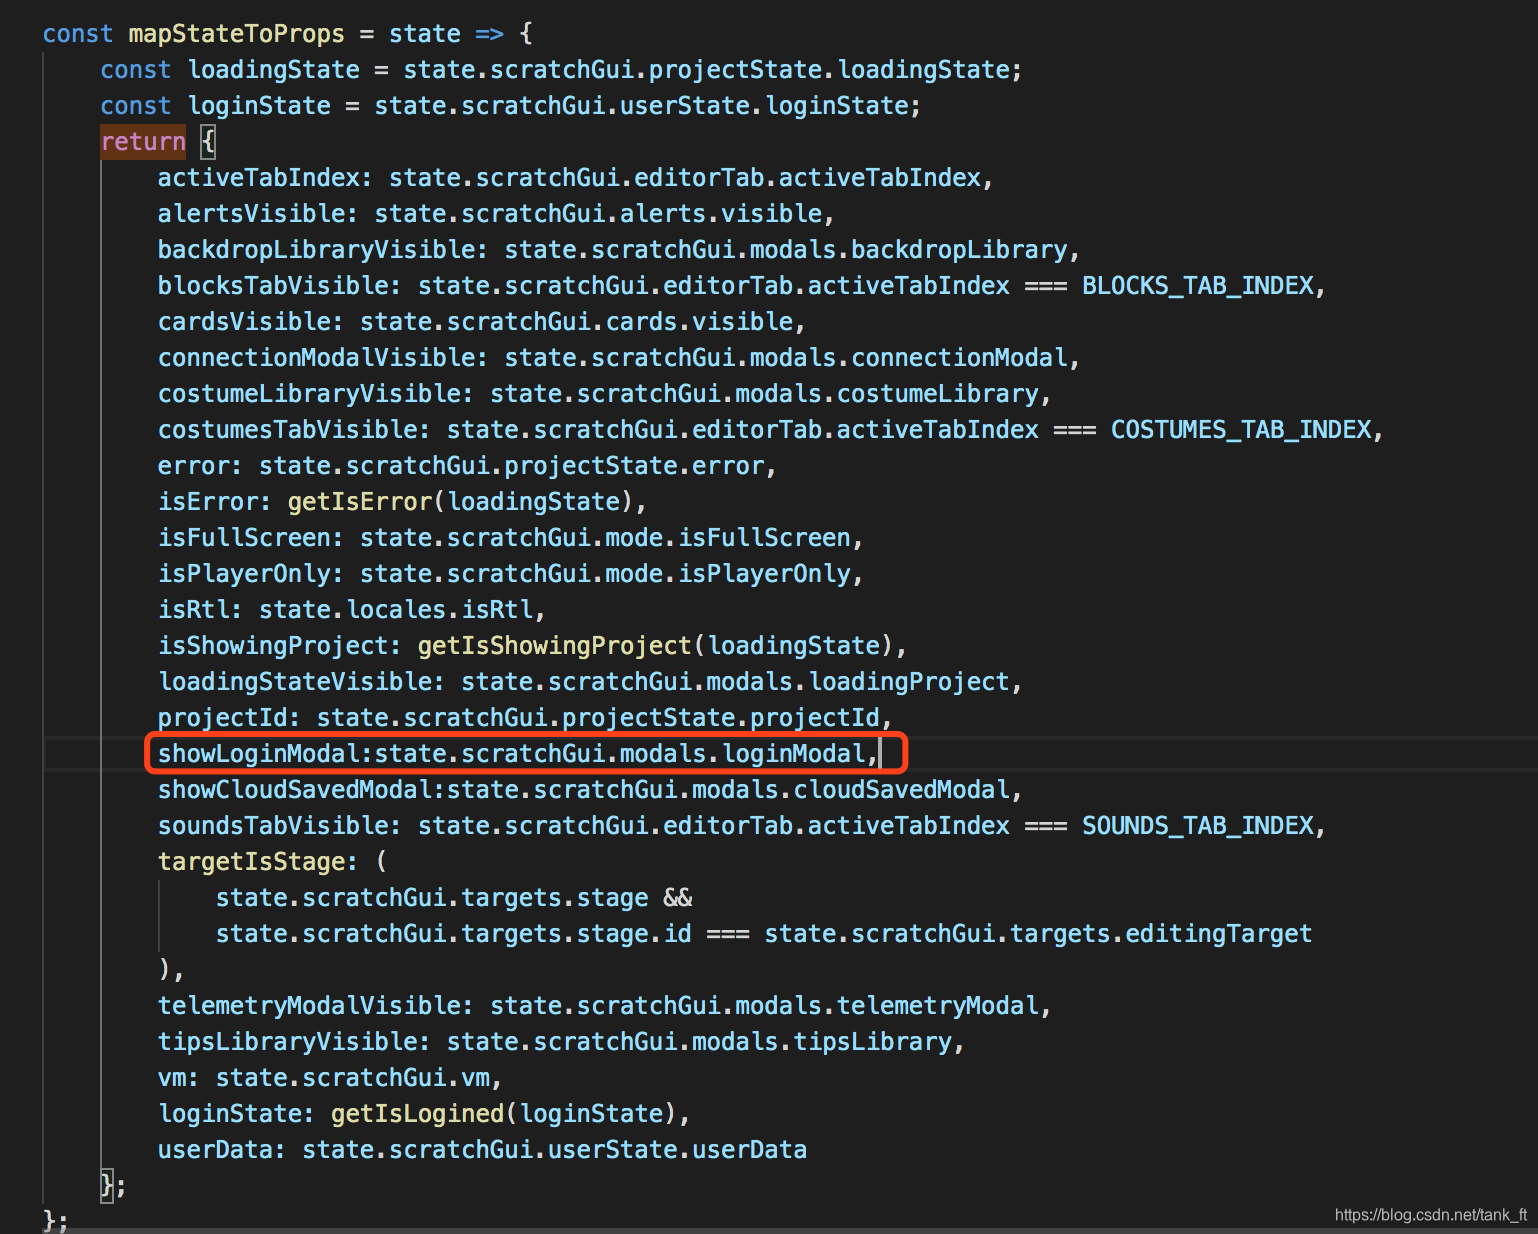
這里我們將props showLoginModal的值映射給:
> state.scratchGui.modals.loginModal
所以我們需要去reducers/modals.js中定義相關state:?
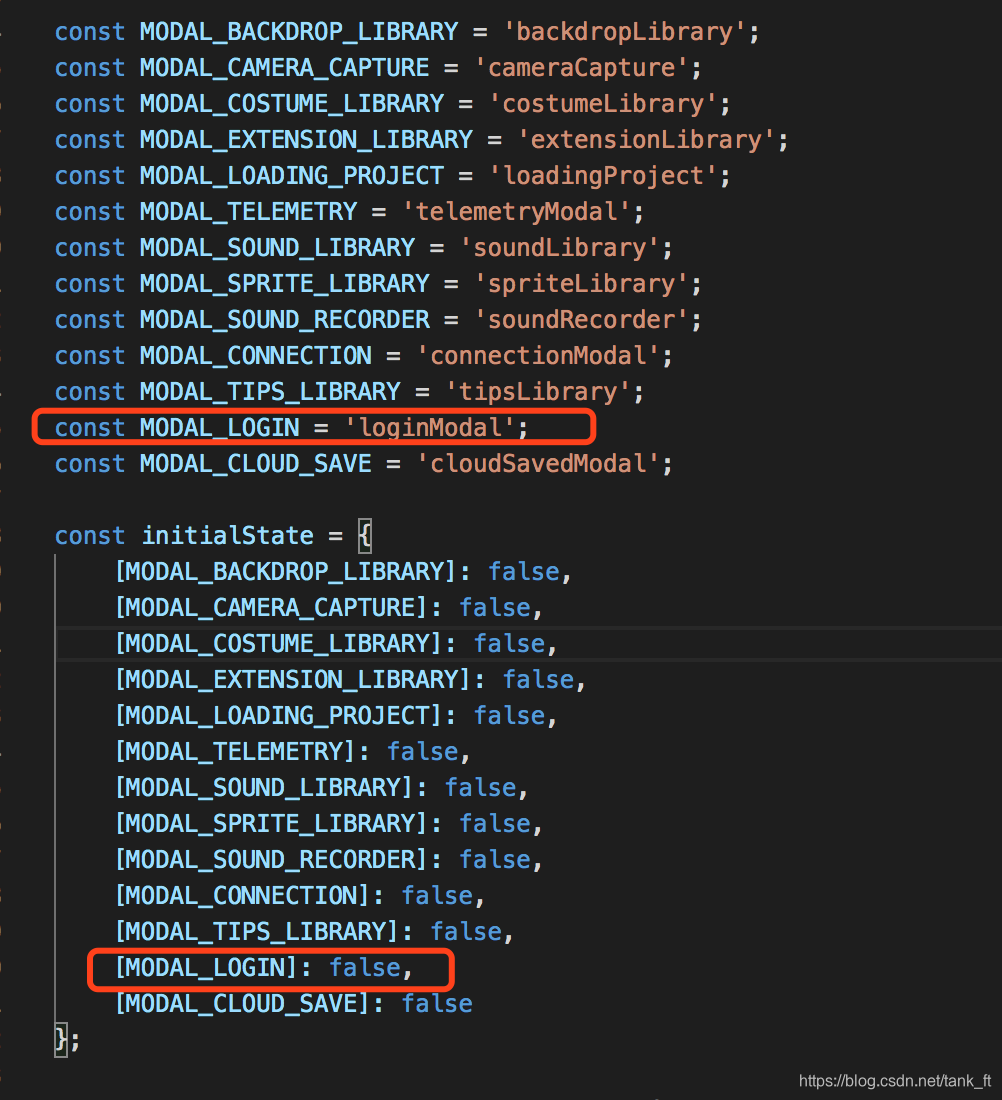?
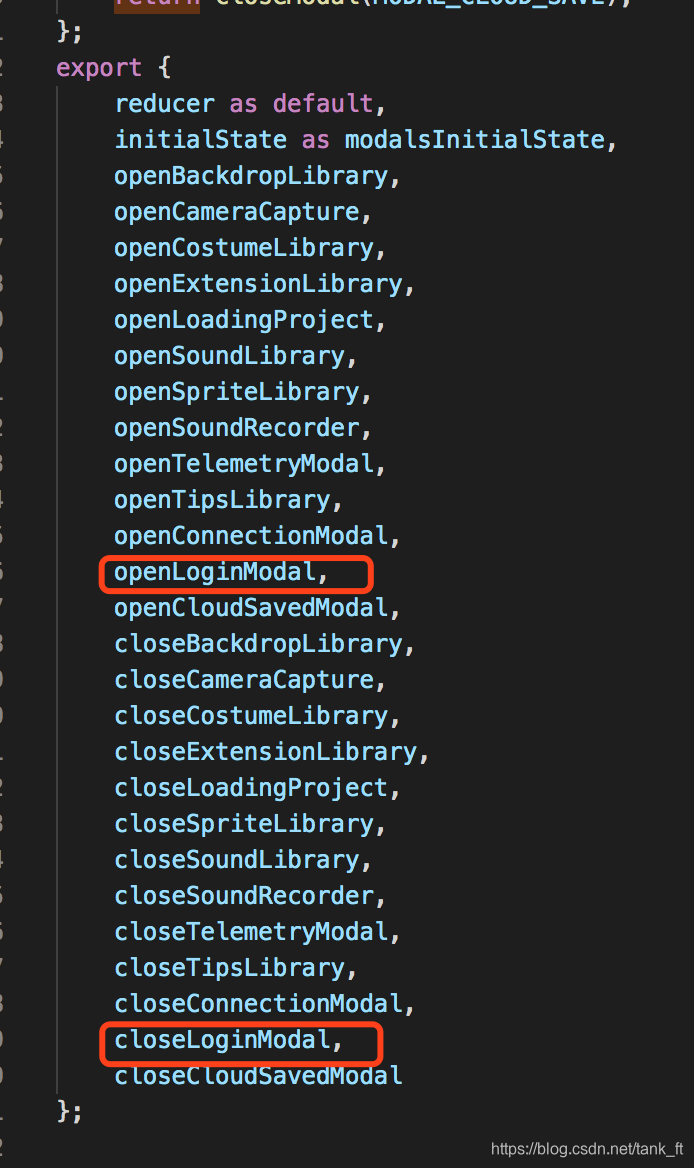
定義打開和關閉的actions:?


最后記得將它們export:?
現在回到components/menu-bar/login-button.jsx,將它的onClick方法映射到openLoginModal中:?
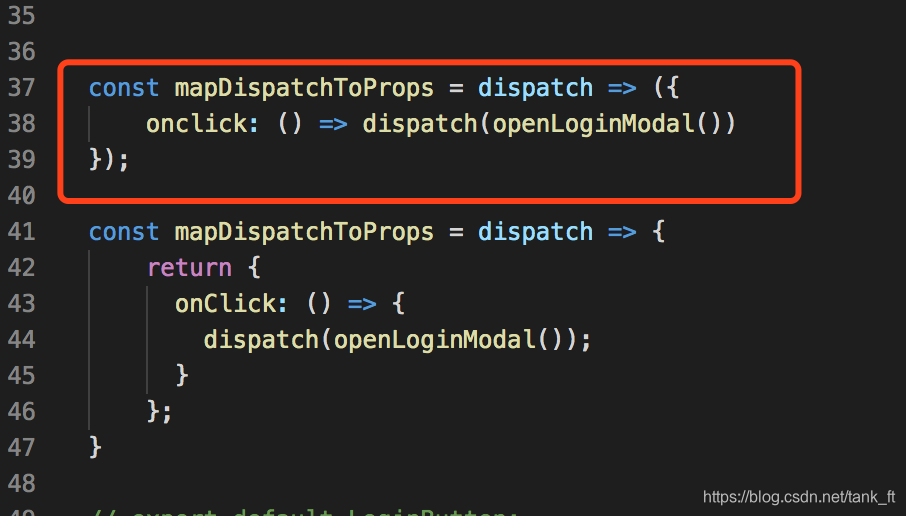
這樣點擊菜單欄的Login按鈕,將會打開LoginModal。
然后是components/login-modal/login-modal.jsx,為它添加關閉登錄窗的處理:
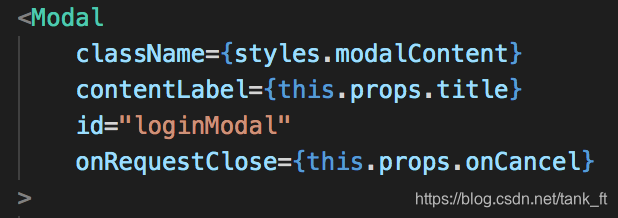
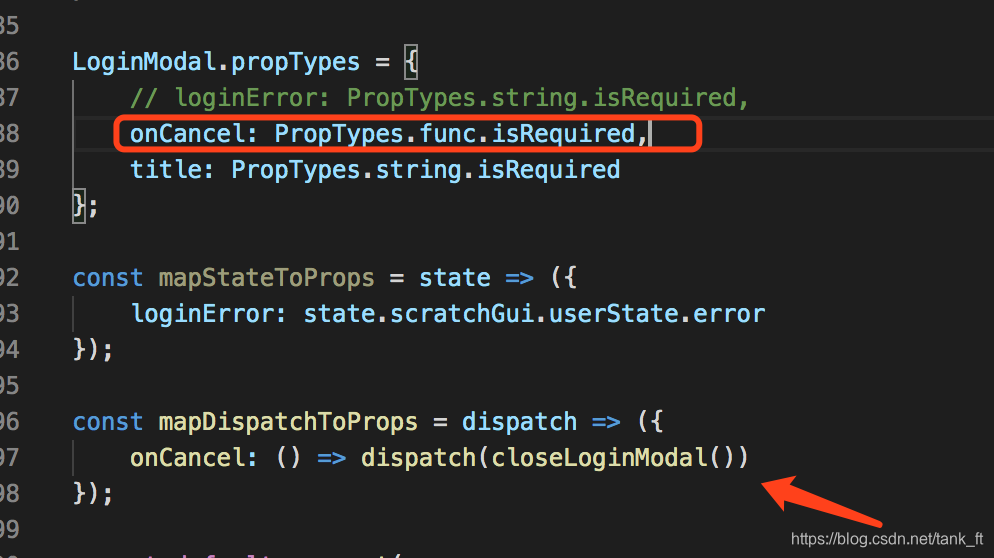
好了,重新編譯運行,我們發現登錄彈窗和關閉彈窗就實現完成了:
先到這里吧,下一章我們將對接登錄接口,完成登錄獲取用戶信息并在右上角展示的功能。
