思路:
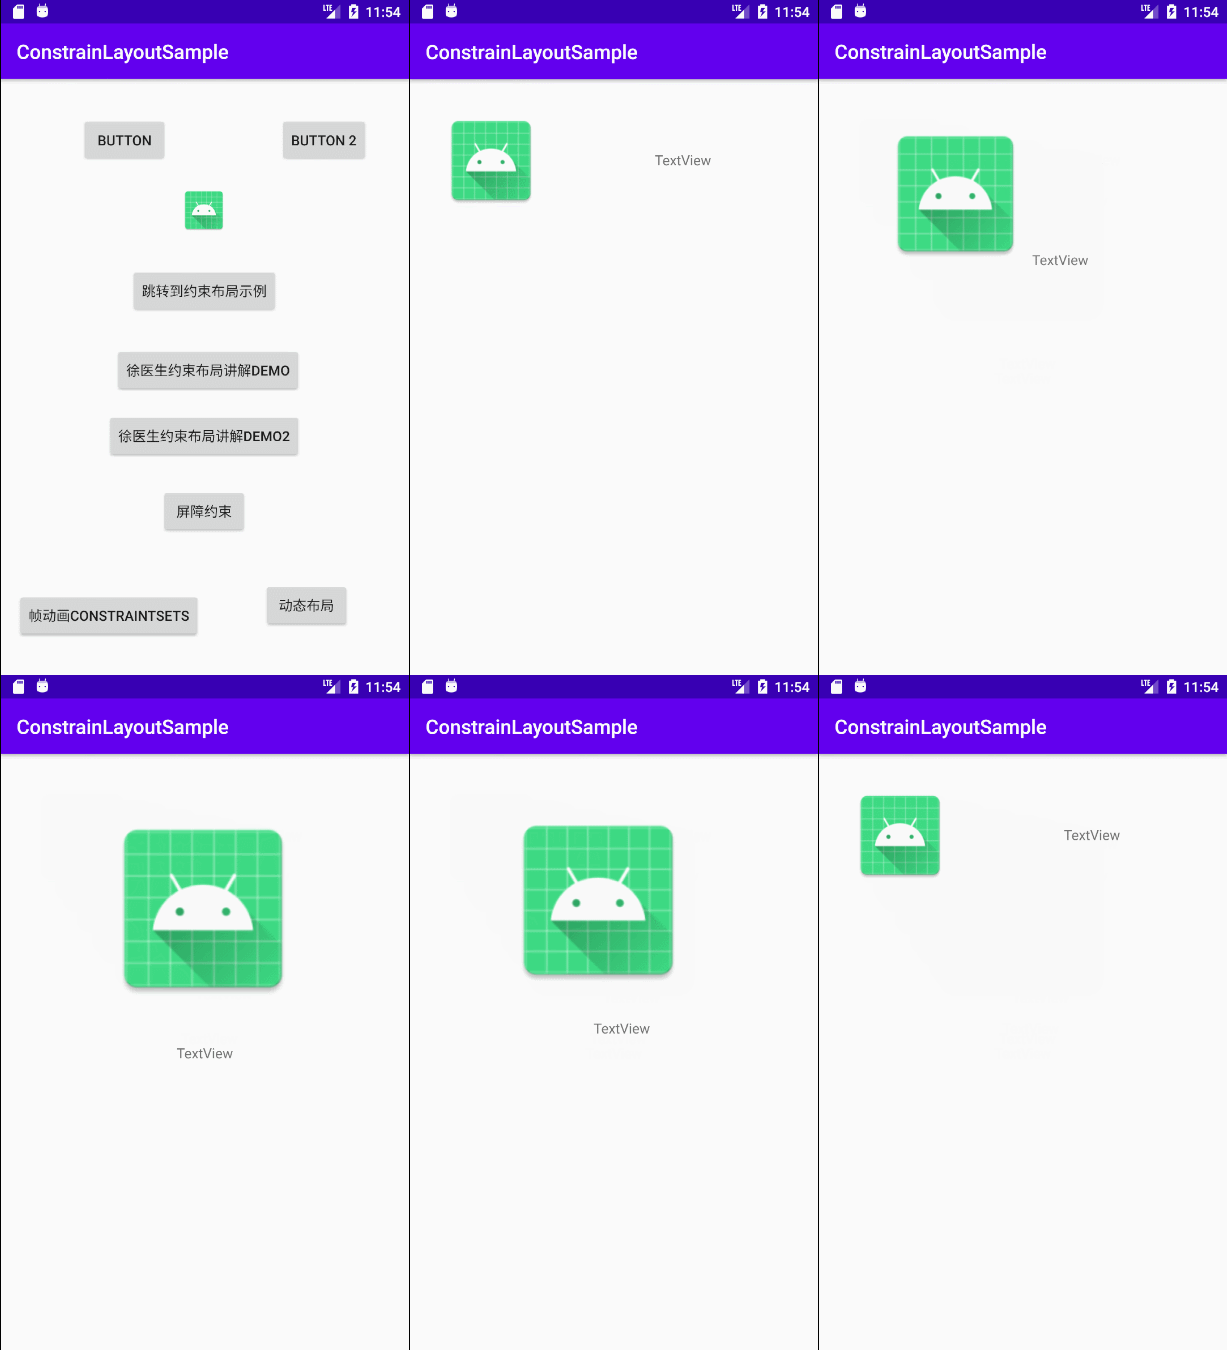
**`activity_constraint_layout_animation2.xml`文件**和`change.xml`文件有相同的組件,id也一樣,只不過`change.xml`文件文件中的圖片變大了,實現效果:點擊第一個布局中圖片,會導致圖片放大,文本下移。實際上就是點擊后布局文件由`activity_constraint_layout_animation2.xml`文件替換成`change.xml`文件。
直接上代碼,如下所示
~~~
package com.wsc.constrainlayoutsample;
import androidx.appcompat.app.AppCompatActivity;
import androidx.constraintlayout.widget.ConstraintLayout;
import androidx.constraintlayout.widget.ConstraintSet;
import android.os.Bundle;
import android.transition.TransitionManager;
import android.view.View;
/**
* ConstraintLayout動態布局與動畫
* 共享元素動畫效果
*/
public class ConstraintLayoutAnimation2Activity extends AppCompatActivity {
private ConstraintSet mConstraintSet1;
private ConstraintSet mConstraintSet2;
private ConstraintLayout mConstraintLayout;
private boolean flag;
@Override
protected void onCreate(Bundle savedInstanceState) {
super.onCreate(savedInstanceState);
setContentView(R.layout.activity_constraint_layout_animation2);
mConstraintLayout = (ConstraintLayout) findViewById(R.id.root2);
mConstraintSet1 = new ConstraintSet();
mConstraintSet2 = new ConstraintSet();
mConstraintSet1.clone(mConstraintLayout);
mConstraintSet2.load(this, R.layout.change);
}
public void toggle(View view) {
TransitionManager.beginDelayedTransition(mConstraintLayout);
flag = !flag;
if (flag) {
mConstraintSet2.applyTo(mConstraintLayout);
} else {
mConstraintSet1.applyTo(mConstraintLayout);
}
}
}
~~~
**`activity_constraint_layout_animation2.xml`文件**
~~~
<?xml version="1.0" encoding="utf-8"?>
<androidx.constraintlayout.widget.ConstraintLayout xmlns:android="http://schemas.android.com/apk/res/android"
xmlns:app="http://schemas.android.com/apk/res-auto"
xmlns:tools="http://schemas.android.com/tools"
android:layout_width="match_parent"
android:layout_height="match_parent"
android:id="@+id/root2"
tools:context=".ConstraintLayoutAnimation2Activity">
<ImageView
android:id="@+id/imageView6"
android:layout_width="100dp"
android:layout_height="100dp"
android:layout_marginStart="32dp"
android:layout_marginTop="32dp"
android:onClick="toggle"
app:layout_constraintStart_toStartOf="parent"
app:layout_constraintTop_toTopOf="parent"
app:srcCompat="@mipmap/ic_launcher" />
<TextView
android:id="@+id/textView2"
android:layout_width="wrap_content"
android:layout_height="wrap_content"
android:layout_marginStart="8dp"
android:layout_marginTop="72dp"
android:layout_marginEnd="8dp"
android:text="TextView"
app:layout_constraintEnd_toEndOf="parent"
app:layout_constraintHorizontal_bias="0.519"
app:layout_constraintStart_toEndOf="@+id/imageView6"
app:layout_constraintTop_toTopOf="parent" />
</androidx.constraintlayout.widget.ConstraintLayout>
~~~
**`change.xml`文件**
~~~
<?xml version="1.0" encoding="utf-8"?>
<androidx.constraintlayout.widget.ConstraintLayout xmlns:android="http://schemas.android.com/apk/res/android"
xmlns:app="http://schemas.android.com/apk/res-auto"
xmlns:tools="http://schemas.android.com/tools"
android:id="@+id/linearLayout"
android:layout_width="match_parent"
android:layout_height="match_parent">
<ImageView
android:id="@+id/imageView6"
android:layout_width="200dp"
android:layout_height="200dp"
android:layout_marginStart="104dp"
android:layout_marginTop="56dp"
app:layout_constraintStart_toStartOf="parent"
app:layout_constraintTop_toTopOf="parent"
app:srcCompat="@mipmap/ic_launcher" />
<TextView
android:id="@+id/textView2"
android:layout_width="wrap_content"
android:layout_height="wrap_content"
android:text="TextView"
app:layout_constraintBottom_toBottomOf="parent"
app:layout_constraintEnd_toEndOf="parent"
app:layout_constraintStart_toStartOf="parent"
app:layout_constraintTop_toTopOf="parent" />
</androidx.constraintlayout.widget.ConstraintLayout>
~~~
實際效果如下

- 前言
- Android系統的體系結構
- Dalvik VM 和 JVM 的比較
- Android 打包應用程序并安裝的過程
- Android ADB工具
- Android應用開發
- Android UI相關知識總結
- Android 中window 、view、 Activity的關系
- Android應用界面
- Android中的drawable和bitmap
- AndroidUI組件adapterView及其子類和Adapter的關系
- Android四大組件
- Android 數據存儲
- SharedPreference
- Android應用的資源
- 數組資源
- 使用Drawable資源
- Material Design
- Android 進程和線程
- 進程
- 線程
- Android Application類的介紹
- 意圖(Intent)
- Intent 和 Intent 過濾器(Google官網介紹)
- Android中關于任務棧的總結
- 任務和返回棧(官網譯文)
- 總結
- Android應用安全現狀與解決方案
- Android 安全開發
- HTTPS
- 安卓 代碼混淆與打包
- 動態注入技術(hook技術)
- 一、什么是hook技術
- 二、常用的Hook 工具
- Xposed源碼剖析——概述
- Xposed源碼剖析——app_process作用詳解
- Xposed源碼剖析——Xposed初始化
- Xposed源碼剖析——hook具體實現
- 無需Root也能Hook?——Depoxsed框架演示
- 三、HookAndroid應用
- 四、Hook原生應用程序
- 五、Hook 檢測/修復
- Android 應用的逆向與加固保護技術
- OpenCV在Android中的開發
- Android高級開發進階
- 高級UI
- UI繪制流程及原理
- Android新布局ConstraintLayout約束布局
- 關鍵幀動畫
- 幀動畫共享元素變換
- Android異步消息處理機制完全解析,帶你從源碼的角度徹底理解
- Android中為什么主線程不會因為Looper.loop()里的死循環卡死?
- 為什么 Android 要采用 Binder 作為 IPC 機制?
- JVM 中一個線程的 Java 棧和寄存器中分別放的是什么?
- Android源碼的Binder權限是如何控制?
- 如何詳解 Activity 的生命周期?
- 為什么Android的Handler采用管道而不使用Binder?
- ThreadLocal,你真的懂了嗎?
- Android屏幕刷新機制
