
[toc]
# 4.1 充值金幣頁開發(一)
## 4.1.1 實現充值金幣頁開發布局
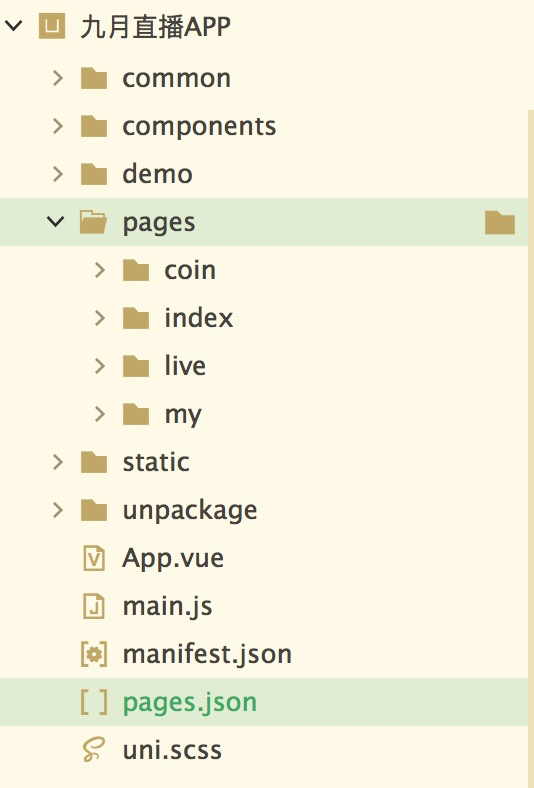
1. 創建充值金幣頁面,頁面名稱為: `coin`
2. 在pages.json文件內配置充值金幣頁面的路徑,并設置充值金幣頁面標題為`我的余額`
```
{
"pages": [ //pages數組中第一項表示應用啟動頁,參考:https://uniapp.dcloud.io/collocation/pages
{
"path": "pages/index/index",
"style": {
"app-plus": {
"titleNView": {
"titleAlign":"left",
"titleText":"直播",
"buttons":[
{
"type" : "menu"
}
]
}
}
}
},
{
"path": "pages/my/my",
"style": {
}
},
{
"path": "pages/live/live",
"style": {
"app-plus":{
"titleNView":false
}
}
},
{
"path": "pages/coin/coin",
"style": {
"navigationBarTitleText":"我的余額",
"navigationBarBackgroundColor":"#FFFFFF",
"navigationBarTextStyle":"black"
}
}
],
"globalStyle": {
"navigationBarTextStyle": "white",
"navigationBarTitleText": "九月直播",
"navigationBarBackgroundColor": "#8745FF",
"backgroundColor": "#8745FF"
},
"tabBar": {
"color":"#707070",
"selectedColor":"#8745FF",
"backgroundColor":"#ffffff",
"borderStyle":"black",
"midButton": {
"iconPath":"static/tabbar/min.png",
"iconWidth":"60px",
"height" : "65px"
},
"list": [
{
"iconPath":"static/tabbar/find.png",
"selectedIconPath":"static/tabbar/find-selected.png",
"text" : "發現",
"pagePath":"pages/index/index"
},
{
"iconPath":"static/tabbar/my.png",
"selectedIconPath":"static/tabbar/find-selected.png",
"text":"我的",
"pagePath":"pages/my/my"
}
]
}
}
```
3. 點擊彈出禮物層的充值按鈕跳轉到充值金幣頁面
```
<! --給充值按鈕添加點擊事件 -->
<view style="height: 100rpx;" class="flex align-center justify-end">
<view @click="openCoin" class="bg-warning flex mr-3 align-center py-2 rounded px-2 justify-center" >
<text class="font">充值</text>
</view>
<view class="bg-main flex mr-3 align-center py-2 rounded px-2 justify-center" >
<text class="font text-white" @click="sendGift">發送</text>
</view>
</view>
//跳轉到金幣充值頁面
openCoin(){
uni.navigateTo({
url: "../coin/coin"
})
}
```
4. 點擊直播頁面的金幣圖標時也跳轉到充值金幣頁面
```
<! --給充值按鈕添加點擊事件 -->
<view @click="openCoin" style="height:80rpx; width: 80rpx; background-color: rgba(255,255,255,0.12);" class="flex mr-1 justify-center rounded-circle align-center">
<text class="iconfont text-white" style="font-size: 40px; "></text>
</view>
//跳轉到金幣充值頁面
openCoin(){
uni.navigateTo({
url: "../coin/coin"
})
}
```
5. 實現標題底部的邊框線,并設置整體的內邊距
```
<template>
<view class="border-top border-light-secondary p-3">
</view>
</template>
<script>
</script>
<style>
</style>
```
6. 實現當前金幣模塊布局
```
<template>
<view class="border-top border-light-secondary p-3">
<!-- 當前金幣 -->
<view class="rounded py-4 flex flex-column align-center justify-center bg-main">
<text class="text-white font-sm mb-2">當前金幣</text>
<text class="font-weight-bold text-white" style="font-size: 60rpx;">50</text>
</view>
</view>
</template>
<script>
</script>
<style>
</style>
```
7. 實現分割線
```
<template>
<view class="border-top border-light-secondary p-3">
<!-- 當前金幣 -->
<view class="rounded py-4 flex flex-column align-center justify-center bg-main">
<text class="text-white font-sm mb-2">當前金幣</text>
<text class="font-weight-bold text-white" style="font-size: 60rpx;">50</text>
</view>
<!-- 分割線 -->
<view class="border-top border-light-secondary my-3"></view>
</view>
</template>
<script>
</script>
<style>
</style>
```
8. 實現選擇充值金幣布局
```
<template>
<view class="border-top border-light-secondary p-3">
<!-- 當前金幣 -->
<view class="rounded py-4 flex flex-column align-center justify-center bg-main">
<text class="text-white font-sm mb-2">當前金幣</text>
<text class="font-weight-bold text-white" style="font-size: 60rpx;">50</text>
</view>
<!-- 分割線 -->
<view class="border-top border-light-secondary my-3"></view>
<!-- 選擇充值金幣標題 -->
<view>
<text class="font-sm text-muted">請選擇充值金幣</text>
</view>
<!-- 選擇充值金幣列表 -->
<view class="flex flex-wrap" style="margin-left: -20rpx; margin-right: -20rpx;">
<view v-for="(item,index) in 6" style="width: 33.3%; box-sizing: border-box; " class=" p-2">
<view style="height: 130rpx;" class="border rounded flex flex-column align-center justify-center">
<view class="flex align-center">
<text class="iconfont text-warning mr-1"></text>
<text class="font-md font-weight-bold">10</text>
</view>
<text class="font text-light-muted">¥10</text>
</view>
</view>
</view>
</view>
</template>
<script>
</script>
<style>
</style>
```
- 第一章 項目介紹和準備
- 1.1 課程介紹
- 1.2 環境搭建和項目創建
- 1.3 引入全局樣式
- 1.4 引入圖標庫
- 1.5 底部導航和凸起按鈕配置
- 第二章 首頁開發
- 2.1 首頁開發(一)
- 2.2 首頁開發(二)
- 第三章 直播間(用戶端)開發
- 3.1 基礎布局開發(一)
- 3.2 基礎布局開發(二)
- 3.3 個人信息和觀看情況
- 3.4 接收禮物組件(一) - 布局
- 3.5 接收禮物組件(二) - 自動滾動
- 3.6 接收禮物組件(三) - 自動消失
- 3.7 底部操作條
- 3.8 彈幕組件開發(一) - 輸入框彈出層
- 3.9 彈幕組件開發(二) - 置于底部功能
- 3.10 彈幕組件開發(三) - 發送彈幕
- 3.11 送禮物彈框組件(一) - 布局
- 3.12 送禮物彈框組件(二) - 功能
- 第四章 充值金幣頁開發
- 4.1 充值金幣頁開發(一)
- 4.2 充值金幣頁開發(二)
- 第五章 直播間(主播端)開發
- 5.1 創建直播頁 - 推流組件
- 5.2 創建直播頁 - 布局(一)
- 5.3 創建直播頁 - 布局(二)
- 5.4 創建直播頁 - 鏡頭反轉
- 5.5 創建直播頁 - 切換畫質
- 5.6 創建直播頁 - 美顏和美白
- 5.7 關于退出創建直播頁黑邊問題
- 5.8 主播直播間(一)
- 5.9 主播直播間(二)
- 第六章 個人中心頁面開發
- 6.1 個人中心頁
- 第七章 egg.js基礎
- 第八章 后臺管理系統開發
- 8.1 創建項目和基礎配置
- 第九章 交互和部署上線
- 9.1 登錄注冊交互實現
- 9.2 個人中心交互實現
- 9.3 退出登錄以及初始化用戶信息
- 9.5 權限驗證
- 9.6 首頁交互 - 上拉加載與下拉刷新
- 9.7 創建訂單和微信支付(一)
- 9.8 創建訂單和微信支付(二)
- 9.9 微信支付調試和充值頁交互
- 9.10 直播間交互
- 9.11 socket.io安裝與通訊(一)
- 9.12 socket.io安裝和通訊(二)
- 9.13 加入直播間(一)
- 9.14 加入直播間(二)
- 9.15 加入直播間(三)
- 9.16 離開直播間
- 9.17 直播間實時在線用戶列表
- 9.18 直播間實時彈幕功能
- 9.19 直播間送禮物功能
- 9.20 創建直播功能交互(一)
- 9.21 創建直播功能交互(二)
- 9.22 優化前端部分問題(一)
- 9.23 優化前端部分問題(二)
- 第七章 登錄注冊頁面開發