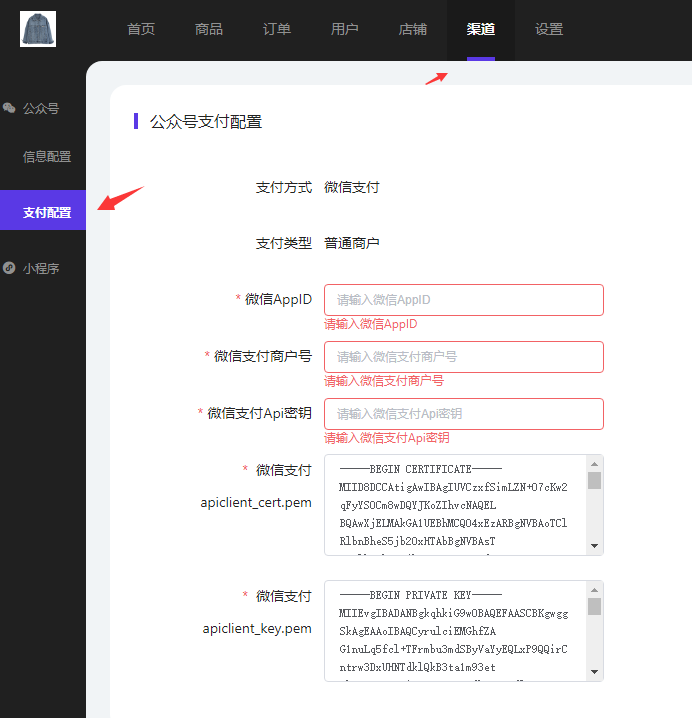
## 公眾號支付配置位置
渠道=》公眾號=》支付配置
<br/>
## 微信AppID獲取
就是填信息配置里的公眾號appid
<br/>
## 微信支付商戶號獲取
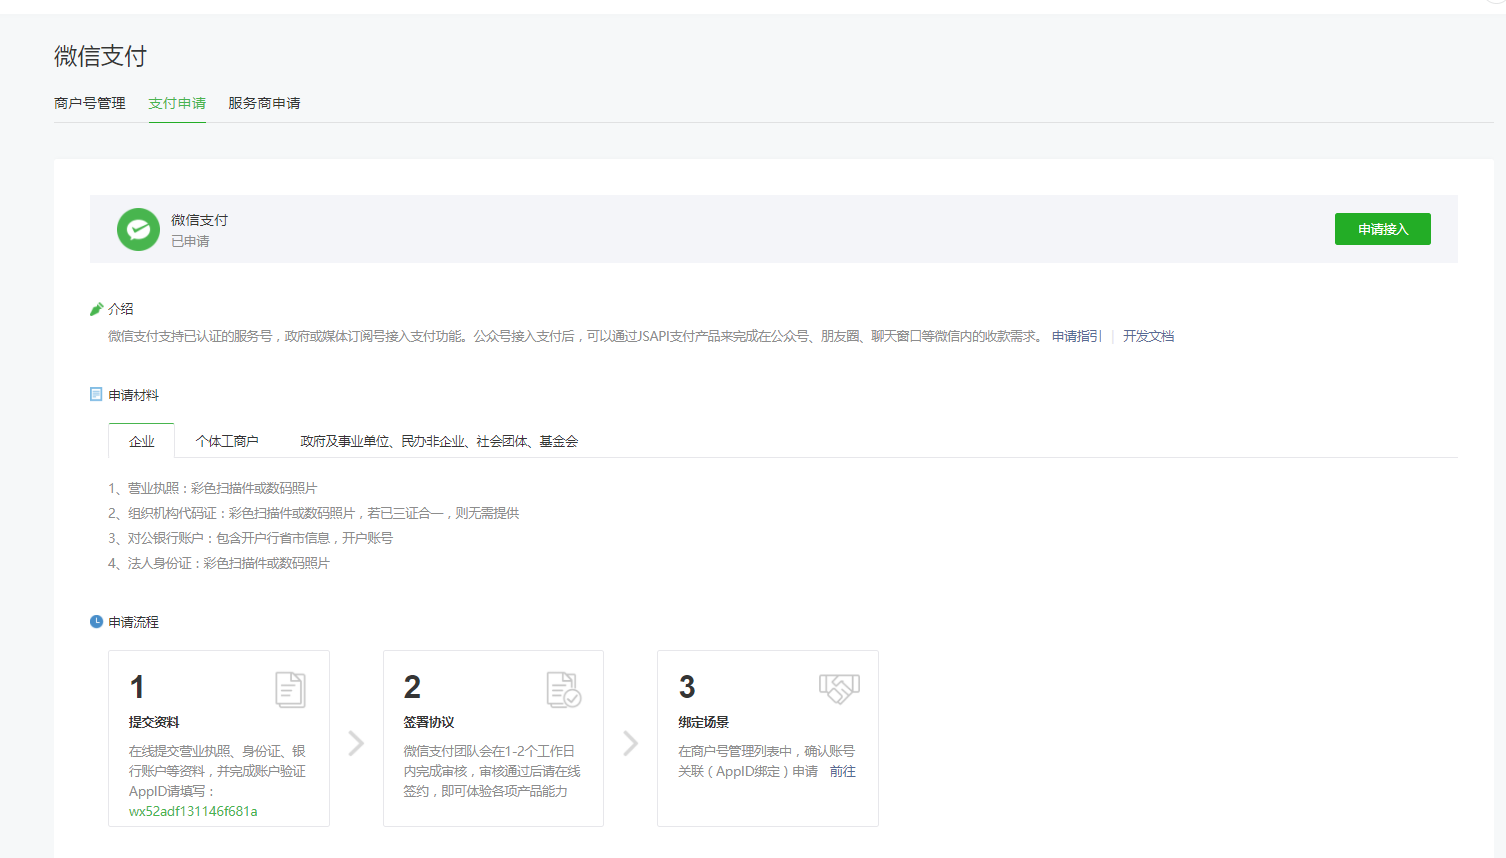
第一步:沒有注冊微信商戶的,可以先去微信公眾平臺=》微信支付=》支付申請接入:
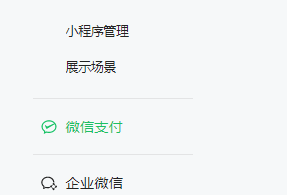
左側菜單找到微信支付
微信支付里=》支付申請:
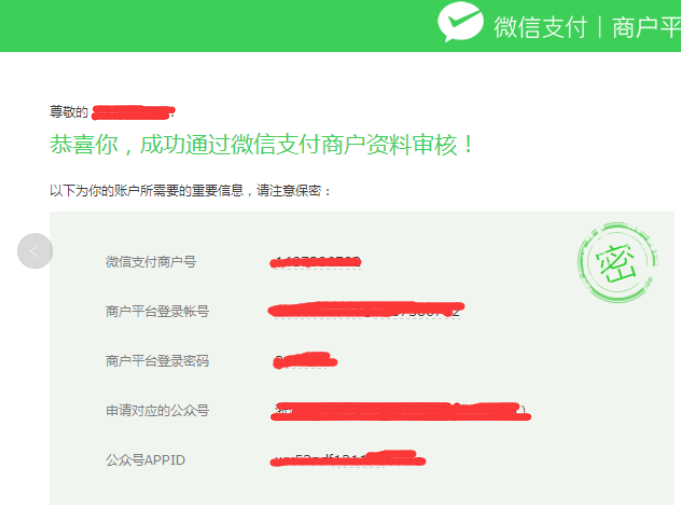
注冊好的商戶號相關的資料會發送到注冊時填寫的郵箱里
<br/>
第二步:登陸微信商戶平臺關聯公眾號:
微信商戶平臺登陸地址:https://pay.weixin.qq.com/, 使用注冊時綁定的微信號掃碼即可登陸
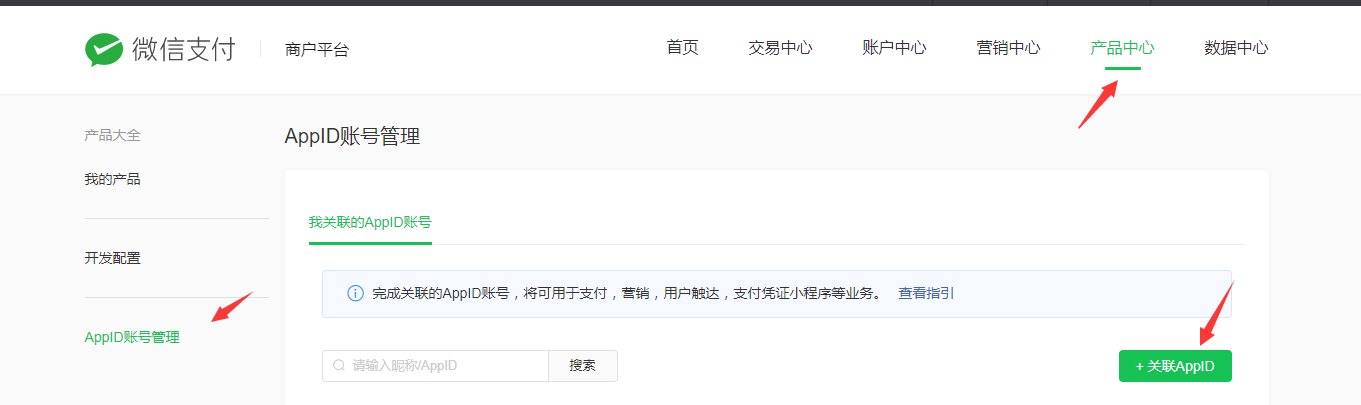
進入產品中心=》AppID賬號管理,添加你需要關聯的公眾號appid
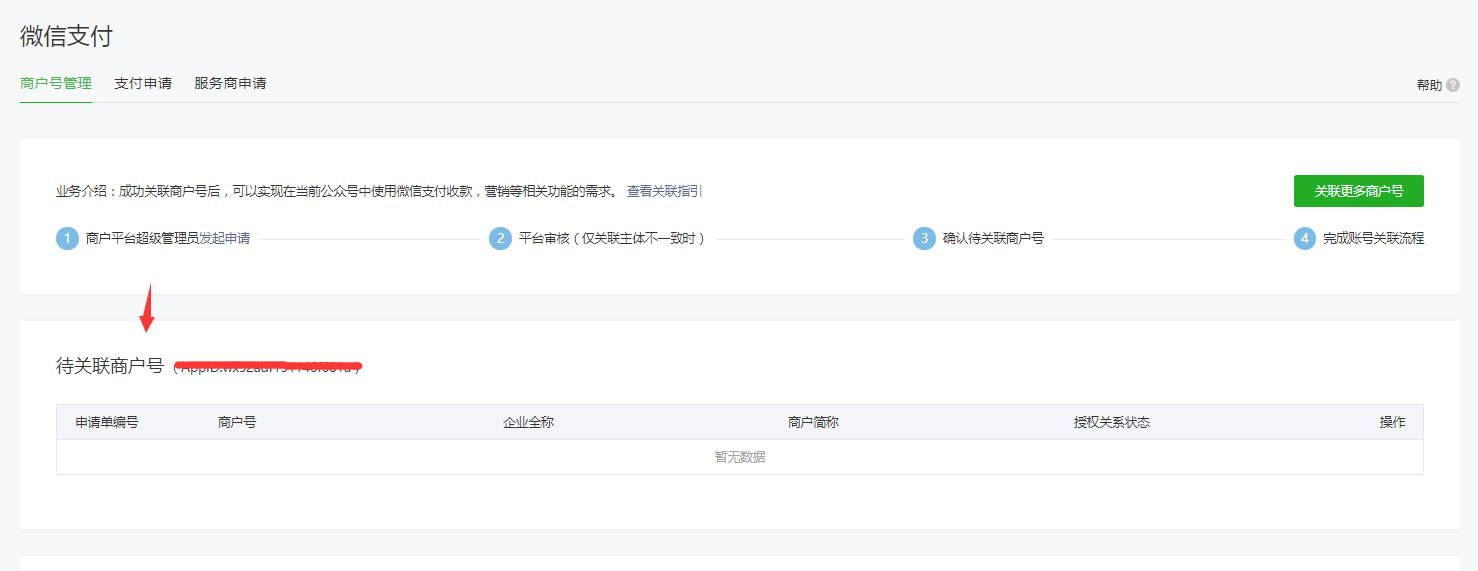
添加好后,再去登陸公眾號對應的微信公眾平臺,微信支付那里,同意關聯對應的商戶號
<br/>
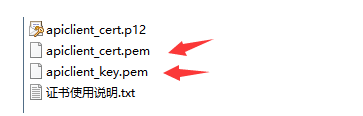
## 獲取微信支付API證書:apiclient_cert.pem和apiclient_key.pem:
可以看下微信官方提供的詳細獲取教程:
https://kf.qq.com/faq/161222NneAJf161222U7fARv.html
最終下載解壓后, 用txt記事本打開對應的文件,全部復制到商城后臺對應的位置
<br/>
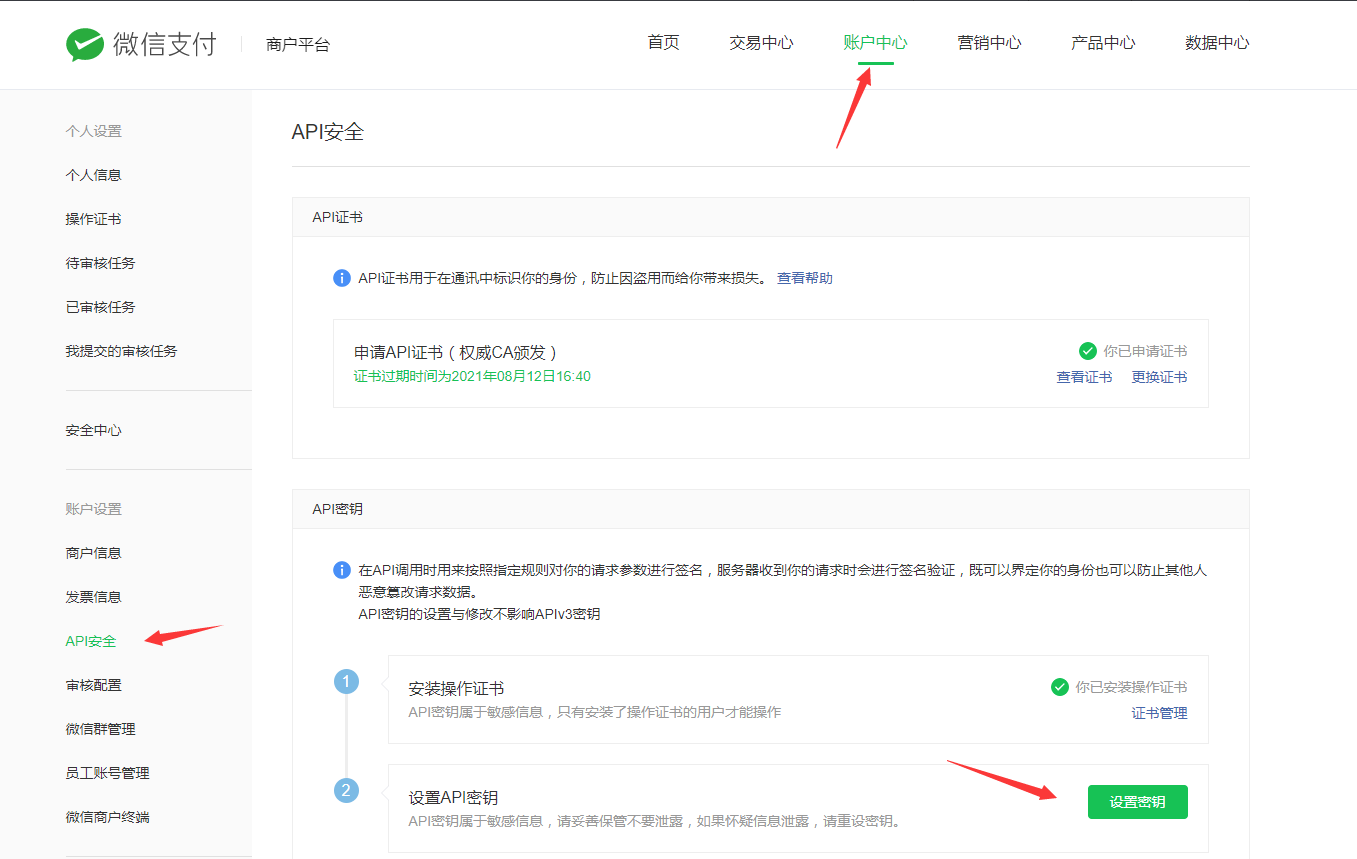
## 獲取微信支付Api密鑰
商戶平臺=》賬戶中心=》API安全,設置API秘鑰
秘鑰需要32位,并且包含隨機大小寫字母、數字組合
可以在 https://suijimimashengcheng.51240.com 里選擇32位,隨機生成,然后復制到商戶平臺那里配置API秘鑰,記得同時配置到商城后臺
<br/>
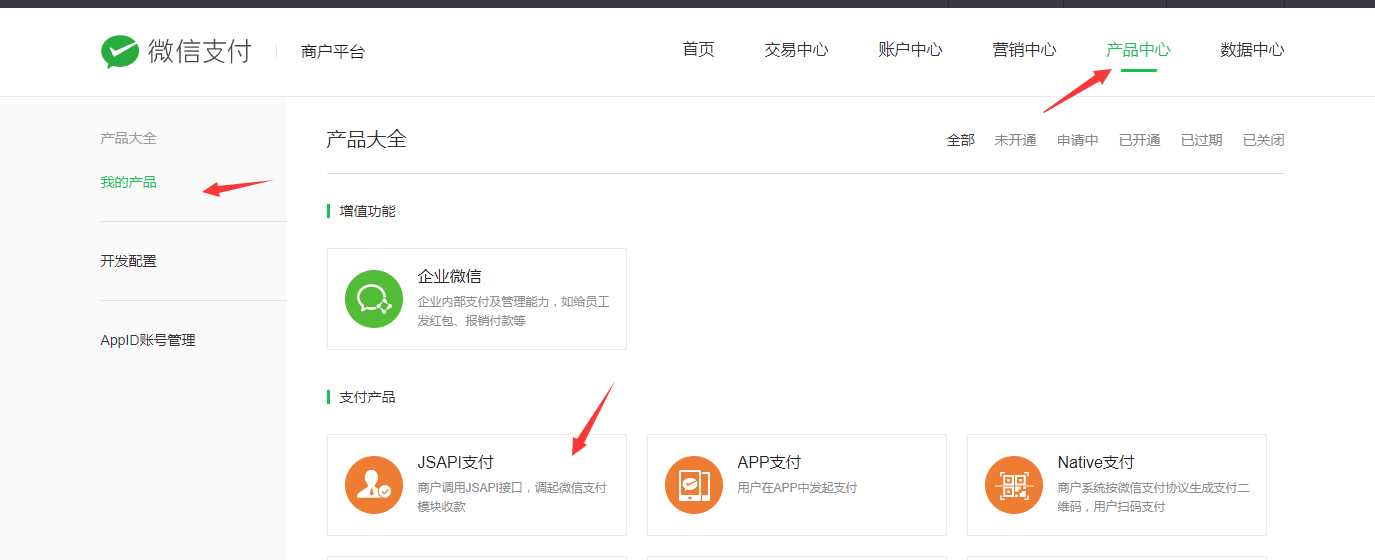
## 開通JSAPI產品
第一步:確認下商戶平臺=》產品中心=》產品大全,有沒有開通JSAPI。
<br/>
第二步:開通后,進入產品設置:
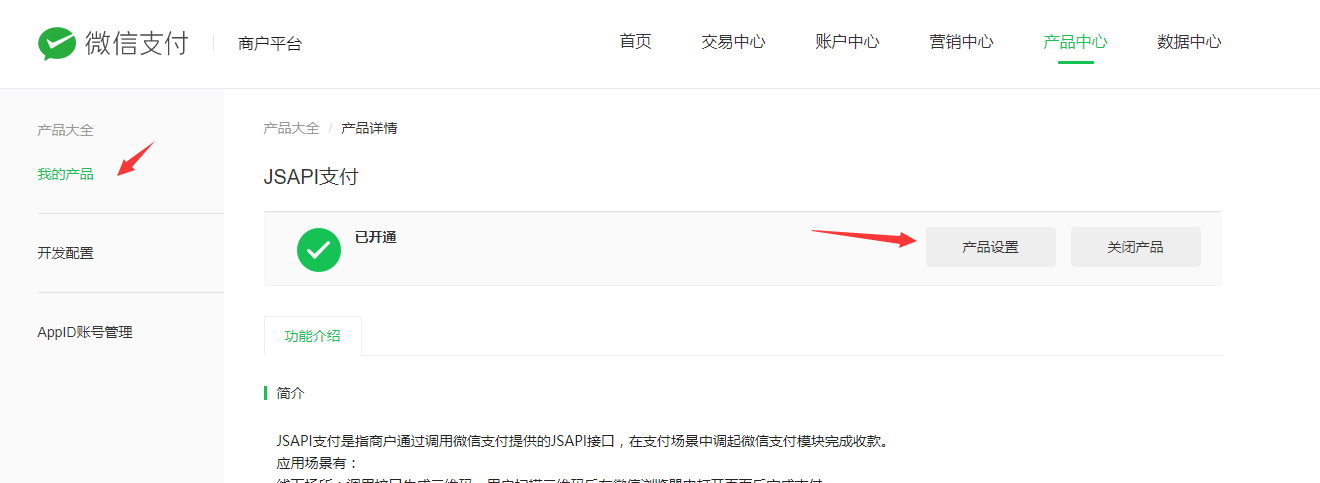
<br/>
第三步:設置JSAPI的支付授權目錄:
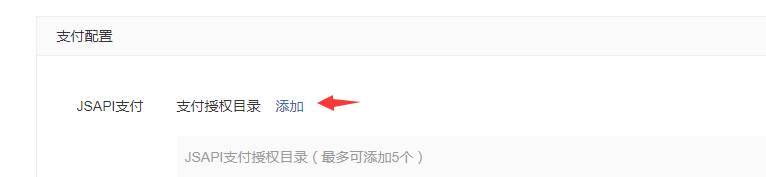
選擇https開頭

目錄格式,替換成您自己的域名,注意后面有個斜杠:
www.xxx.com/
