# windows
## 下載Composer
訪問[https://getcomposer.org/Composer-Setup.exe](https://getcomposer.org/Composer-Setup.exe)或[團隊文件服務器 密:yunzhi.club](http://nas.yunzhi.club:5010/fsdownload/dTeYhY2xt)下載Composer-Setup.exe安裝程序。
下載完成后運行安裝文件。
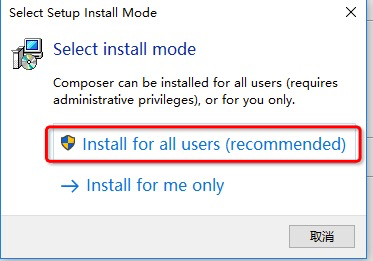
選擇默認項。

選擇是。
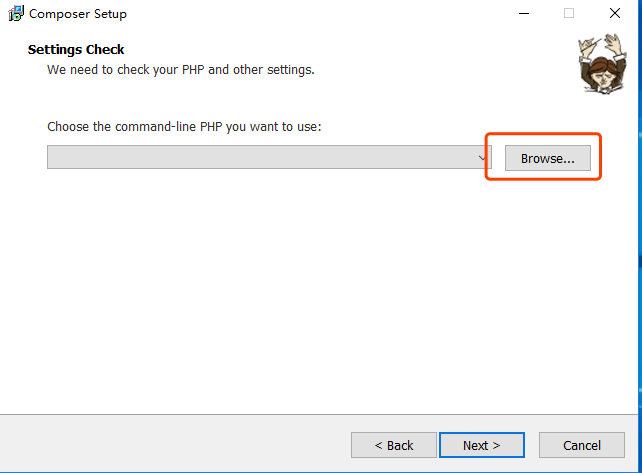
點擊瀏覽。
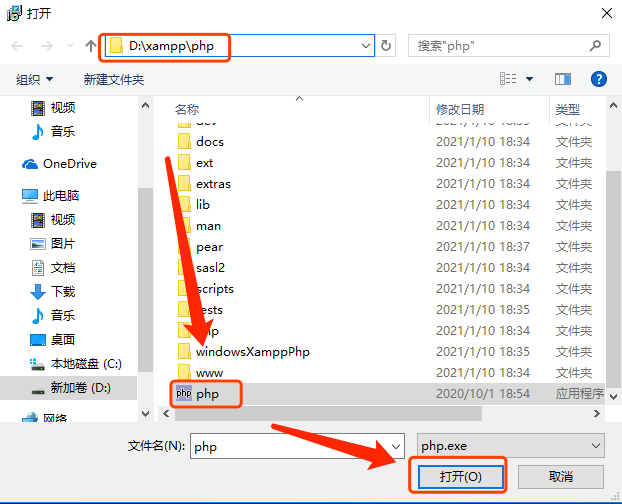
選擇php.exe的位置。

選中Add this PHP to you path后一路默認next,等待應用安裝完成。
安裝時長視網絡情況將略有不同。

安裝成功后界面如上,點擊finish完成安裝。
## 下載TP6
xampp中的apache有個叫`文檔根目錄`的東西,要成功的運行TP6則需要將其下載到apache的`文檔根目錄`中。在當前xampp中其apache的`文檔根目錄`被設置為`/Applications/XAMPP/htdocs`,接下來我們進入此根目錄并將TP6下載到此目錄下:

點擊windows左下角的windows圖標(或按鍵盤上的 win 鍵)后輸入:powershell,點擊最上方顯示的`Windows PowerShell`.
>[info] 從 Windows 7 SP1 和 Windows Server 2008 R2 SP1 開始,每個 Windows 中默認隨附安裝有 Windows PowerShell。
依次執行以下3條命令:
```bash
composer config -g repo.packagist composer https://mirrors.aliyun.com/composer/
cd d:/xampp/htdocs
composer create-project topthink/think=6.0.6 tp6
```
執行示例如下:
```bash
# 設置國內源,加速composer下載
S C:\Users\panjie>composer config -g repo.packagist composer https://mirrors.aliyun.com/composer/
# 進入apache 文檔根目錄
S C:\Users\panjie> cd d:/xampp/htdocs
# 使用composer下載指定的版本
PS D:\xampp\htdocs> composer create-project topthink/think=6.0.6 tp6
Creating a "topthink/think=6.0.6" project at "./tp6"
Installing topthink/think (v6.0.6)
- Downloading topthink/think (v6.0.6)
......
> @php think vendor:publish
Succeed!
6 packages you are using are looking for funding.
Use the `composer fund` command to find out more!
```
## Hello ThinkPHP6
打開xampp,啟動apache服務后,在瀏覽器中打開:[http://localhost/tp6/public/index.php](http://localhost/tp6/public/index.php)
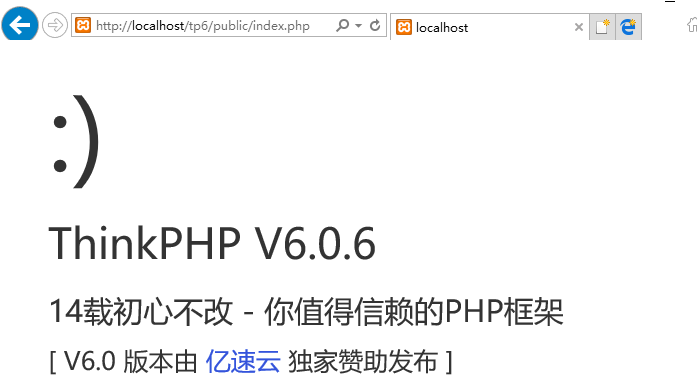
萬事開頭難,恭喜你成功的邁出了第一步。
- 序言
- 第一章 Hello World
- 1.1 運行環境
- 1.1.1 windows
- 1.1.2 macos
- 1.1.3 ubuntu
- 1.2 Hello ThinkPHP
- 1.2.1 windows
- 1.2.2 macos
- 1.2.3 ubuntu
- 2.3 Hello World
- 第二章 教師管理
- 2.1 數據庫初始化
- 2.2 CRUD之 R 讀取數據
- 1 數據流
- 2.2.2 連接數據庫
- 2.2.3 直接讀取數據之DB
- 2.2.4 間接讀取數據之模型
- 2.2.5 顯示數據之原始文案
- 2.2.6 單引號與雙引號
- 2.2.7 顯示數據之視圖
- 2.2.8 模板語法
- 2.2.9 使用bootstrap美化界面
- 2.3 CRUD之 C 增加數據
- 2.3.1 MCA默認路由