
使用Postgresql自帶的pgAgent,可以很方便地創建定時執行任務。現在網上的資料都比較舊,Postgresql版本更新得比較快,導致網上的一些教程都不合用了,現在我寫分享一下自己的經驗。
Postgresql的版本是 9.X
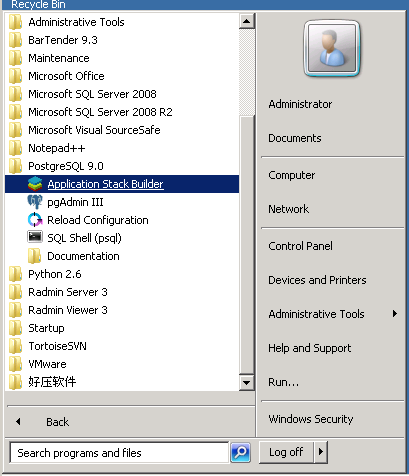
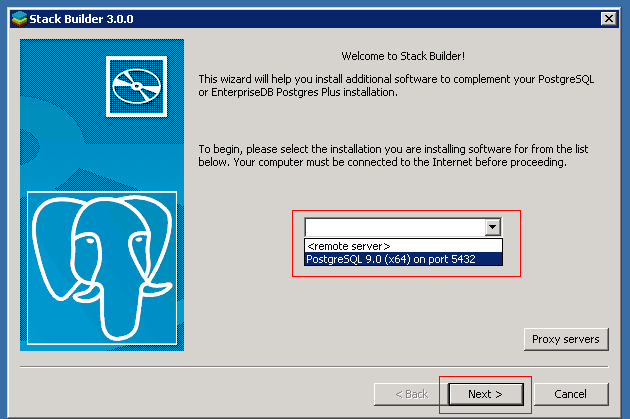
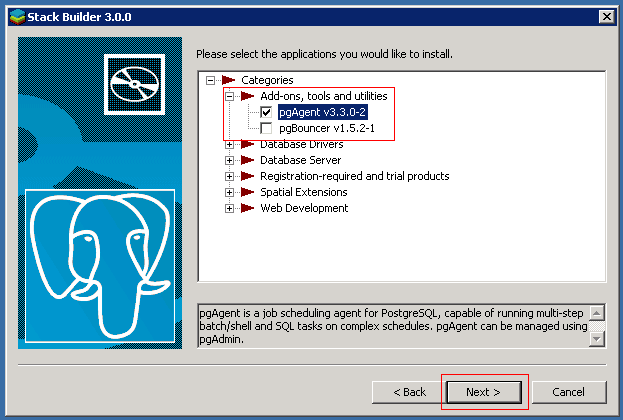
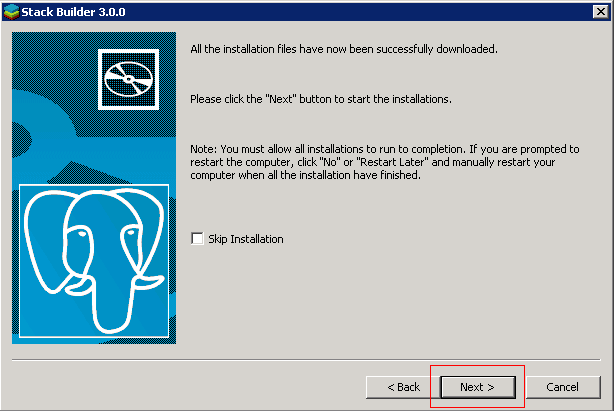
1.安裝pgAgent。pgAgent在以前舊的版本是pgAdmin自帶的,但新版本的pgAgent是需要通過Postgresql自帶的Application Stack Builder這個軟件來安裝的。具體流程如下:
[](http://static.oschina.net/uploads/space/2013/0503/172202_LlTL_94610.png)
[](http://static.oschina.net/uploads/space/2013/0503/172233_ceXM_94610.png)
[](http://static.oschina.net/uploads/space/2013/0503/172248_eekN_94610.png)
[](http://static.oschina.net/uploads/space/2013/0503/172304_bGxr_94610.png)
[](http://static.oschina.net/uploads/space/2013/0503/172318_uRxU_94610.png)[](http://static.oschina.net/uploads/space/2013/0503/172337_iJqX_94610.png)
[](http://static.oschina.net/uploads/space/2013/0503/172352_SDSo_94610.png)
[](http://static.oschina.net/uploads/space/2013/0503/172427_Vuth_94610.png)
[](http://static.oschina.net/uploads/space/2013/0503/172444_l9bS_94610.png)
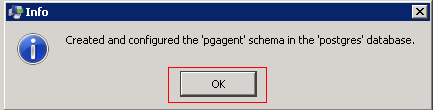
*在這里要填寫Postgresql的postgres的用戶名密碼,或者具有操作postgres這個數據庫權限的用戶賬號。因為pgAgent需要在postgres這個數據庫里面創建相應的表,所以這里填寫的用戶必須需要有操作postgres這個數據庫的權限,在這里就用最大權限的postgres用戶。
[](http://static.oschina.net/uploads/space/2013/0503/173100_qMCL_94610.png)
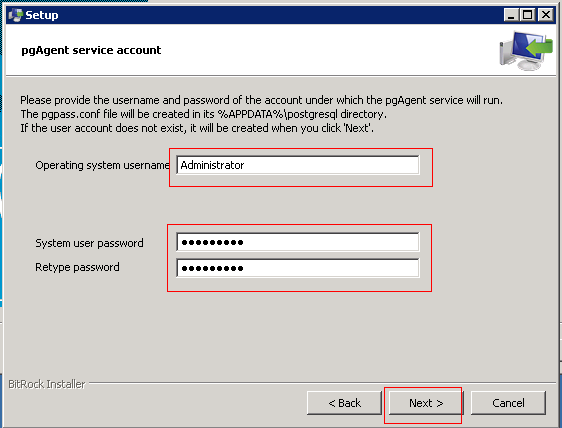
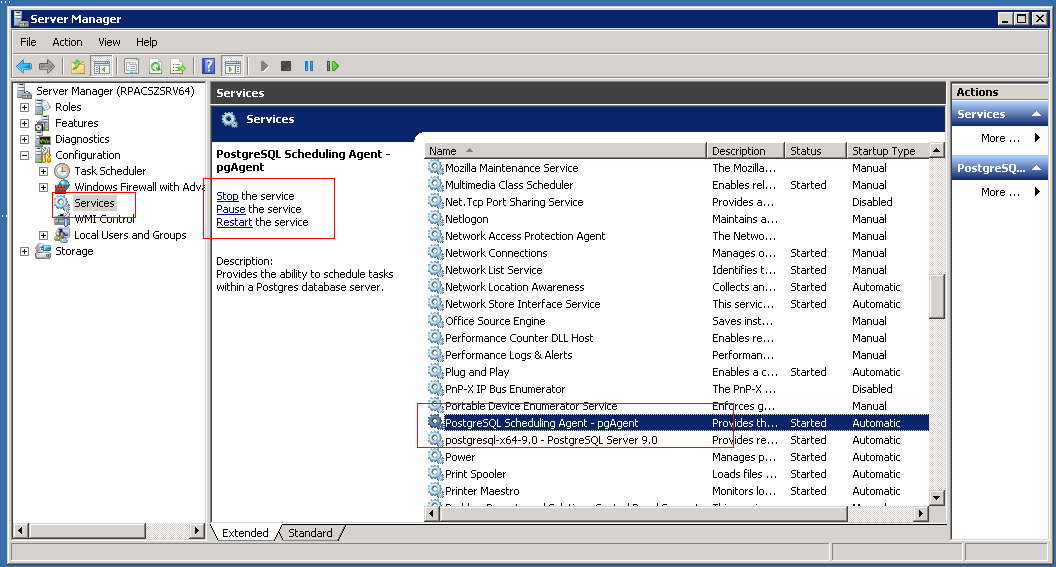
*在這里是埴寫執行pgAgent的windows用戶賬號,如果是域用戶,請填寫完整的域用戶名和密碼。因為pgAgent會在windows的服務里面添加一個叫“PostgreSQL Scheduling Agent - pgAgent”的服務,而這個服務需要登錄后才能運行,所以這里填寫的賬號必須是當前widnows可以登錄的賬號。
[](http://static.oschina.net/uploads/space/2013/0503/173442_ODAv_94610.png)
[](http://static.oschina.net/uploads/space/2013/0503/173500_Yzuj_94610.png)[](http://static.oschina.net/uploads/space/2013/0503/173520_aRKS_94610.png)
[](http://static.oschina.net/uploads/space/2013/0503/173532_Z3ef_94610.png)
來到這里,就表示pgAgent已經成功安裝了。可以到windows的服務里面看一下pgAgent的服務添加沒有,是否在運行:
[](http://static.oschina.net/uploads/space/2013/0503/173619_GBna_94610.png)
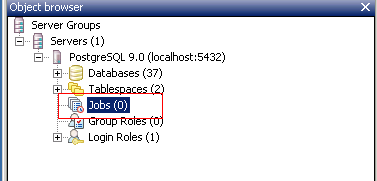
2.創建Job. 當成功安裝pgAgent,并且pgAgent已經在正常運行后,接下來的任務就是創建定時執行任務。Postgresql的定時任務的概念分為兩個部分:Schedule和Step。 Schedule是定時器,配置這個Job什么時候執行。而Step是執行任務的內容。通過這兩部分結合,就可以配置這個Job什么時候做什么。一個Job可以有多個Schedule和多個Step,他們是疊加的作用。
具體操作如下:
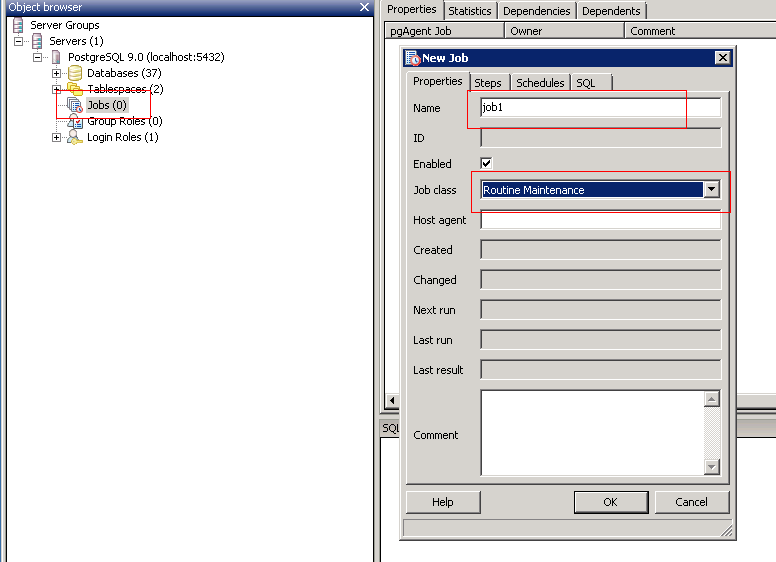
新建一個Job,命名為Job1,設置Job Class為Routine Maintenance,并且勾選前面的Enabled。
[](http://static.oschina.net/uploads/space/2013/0503/174022_quzc_94610.png)
[](http://static.oschina.net/uploads/space/2013/0503/174037_RaSw_94610.png)
為job1添加Schedule,命名為schedule1,勾選Enabled,然后設置開始和結束時間。如果結束時間不填,就表示這個Job會無止境地運行下去。然后在Times這個Tab的Minutes部分,勾選 00 和 30 ,這里表示這個job1會在每個小時的整點(00),和半點(30)執行。也就是每隔30分鐘執行一次。如果只勾選 30, 就表示每個小時的30分鐘執行,例如 4:30,5:30,這就是每隔一個小時執行一次了。其它的Hours,Week Days,Month Days,Months的概念是相同的。
[](http://static.oschina.net/uploads/space/2013/0503/174312_uF5y_94610.png)[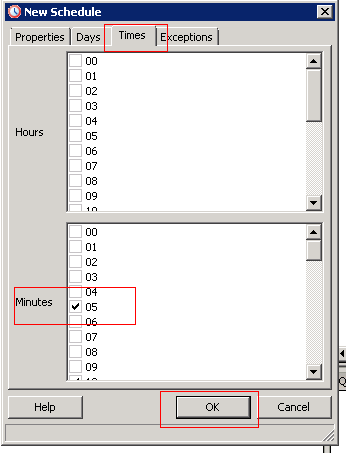](http://static.oschina.net/uploads/space/2013/0503/174434_PXWN_94610.png)
另外Exceptions Tab是例外的情況,就是當這種情況的時候就不會執行這個Job。
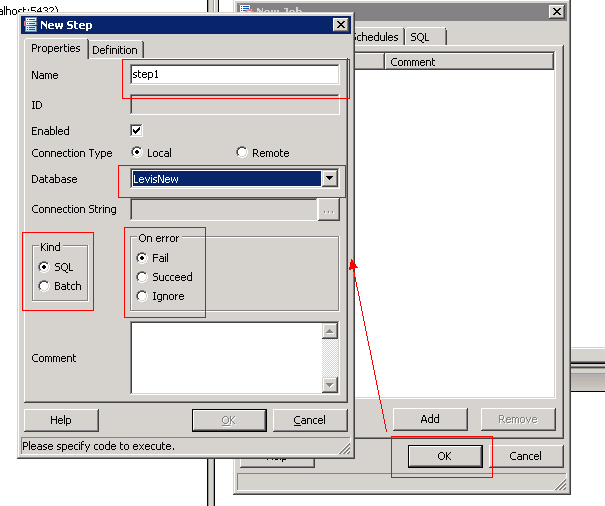
然后就是為job1添加執行的內容。現在添加一個Step,命名為step1。勾選Enabled。然后選擇需要執行這個job的數據庫。另外還需要注意Kind部分和On Error部分。Kind部分是指明執行這個job是SQL還是batch類型。job除了可以運行SQL,還可以運行windows的batch命令。在這個例子中我們選用SQL。在On Error部分,表示當執行這個job出現錯誤的時候,是停止(Fail),是正常(Succeed),還是忽略(Ignore)。現在這個例子選用Fail,就表示當執行的內容一出錯,就停止運行,退出。
[](http://static.oschina.net/uploads/space/2013/0503/175138_fFeZ_94610.png)
現在就是定義job1需要執行的SQL,一般建議把這些SQL寫在一個事務中,這樣就算job1運行失敗,都不會影響到數據。
[](http://static.oschina.net/uploads/space/2013/0503/175743_u5HW_94610.png)
到這一步,job1就基本創建完成了。
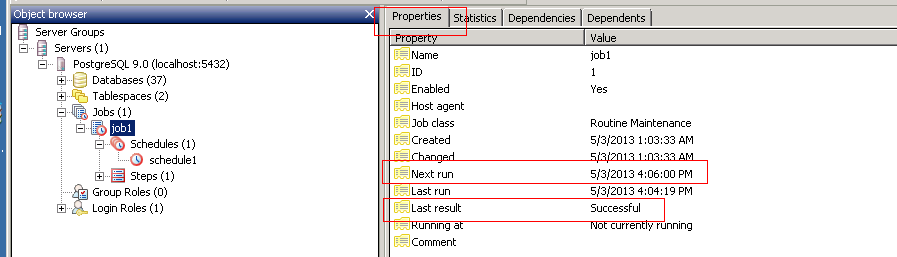
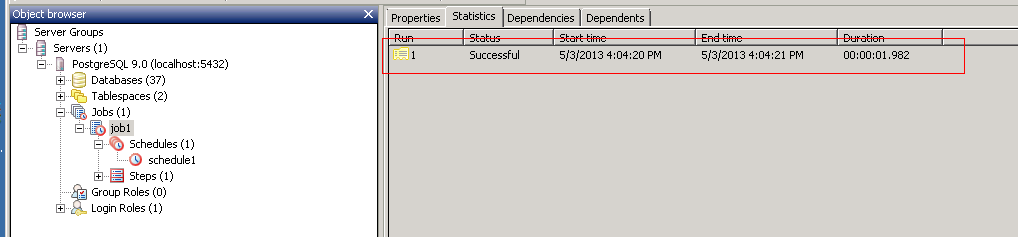
現在要監視job1的運行狀態,可以通過pgAdmin,在job1的Properties Tab,可以看到job1下次運行的時間,上次運行的時間,結果,當前是否在運行。還可以通過 Statistics Tab,查看job1運行的次數。
[](http://static.oschina.net/uploads/space/2013/0503/180025_KCsX_94610.png)
[](http://static.oschina.net/uploads/space/2013/0503/180155_St61_94610.png)
好了,到這里,如何用pgAgent創建定時任務的介紹就完了。以后再有更深入的探討,再給大家介紹。
謝謝
- 數據表
- 模式Schema
- 表的繼承和分區
- 常用數據類型
- 函數和操作符-一
- 函數和操作符-二
- 函數和操作符-三
- 索引
- 事物隔離
- 性能提升技巧
- 服務器配置
- 角色和權限
- 數據庫管理
- 數據庫維護
- 系統表
- 系統視圖
- SQL語言函數
- PL-pgSQL過程語言
- PostgreSQL 序列(SEQUENCE)
- PostgreSQL的時間-日期函數使用
- PostgreSQL 查看數據庫,索引,表,表空間大小
- 用以查詢某表的詳細 包含表字段的注釋信息
- PostgreSQL 系統表查看系統信息
- postgre存儲過程簡單實用方法
- PostgreSQL實用日常維護SQL
- PostgreSQL的時間函數使用整理
- 命令
- pg_ctl控制服務器
- initdb 初始化數據庫簇
- createdb創建數據庫
- dropdb 刪除數據庫
- createuser創建用戶
- dropuser 刪除用戶
- psql交互式工具
- psql命令手冊
- pg_dump 數據庫轉儲
- pg_restore恢復數據庫
- vacuumdb 清理優化數據庫
- reindexdb 數據庫重創索引
- createlang 安裝過程語言
- droplang 刪除過程語言
- pg_upgrade 升級數據庫簇
- 調試存儲過程
- 客戶端命令-一
- 客戶端命令-二
- 使用技巧
- PostgreSQL刪除重復數據
- postgresql 小技巧
- PostgreSQL的10進制與16進制互轉
- PostgreSQL的漢字轉拼音
- Postgres重復數據的更新一例
- PostgreSQL使用with一例
- PostgreSQL在函數內返回returning
- PostgreSQL中的group_concat使用
- PostgreSQL數據庫切割和組合字段函數
- postgresql重復數據的刪除
- PostgreSQL的遞歸查詢(with recursive)
- PostgreSQL函數如何返回數據集
- PostgreSQL分區表(Table Partitioning)應用 - David_Tang - 博客園
- PostgreSQL: function 返回結果集多列和單列的例子
- 利用pgAgent創建定時任務
- 淺談 PostgreSQL 類型轉換類似Oracle
- postgresql在windows(包括win7)下的安裝配置
- PostgreSQL簡介、安裝、用戶管理、啟動關閉、創建刪除數據庫 (2010-11-08 12-52-51)轉載▼標簽: 雜談分類: PostgreSQL
- PostgreSQL的generate_series函數應用
- PostgreSQL 8.3.1 全文檢索(Full Text Search)
- postgresql record 使用
- 備份恢復
- PostgreSQL基于時間點恢復(PITR)
- Postgresql基于時間點恢復PITR案例(二)
- Postgres邏輯備份腳本
- Postgres invalid command \N數據恢復處理