[TOC]
## drawImage() 方法
drawImage() 方法一般有三種調用方式
- drawImage(image, dx, dy)
- drawImage(image, dx, dy, dw, dh)
- drawImage(image, sx, sy, sw, sh, dx, dy, dw, dh)
## 平鋪圖片
在 Canvas 中,我們可以使用 createPattern() 方法來定義圖片的平鋪方式
語法:
```js
var pattern = cxt.createPattern(image, type)
cxt.fillStyle = pattern
cxt.fillRect()
```
參數 image 表示被平鋪的圖像,type 表示圖像平鋪的方式,其可選值如下:
| 屬性值 | 說明 |
| --- | --- |
| repeat | 默認值,在水平方向和垂直方向同時平鋪 |
| repeat-x | 只在水平方向平鋪 |
| repeat-y | 只在垂直方向平鋪 |
| no-repeat | 只顯示一次(不平鋪) |
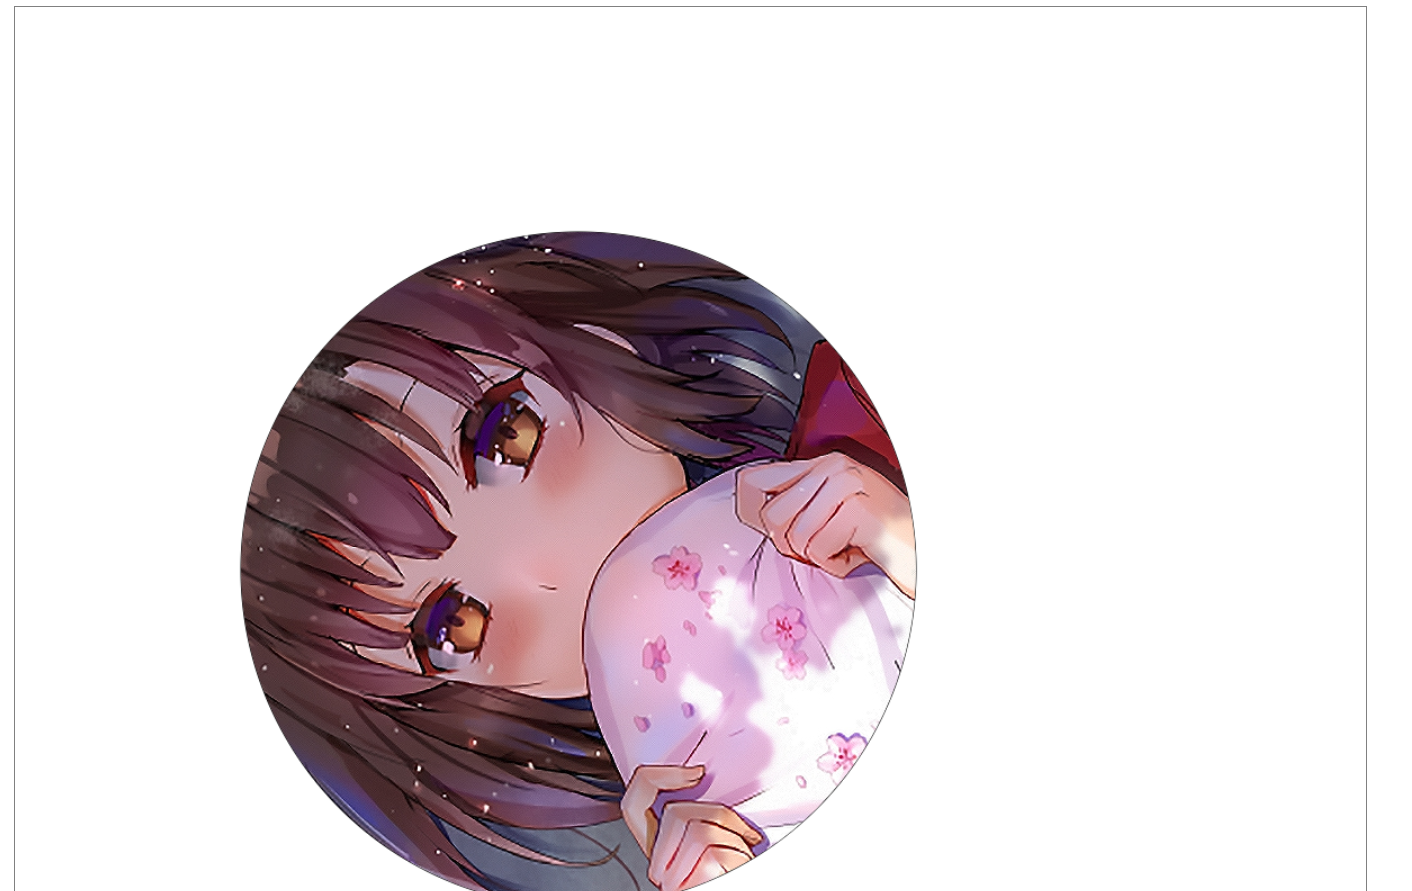
## 切割圖片
可以使用 clip() 方法來切割 Canvas 中繪制的圖片
```html
<!DOCTYPE html>
<html lang="en">
<head>
<meta charset="UTF-8">
<title>Title</title>
</head>
<body>
<canvas id="canvas" style="margin:0px auto; border: 1px solid gray; display: block;margin: 10px auto;">
當前瀏覽器不支持Canvas
</canvas>
<script>
window.onload = function () {
const cnv = document.getElementById('canvas')
const cxt = cnv.getContext('2d')
cnv.width = 1200;
cnv.height = 800;
// 第 1 步,繪制基本圖形,用于切割
cxt.beginPath()
cxt.arc(500, 500, 300, 0, 360 * Math.PI / 180, true)
cxt.closePath()
cxt.stroke()
// 第 2 步,使用 clip() 方法,使得切割區域為上面繪制的基本圖形
cxt.clip()
// 第 3 步,繪制一張圖片
let image = new Image()
image.src = "./1.jpg"
image.onload = function () {
cxt.drawImage(image, 0, 0)
}
}
</script>
</body>
</html>
```