
## 一、基于平臺
我們把下載的平臺最新版本的子工程mobile及所有目錄下文件全部拷貝到VSCode的workspace中去;
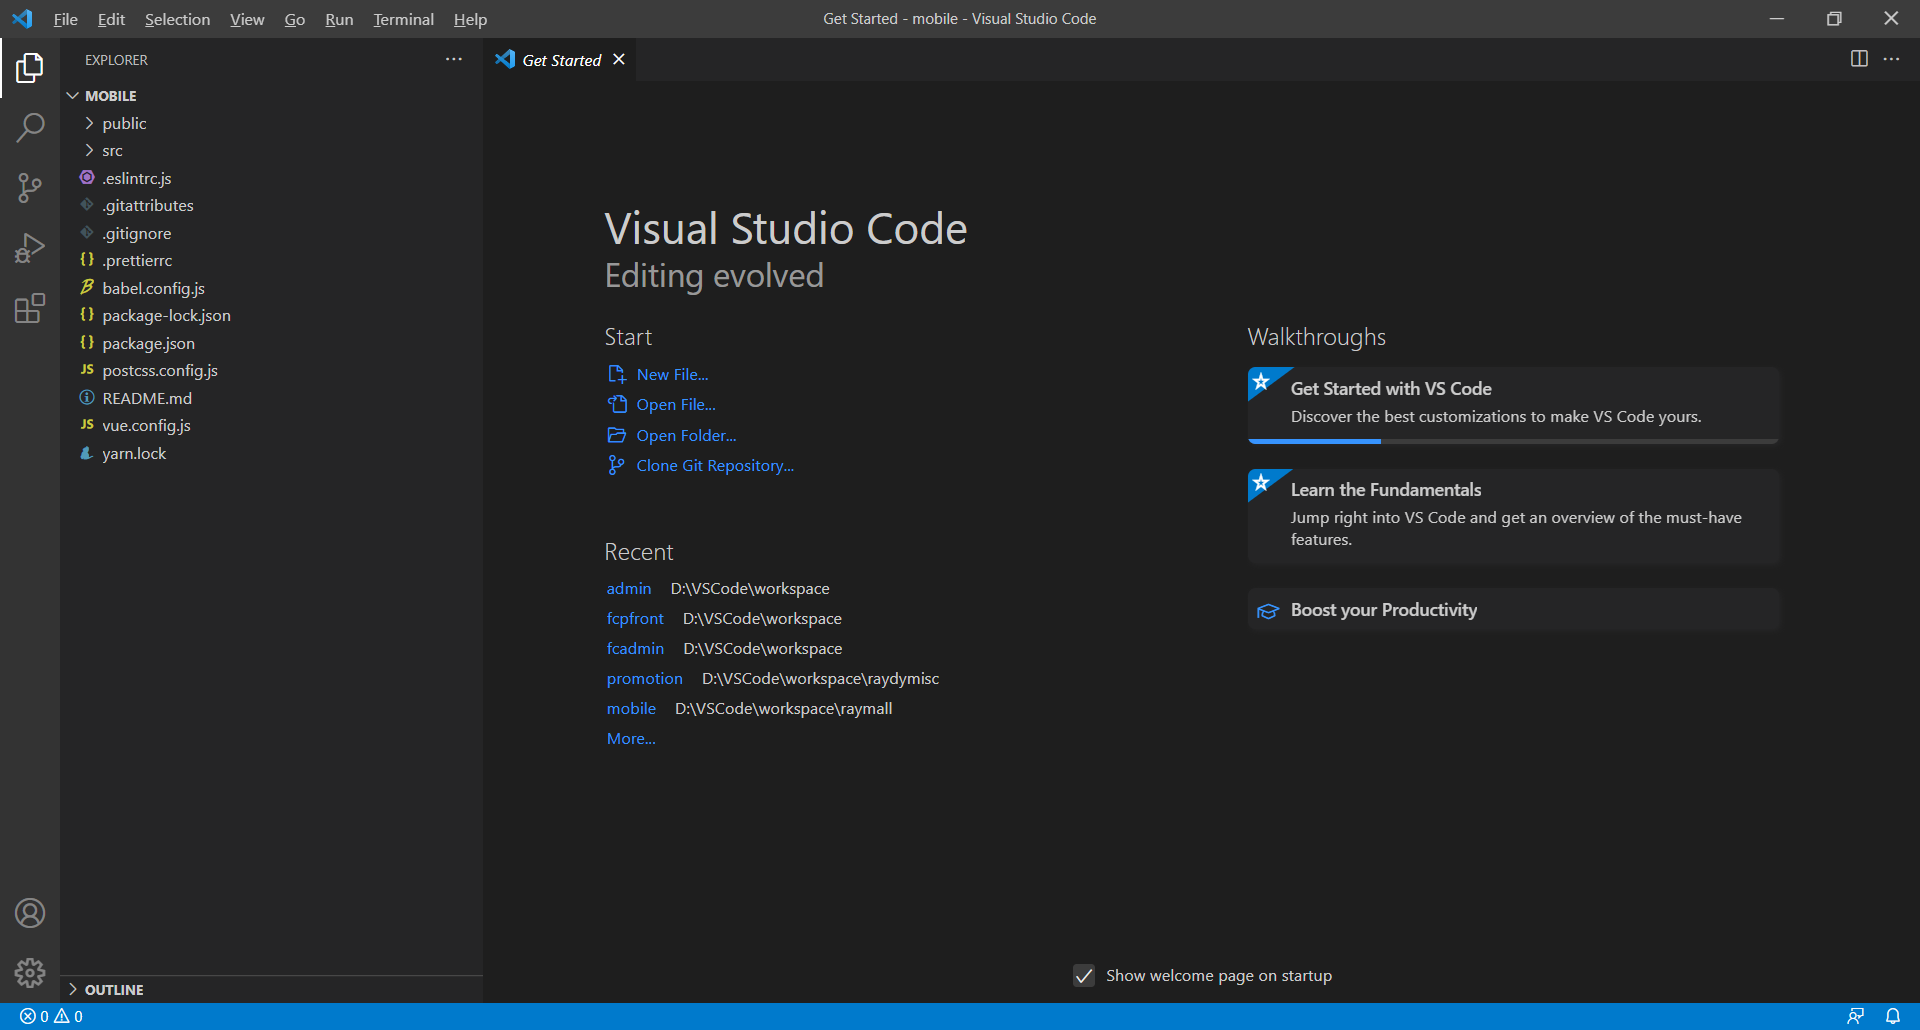
VSCode中,打開目錄;

然后安裝依賴;

修改后端地址:

運行;

效果:


## 二、生成代碼
我們打開一個生成的前端代碼中mobile版本的目錄,可以看到,有兩個子目錄,其中pages子目錄里面是頁面,而config子目錄里面是配置文件;

### **頁面**
將生成的web/mobile/pages目錄下生成文件,拷貝到工程目錄下views/business之下(生成的文件夾必須放到business下,如果當前工程還沒有創建該文件夾請手動添加);

### **路由**
將生成的web/mobile/config目錄下,里面以`.router.js`結尾的文件,就是生成的模塊路由文件;,復制需要的片段到指定文件**src/router/index.js**中;

## 三、輔助設置
在**src>views>home>childComps>homeList.vue**中**ullistdata**中,增加新增模塊的路由地址;
```
{
imgurl: require('@/assets/navHome/3.png'),
title: '示例列表',
url: '/listCardDataCollect',
},
```

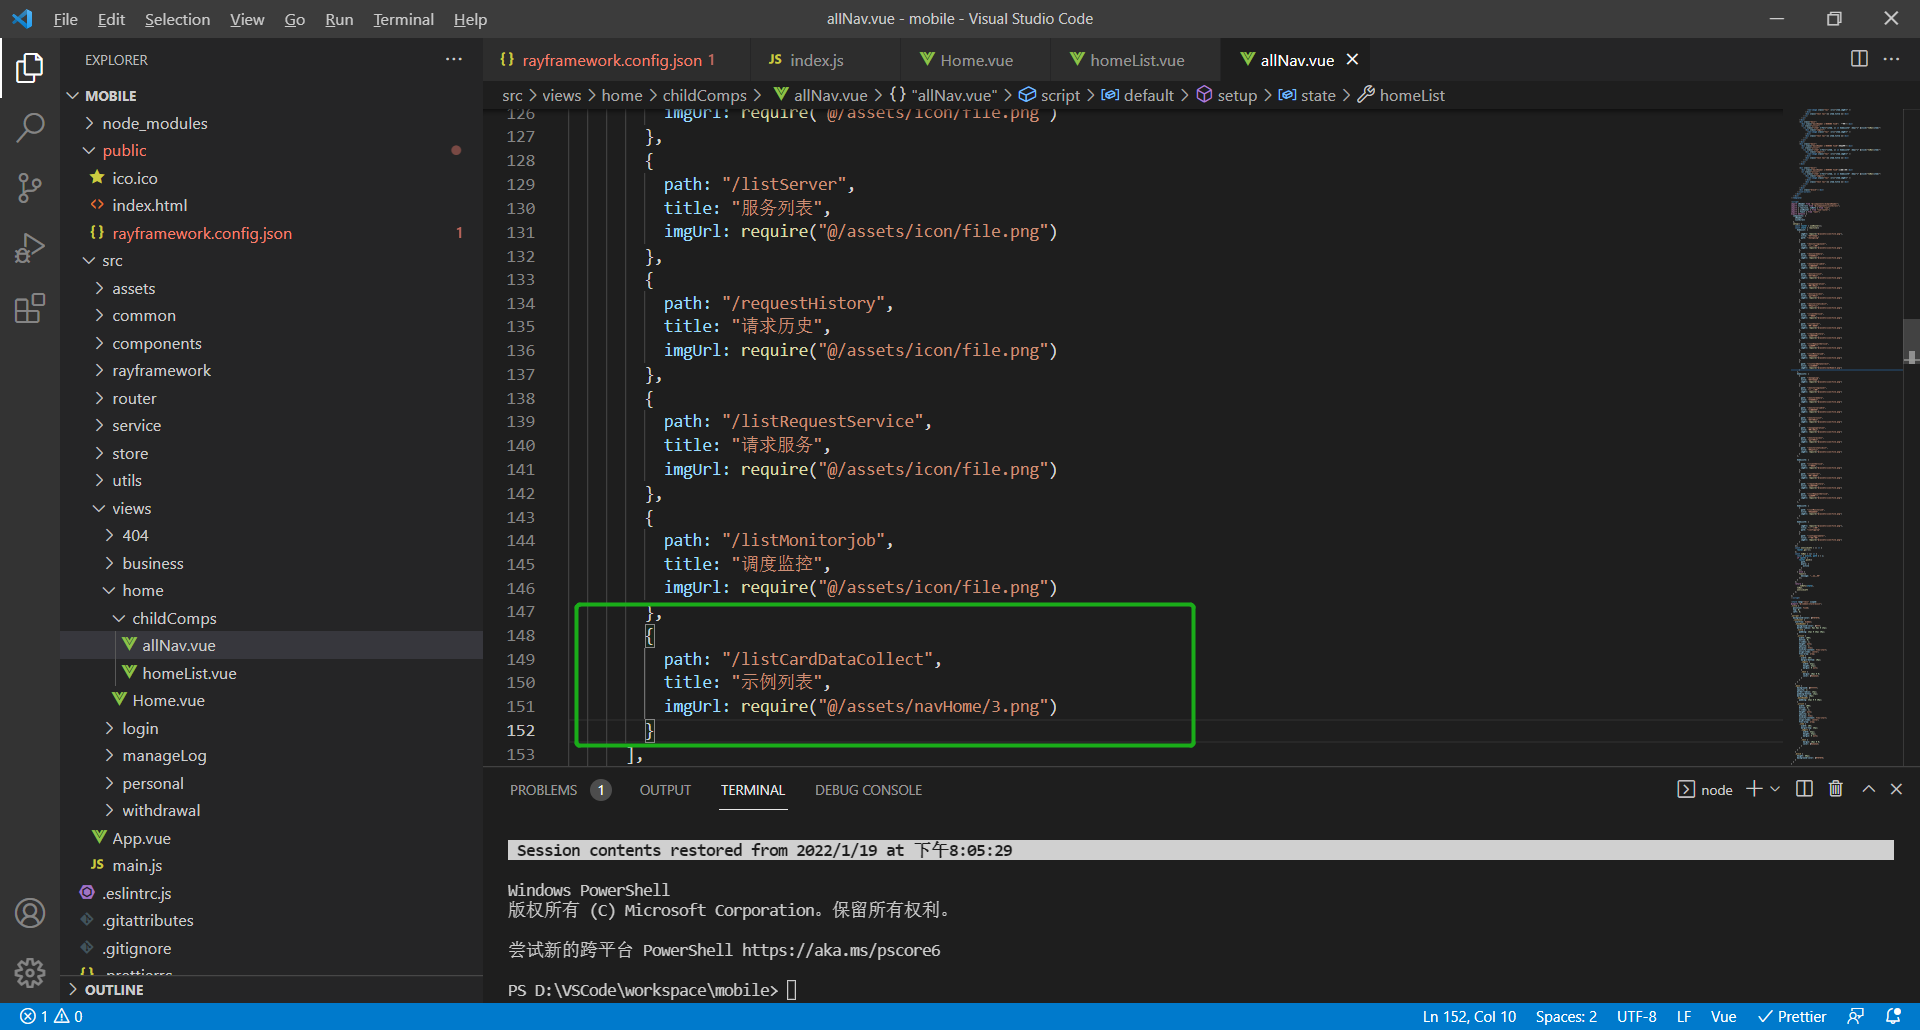
在**src>views>home>childComps>allNav.vue**中**homeList**,增加新增模塊的路由地址;
```
{
path: '/listCardDataCollect',
title: '示例列表',
imgUrl: require('@/assets/navHome/3.png'),
},
```
>[danger] 必須注意,配置到導航的URL地址,其對應的api需要用GET模式;
## 四、運行測試
在VSCode中啟動代碼服務;
在終端中,切換到當前工程的根目錄,然后敲命令:
```
npm run serve
```
啟動就緒后,根據提示的地址,訪問前端首頁,登陸進去后;

看到了剛才新增的入口圖標了,點擊圖標,基于定義的路由,進入新開發的實例了;

新增:

提交后,看看數據庫:

發現數據庫中,果然已經多了一條數據了,說明代碼運行成功了;
## 五、總結
從上面的過程,我們可以得到這個結論:基于統一技術平臺的項目開發,前端的移動端開發工作量也是集中在根據業務需要來精細化微調代碼;
- 引言
- 01、開發工具
- Maven
- 術語
- 倉庫
- Archetype
- 安裝配置
- 典型配置
- 內置變量
- eclipse插件
- 本地包安裝
- 依賴庫更新
- 依賴庫排錯
- 常見問題
- Gradle
- build.gradle
- gradle插件
- eclipse插件
- Eclipse
- json生成bean
- 常見問題
- IDEA Community
- 工程管理
- maven操作
- 格式化
- 常見問題
- Git
- GitHub
- 快速開始
- 既有工程
- 新建工程
- 日常提交
- PR操作
- 多人協作
- 常用命令
- 常見問題
- 同步代碼
- 發布庫包
- CodeGenerator
- VSCode
- 安裝
- 配置
- 快速開始
- 與GitHub整合
- 斷點調試
- 便捷開發
- 擴展
- prettier+
- Vetur
- 前端調試
- F12調試工具
- Vue前端調試
- 測試工具
- 壓力測試
- 接口測試
- 抓包工具
- 導入證書
- SecureCRT
- 02、前端技術
- 前端設計
- javascript
- 基本語法
- 數據類型
- 類型轉換
- 錯誤處理
- console對象
- 標準庫
- 異步操作
- ES6及后續增強
- 模塊化
- 擴展運算符
- 解構變量
- 箭頭函數
- 混入模式
- web標準
- css
- html
- HistoryApi
- dom
- 如何理解
- 虛擬dom
- JSON
- svg
- WebAssembly
- web components
- HtmlComponents
- Custom Elements
- 標準擴展
- javascript
- Babel
- TypeScript
- JavaScript
- ECMAScript
- 模塊化
- CommonJS
- require
- exports與module.exports
- ES6模塊
- export
- import
- AMD
- define
- require
- CMD
- define
- require
- Web Storage
- JSX
- ES6語法
- 語法糖
- ==和===
- let與const
- call&apply
- 內置對象
- Object
- Class
- Promise對象
- then
- catch
- finally
- resolve
- reject
- Module
- Generator函數
- arguments
- 函數擴展
- 數組
- 對象
- Set和Map
- Proxy對象
- css
- sass
- less
- postcss
- CSS Modules
- Node.js
- 安裝
- npm
- ls
- init
- install
- run
- uninstall
- update
- version
- npm生態
- yarn
- package.json
- node_modules
- 常用技術
- 應用實例
- Web框架
- Express
- Egg.js
- Mock
- Mock.js
- 語法規范
- 非核心api
- 核心api
- easymock
- 開發測試
- ESLint
- jest
- Travis
- Prettier
- stylelint
- 構建工具
- gulp
- Browserify
- webpack
- 安裝配置
- 入口起點entry
- 輸出output
- 裝載器loader
- 插件plugins
- webpack-cli
- public目錄
- 技術概念
- CSR與SSR
- polyfill
- axios
- 請求對象
- 響應對象
- 自定義實例
- 攔截器
- 跨域訪問
- 03、前端框架
- mvvm
- vue.js
- 簡明指南
- vue文件結構
- 組件指南
- 組件命名
- 應用流程
- 單文件組件
- 組件導入導出
- 生命周期
- Prop
- 復用方法
- 懶加載
- 全局環境
- 全局配置
- 全局API
- 選項對象
- 混入選項
- vue實例$
- vue指令
- v-bind(:)
- v-on(@)
- v-model
- 特殊屬性
- 內置組件
- 自定義機制
- 組件
- 指令
- 過濾器
- 混入
- slot插槽
- 渲染函數
- 注意事項
- 總結
- vueCli
- 安裝
- 組成部分
- vue.config.js
- vue核心文件
- 狀態管理
- 簡單狀態
- Vuex
- 構造器選項
- 實例屬性
- 實例方法
- 綁定輔助函數
- 模塊化
- 總結
- 路由管理
- 簡單路由
- Vue Router
- 路由模式
- route
- router
- <router-link>與編程式
- <router-view>
- 嵌套路由
- 導航守衛
- 總結
- vue插件
- Vue Loader
- 實戰舉例
- vue快速入門
- vue與后臺聯動
- vue完整實例
- vue組件庫
- vue-ls
- Enquire.js
- lodash
- md5.js
- moment
- nprogress
- viser-vue
- vue-clipboard2
- vue-cropper
- vue-quill-editor
- wangeditor
- vue-svg-icon-loader
- 實戰參考
- Vue Antd Admin
- ant-design-vue
- 快速開始
- 要點解析
- vuepress
- vant
- 04、后端框架
- SprigBoot
- 快速入門
- 完整示例
- 完整進階
- 核心技術
- 核心標記
- 頁面技術
- Thymeleaf
- 數據訪問
- 基本用法
- 事務控制
- 事務規則
- 注意事項
- 實體狀態
- 數據查詢
- 普通查詢
- 分頁查詢
- 統計查詢
- 命名訪問
- 公用共享
- 緩存機制
- 服務層
- 控制器
- AOP
- 定時任務
- 異步任務
- 靜態注入
- WebClient
- 啟動機制
- 應用監控
- 線程安全
- 調試測試
- 打包部署
- 打jar包
- 常見問題
- 配置問題
- 開發問題
- 文檔生成
- 相關技術
- springfox
- knife4j
- actuator
- kaptcha
- YAML
- API Blueprint
- 啟用https
- SpringSecurity
- 快速入門
- 核心元素
- jwt
- 與springsecurity集成
- 05、運行容器
- artemis
- 協議支持
- mqtt
- 安裝運行
- 管理配置
- 日志配置
- 業務配置
- 安全配置
- 數據存儲
- SSL支持
- 運行維護
- mosquitto
- 安裝運行
- 管理配置
- SSL支持
- rocketmq
- 安裝運行
- 控制臺
- 代碼實例
- kafka
- ZooKeeper
- 安裝運行
- 代碼實例
- zookeeper
- 安裝運行
- 應用實例
- dubbo
- 代碼實例
- hadoop
- 安裝配置
- 快速運行
- netty
- 06、相關技術
- Serverless
- Protobuf
- SSL
- 證書
- 認證類型
- 硬件技術
- 基礎知識
- 開發技術
- 消息協議
- 07、項目實戰
- 前端開發
- 從零開始開發
- 開發環境搭建
- 原生技術開發
- 路由守衛
- 動態路由菜單
- 全局API
- 登錄認證
- 與后端交互
- 代碼開發調試
- 快速打包發布
- 常見問題收集
- 后端開發
- 從零開始開發
- 開發環境搭建
- 常用注解說明
- 常用基礎設施
- 核心業務約定
- 平臺配置文件
- 業務配置清單
- 關鍵配置參數
- 項目必配參數
- 項目調優參數
- 返回結果處理
- 字段翻譯機制
- 列表字段翻譯
- 實體字段翻譯
- 組合字段翻譯
- 列表數據增強
- 列表數據簡化
- 返回字段過濾
- 返回字段改名
- 定制返回結果
- 原生技術開發
- 動態級聯字典
- 簡單數據查詢
- 短信驗證業務
- 測試數據模擬
- 開放平臺登陸
- 微信開放平臺
- 抖音開放平臺
- 文件處理方案
- 文件字段存儲
- 文件字段解析
- 圖像數據存取
- 文件資源方案
- 服務集成開發
- redis服務集成
- mqtt服務集成
- kafka集成
- rocketmq集成
- websocket集成
- elasticsearch集成
- netty集成
- 外部工具開發
- 發送短信服務
- 發送郵件服務
- 動態pdf生成
- 數據處理開發
- 同步導出數據
- 異步導出數據
- 同步導入數據
- 異步導入數據
- 多線程與并發
- 線程并發安全
- 操作間隔控制
- 異步待辦機制
- 平臺定時任務
- 平臺異步任務
- 常見注意事項
- 安全相關開發
- 接口安全策略
- 接口限流策略
- 接口授權策略
- 權限相關開發
- 路由權限方案
- 組織權限方案
- 數據權限方案
- 字段權限方案
- 按鈕權限方案
- 支付相關開發
- 微信原生支付
- 微信H5支付
- 微信JSAPI支付
- 微信批量轉賬
- 微信動態支付
- 支付寶移動網站支付
- 支付寶PC網站支付
- 平臺緩存機制
- 內置進程內緩存
- 內置分布式緩存
- 平臺自定義緩存
- 平臺插件機制
- 賬號的邀請碼
- 賬號的二維碼
- 定制事件機制
- 約定實現機制
- 請求回調機制
- 啟動自動加載
- 平臺基礎設施
- 動態參數加載
- 定制待定常量
- 定制單位組織
- 平臺緩存機制
- 平臺外訪機制
- 靜態資源獲取
- 調試打印機制
- 數據源隨時用
- 上下文隨處拿
- 平臺診斷機制
- 平臺內置資源
- 強制間隔時間
- 賬號擴展開發
- 賬號變更事件
- 業務開發指南
- 字典數據獲取
- 數據層持久化
- 基礎服務調用
- 查詢時間范圍
- 代碼開發調試
- 常見問題收集
- 從零開始
- PCV1運行
- PCV2運行
- H5端運行
- 開發進階
- 最佳實踐
- 開發方案
- 前后分離
- 跨域訪問
- 庫表設計
- 模型設計
- 容器部署
- 集群部署
- 日志收集
- 動態配置
- 開發管理
- 開發環境
- 代碼控制
- 問題跟蹤
- 進度跟蹤
- 測試環境
- 調試輔助
- DevOps
- 代碼風格
- 運行維護
- 基本監控知識
- 線程堆棧分析
- 內存堆棧分析
- 應用診斷工具
- 工程示范
- 后端開發
- 前端開發
- PC端
- 移動端
- 08、內置容器
- 調度服務
- 調度容器
- 快速開發
- 線程并發
- 多點部署
- 本地調試
- 常見問題
- 開放服務
- 快速接入
- 接口開發
- 09、開放平臺
- 微信公號
- 環境準備
- 環境配置
- 技術方案
- 獲取OpenId
- 常見問題
- 10、平臺功能
- 系統管理
- 單位組織
- 角色管理
- 賬號管理
- 子賬號
- 財務賬戶
- 開放數據
- 綁定數據
- 套餐權益
- 會員定義
- 變更審核
- 注冊審核
- 系統配置
- 路由配置
- 參數配置
- 屬性配置
- 樹形設置
- 服務接口
- 訪問設置
- 系統監控
- 在線用戶
- 內存數據
- 系統變量
- 外訪數據
- 到訪數據
- 操作記錄
- 靜態字典
- 日志管理
- 元數據
- 接入管理
- 微信公號
- 微信支付
- 開放服務
- 客戶端
- 服務列表
- 請求歷史
- 請求服務
- 調度服務
- 調度監控
- 11、補充語言
- php
- 生產環境
- 安裝
- 初始配置
- nginx集成
- 配置文件
- 語法
- 變量和常量
- 數據類型
- 條件控制
- 運算符
- 數組
- 指針
- 循環控制
- 函數
- 語法糖
- 預定義變量
- session和cookie
- 命名空間
- 面向對象
- 數據庫操作
- 表單
- 錯誤
- 異常
- 過濾器
- JSON
- XML
- AJAX
- Composer
- 開發環境
- 本地調試
- 遠程調試
- .net
- 開發環境
- C#快速入門
- 12、依賴容器
- elasticsearch
- 運行配置
- 命令操作
- 中文分詞
- Kibana
- Logstash
- 開發技術
- 搜索類型
- 代碼示例
- 應用場景
- 常見問題
- nginx
- 下載安裝
- 基本配置
- 服務啟停
- 安全防護
- 常見問題
- linux
- 常用操作
- 常用命令
- 用戶管理
- ftp服務
- 防火墻
- 運維
- 網絡安全
- 內核參數
- 安裝
- yum源問題
- mysql
- 安裝配置
- 快速安裝
- 正式安裝
- 參數配置
- 性能優化
- 語句優化
- 配置優化
- 設計優化
- 運維常識
- 系統監控
- 連接數
- 超時
- cpu利用率
- 數據備份
- 導入復制
- 經驗舉例
- 故障處理
- 用戶管理
- 系統日志
- 日志清理
- 安全經驗
- 集群方案
- MySQL Replication
- MySQL Cluster
- 常見問題
- redis
- 安裝配置
- 安裝運行
- 參數配置
- 運維常識
- 技術要點
- pubSub
- 操作命令
- 持久化
- 常見問題
- docker
- 安裝運行
- 鏡像操作
- 容器操作
- 倉庫操作
- 實戰案例
- kubernetes
- 后記