
# 15. 加載和打包 Twitter Bootstrap 框架
這節主要來實踐如何加載和打包 Twitter Bootstrap 框架。
## 1. 準備工作
先來復制一些 bootstrap 的代碼片斷。
**src/index.html**
``` html
<!DOCTYPE html>
<html lang="en">
<head>
<meta charset="UTF-8">
<title></title>
</head>
<body>
<button type="button" class="btn btn-default" aria-label="Left Align">
<span class="glyphicon glyphicon-align-left" aria-hidden="true"></span>
</button>
<button type="button" class="btn btn-default btn-lg">
<span class="glyphicon glyphicon-star" aria-hidden="true"></span> Star
</button>
<!-- Button trigger modal -->
<button type="button" class="btn btn-primary btn-lg" data-toggle="modal" data-target="#myModal">
Launch demo modal
</button>
<!-- Modal -->
<div class="modal fade" id="myModal" tabindex="-1" role="dialog" aria-labelledby="myModalLabel">
<div class="modal-dialog" role="document">
<div class="modal-content">
<div class="modal-header">
<button type="button" class="close" data-dismiss="modal" aria-label="Close"><span aria-hidden="true">×</span></button>
<h4 class="modal-title" id="myModalLabel">Modal title</h4>
</div>
<div class="modal-body">
...
</div>
<div class="modal-footer">
<button type="button" class="btn btn-default" data-dismiss="modal">Close</button>
<button type="button" class="btn btn-primary">Save changes</button>
</div>
</div>
</div>
</div>
</body>
</html>
```
**注意,本節使用的是 bootstrap 3,因為目前寫這篇文章時,bootstrap 4 還沒出正式版,所以我們用 bootstrap 3。**
效果如下:
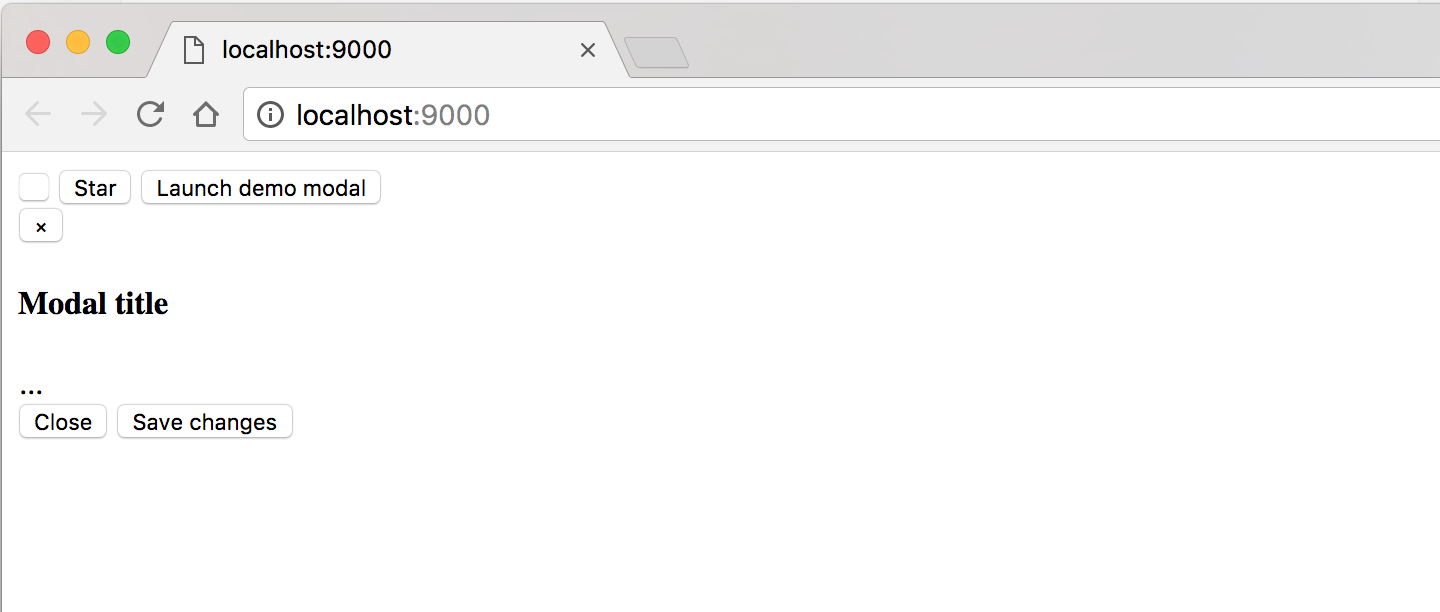
圖標沒顯示出來,css 也沒加載到,js 更是不可用。
## 2. 安裝 bootstrap-loader
要加載 bootstrap 框架,主要是使用這個這個 loader:[bootstrap-loader](https://github.com/shakacode/bootstrap-loader)。
現在主要通過查看它的官方文檔,來了解如何安裝和使用它。
安裝。
```
$ npm install bootstrap-loader --save-dev
$ npm install resolve-url-loader url-loader --save-dev
```
## 3. 使用
接下來,我們來看如何使用 [bootstrap-loader](https://github.com/shakacode/bootstrap-loader) 這個 loader。
### 3.1 創建 .bootstraprc 文件
在項目根目錄下,創建 `.bootstraprc` 文件,其內容拷貝于下面這個鏈接的內容。
[.bootstraprc-3-default](https://raw.githubusercontent.com/shakacode/bootstrap-loader/master/.bootstraprc-3-default)
這個內容是官方提供的,主要存放的是 bootstrap 的配置選項,就是通過它來控制一些 bootstrap 的功能。
### 3.2 創建 webpack.bootstrap.config.js 文件
然后在項目根目錄下,創建 `webpack.bootstrap.config.js` 文件,其內容拷貝于下面這個鏈接的內容。
[webpack.bootstrap.config.js](https://raw.githubusercontent.com/shakacode/bootstrap-loader/master/examples/basic/webpack.bootstrap.config.js)
這個內容是官方提供的,主要存放的是關于 `bootstrap` 的 webpack 配置的內容,它包含生產環境和開發環境的配置。
### 3.3 引用 boostrap 的 webpack 配置
現在我們把剛才下載的 `webpack.bootstrap.config.js` 文件利用起來。
**webpack.config.js**
``` javascript
const bootstrapEntryPoints = require('./webpack.bootstrap.config')
var bootstrapConfig = isProd ? bootstrapEntryPoints.prod : bootstrapEntryPoints.dev;
module.exports = {
entry: {
"app.bundle": './src/app.js',
"contact": './src/contact.js',
"bootstrap": bootstrapConfig
},
...
}
```
運行一下 `npm run dev`,發現報了個錯。
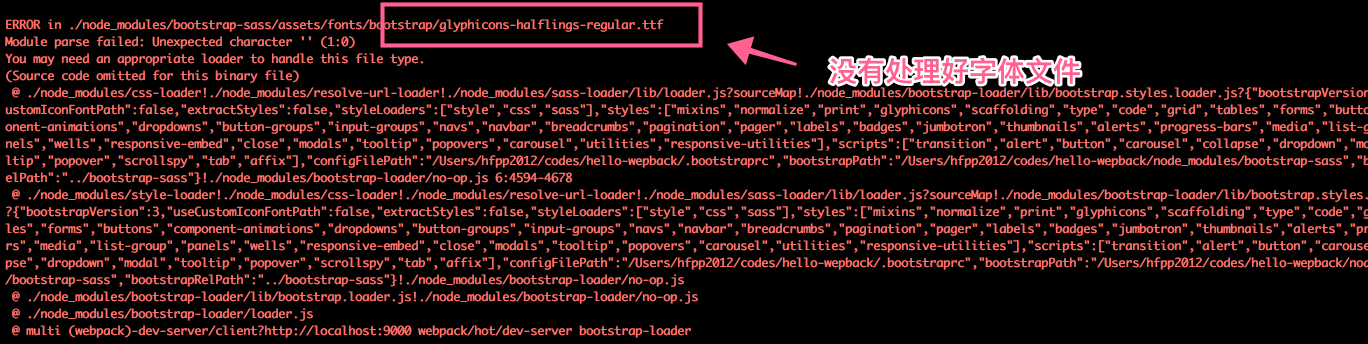
字體文件沒處理好。
通過查看 `bootstrap-loader` 官方的 readme 文檔,加上下面幾行 loader 的配置,可解決問題。
```
module: {
loaders: [
{ test: /\.(woff2?|svg)$/, loader: 'url-loader?limit=10000' },
{ test: /\.(ttf|eot)$/, loader: 'file-loader' },
],
},
```
再次運行 `npm run dev`,發現下面的頁面效果。
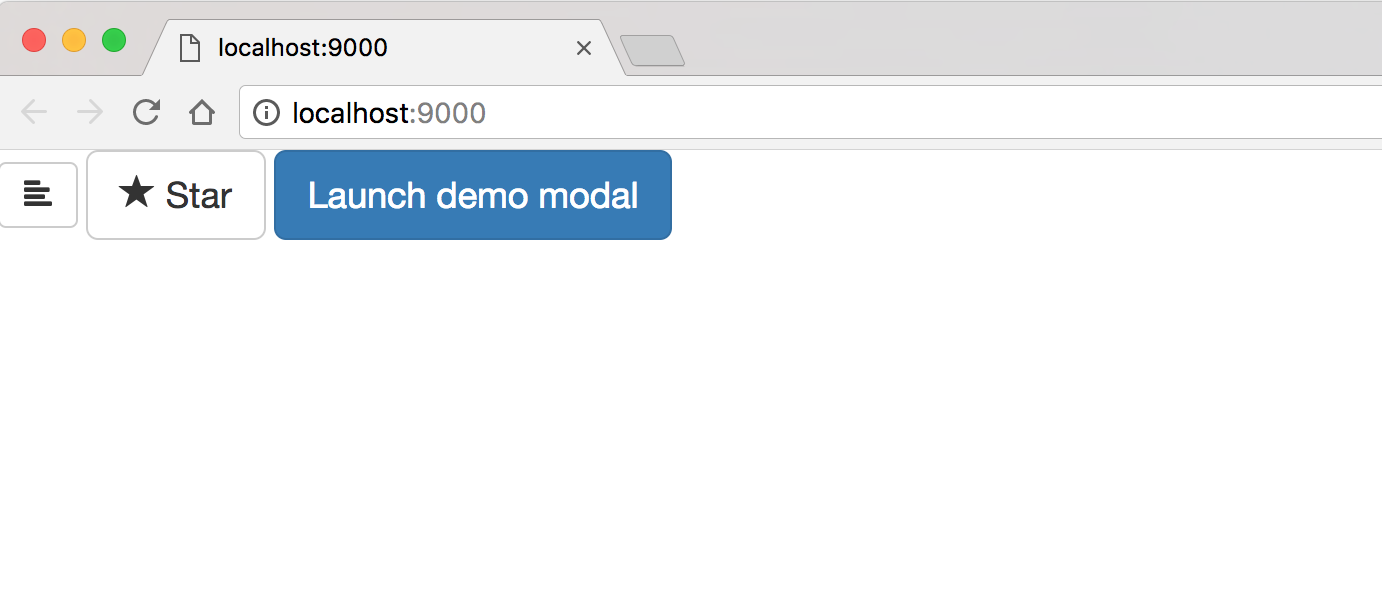
字體圖標和 css 都沒問題了,但是 js 沒加載好,點擊按鈕沒有彈出模態框。
查看報錯:
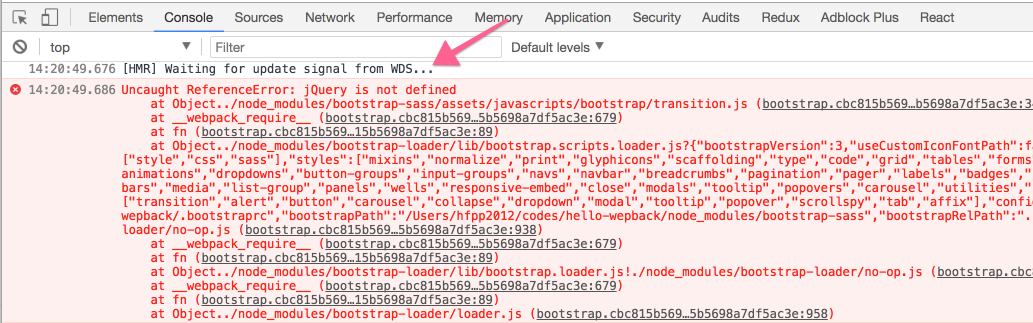
原來是 jquery 沒加載到。
在 `webpack.config.js` 配置文件的 loader 部分加上下面這行:
```
{ test:/bootstrap-sass[\/\\]assets[\/\\]javascripts[\/\\]/, loader: 'imports-loader?jQuery=jquery' },
```
然后在終端上執行下面的命令:
``` bash
$ npm install --save-dev imports-loader jquery
```
即可解決問題。
效果:
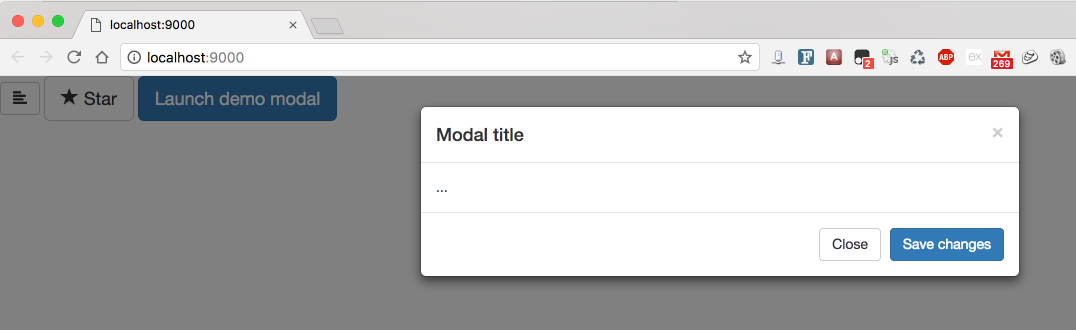
點擊按鈕后,模態框彈出來了,good!
## 4. 優化目錄結構
我們運行一下 `npm run prod` 命令,沒啥問題,目錄結構是下面這樣的:
```
dist
├── 448c34a56d699c29117adc64c43affeb.woff2
├── 89889688147bd7575d6327160d64e760.svg
├── app.bundle.f3ffd242134090bbd4b7.js
├── b86262bb1045a2b16a4d9fcf64afc1b1.svg
├── bootstrap.f3ffd242134090bbd4b7.js
├── contact.f3ffd242134090bbd4b7.js
├── contact.html
├── e18bbf611f2a2e43afc071aa2f4e1512.ttf
├── f4769f9bdb7466be65088239c12046d1.eot
├── fa2772327f55d8198301fdb8bcfc8158.woff
├── images
│?? ├── glyphicons-halflings-regular.svg
│?? └── money-bag.svg
├── index.html
└── style.css
```
比較亂,如果能把 css,js,字體文件分開成各個目錄就蠻好的。
我們來改一下配置:
**webpack.config.js**
``` javascript
// css 文件放到 css 目錄中
new ExtractTextPlugin({
filename: '[name].css',
disable: !isProd,
publicPath: 'css/'
}),
// 字體文件都放到 fonts 目錄中
{ test: /\.(woff2?|svg)$/, loader: 'url-loader?limit=10000&name=[name].[ext]&outputPath=fonts/' },
{ test: /\.(ttf|eot)$/, loader: 'file-loader?name=[name].[ext]&outputPath=fonts/' },
```
運行 `npm run prod` 之后,dist 的目錄結構如下:
```
dist
├── app.bundle.0cc9d9267f555d83ccb0.js
├── bootstrap.0cc9d9267f555d83ccb0.js
├── contact.0cc9d9267f555d83ccb0.js
├── contact.html
├── css
│?? ├── app.bundle.css
│?? └── bootstrap.css
├── fonts
│?? ├── glyphicons-halflings-regular.eot
│?? ├── glyphicons-halflings-regular.svg
│?? ├── glyphicons-halflings-regular.ttf
│?? ├── glyphicons-halflings-regular.woff
│?? ├── glyphicons-halflings-regular.woff2
│?? └── money-bag.svg
├── images
│?? ├── glyphicons-halflings-regular.svg
│?? └── money-bag.svg
└── index.html
```
這樣目錄結構就比剛才清晰多了。
先說這么多吧。
- 0. 開始
- 1. 介紹
- 2. 安裝
- 3. 實現 hello world
- 4. webpack 的配置文件 webpack.config.js
- 5. 使用第一個 webpack 插件 html-webpack-plugin
- 6. 使用 loader 處理 CSS 和 Sass
- 7. 初識 webpack-dev-server
- 8. 用 webpack 和 babel 配置 react 開發環境
- 9. 用 clean-webpack-plugin 來清除文件
- 10. 配置多個 HTML 文件
- 11. 如何使用 pug (jade) 作為 HTML 的模板
- 12. 如何使用模塊熱替換 HMR 來處理 CSS
- 13. 生產環境 vs 開發環境
- 14. 如何打包圖片
- 15. 加載和打包 Twitter Bootstrap 框架
- 16. 使用 ProvidePlugin 插件來處理像 jQuery 這樣的第三方包
- 17. 輕松通過兩個實例來理解 devtool: 'source-map' 是什么意思
- 18. 構建開發和生產環境-分離配置文件