
# OPENAPI
## 介紹
`OpenAPI`是一個與語言無關的`RESTful API`定義說明,`Nest`提供了一個專有的模塊來利用裝飾器生成類似聲明。
### 安裝
要開始使用,首先安裝依賴、
```bash
$ npm install --save @nestjs/swagger swagger-ui-express
```
如果使用fastify,安裝`fastify-swagger`而不是`swagger-ui-express`:
```bash
$ npm install --save @nestjs/swagger fastify-swagger
```
### 引導
安裝完成后,在`main.ts`文件中定義并初始化`SwaggerModule`類:
```TypeScript
import { NestFactory } from '@nestjs/core';
import { SwaggerModule, DocumentBuilder } from '@nestjs/swagger';
import { AppModule } from './app.module';
async function bootstrap() {
const app = await NestFactory.create(AppModule);
const config = new DocumentBuilder()
.setTitle('Cats example')
.setDescription('The cats API description')
.setVersion('1.0')
.addTag('cats')
.build();
const document = SwaggerModule.createDocument(app, config);
SwaggerModule.setup('api', app, document);
await app.listen(3000);
}
bootstrap();
```
> 文檔(通過`SwaggerModule#createDocument()`方法返回)是一個遵循[OpenAPI文檔](https://swagger.io/specification/#openapi-document)的序列化對象。除了HTTP,你也可以以JSON/YAML文件格式保存和使用它。
`DocumentBuilder`建立一個遵循OpenAPI 標準的基礎文檔。它提供了不同的方法來配置類似標題、描述、版本等信息屬性。要創建一個完整的文檔(使用HTTP定義),我們使用`SwaggerModule`類的`createDocument()`方法。這個方法有兩個參數,一個應用實例和一個Swagger選項對象。我們也可以提供第三個`SwaggerDocumentOptions`類型可選對象,見[文檔選項](#文檔選項)。
創建文檔后,調用`setup()`方法,它接受:
1. 掛載Swagger界面的路徑。
2. 應用實例。
3. 上述實例化的文檔對象。
運行以下命令啟動HTTP服務器。
```TypeScript
$ npm run start
```
瀏覽`http://localhost:3000/api`可以看到Swagger界面。
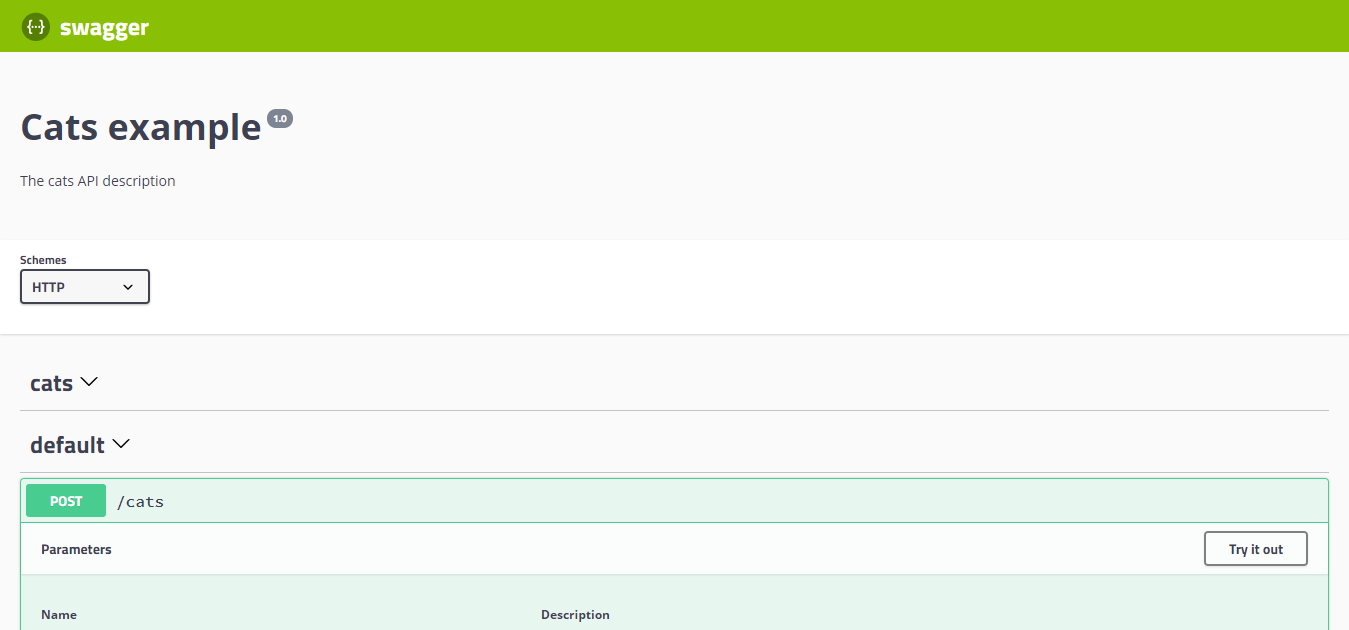
Swagger模塊自動反射你所有的終端。注意Swagger界面根據平臺不同,由`swagger-ui-express`或`fastify-swagger`生成。
> 要生成和下載一個Swagger JSON文件,導航到`http://localhost:3000/api-json` (`swagger-ui-express`) 或`http://localhost:3000/api/json` (`fastify-swagger`) (假設API文檔在 http://localhost:3000/api路徑)。
> 在使用`fastify-swagger`和`helmet`時可能有CSP問題,要處理這個沖突,參考如下配置CSP。
```TypeScript
app.register(helmet, {
contentSecurityPolicy: {
directives: {
defaultSrc: [`'self'`],
styleSrc: [`'self'`, `'unsafe-inline'`],
imgSrc: [`'self'`, 'data:', 'validator.swagger.io'],
scriptSrc: [`'self'`, `https: 'unsafe-inline'`],
},
},
});
// If you are not going to use CSP at all, you can use this:
app.register(helmet, {
contentSecurityPolicy: false,
});
```
### 文檔選項
創建文檔時,可以提供一些額外選項來配合庫特性。這些選項應該是`SwaggerDocumentOptions`類型:
```TypeScript
export interface SwaggerDocumentOptions {
/**
* List of modules to include in the specification
*/
include?: Function[];
/**
* Additional, extra models that should be inspected and included in the specification
*/
extraModels?: Function[];
/**
* If `true`, swagger will ignore the global prefix set through `setGlobalPrefix()` method
*/
ignoreGlobalPrefix?: boolean;
/**
* If `true`, swagger will also load routes from the modules imported by `include` modules
*/
deepScanRoutes?: boolean;
/**
* Custom operationIdFactory that will be used to generate the `operationId`
* based on the `controllerKey` and `methodKey`
* @default () => controllerKey_methodKey
*/
operationIdFactory?: (controllerKey: string, methodKey: string) => string;
}
```
例如,如果你要確保庫像`createUser`而不是`UserController_createUser`一樣生成操作名稱,可以做如下配置:
```TypeScript
const options: SwaggerDocumentOptions = {
operationIdFactory: (
controllerKey: string,
methodKey: string
) => methodKey
});
const document = SwaggerModule.createDocument(app, config, options);
```
### 設置選項[#](#setup-options)
您可以通過傳遞滿足`ExpressSwaggerCustomOptions`(如果使用express)接口的選項對象作為`SwaggerModule#setup`方法的第四個參數來配置Swagger UI。
~~~typescript
export interface ExpressSwaggerCustomOptions {
explorer?: boolean;
swaggerOptions?: Record<string, any>;
customCss?: string;
customCssUrl?: string;
customJs?: string;
customfavIcon?: string;
swaggerUrl?: string;
customSiteTitle?: string;
validatorUrl?: string;
url?: string;
urls?: Record<'url' | 'name', string>[];
}
~~~
如果你使用 fastify,你可以通過傳遞`FastifySwaggerCustomOptions`對象來配置用戶界面。
~~~typescript
export interface FastifySwaggerCustomOptions {
uiConfig?: Record<string, any>;
}
~~~
例如,如果您想確保身份驗證令牌在刷新頁面后仍然存在,或者更改頁面標題(顯示在瀏覽器中),您可以使用以下設置:
~~~typescript
const customOptions: SwaggerCustomOptions = {
swaggerOptions: {
persistAuthorization: true,
},
customSiteTitle: 'My API Docs',
};
SwaggerModule.setup('docs', app, document, customOptions);
~~~
### 示例
一個例子見[這里](https://github.com/nestjs/nest/tree/master/sample/11-swagger)。
- 介紹
- 概述
- 第一步
- 控制器
- 提供者
- 模塊
- 中間件
- 異常過濾器
- 管道
- 守衛
- 攔截器
- 自定義裝飾器
- 基礎知識
- 自定義提供者
- 異步提供者
- 動態模塊
- 注入作用域
- 循環依賴
- 模塊參考
- 懶加載模塊
- 應用上下文
- 生命周期事件
- 跨平臺
- 測試
- 技術
- 數據庫
- Mongo
- 配置
- 驗證
- 緩存
- 序列化
- 版本控制
- 定時任務
- 隊列
- 日志
- Cookies
- 事件
- 壓縮
- 文件上傳
- 流式處理文件
- HTTP模塊
- Session(會話)
- MVC
- 性能(Fastify)
- 服務器端事件發送
- 安全
- 認證(Authentication)
- 授權(Authorization)
- 加密和散列
- Helmet
- CORS(跨域請求)
- CSRF保護
- 限速
- GraphQL
- 快速開始
- 解析器(resolvers)
- 變更(Mutations)
- 訂閱(Subscriptions)
- 標量(Scalars)
- 指令(directives)
- 接口(Interfaces)
- 聯合類型
- 枚舉(Enums)
- 字段中間件
- 映射類型
- 插件
- 復雜性
- 擴展
- CLI插件
- 生成SDL
- 其他功能
- 聯合服務
- 遷移指南
- Websocket
- 網關
- 異常過濾器
- 管道
- 守衛
- 攔截器
- 適配器
- 微服務
- 概述
- Redis
- MQTT
- NATS
- RabbitMQ
- Kafka
- gRPC
- 自定義傳輸器
- 異常過濾器
- 管道
- 守衛
- 攔截器
- 獨立應用
- Cli
- 概述
- 工作空間
- 庫
- 用法
- 腳本
- Openapi
- 介紹
- 類型和參數
- 操作
- 安全
- 映射類型
- 裝飾器
- CLI插件
- 其他特性
- 遷移指南
- 秘籍
- CRUD 生成器
- 熱重載
- MikroORM
- TypeORM
- Mongoose
- 序列化
- 路由模塊
- Swagger
- 健康檢查
- CQRS
- 文檔
- Prisma
- 靜態服務
- Nest Commander
- 問答
- Serverless
- HTTP 適配器
- 全局路由前綴
- 混合應用
- HTTPS 和多服務器
- 請求生命周期
- 常見錯誤
- 實例
- 遷移指南
- 發現
- 誰在使用Nest?