
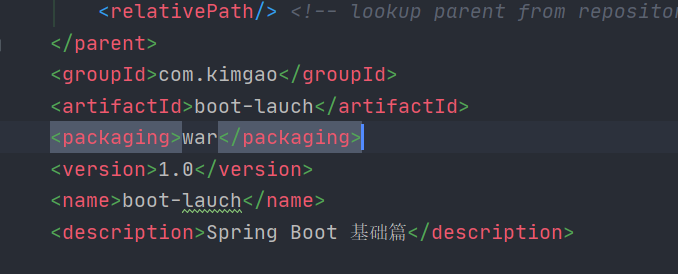
## 一、修改打包方式
~~~
<packaging>war</packaging>
~~~
將上面的代碼加入到pom.xml文件剛開始的位置,如下:
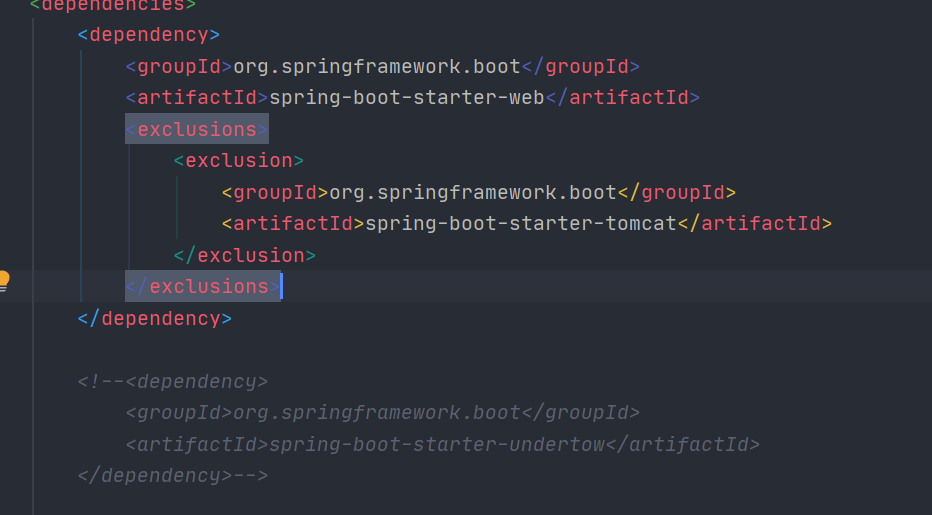
## 二、 排除內置tomcat的依賴
我們使用外置的tomcat,自然要將內置的嵌入式tomcat的相關jar排除。
~~~
<dependency>
<groupId>org.springframework.boot</groupId>
<artifactId>spring-boot-starter-web</artifactId>
<exclusions>
<exclusion>
<groupId>org.springframework.boot</groupId>
<artifactId>spring-boot-starter-tomcat</artifactId>
</exclusion>
</exclusions>
</dependency>
~~~
接上節,去掉undertow
因為去掉所有server依賴后程序里的servlet無法找到對應的依賴包,所以需要我們自己引入一個servlet依賴。
~~~
<dependency>
<groupId>javax.servlet</groupId>
<artifactId>javax.servlet-api</artifactId>
<version>4.0.1</version>
</dependency>
~~~
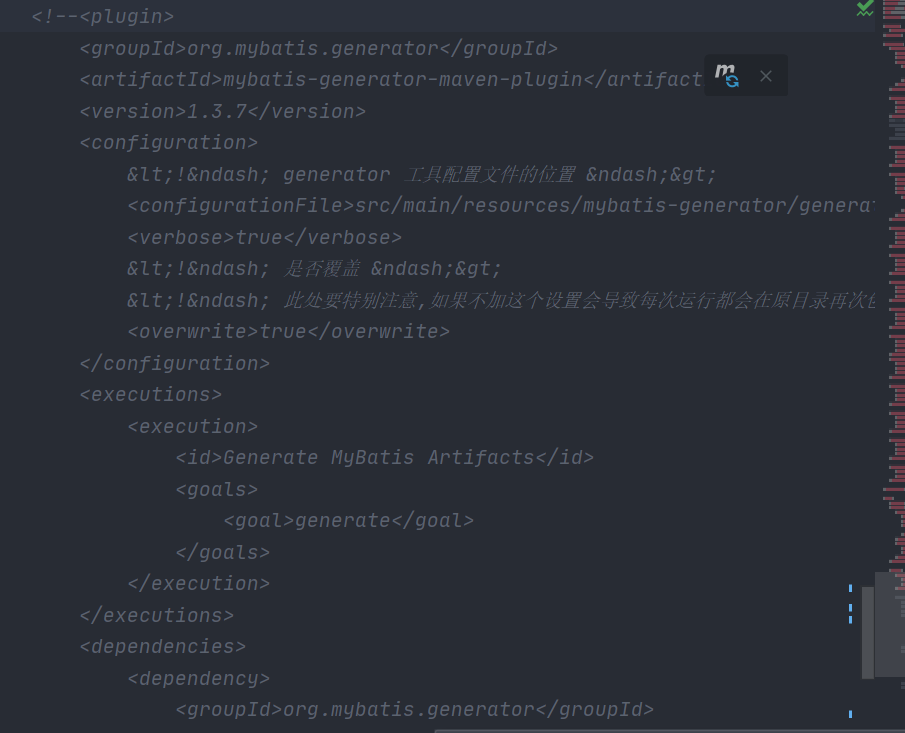
mybatis因為是配置在pom中,利用pom導出war包會導致逆向重寫mapper,所以這段需要注釋掉。
~~~
<!--<plugin>
<groupId>org.mybatis.generator</groupId>
<artifactId>mybatis-generator-maven-plugin</artifactId>
<version>1.3.7</version>
<configuration>
<!– generator 工具配置文件的位置 –>
<configurationFile>src/main/resources/mybatis-generator/generatorConfig.xml</configurationFile>
<verbose>true</verbose>
<!– 是否覆蓋 –>
<!– 此處要特別注意,如果不加這個設置會導致每次運行都會在原目錄再次創建–>
<overwrite>true</overwrite>
</configuration>
<executions>
<execution>
<id>Generate MyBatis Artifacts</id>
<goals>
<goal>generate</goal>
</goals>
</execution>
</executions>
<dependencies>
<dependency>
<groupId>org.mybatis.generator</groupId>
<artifactId>mybatis-generator-core</artifactId>
<version>1.3.7</version>
</dependency>
<dependency>
<groupId>mysql</groupId>
<artifactId>mysql-connector-java</artifactId>
<version>5.1.46</version>
</dependency>
</dependencies>
</plugin>-->
~~~
## 三、新增加一個類繼承SpringBootServletInitializer實現configure:
為什么繼承該類,SpringBootServletInitializer源碼注釋:
Note that a WebApplicationInitializer is only needed if you are building a war file and deploying it.
If you prefer to run an embedded web server then you won't need this at all.
注意,如果您正在構建WAR文件并部署它,則需要WebApplicationInitializer。如果你喜歡運行一個嵌入式Web服務器,那么你根本不需要這個。
~~~
public class ServletInitializer extends SpringBootServletInitializer {
@Override
protected SpringApplicationBuilder configure(SpringApplicationBuilder builder) {
//此處的Application.class為帶有@SpringBootApplication注解的啟動類
return builder.sources(BootLauchApplication.class);
}
}
~~~
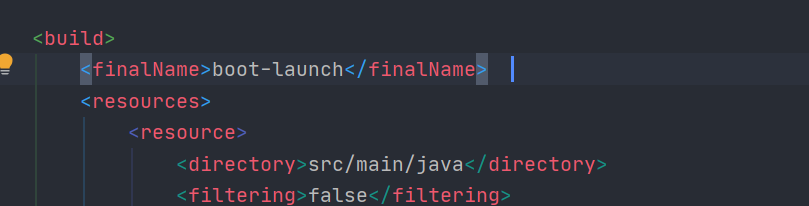
## 四、build要有finalName標簽
pom.xml中的構建build代碼段,要有應用最終構建打包的名稱。
~~~
<finalName>boot-lauch</finalName>
~~~
## 五、打包與運行
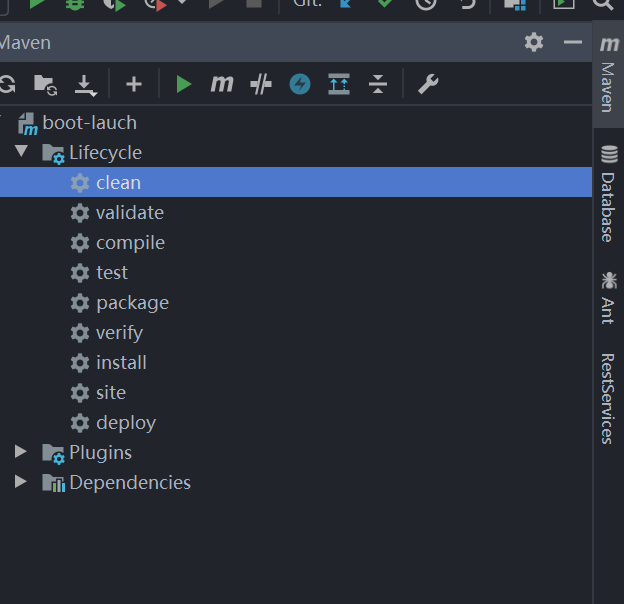
先clean把編譯內容清空一下
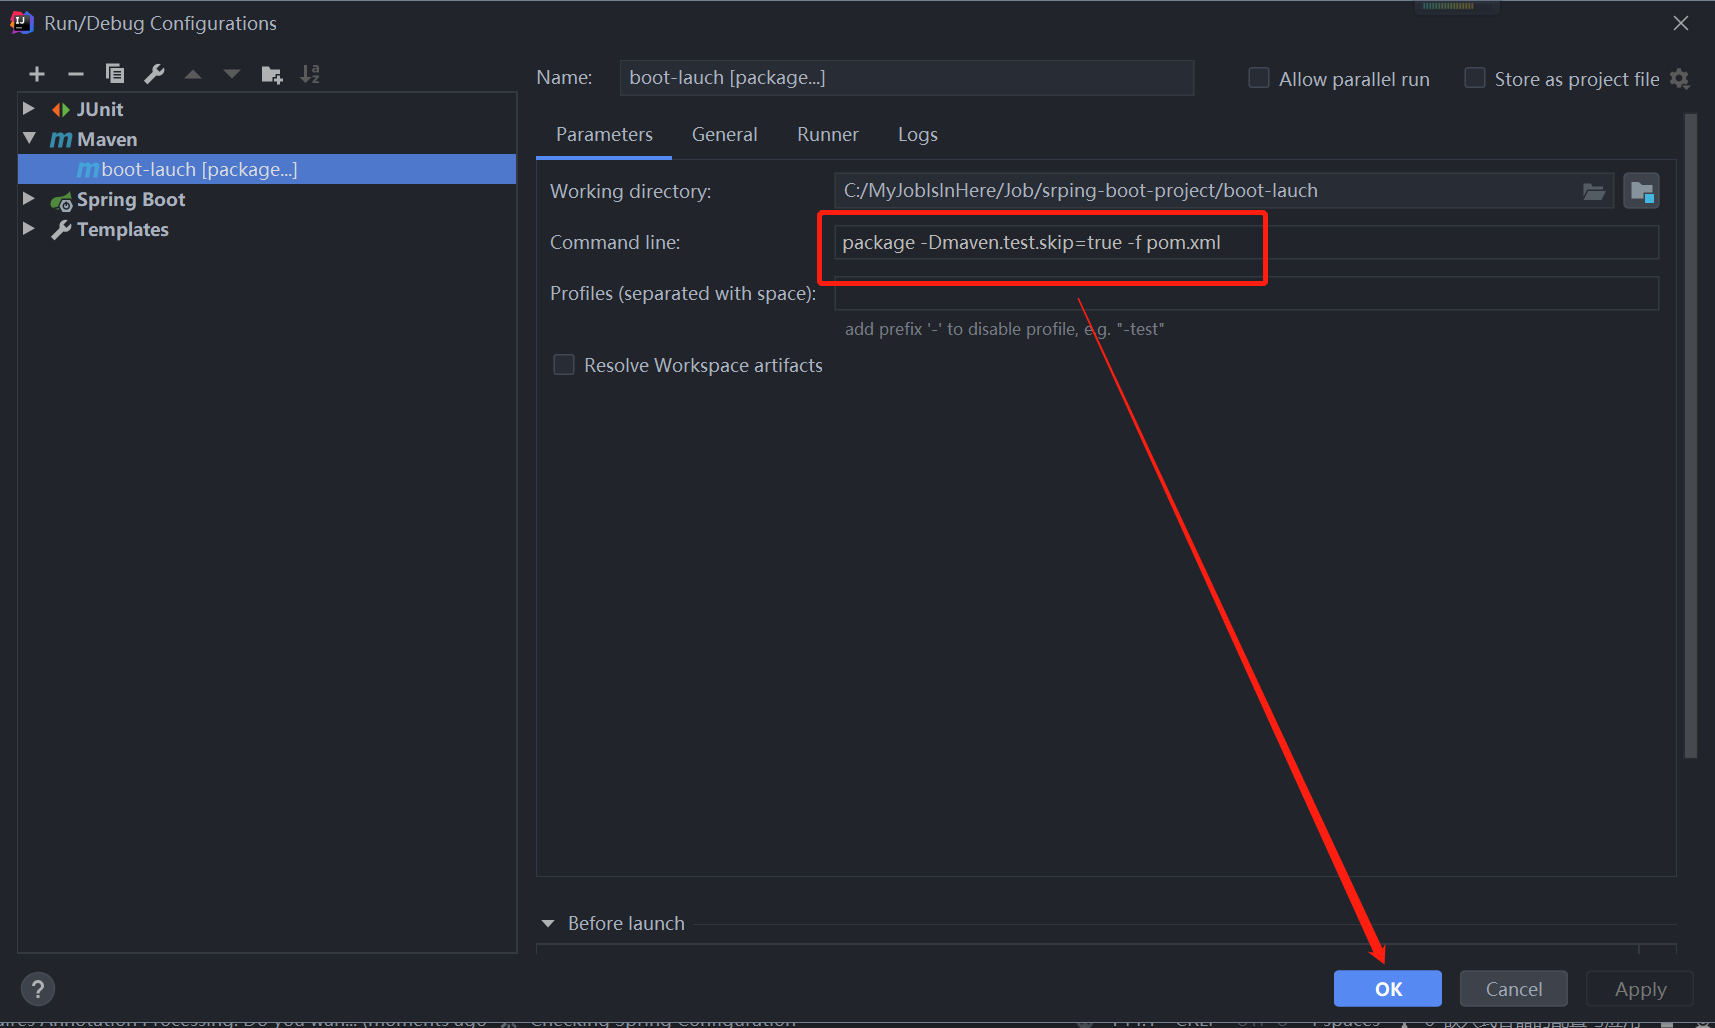
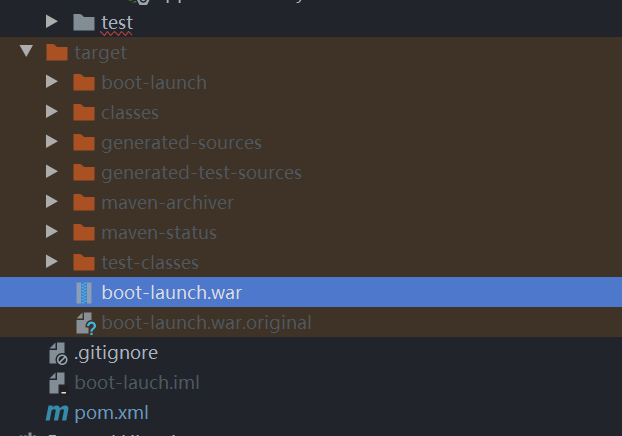
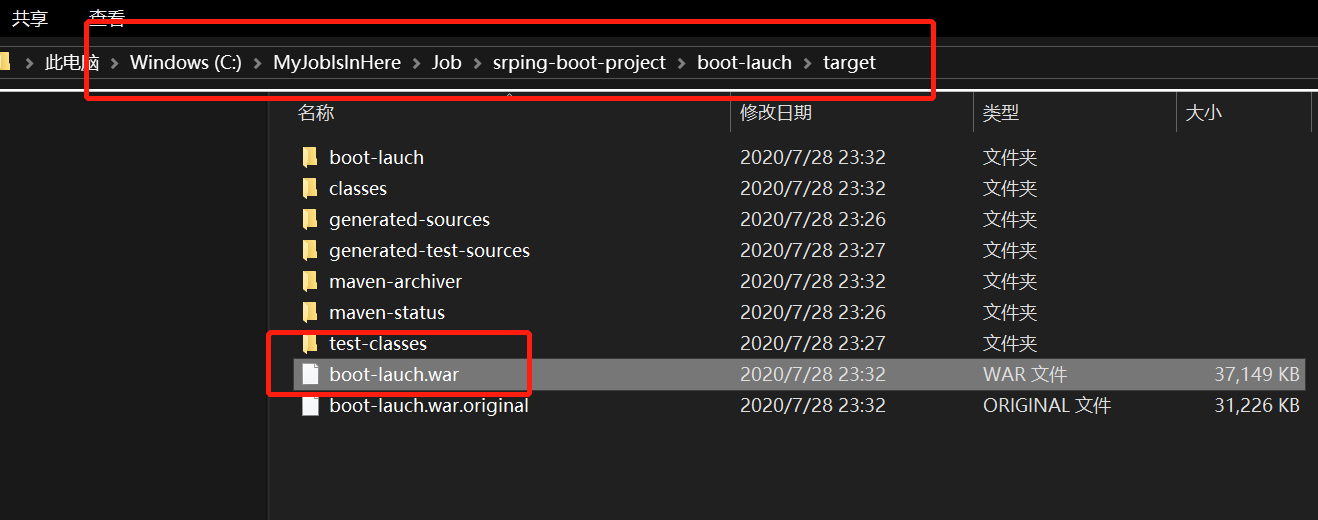
war方式打包,打包結果將存儲在項目的target目錄下面。然后將war包部署到外置Tomcat上面:
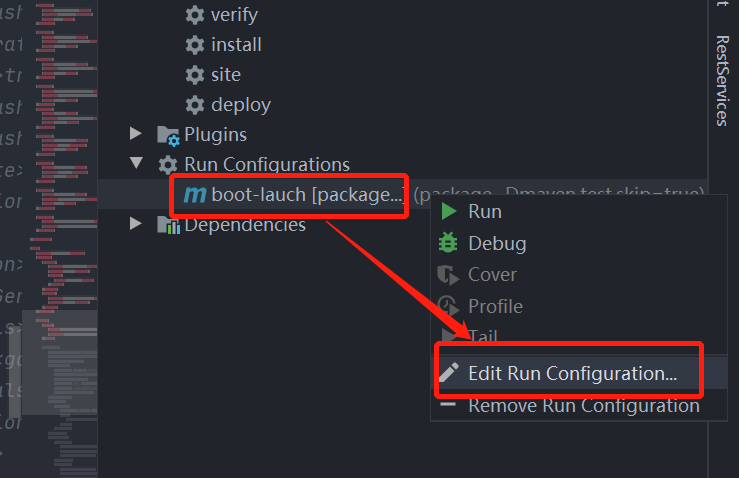
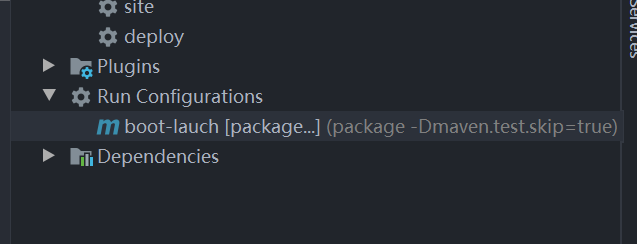
輸入內容如下,含義是不打包test,依據pom.xml來進行打包
~~~
package -Dmaven.test.skip=true -f pom.xml
~~~
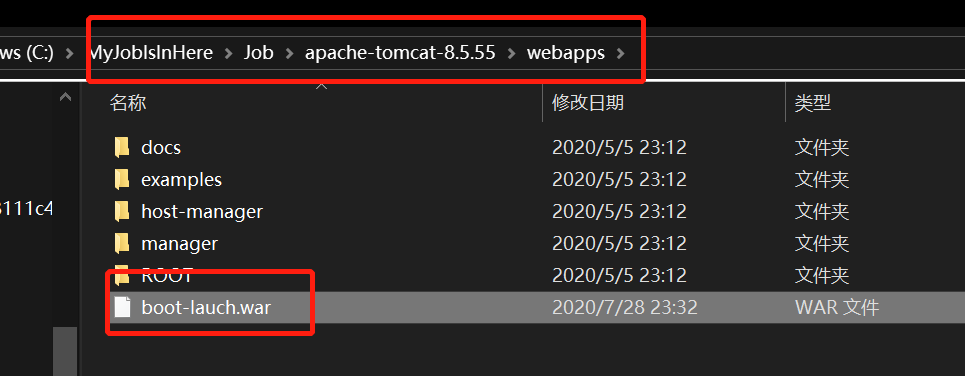
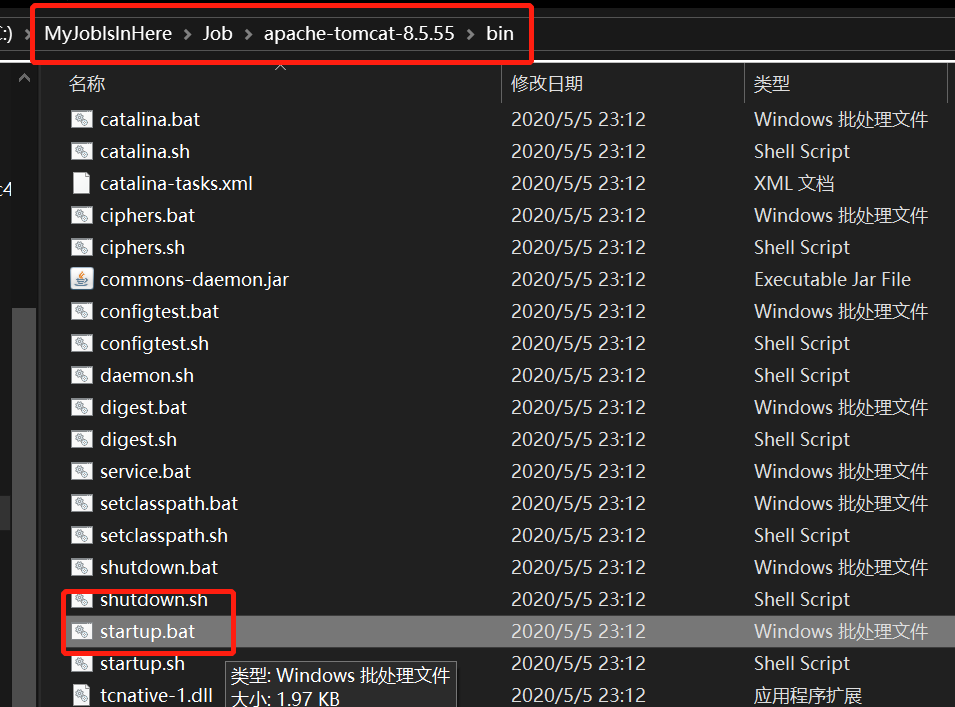
在外置tomcat中運行:${Tomcat\_home}/bin/目錄下執行startup.bat(windows)[或者startup.sh](http://xn--startup-gf7nh96s.sh/)(linux),然后通過瀏覽器訪問應用,測試效果。
> 注意事項:
> 使用外部Tomcat部署訪問的時候,application.properties(或者application.yml)中的如下配置將失效,請使用外置的tomcat的端口,tomcat的webapps下項目名進行訪問。
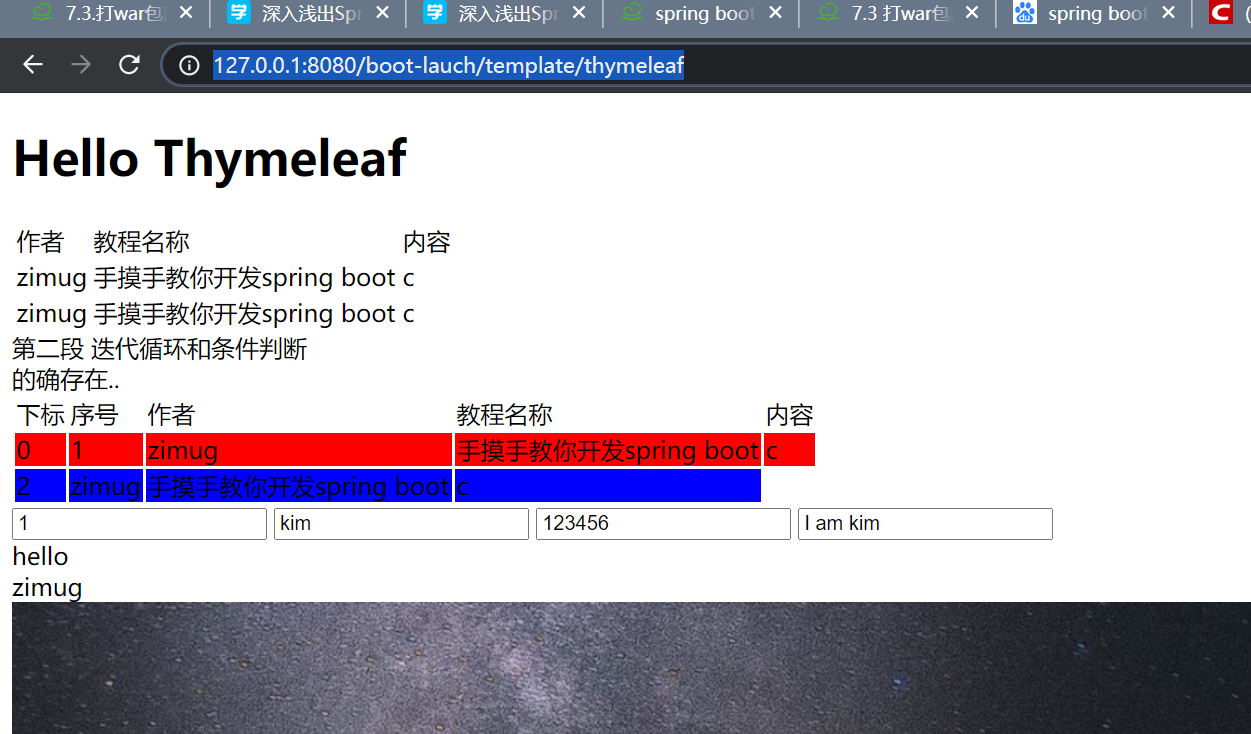
[http://127.0.0.1:8080/boot-lauch/template/thymeleaf](http://127.0.0.1:8080/boot-lauch/template/thymeleaf)
## 踩坑
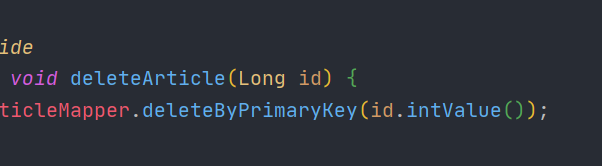
1、之前的ArticleVO和mapper中ID格式不一樣會報錯,.intValue() 轉義后可以正常打war包。
2、如果mybatis是利用pom.xml文件逆向自動生成的,則在maven打war包時會逆向重新編譯mapper文件導致服務報錯無法啟動,所以需要修改pom.xml注釋掉逆向部分。
- 內容簡介
- 第一章 Spring boot 簡介
- 1.1 helloworld
- 1.2 提高開發效率工具lombok
- 1.3 IDEA熱部署
- 1.4 IDEA常用插件
- 1.5 常用注解
- 第二章 RESTful接口
- 2.1 RESTful風格API
- 2.1.1 spring常用注解開發RESTful接口
- 2.1.2 HTTP協議與Spring參數接收注解
- 2.1.3 Spring請求處理流程注解
- 2.2 JSON數據格式處理
- 2.2.1 Jackson的轉換示例代碼
- 2.3 針對接口編寫測試代碼
- 2.3.1 編碼接口測試示例代碼
- 2.3.2 帶severlet容器的接口測試示例代碼
- 2.3.3 Mockito測試示例代碼
- 2.3.4 Mockito輕量測試
- 2.4 使用swagger2構建API文檔
- 2.4.1 swagger2示例代碼
- 2.4.2 pom.xml
- 2.5 使用swagger2導出各種格式的接口文檔
- 第三章 sping boot配置管理
- 3.1 YAML語法
- 3.2 YAML綁定配置變量的方式
- 3.3 YAML配置屬性值校驗
- 3.4 YAML加載外部配置文件
- 3.5 SpEL表達式綁定配置項
- 3.6 不同環境下的多配置
- 3.7 配置文件的優先級
- 3.8 配置文件敏感字段加密
- 第四章 連接數據庫使用到的框架
- 4.1 spring JDBC
- 4.2 mybatis配置mybatisgenerator自動生成代碼
- 4.3 mybatis操作數據庫+dozer整合Bean自動加載
- 4.4 spring boot mybatis 規范
- 4.5 spirng 事務與分布式事務
- 4.6 spring mybaits 多數據源(未在git版本中實現)
- 4.7 mybatis+atomikos實現分布式事務(未在git版本中實現)
- 4.8 mybatis踩坑之逆向工程導致的服務無法啟動
- 4.9 Mybatis Plus
- 4.9.1.CURD快速入門
- 4.9.2.條件構造器使用與總結
- 4.9.3.自定義SQL
- 4.9.4.表格分頁與下拉分頁查詢
- 4.9.5.ActiveRecord模式
- 4.9.6.主鍵生成策略
- 4.9.7.MybatisPlus代碼生成器
- 4.9.8.邏輯刪除
- 4.9.9.字段自動填充
- 4.9.10.多租戶解決方案
- 4.9.11.雪花算法與精度丟失
- 第五章 頁面展現整合
- 5.1 webjars與靜態資源
- 5.2 模板引擎與未來趨勢
- 5.3 整合JSP
- 5.4 整合Freemarker
- 5.5 整合Thymeleaf
- 5.6 Thymeleaf基礎語法
- 5.7 Thymeleaf內置對象與工具類
- 5.8 Thymeleaf公共片段(標簽)和內聯JS
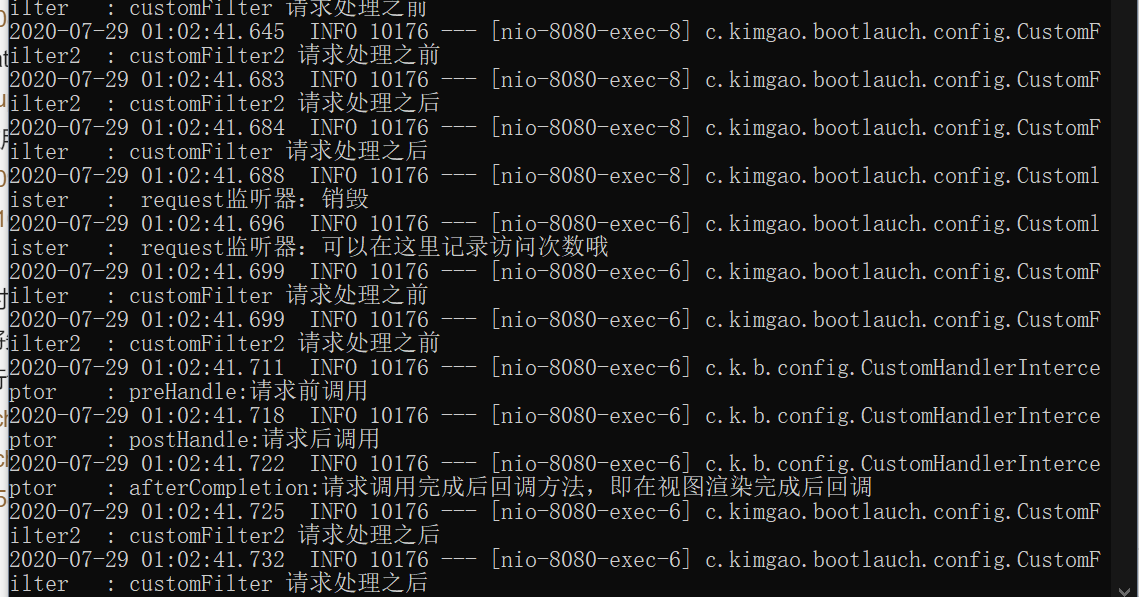
- 第六章 生命周期內的攔截、監聽
- 6.1 servlet與filter與listener的實現
- 6.1.1 FilterRegistration
- 6.1.2 CustomFilter
- 6.1.3 Customlister
- 6.1.4 FirstServlet
- 6.2 spring攔截器及請求鏈路說明
- 6.2.1 MyWebMvcConfigurer
- 6.2.2 CustomHandlerInterceptor
- 6.3 自定義事件的發布與監聽
- 6.4 應用啟動的監聽
- 第七章 嵌入式容器的配置與應用
- 7.1 嵌入式的容器配置與調整
- 7.2 切換到jetty&undertow容器
- 7.3 打war包部署到外置tomcat容器
- 第八章 統一全局異常處理
- 8.1 設計一個優秀的異常處理機制
- 8.2 自定義異常和相關數據結構
- 8.3 全局異常處理ExceptionHandler
- 8.3.1 HelloController
- 8.4 服務端數據校驗與全局異常處理
- 8.5 AOP實現完美異常處理方案
- 第九章 日志框架與全局日志管理
- 9.1 日志框架的簡介與選型
- 9.2 logback日志框架整合使用
- 9.3 log4j2日志框架整合與使用
- 9.4 攔截器實現用戶統一訪問日志
- 第十章 異步任務與定時任務
- 10.1 實現Async異步任務
- 10.2 為異步任務規劃線程池
- 10.3 通過@Scheduled實現定時任務
- 10.4 quartz簡單定時任務(內存持久化)
- 10.5 quartz動態定時任務(數據庫持久化)
- 番外章節
- 1.windows下安裝git
- 1 git的使用
- 2 idea通過git上傳代碼到github
- 2.maven配置
- 3.idea幾個輔助插件
- 4.idea配置數據庫
- 5.搭建外網穿透實現外網訪問內網項目
- 6.idea設置修改頁面自動刷新
- 7.本地tomcat啟動亂碼
- 8.win10桌面整理,得到一個整潔的桌面
- 9.//TODO的用法
- 10.navicat for mysql 工具激活
- 11.安裝redis
- 12.idea修改內存
- 13.IDEA svn配置
- 14.IntelliJ IDEA像Eclipse一樣打開多個項目