
默認的box不允許root賬戶登錄,用默認的vagrant賬戶登錄,方式有`private_key`和`password`兩種形式
[TOC]
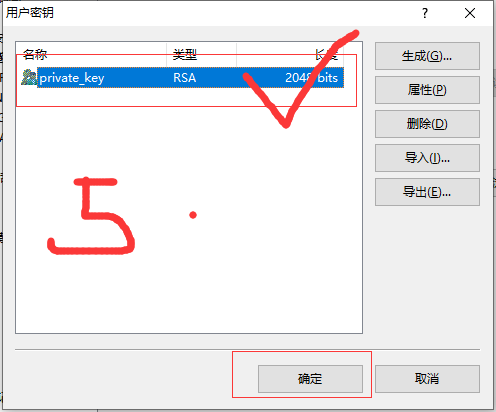
## 1.private_key
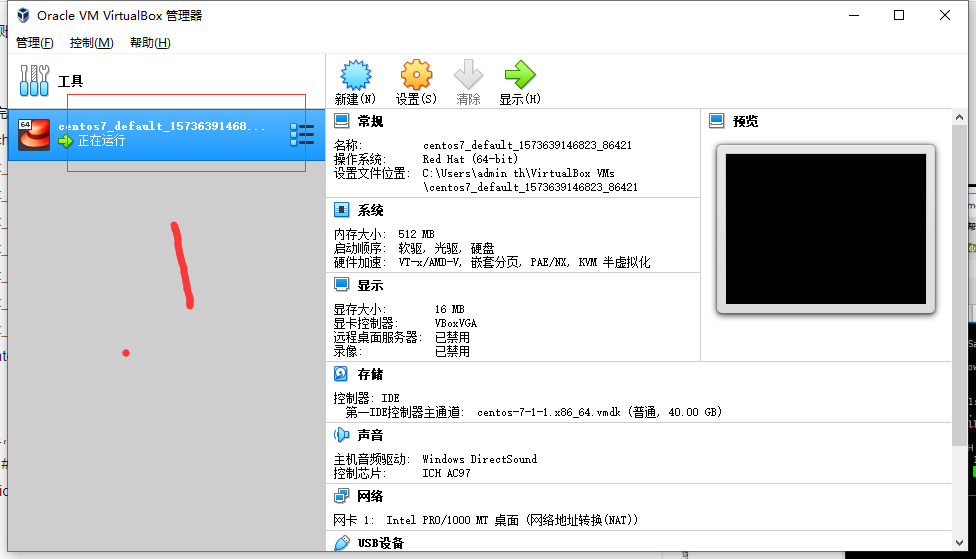
在之前章節正確安裝完centos7后,vagrant up過程中就會在Vagrantfile同級目錄生成文件夾`.vagrant`,并在centos7\.vagrant\machines\default\virtualbox下生成`private_key`文件,用xshell連接時,配置連接屬性,如下步驟
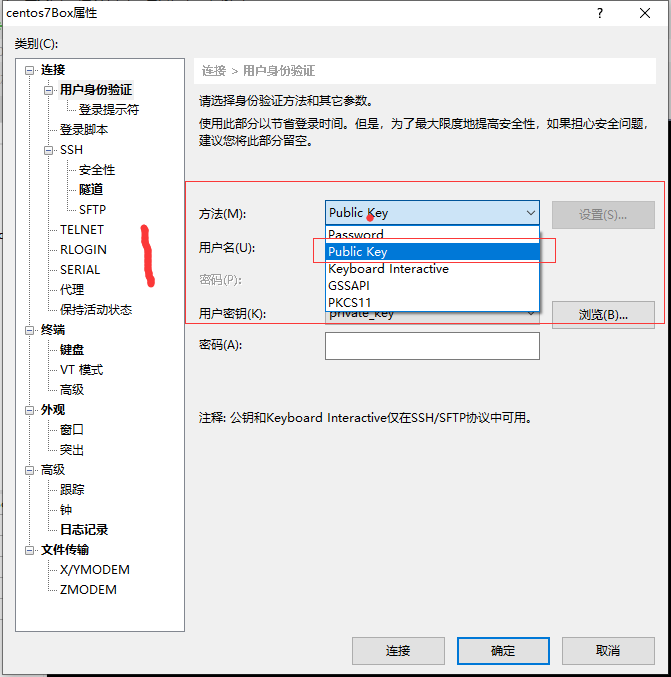
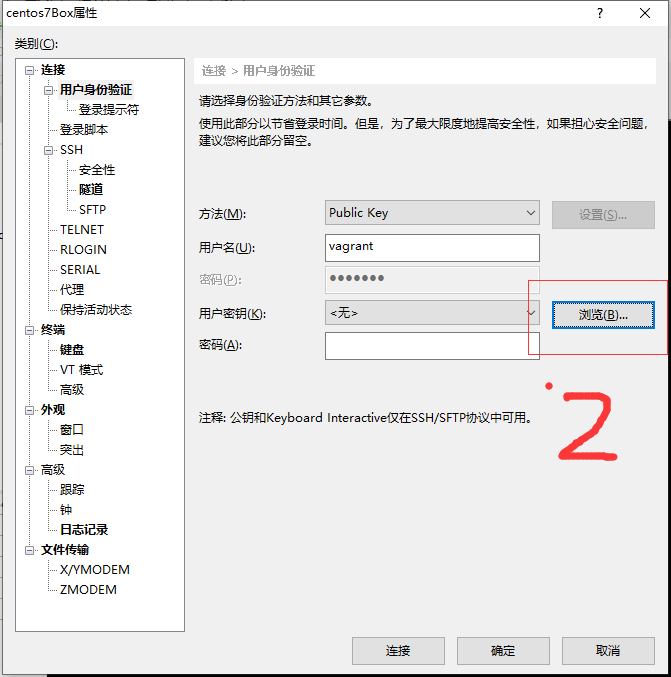
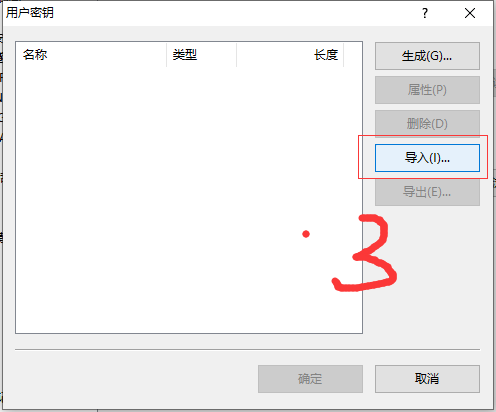
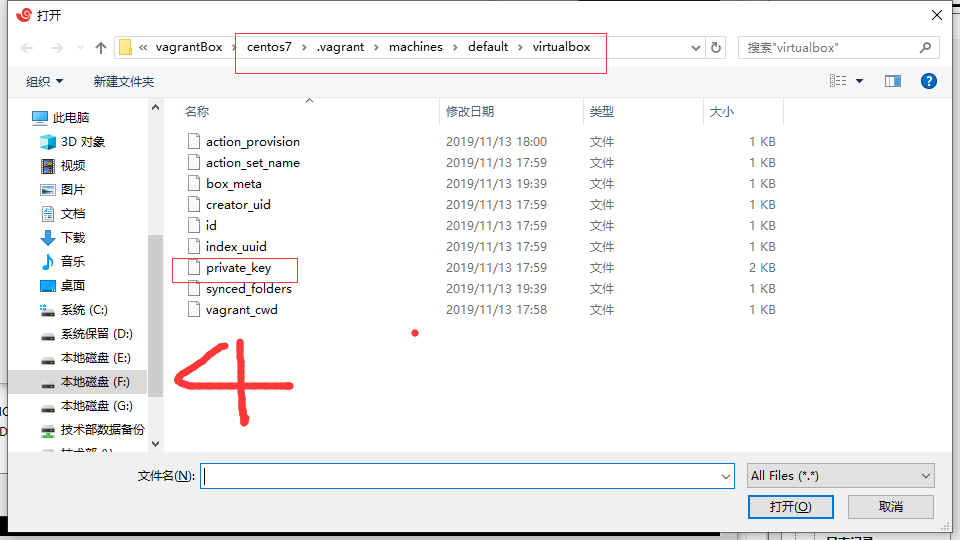
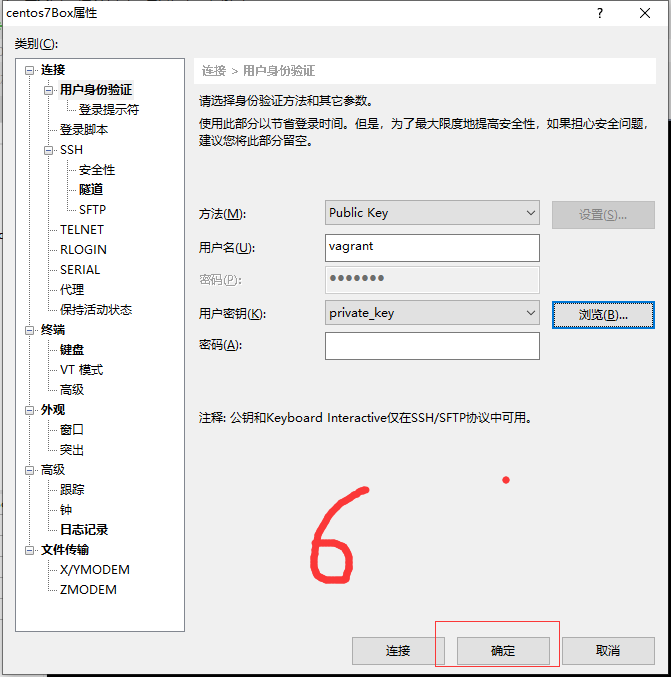
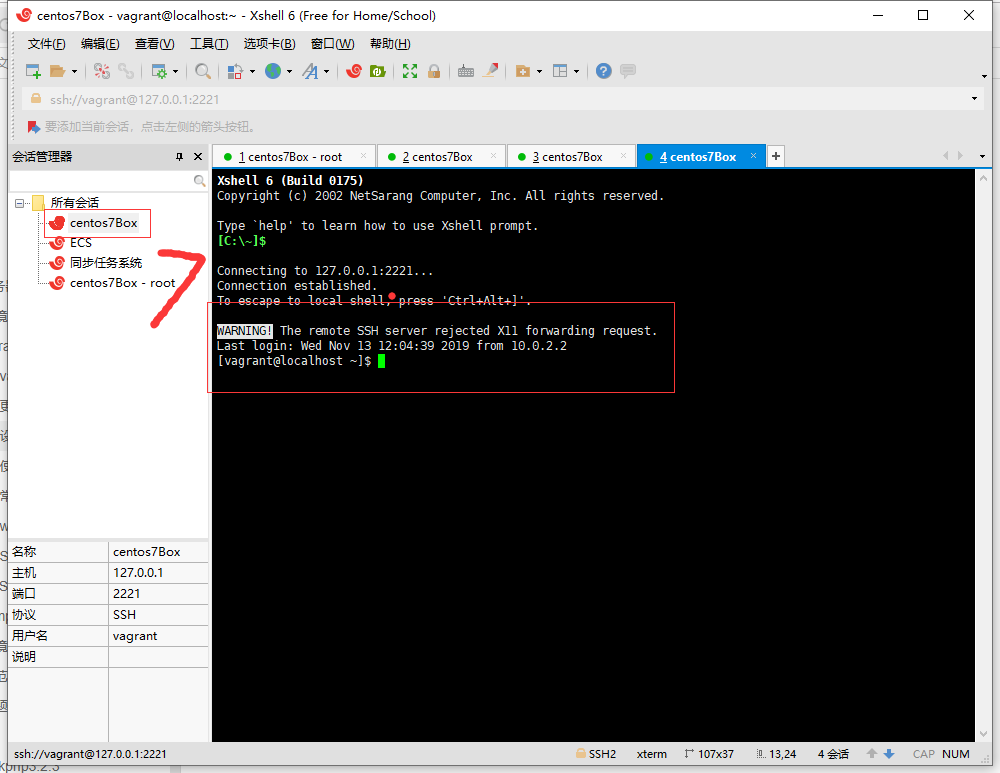
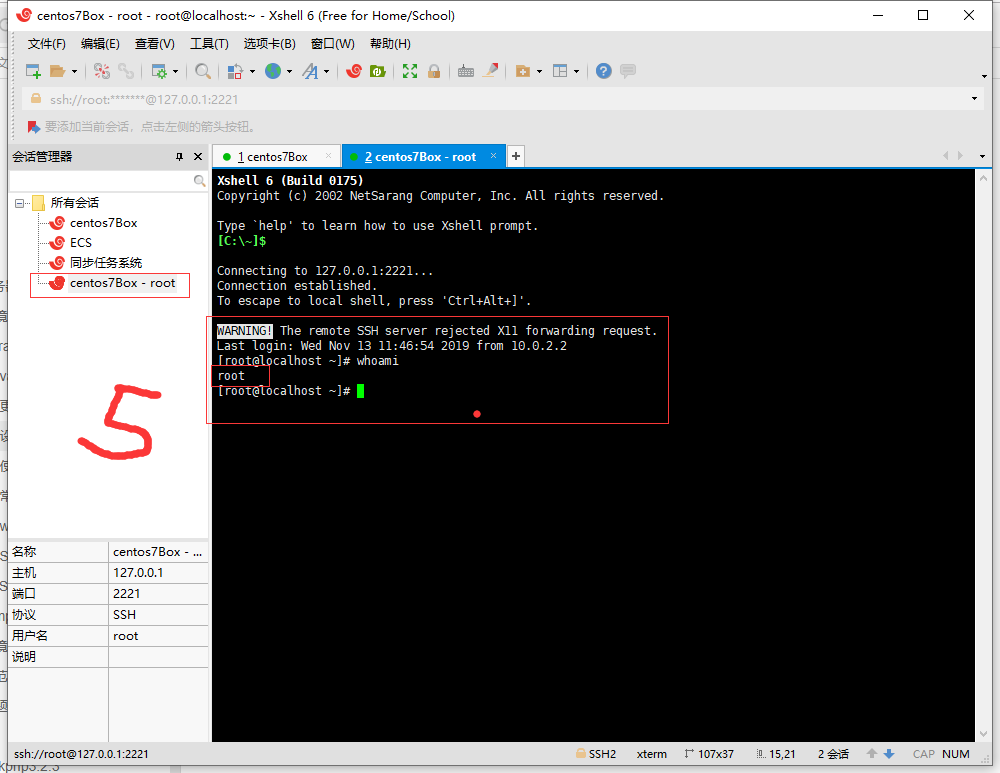
最后雙擊會話連接centos7Box,已成功,如最后一張圖
## 2.password
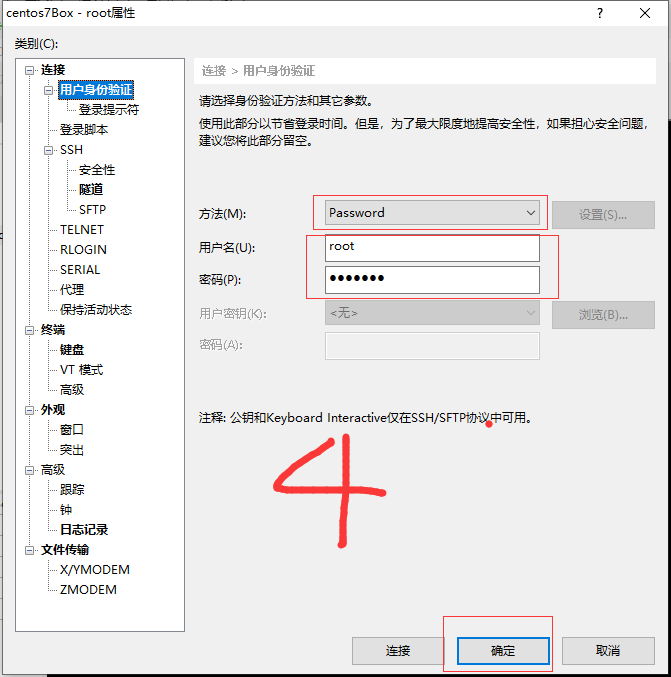
直接用默認root賬戶:root/vagrant 在虛擬機上直接登錄
在虛擬機的ssh配置里,vim /etc/ssh/ssd_config設置
PermitRootLogin yes # 允許root賬戶登錄
PasswordAuthentication yes # 允許密碼模式登錄
雙擊虛擬機,會出現登錄界面,【如果不出現,按下回車】。使用默認的賬戶root vagrant登錄,使用vagrant vagrant登錄則所有的命令需要在前面加sudo,所以建議root登錄,`vim /etc/ssh/ssd_config`
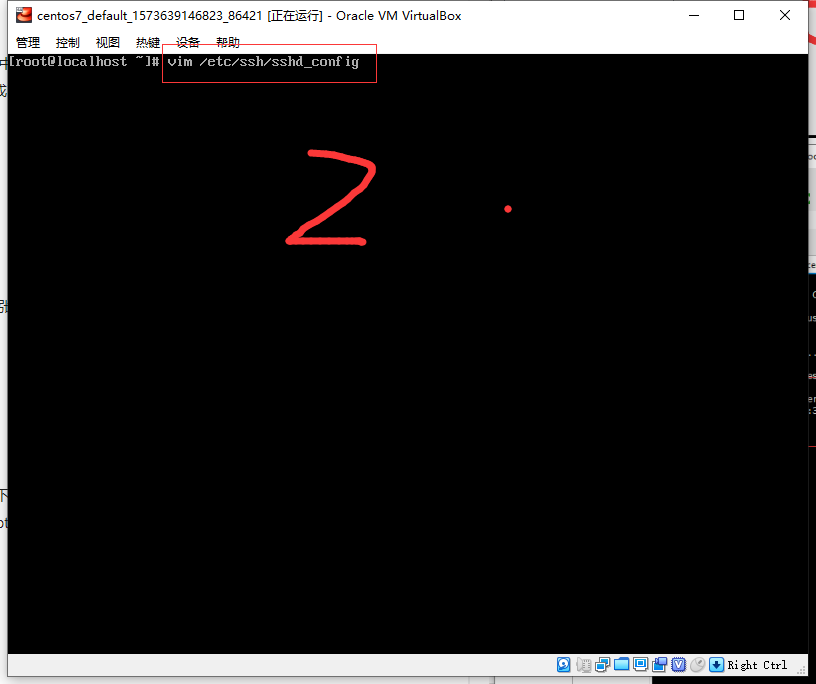
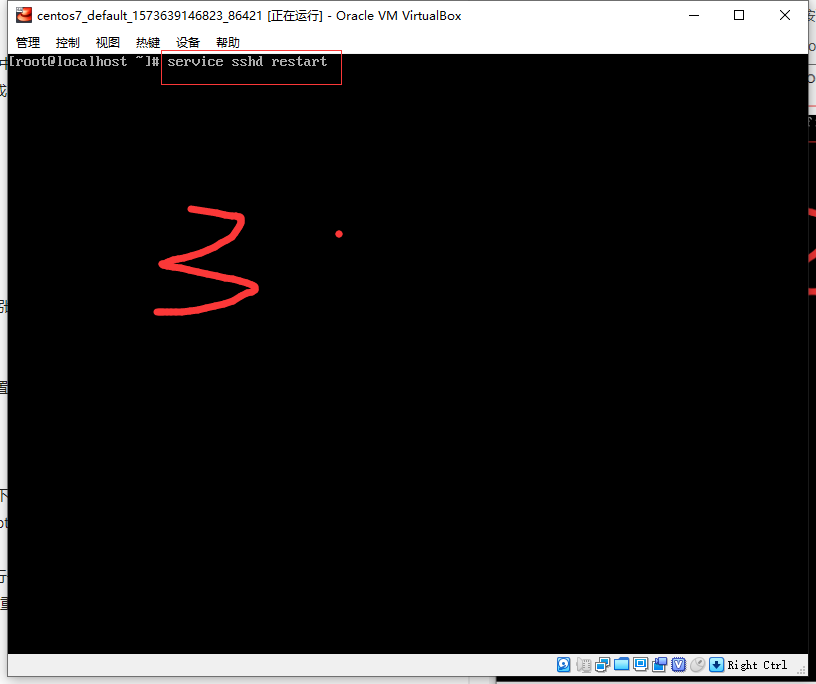
默認沒有安裝vim,所以先`yum install vim`,再執行一次如果所示命令`vim /etc/ssh/ssd_config`,進入配置頁面。找到以上兩個配置,設置為yes,保存退出vim,`:wq`,重啟sshd服務
- 常見功能
- 第三方授權登錄
- 郵件發送
- 簡易聊天室
- 獲取各國匯率
- PHP獲取服務器硬件指標
- 數據上報之
- web開發
- 開發規范
- 前端
- 踩坑
- 將footer固定在底部
- bootstrap
- Metronic
- 用到的jquery插件
- bootstrap-hover-dropdown
- jquery.slimscroll
- jquery.blockui
- bootstrap-switch
- js.cookie
- moment
- bootstrap-daterangepicker
- morris
- raphael
- jquery.waypoints
- jquery.counterup
- select2
- 取值和設置默認值
- vue
- axios
- 瀏覽器
- 谷歌瀏覽器
- 谷歌插件
- layui
- layui-表格
- layui-表單
- layui-彈窗
- layui-分頁
- 后端
- 操作系統
- linux
- 用戶管理
- 文件管理
- 目錄管理
- 壓縮和解壓縮
- 進程查看
- 端口查看
- 開機自啟動服務
- 定時任務
- shell腳本
- 殺掉運行超過指定時長指定服務的進程
- 獲取服務器使用狀態
- bash-shell連接socket
- 自定義快捷命令
- centos-踩坑
- 防火墻
- 軟件
- yum
- vim
- screen
- window
- 語言
- PHP
- 配置優化
- 框架
- thinkphp5.1+
- think命令行
- laravel6.+
- 維護模式
- 根據環境讀取不同配置
- laravel6.+采坑
- laravel坑位
- 數據庫事務
- 任務調度
- 文件權限問題
- 增強框架
- larvel:elastic-search
- 圖形驗證碼
- laravel獲取ip
- 函數
- strtotime
- 正則匹配
- 類
- 接口類與抽象類
- 類相關的關鍵字 - abstract
- 類相關的關鍵字 - interface
- PHP有關類的調用方式"->"與"::"的區別
- 擴展
- 問題歸納
- json_encode和json_decode
- 字符串的運算
- curl
- 優化php效率
- 數組相加合并與array_merge
- 時區轉換
- 不常用特性
- php反射
- 包管理器-composer
- GuzzleHttp
- Python
- Go
- 數據庫
- Redis
- 安裝
- 本地化-數據備份
- php-redis操作
- Mysql
- mysql-命令集合
- 設置終端可訪問
- 數據庫設計
- 用戶基礎信息表
- 踩坑集合
- mysql-2002
- mysql-2054
- 優化策略
- mysql-密碼驗證插件
- 一些牛逼的sql查詢
- topN
- 無限級分類
- Memcache
- MongoDb
- 安裝mongo-server
- 安裝php-mongodb擴展
- 在laravel中使用mongoDB
- 客戶端軟件
- Hbase
- Elasticsearch
- elastic-search
- restfulApi操作es
- web服務器
- 1.nginx
- 配置語法規則
- 配置詳解
- rewrite規則
- request_filename
- 2.apache
- 功能設計
- 加密解密
- Base64
- 對亞馬遜SKU加密
- 兼職項目中的加解密
- 騰訊外包時的加密
- 接口設計
- 接口限流設計
- 分庫分表
- 遍歷展示文件目錄結構
- 時區換算
- 文件切割
- 解析xml字符串
- 項目
- 博客后臺管理
- 亞馬遜廣告API
- 官方指引文檔
- 開發人員中心
- 應用商店
- 第三方庫
- 申請API郵件記錄
- 亞馬遜MWS
- 付款報告
- 亂碼
- 亞馬遜管理庫存報告
- 報告
- 商品
- 入庫
- 履行
- 出庫
- 財務
- 訂單
- 異步任務處理
- 集群如何同步代碼
- 基本開發流程
- 文檔管理
- showdoc
- 運行環境
- 開發環境
- vagrant
- windows上配置安裝
- vagrant安裝插件緩慢
- 更換ssh默認端口映射
- 設置x-shell密碼登錄
- 使用市場的box-homestead
- homestead-7: Box 'lc/homestead'
- 常見問題
- 虛擬環境reboot
- 突然無法使用
- phpStudy
- wamp
- 壓測性能
- VPN
- vultr
- 凌空圖床
- 寶塔
- 自動化部署
- 版本管理軟件鉤子
- 線上環境-LNMP
- centos7
- nginx
- mysql
- mysql開機自啟
- mysql-更換默認端口
- datetime字段類型默認值
- php
- php擴展安裝
- redis
- swoole
- gd
- BCMath
- igbinary
- zstd
- 包管理器:composer
- 優化性能
- nodejs
- 更新gcc版本
- 版本控制
- git
- 常用命令
- gitlab
- 版本管理規范
- 使用阿里云創建遠程倉庫
- git自動化部署
- svn
- 忽略指定文件
- 拉取代碼
- 自動化運維
- jekins
- 容器
- 集群
- 架構設計
- 設計原則
- 閱讀參考
- 代碼規劃
- 架構實戰
- 服務治理
- 權限控制設計
- 具體設計
- 計劃
- 疑問知識點
- 讀書筆記
- 高性能Mysql
- TCP-IP詳解-卷一:協議
- 思考
- php如何實現并發執行
- 對接調用設計
- 如何在瀏覽器上實現插件
- 如何設計一個app結合業務告警
- mysql的where查詢沒有用到索引
- 為啥in查詢比循環嵌套sql的查詢還要慢
- 使用git來創建屬于自己的composer包
- 翻頁獲取數據的時候又新增了數據
- 安全思路
- 月報
- PHP ?? 和 ?: 的區別
- PHP異步執行
- redis集群的目標是什么
- 大文件數據處理
- 性能瓶頸分析
- 命令行里輸出帶顏色的字體
- 面試問題合集
- 基礎
- 安全
- 算法
- 冒泡排序
- 快速排序
- 二分法查詢數組指定成員
- 字符查找匹配
- 令牌桶
- 漏桶
- 計數器
- 代理
- 協議
- http
- 狀態碼
- tcp
- udp
- Oauth2.0
- 設計模式
- 單例模式
- 適配器模式
- 工廠模式
- 觀察者模式
- 流程化
- 地址欄輸入網址到返回網頁的流程
- 題目收集
- 工具
- rabbitMq
- rabbitMQ用戶管理
- 生產者
- 消費者
- 支持TP5.*的think-queue
- 消息丟失
- 消費者報錯
- rabbitMQ配置優化
- 磁盤滿載導致服務掛掉
- PHP類庫
- rabbitMQ踩坑
- navicat
- vscode
- phpstorm
- 激活碼
- markdown
- PHP自定義類庫
- 工具類
- 領導力
- 任務分配
- 代碼組織
- 不要重復
- 避免污染
- 接口定義規范
- 小業務需求
- 獲取充值面額組成
- 監控服務器CPU和內存
- shell腳本版本