## 使用 Electron 創建和管理窗體
Electron 中的 BrowserWindow 模塊允許您創建新的瀏覽器窗口或管理現有的瀏覽器窗口.
每個瀏覽器窗口都是一個單獨的進程, 稱為渲染器進程. 這個進程, 像控制應用程序生命周期的主進程一樣,可以完全訪問 Node.js API.
查看 [完整的 API 文檔](http://electron.atom.io/docs/api/browser-window)
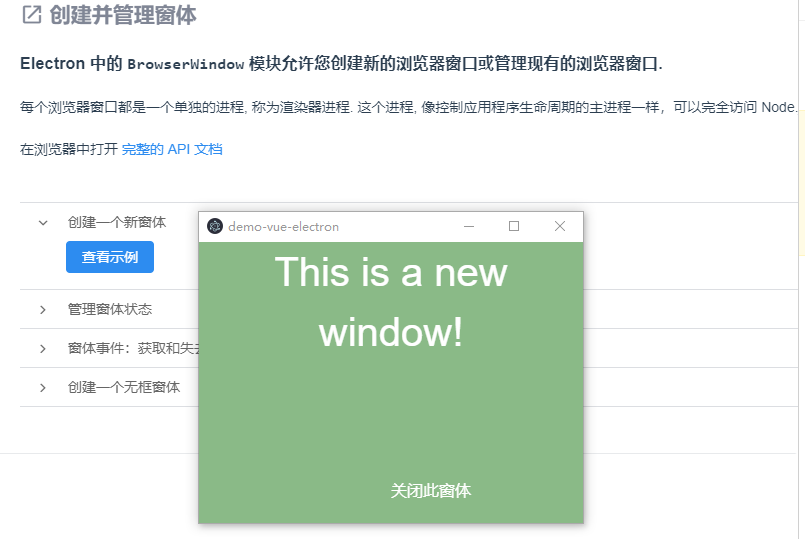
### 創建一個新窗體
`支持: Win, macOS, Linux | 進程: Main`
通過 BrowserWindow 模塊可以在應用程序中創建新窗口. 這個主進程模塊可以和渲染器進程與 [remote 模塊]([https://www.electronjs.org/docs/api/remote](https://www.electronjs.org/docs/api/remote))一起使用, 如本示例中所示.
創建新窗口時有很多參數. 示例中用了一部分, 完整的列表請查看 [API 文檔](http://electron.atom.io/docs/api/browser-window)
渲染器進程
```
createNewWin () {
const {BrowserWindow, screen} = require('electron').remote
this.win = new BrowserWindow({
width: 400,
height: 320,
movable: true, // 窗口是否可以移動
show: false, // 先不讓窗口顯示
autoHideMenuBar: true,
webPreferences: {
devTools: false, // 關閉調試工具
webSecurity: true,
nodeIntegration: true
}
});
const size = screen.getPrimaryDisplay().workAreaSize; // 獲取顯示器的寬高
const winSize = this.win.getSize(); // 獲取窗口寬高
if (process.env.NODE_ENV === 'development') {
// Load the url of the dev server if in development mode
this.win.loadURL('http://localhost:8080#/newWin')
} else {
// Load the index.html when not in development
this.win.loadURL(`file://${__dirname}/index.html#/newWin`)
}
// 設置窗口的位置 注意x軸要桌面的寬度 - 窗口的寬度
this.win.setPosition((size.width - winSize[0]) / 2, 350);
// 監聽渲染完成
this.win.once('ready-to-show', () => {
this.win.show();
});
// 監聽窗口關閉
this.win.on('close', () => {
this.win = null;
});
global.newPage = {
id: this.win.id
};
},
```
#### 高級技巧
使用不可見的瀏覽器窗口來運行后臺任務.
您可以將新的瀏覽器窗口設置為不顯示 (即不可見), 以便將該渲染器進程作為 JavaScript 的一種新線程附加在應用程序后臺運行. 您可以通過在定義新窗口時將 show 屬性設置為 false 來執行此操作.
```
var win = new BrowserWindow({
????width: 400, height: 225, show: false
})
```
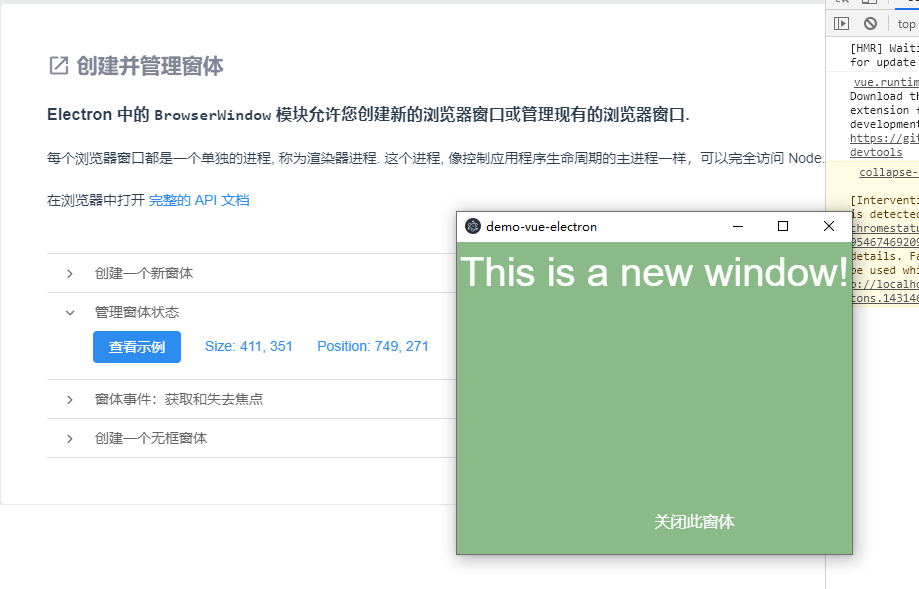
### 管理窗體狀態
`支持: Win, macOS, Linux | 進程: Main`
在這個示例中, 我們創建一個新窗口, 并監聽 move 和 resize 事件. 點擊示例按鈕, 并更改新窗口大小和位置, 然后在上方查看輸出的大小和位置信息.
有很多方法用于控制窗口的狀態, 如大小, 位置和焦點狀態以及監聽窗口更改的事件. 完整的列表請查看[API 文檔](http://electron.atom.io/docs/api/browser-window)
渲染器進程
```
getWinStatus () {
if (!this.win) {
this.createNewWin();
}
this.win.on('resize', this.updateStatus);
this.win.on('move', this.updateStatus);
},
updateStatus() {
this.winSize = this.win.getSize();
this.winPosition = this.win.getPosition();
},
```
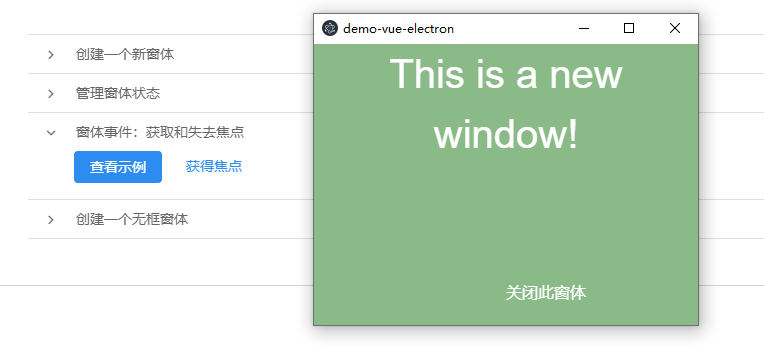
### 窗體事件: 獲取和失去焦點
`支持: Win, macOS, Linux | 進程: Main`
在這個示例中, 我們創建一個新窗體并監聽它的 blur 事件. 點擊示例按鈕創建一個新的模態窗體, 然后點擊父級窗體來切換焦點. 你可以通過點擊 示例獲取焦點 按鈕來讓示例窗體再次獲得焦點.
渲染器進程
```
getFocusStatus() {
if (!this.win) {
this.createNewWin();
}
this.win.on('focus', this.getFocused);
this.win.on('blur', this.lostFocused);
},
getFocused() {
this.focused = true;
},
lostFocused() {
this.focused = false;
}
```
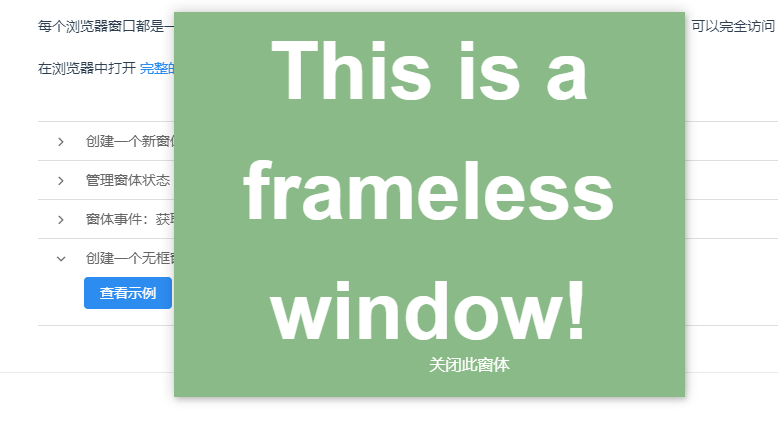
### 創建一個無框窗體
`支持: Win, macOS, Linux | 進程: Main`
無框窗口就是一個沒有 "chrome" 的窗口, 比如工具欄,標題欄,狀態欄,邊框等. 你可以在創建窗體時通過設置 frame 為 false 來創建一個無框的窗體.
渲染器進程
```
createFramelessWin () {
const {BrowserWindow} = require('electron').remote
if (!this.flsWin) {
this.flsWin = new BrowserWindow({
width: 400,
height: 320,
frame: false, // 要創建無邊框窗口
show: false, // 先不讓窗口顯示
webPreferences: {
nodeIntegration: true
}
});
if (process.env.NODE_ENV === 'development') {
this.flsWin.loadURL('http://localhost:8080#/framelessWin')
} else {
this.flsWin.loadURL(`file://${__dirname}/index.html#/framelessWin`)
}
// 監聽渲染完成
this.flsWin.once('ready-to-show', () => {
this.flsWin.show();
});
// 監聽窗口關閉
this.flsWin.on('close', () => {
this.flsWin = null;
});
}
},
```
窗體也可以有一個透明的背景. 通過設置 transparent 參數為 true, 你也可以讓你的無框窗口透明:
```
var win = new BrowserWindow({
????transparent: true,
????frame: false
})
```
更多內容, 請查閱 [無框窗體文檔](http://electron.atom.io/docs/api/frameless-window/)
## 使用 Electron 處理窗體崩潰和掛起
BrowserWindow 模塊將在渲染器進程崩潰或掛起時發出事件. 您可以監聽這些事件, 并給用戶重新加載, 等待或關閉該窗口的機會.
在瀏覽器中打開完整的 [API 文檔](http://electron.atom.io/docs/api/browser-window)
### 進程崩潰后重載窗體
`支持: Win, macOS, Linux | 進程: Main`
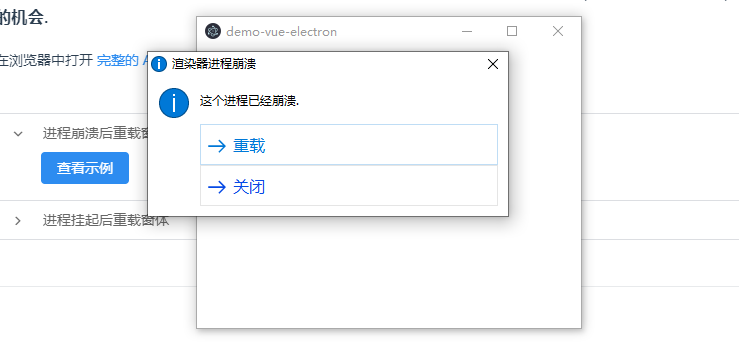
在這個示例中我們創建一個新窗口 (通過 remote 模塊) 并提供了一個使用 process.crash() 方法強制崩潰的鏈接.
當前窗體正在監聽崩潰事件, 當此事件發生時, 它提供用戶兩個選項: 重新加載或關閉.

渲染器進程
```
<a class="crash" href="javascript:process.crash()">崩潰此進程</a>
processCrash () {
const {BrowserWindow, dialog} = require('electron').remote
this.crashWin = new BrowserWindow({
width: 400,
height: 320,
movable: true, // 窗口是否可以移動
show: false, // 先不讓窗口顯示
autoHideMenuBar: true,
webPreferences: {
devTools: false, // 關閉調試工具
webSecurity: true,
nodeIntegration: true
}
});
if (process.env.NODE_ENV === 'development') {
this.crashWin.loadURL('http://localhost:8080#/crashWin')
} else {
this.crashWin.loadURL(`file://${__dirname}/index.html#/crashWin`)
}
this.crashWin.once('ready-to-show', () => {
this.crashWin.show();
});
this.crashWin.webContents.on('crashed', () => {
const options = {
type: 'info',
title: '渲染器進程崩潰',
message: '這個進程已經崩潰.',
buttons: ['重載', '關閉']
}
dialog.showMessageBox(options, (index) => {
if (index === 0) this.crashWin.reload()
else this.crashWin.close()
})
})
this.crashWin.on('close', () => {
this.crashWin = null;
});
},
```
### 進程掛起后重載窗體
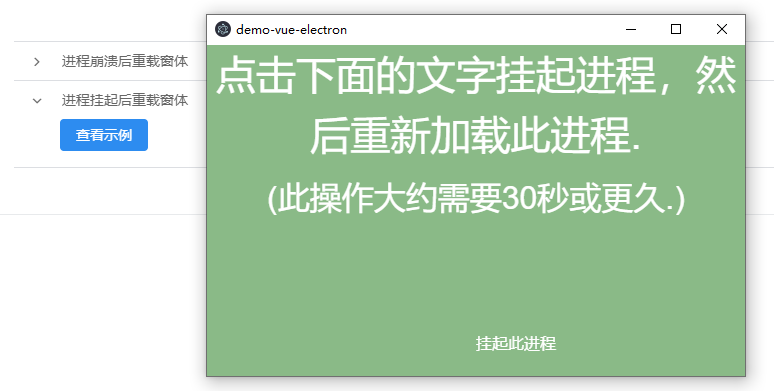
在這個示例中我們創建一個新窗口 (通過 remote 模塊) 并提供了一個使用 process.hang() 方法強制掛起進程的鏈接.
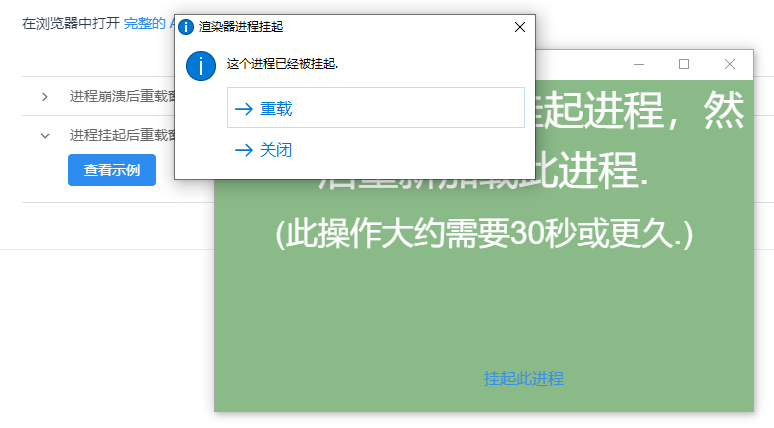
當前窗體正在監聽進程是否真正無響應 (這可能需要長達30秒). 當此事件發生時, 它提供用戶兩個選項: 重新加載或關閉.
渲染器進程
```
<a class="crash" href="javascript:process.hang()">掛起此進程</a>
processHang () {
const {BrowserWindow, dialog} = require('electron').remote
this.hangWin = new BrowserWindow({
width: 400,
height: 320,
movable: true, // 窗口是否可以移動
show: false, // 先不讓窗口顯示
autoHideMenuBar: true,
webPreferences: {
devTools: false, // 關閉調試工具
webSecurity: true,
nodeIntegration: true
}
});
if (process.env.NODE_ENV === 'development') {
this.hangWin.loadURL('http://localhost:8080#/hangWin')
} else {
this.hangWin.loadURL(`file://${__dirname}/index.html#/hangWin`)
}
this.hangWin.once('ready-to-show', () => {
this.hangWin.show();
});
this.hangWin.on('unresponsive', () => {
const options = {
type: 'info',
title: '渲染器進程掛起',
message: '這個進程已經被掛起.',
buttons: ['重載', '關閉']
}
dialog.showMessageBox(options, (index) => {
if (index === 0) this.hangWin.reload()
else this.hangWin.close()
})
})
this.hangWin.on('close', () => {
this.hangWin = null;
});
}
```
#### 高級技巧
等待進程再次響應.
在進程掛起的的情況下, 第三個選擇是等待并查看問題是否解決, 允許進程再次響應. 為此, 請使用 BrowserWindow 的 "responsive" 事件, 如下所示:
```
win.on('responsive', function () {
// 當窗口再次響應時做些什么
})
```
