## 使用 Electron 獲取應用和用戶系統信息
使用幾個 Node.js 和 Electron 模塊, 您可以收集有關用戶系統, 應用程序或屏幕的信息.
相關文檔的鏈接位于下面的示例中.
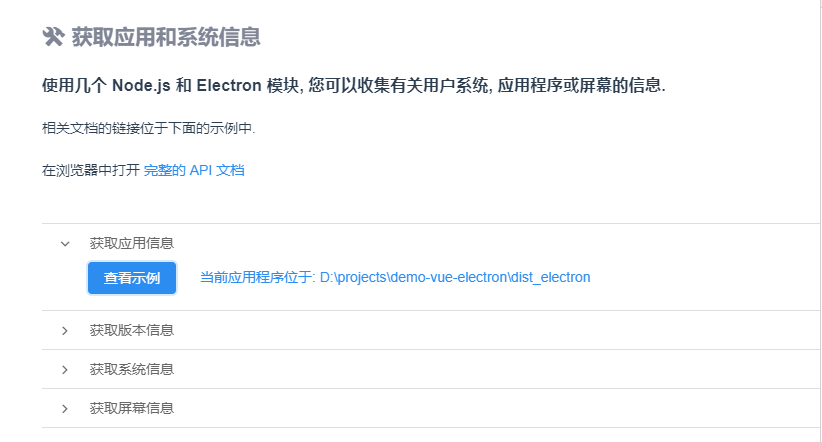
### 獲取應用信息
`支持: Win, macOS, Linux | 進程: Both`
主進程的 app 模塊可用于獲取應用程序在用戶計算機上的位置.
在這個示例中, 要從渲染器進程獲取信息, 我們使用 ipc 模塊向主進程發送一條消息, 來請求應用程序的路徑.
查看更多 [應用模塊文檔](http://electron.atom.io/docs/api/app).
渲染器進程
```
getAppInfo () {
const {ipcRenderer} = require('electron')
ipcRenderer.send('get-app-path')
ipcRenderer.on('got-app-path', (event, path) => {
this.appInfo = `當前應用程序位于: ${path}`
})
},
```
主進程
```
const {app, ipcMain} = require('electron')
ipcMain.on('get-app-path', (event) => {
event.sender.send('got-app-path', app.getAppPath())
})
```
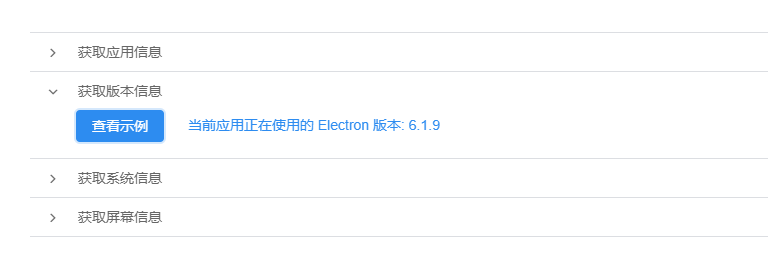
### 獲取版本信息
`支持: Win, macOS, Linux | 進程: Both`
process 模塊內置在 Node.js 中(因此您可以在主進程和渲染器進程中使用此模塊), 而在 Electron 應用程序中, 此對象還有一些更有用的屬性.
下面的示例將獲取應用程序正在使用的 Electron 版本.
查看更多 [進程文檔](http://electron.atom.io/docs/api/process).
渲染器進程
```
getVersionInfo () {
const electronVersion = process.versions.electron
this.versionInfo = `當前應用正在使用的 Electron 版本: ${electronVersion}`
},
```
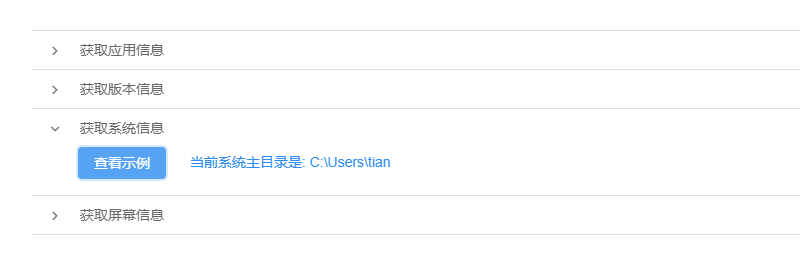
### 獲取系統信息
`支持: Win, macOS, Linux | 進程: Both`
Node.js 的 os 模塊提供了有關用戶操作系統的有效信息. 它內置在 Node.js 中, 可以在主進程和渲染器進程中使用.
在下面的示例中, 我們通過模塊返回主目錄的位置.
在瀏覽器中查看 [完整 os 文檔](https://nodejs.org/api/os.html)
渲染器進程
```
getSysInfo () {
const os = require('os')
const homeDir = os.homedir()
this.sysInfo = `當前系統主目錄是: ${homeDir}`
},
```
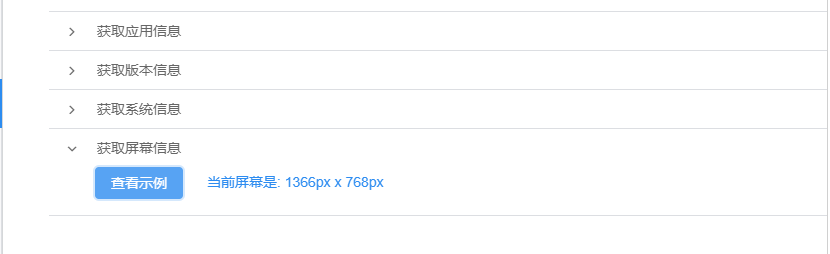
### 獲取屏幕信息
`支持: Win, macOS, Linux | 進程: Both`
Electron 的 screen 模塊可以獲取有關屏幕大小, 顯示, 光標位置等信息. 在下面的示例中, 我們將獲取所使用的顯示器的尺寸.
在瀏覽器中查看 [完整 screen 文檔](http://electron.atom.io/docs/api/screen)
渲染器進程
```
getScreenInfo () {
const {screen} = require('electron').remote
const size = screen.getPrimaryDisplay().size
this.screenInfo = `當前屏幕是: ${size.width}px x ${size.height}px`
}
```
#### 高級技巧
尺寸差異.
示例中的 .size 方法返回屏幕的原始尺寸, 但由于系統菜單欄, 這可能不是您的應用程序的實際可用空間.
要獲取可用屏幕空間的大小, 請使用 .workAreaSize 方法. 而使用 .workArea 方法將返回坐標以及可用屏幕空間的尺寸.
## 使用 Electron 從剪貼板復制和粘貼
clipboard 模塊提供了執行復制和粘貼操作的方法.
此模塊還具有將文本作為標記(HTML)復制到剪貼板的方法.
在瀏覽器中查看 [完整 API 文檔](http://electron.atom.io/docs/api/clipboard).
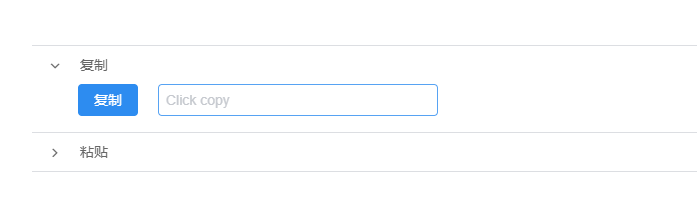
### 復制
`支持: Win, macOS, Linux | 進程: Both`
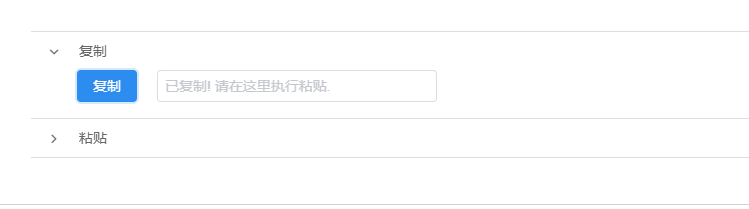
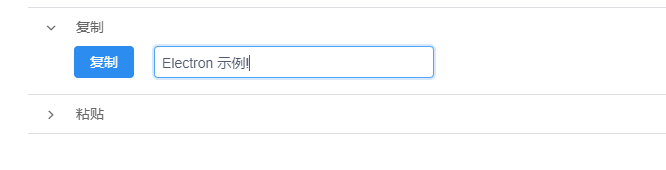
在這個示例中, 我們將一個短語復制到剪貼板. 單擊 "復制" 按鈕后, 使用粘貼(CMD + V 或 CTRL + V)將短語粘貼到文本區域.
渲染器進程
```
processCopy () {
const {clipboard} = require('electron')
if (this.copyText !== '') this.copyText = ''
this.plsholder = '已復制! 請在這里執行粘貼.'
clipboard.writeText('Electron 示例!')
},
```
### 粘貼
`支持: Win, macOS, Linux | 進程: Both`
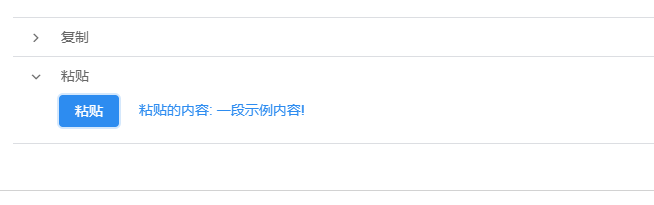
在本示例中, 我們將一個字符串復制到剪貼板, 然后將結果粘貼到上面的消息中.
渲染器進程
```
processPaste () {
const {clipboard} = require('electron')
clipboard.writeText('一段示例內容!')
this.pasteText = `粘貼的內容: ${clipboard.readText()}`
}
```
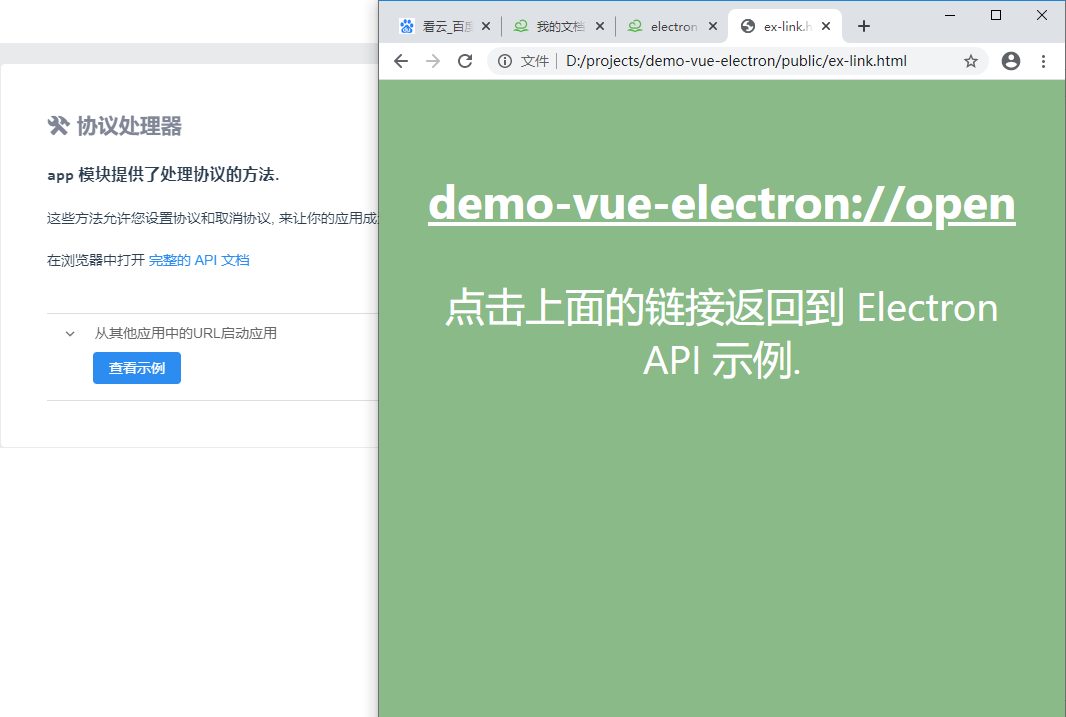
## 使用 Electron 從協議處理器啟動應用程序
app 模塊提供了處理協議的方法.
這些方法允許您設置協議和取消協議, 來讓你的應用成為默認的應用程序. 類似于當瀏覽器請求您查看網頁時的默認值.
在瀏覽器中查看 [完整 app API 文檔](http://electron.atom.io/docs/api/app).
### 從其他應用中的 URL 啟動應用
`支持: Win, macOS | 進程: 主進程`
您可以將應用設置為針對特定協議打開的默認應用. 例如, 在這個示例中我們將此應用程序設置為 demo-vue-electron:// 的默認值. 上面的示例按鈕將在默認瀏覽器中啟動一個帶有鏈接的頁面. 點擊那個鏈接,它將重新啟動此應用程序.
渲染器進程
```
<a class="protocol" href="demo-vue-electron://open"><h3>demo-vue-electron://open</h3></a>
openExLink () {
const {ipcRenderer} = require('electron')
ipcRenderer.send('open-ex-link')
}
```
主進程
```
const {app, dialog, shell, ipcMain} = require('electron')
const path = require('path')
if (process.defaultApp) {
if (process.argv.length >= 2) {
app.setAsDefaultProtocolClient('demo-vue-electron', process.execPath, [path.resolve(process.argv[1])])
}
} else {
app.setAsDefaultProtocolClient('demo-vue-electron')
}
ipcMain.on('open-ex-link', (event) => {
shell.openExternal('file://' + `${__static}/` + 'ex-link.html')
})
```
