
# 讓weui和iscroll結婚
### 以weui2為藍本
觀察一下它的dom
~~~
<div class="container js_container">
<div class="page">
<div class="hd">
<h1 class="page_title">WeUI</h1>
<p class="page_desc">為微信Web服務量身設計</p>
</div>
<div class="bd">
</div>
</div>
</div>
~~~
結合我們之前講的移動端特點
* header
* content(#wrapper)
* footer
也就是說我們可以這樣做
~~~
<div class="container js_container">
<div class="page">
<div class="hd header">
<h1 class="page_title">WeUI</h1>
</div>
<div class="bd" id="wrapper">
</div>
<div class="hd footer">
<h1 class="page_title">WeUI</h1>
</div>
</div>
</div>
~~~
我們先把helloiscroll里的內容放進去
# WeUI
去掉 class="page_title"
不能滑動,添加js就好了
~~~
<script type="text/javascript">
$(function(){
// alert('dom ready');
loaded () ;
});
var myScroll;
function loaded () {
myScroll = new IScroll('#wrapper', { mouseWheel: true });
}
document.addEventListener('touchmove', function (e) {
e.preventDefault();
}, false);
</script>
~~~
修改iscroll2.css
~~~
#header {/*add*/
position: absolute;
z-index: 2;
top: 0;
left: 0;
width: 100%;
height: 45px;
line-height: 45px;
background: #CD235C;
padding: 0;
color: #eee;
font-size: 20px;
text-align: center;
font-weight: bold;
}
#wrapper {
position: absolute;
z-index: 1;
top: 48px;/*m*/
bottom: 0px; /*m*/
left: 0;
width: 100%;
background: #ccc;
overflow: hidden;
}
~~~
同時放到cell的高度
~~~
#scroller li {
padding: 0 10px;
height: 100px; /*m from 44 to 100*/
line-height: 40px;
border-bottom: 1px solid #ccc;
border-top: 1px solid #fff;
background-color: #fafafa;
font-size: 14px;
}
~~~
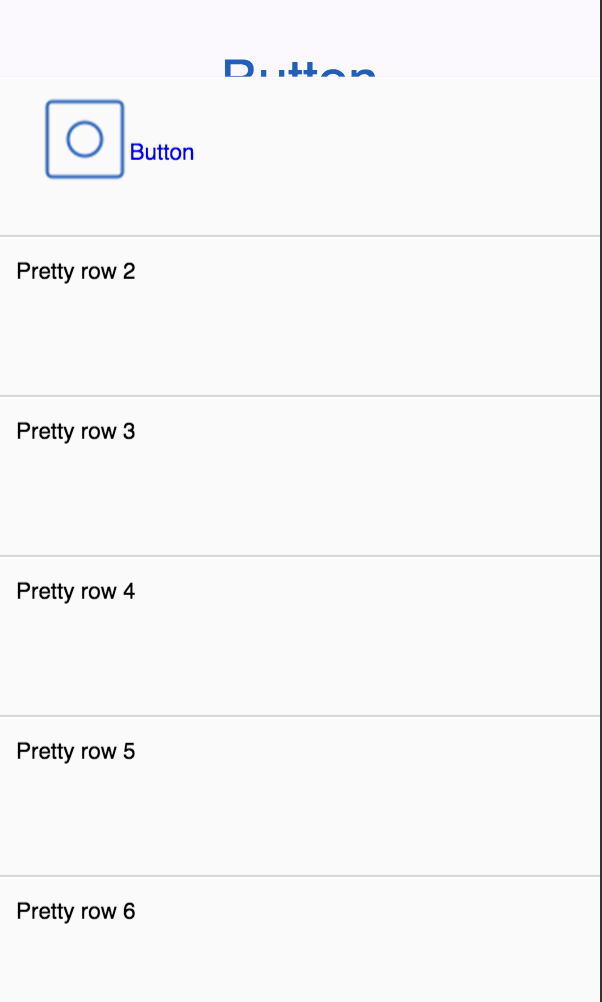
下面開始集成點擊進入按鈕頁面
看一下按鈕是如何定義和響應的
~~~
<a class="weui_cell js_cell" href="javascript:;" data-id="button">
<span class="weui_cell_hd">
<img src="/images/icon_nav_button.png" class="icon_nav" alt=""></span>
<div class="weui_cell_bd weui_cell_primary">
<p>Button</p>
</div>
<div class="weui_cell_ft">
</div>
</a>
~~~
放到第一個li里

此時不能點擊,nnd,這是怎么回事兒呢?
各位想想之前講iscroll的時候,是不是有點注意事項啊?
比如你在#wrapper內部放a標簽或button的click事件是綁定補上的。需要配置
~~~
myScroll = new IScroll('#wrapper', {
mouseWheel: true,
click: true
});
~~~
翻查一下代碼,確實沒加click(其實是為了演示故意的)
加上,再次預覽
很明顯是z-index問題,翻查iscroll2.css里發現#wrapper是z-index:1
而.page沒有設置,簡單改一下即可
~~~
<style>
.page{
z-index: 2;
}
</style>
~~~
### 是時候去加上weui其他效果了
* li上增加按鈕
* 把對應模板引入
helloworld-weui2+iscroll2.html
- 前言
- 1 skill
- 1.1 Coding WebIDE
- 1.2 git
- 1.3 extra practice
- 1.4 預習
- 2 nodejs入門
- 2.1 入門
- 2.2 安裝
- 2.3 helloworld
- 2.4 commonJS規范
- 2.5 模塊導出
- 2.6 Nodejs代碼調試
- 2.7 編寫Nodejs模塊
- 2.8 最小化問題
- 2.9 隨堂練習
- 3 異步流程控制
- 3.1 什么時候會用到異步流程控制
- 3.2 簡單做法async模塊
- 3.3 Promise/a+規范
- 3.4 Node.js Promise/a+實現
- 3.5 生成器Generators/yield
- 3.6 Async函數/Await
- 3.7 神奇的co
- 3.8 5種 yieldable
- 3.9 學習重點
- 3.10 隨堂練習
- 4 express和微信開發入門
- 4.1 入門
- 4.2 connect
- 4.3 靜態Http服務器
- 4.4 那些預處理器
- 4.5 路由
- 4.6 視圖與模塊引擎
- 4.7 中間件
- 4.8 更多實踐
- 4.9 微信入門
- 4.10 隨堂練習:完成登錄、注冊功能
- 5 微信實例與H5實踐
- 5.1 微信基礎和sandbox
- 5.2 公眾號菜單和自動回復
- 5.3 微信OAuth用戶授權
- 5.4 微信分享
- 5.5 wechat-api
- 5.6 H5-上篇
- 5.7 H5-下篇
- 5.8 隨堂練習
- 6 weui實戰
- 6.1 使用bower
- 6.2 移動端抽象
- 6.3 優化滑動列表
- 6.4 weui
- 6.5 讓weui和iscroll結婚
- 6.6 優化事件
- 6.7 how-to-write-h5
- 6.8 優化無止境
- 6.9 隨堂練習
- 7 微信支付
- 7.1 吹個牛
- 7.2 支付概述
- 7.3 科普幾個概念
- 7.4 準備
- 7.5 調試
- 7.6 公眾號支付(JSAPI)
- 7.7 對賬單
- 7.8 數據處理
- 7.9 隨堂練習
- 8 項目實戰《付費課程系統MVP》
- 8.1 需求分析
- 8.2 ui/ue
- 8.3 技術棧
- 8.4 模型
- 8.5 靜態api
- 8.6 開發
- 8.7 部署
- 8.8 監控
- 8.9 數據統計
- 8.10 demo
- 9 高級篇
- 9.1 前后端分離實踐?
- 9.2 如何展望未來的大前端
- 9.3 容器和微服務
- 10 答疑問題收集