
## 21 DelayQueue 源碼解析
## 引導語
之前我們說的阻塞隊列,都是資源足夠時立馬執行。本章我們說的隊列比較特殊,是一種延遲隊列,意思是延遲執行,并且可以設置延遲多久之后執行,比如設置過 5 秒鐘之后再執行,在一些延遲執行的場景被大量使用,比如說延遲對賬等等。
### 1 整體設計
DelayQueue 延遲隊列底層使用的是鎖的能力,比如說要在當前時間往后延遲 5 秒執行,那么當前線程就會沉睡 5 秒,等 5 秒后線程被喚醒時,如果能獲取到資源的話,線程即可立馬執行。原理上似乎很簡單,但內部實現卻很復雜,有很多難點,比如當運行資源不夠,多個線程同時被喚醒時,如何排隊等待?比如說在何時阻塞?何時開始執行等等?接下來我們從源碼角度來看下是如何實現的。
#### 1.1 類注釋
類注釋上比較簡單,只說了三個概念:
1. 隊列中元素將在過期時被執行,越靠近隊頭,越早過期;
2. 未過期的元素不能夠被 take;
3. 不允許空元素。
這三個概念,其實就是三個問題,下文我們會一一看下這三點是如何實現的。
#### 1.2 類圖
DelayQueue 的類圖和之前的隊列一樣,不多說,關鍵是 DelayQueue 類上是有泛型的,如下:
```
public class DelayQueue<E extends Delayed> extends AbstractQueue<E> implements BlockingQueue<E> {
```
從泛型中可以看出,DelayQueue 中的元素必須是 Delayed 的子類,Delayed 是表達延遲能力的關鍵接口,其繼承了 Comparable 接口,并定義了還剩多久過期的方法,如下:
```
public interface Delayed extends Comparable<Delayed> { long getDelay(TimeUnit unit); }
```
也就是說 DelayQueue 隊列中的元素必須是實現 Delayed 接口和 Comparable 接口的,并覆寫了 getDelay 方法和 compareTo 的方法才行,不然在編譯時,編譯器就會提醒我們元素必須強制實現 Delayed 接口。
除此之外 DelayQueue 還大量使用了 PriorityQueue 隊列的大量功能,這個和 SynchronousQueue 隊列很像,大量復用了其它基礎類的邏輯,代碼示例如下:
PriorityQueue 中文叫做優先級隊列,在此處的作用就是可以根據過期時間做優先級排序,讓先過期的可以先執行,用來實現類注釋中的第一點。
這里的復用的思想還是蠻重要的,我們在源碼中經常會遇到這種思想,比如說 LinkedHashMap 復用 HashMap 的能力,Set 復用 Map 的能力,還有此處的 DelayQueue 復用 PriorityQueue 的能力。小結一下,如果想要復用需要做到哪些:
1. 需要把能遇見可復用的功能盡量抽象,并開放出可擴展的地方,比如說 HashMap 在操作數組的方法中,都給 LinkedHashMap 開放出很多 after 開頭的方法,便于 LinkedHashMap 進行排序、刪除等等;
2. 采用組合或繼承兩種手段進行復用,比如 LinkedHashMap 采用的繼承、 Set 和 DelayQueue 采用的組合,組合的意思就是把可復用的類給依賴進來。
### 2 演示
為了方便大家理解,寫了一個演示的 demo,演示了一下:
```
public class DelayQueueDemo { // 隊列消息的生產者 static class Product implements Runnable { private final BlockingQueue queue; public Product(BlockingQueue queue) { this.queue = queue; } @Override public void run() { try { log.info("begin put"); long beginTime = System.currentTimeMillis(); queue.put(new DelayedDTO(System.currentTimeMillis() + 2000L,beginTime));//延遲 2 秒執行 queue.put(new DelayedDTO(System.currentTimeMillis() + 5000L,beginTime));//延遲 5 秒執行 queue.put(new DelayedDTO(System.currentTimeMillis() + 1000L * 10,beginTime));//延遲 10 秒執行 log.info("end put"); } catch (InterruptedException e) { log.error("" + e); } } }
// 隊列的消費者 static class Consumer implements Runnable { private final BlockingQueue queue; public Consumer(BlockingQueue queue) { this.queue = queue; } @Override public void run() { try { log.info("Consumer begin"); ((DelayedDTO) queue.take()).run(); ((DelayedDTO) queue.take()).run(); ((DelayedDTO) queue.take()).run(); log.info("Consumer end"); } catch (InterruptedException e) { log.error("" + e); } } } @Data // 隊列元素,實現了 Delayed 接口 static class DelayedDTO implements Delayed { Long s; Long beginTime; public DelayedDTO(Long s,Long beginTime) { this.s = s; this.beginTime =beginTime; } @Override public long getDelay(TimeUnit unit) {
return unit.convert(s - System.currentTimeMillis(), TimeUnit.MILLISECONDS); } @Override public int compareTo(Delayed o) { return (int) (this.getDelay(TimeUnit.MILLISECONDS) - o.getDelay(TimeUnit.MILLISECONDS)); } public void run(){ log.info("現在已經過了{}秒鐘",(System.currentTimeMillis() - beginTime)/1000); } } // demo 運行入口 public static void main(String[] args) throws InterruptedException { BlockingQueue q = new DelayQueue(); DelayQueueDemo.Product p = new DelayQueueDemo.Product(q); DelayQueueDemo.Consumer c = new DelayQueueDemo.Consumer(q); new Thread(c).start(); new Thread(p).start(); } }
```
打印出來的結果如下:
```
06:57:50.544 [Thread-0] Consumer begin
06:57:50.544 [Thread-1] begin put
06:57:50.551 [Thread-1] end put
06:57:52.554 [Thread-0] 延遲了2秒鐘才執行
06:57:55.555 [Thread-0] 延遲了5秒鐘才執行
06:58:00.555 [Thread-0] 延遲了10秒鐘才執行
06:58:00.556 [Thread-0] Consumer end
```
寫這個代碼的目的主要想演示一下延遲執行的例子,我們大概的思路是:
1. 新建隊列的元素,如 DelayedDTO,必須實現 Delayed 接口,我們在 getDelay 方法中實現了現在離過期時間還剩多久的方法。
2. 定義隊列元素的生產者,和消費者,對應著代碼中的 Product 和 Consumer。
3. 對生產者和消費者就行初始化和管理,對應著我們的 main 方法。
雖然這只是一個簡單的 demo,但實際工作中,我們使用 DelayQueue 基本上就是這種思想,只不過寫代碼的時候會更加通用和周全,接下來我們來看下 DelayQueue 是如何實現 put 和 take 的。
### 3 放數據
我們以 put 為例,put 調用的是 offer 的方法,offer 的源碼如下:
```
public boolean offer(E e) { final ReentrantLock lock = this.lock; // 上鎖 lock.lock(); try { // 使用 PriorityQueue 的擴容,排序等能力 q.offer(e); // 如果恰好剛放進去的元素正好在隊列頭 // 立馬喚醒 take 的阻塞線程,執行 take 操作 // 如果元素需要延遲執行的話,可以使其更快的沉睡計時 if (q.peek() == e) { leader = null; available.signal(); } return true; } finally { // 釋放鎖 lock.unlock();
} }
```
可以看到其實底層使用到的是 PriorityQueue 的 offer 方法,我們來看下:
```
// 新增元素 public boolean offer(E e) { // 如果是空元素的話,拋異常 if (e == null) throw new NullPointerException(); modCount++; int i = size; // 隊列實際大小大于容量時,進行擴容 // 擴容策略是:如果老容量小于 64,2 倍擴容,如果大于 64,50 % 擴容 if (i >= queue.length) grow(i + 1); size = i + 1; // 如果隊列為空,當前元素正好處于隊頭 if (i == 0) queue[0] = e; else // 如果隊列不為空,需要根據優先級進行排序 siftUp(i, e); return true; } // 按照從小到大的順序排列 private void siftUpComparable(int k, E x) { Comparable<? super E> key = (Comparable<? super E>) x; // k 是當前隊列實際大小的位置 while (k > 0) { // 對 k 進行減倍 int parent = (k - 1) >>> 1; Object e = queue[parent];
// 如果 x 比 e 大,退出,把 x 放在 k 位置上 if (key.compareTo((E) e) >= 0) break; // x 比 e 小,繼續循環,直到找到 x 比隊列中元素大的位置 queue[k] = e; k = parent; } queue[k] = key; }
```
可以看到,PriorityQueue 的 offer 方法主要做了三件事情:
1. 對新增元素進行判空;
2. 對隊列進行擴容,擴容策略和集合的擴容策略很相近;
3. 根據元素的 compareTo 方法進行排序,我們希望最終排序的結果是從小到大的,因為我們想讓隊頭的都是過期的數據,我們需要在 compareTo 方法里面實現:通過每個元素的過期時間進行排序,如下:
```
(int) (this.getDelay(TimeUnit.MILLISECONDS) - o.getDelay(TimeUnit.MILLISECONDS));
```
這樣便可實現越快過期的元素越能排到隊頭。
可以看到,新增數據時,只是使用到了 compareTo 方法,來對隊列中的元素進行排序,接下來我們看下,取數據時,是如何操作的。
### 4 拿數據
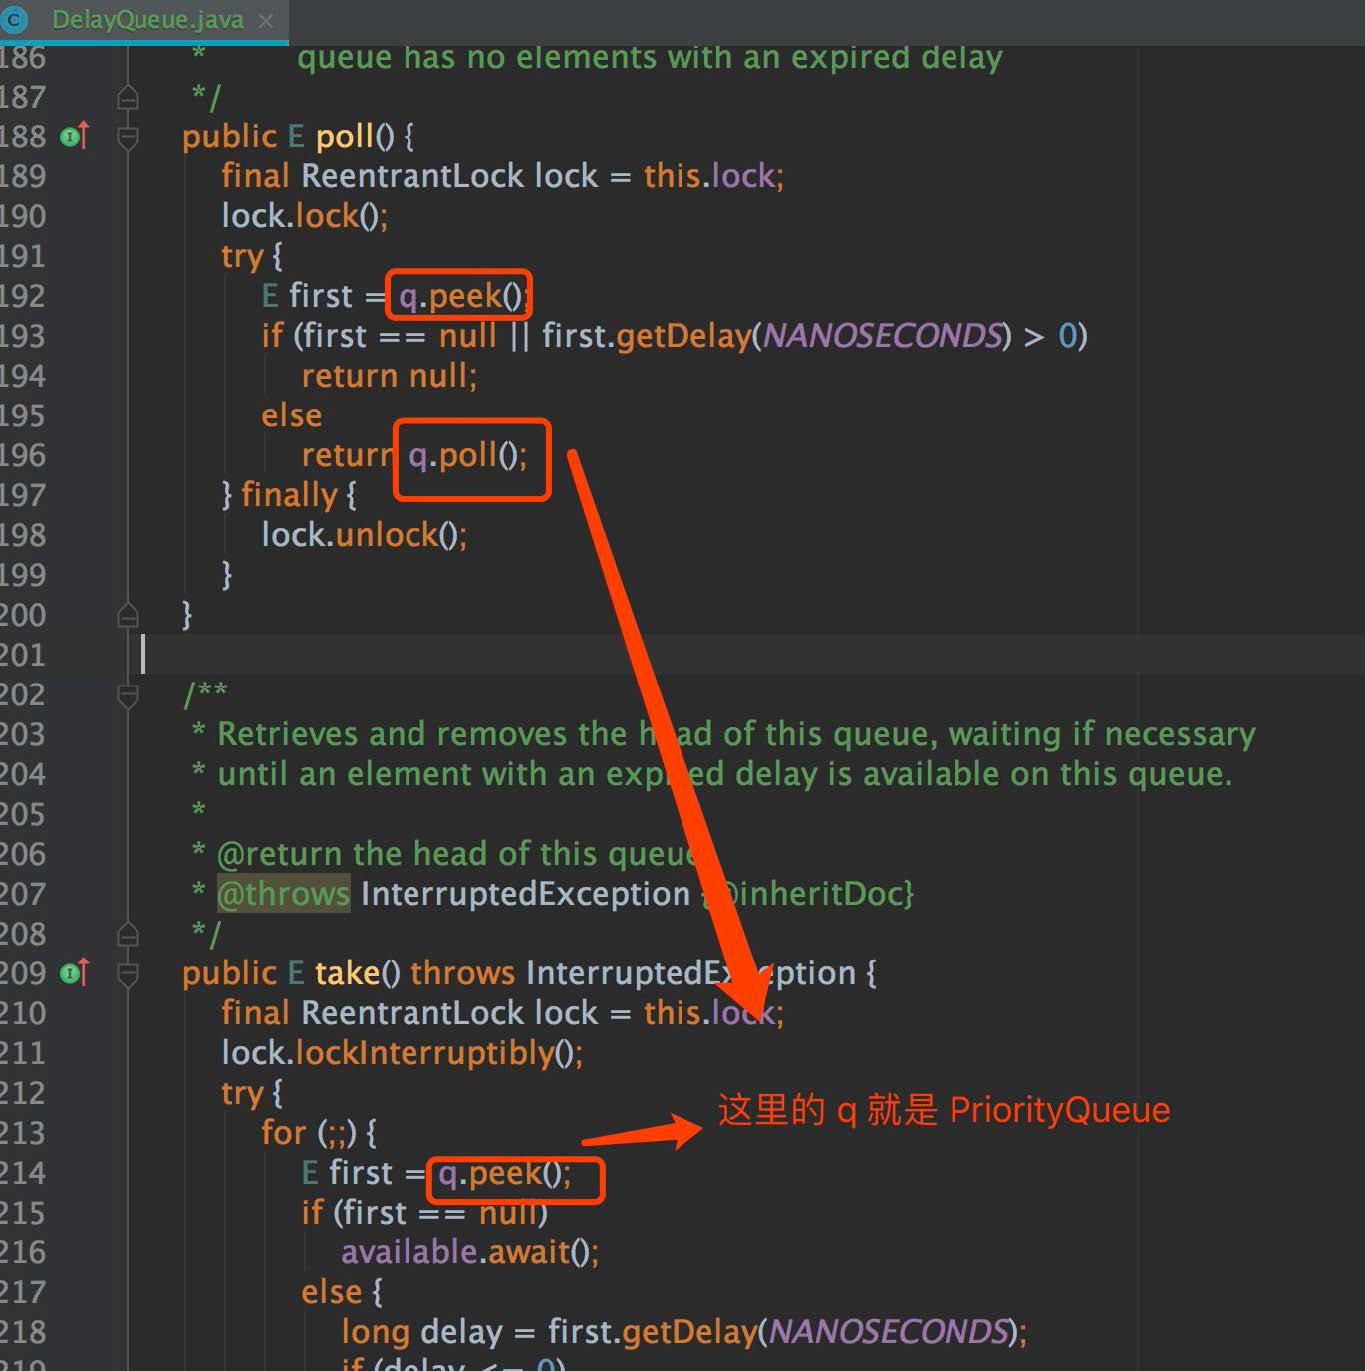
取數據時,如果發現有元素的過期時間到了,就能拿出數據來,如果沒有過期元素,那么線程就會一直阻塞,我們以 take 為例子,來看一下核心源碼:
```
for (;;) { // 從隊頭中拿數據出來
E first = q.peek(); // 如果為空,說明隊列中,沒有數據,阻塞住 if (first == null) available.await(); else { // 獲取隊頭數據的過期時間 long delay = first.getDelay(NANOSECONDS); // 如果過期了,直接返回隊頭數據 if (delay <= 0) return q.poll(); // 引用置為 null ,便于 gc,這樣可以讓線程等待時,回收 first 變量 first = null; // leader 不為空的話,表示當前隊列元素之前已經被設置過阻塞時間了 // 直接阻塞當前線程等待。 if (leader != null) available.await(); else { // 之前沒有設置過阻塞時間,按照一定的時間進行阻塞 Thread thisThread = Thread.currentThread(); leader = thisThread; try { // 進行阻塞 available.awaitNanos(delay); } finally { if (leader == thisThread) leader = null; } } } }
```
可以看到阻塞等待的功能底層使用的是鎖的能力,這個我們在后面章節中會說到。
以上演示的 take 方法是會無限阻塞,直到隊頭的過期時間到了才會返回,如果不想無限阻塞,可以嘗試 poll 方法,設置超時時間,在超時時間內,隊頭元素還沒有過期的話,就會返回 null。
### 5 總結
DelayQueue 是非常有意思的隊列,底層使用了排序和超時阻塞實現了延遲隊列,排序使用的是 PriorityQueue 排序能力,超時阻塞使用得是鎖的等待能力,可以看出 DelayQueue 其實就是為了滿足延遲執行的場景,在已有 API 的基礎上進行了封裝,我們在工作中,可以學習這種思想,對已有的功能能復用的盡量復用,減少開發的工作量。
- 前言
- 第1章 基礎
- 01 開篇詞:為什么學習本專欄
- 02 String、Long 源碼解析和面試題
- 03 Java 常用關鍵字理解
- 04 Arrays、Collections、Objects 常用方法源碼解析
- 第2章 集合
- 05 ArrayList 源碼解析和設計思路
- 06 LinkedList 源碼解析
- 07 List 源碼會問哪些面試題
- 08 HashMap 源碼解析
- 09 TreeMap 和 LinkedHashMap 核心源碼解析
- 10 Map源碼會問哪些面試題
- 11 HashSet、TreeSet 源碼解析
- 12 彰顯細節:看集合源碼對我們實際工作的幫助和應用
- 13 差異對比:集合在 Java 7 和 8 有何不同和改進
- 14 簡化工作:Guava Lists Maps 實際工作運用和源碼
- 第3章 并發集合類
- 15 CopyOnWriteArrayList 源碼解析和設計思路
- 16 ConcurrentHashMap 源碼解析和設計思路
- 17 并發 List、Map源碼面試題
- 18 場景集合:并發 List、Map的應用場景
- 第4章 隊列
- 19 LinkedBlockingQueue 源碼解析
- 20 SynchronousQueue 源碼解析
- 21 DelayQueue 源碼解析
- 22 ArrayBlockingQueue 源碼解析
- 23 隊列在源碼方面的面試題
- 24 舉一反三:隊列在 Java 其它源碼中的應用
- 25 整體設計:隊列設計思想、工作中使用場景
- 26 驚嘆面試官:由淺入深手寫隊列
- 第5章 線程
- 27 Thread 源碼解析
- 28 Future、ExecutorService 源碼解析
- 29 押寶線程源碼面試題
- 第6章 鎖
- 30 AbstractQueuedSynchronizer 源碼解析(上)
- 31 AbstractQueuedSynchronizer 源碼解析(下)
- 32 ReentrantLock 源碼解析
- 33 CountDownLatch、Atomic 等其它源碼解析
- 34 只求問倒:連環相扣系列鎖面試題
- 35 經驗總結:各種鎖在工作中使用場景和細節
- 36 從容不迫:重寫鎖的設計結構和細節
- 第7章 線程池
- 37 ThreadPoolExecutor 源碼解析
- 38 線程池源碼面試題
- 39 經驗總結:不同場景,如何使用線程池
- 40 打動面試官:線程池流程編排中的運用實戰
- 第8章 Lambda 流
- 41 突破難點:如何看 Lambda 源碼
- 42 常用的 Lambda 表達式使用場景解析和應用
- 第9章 其他
- 43 ThreadLocal 源碼解析
- 44 場景實戰:ThreadLocal 在上下文傳值場景下的實踐
- 45 Socket 源碼及面試題
- 46 ServerSocket 源碼及面試題
- 47 工作實戰:Socket 結合線程池的使用
- 第10章 專欄總結
- 48 一起看過的 Java 源碼和面試真題