
### 1.下載nginx安裝包
下載地址:[http://nginx.org/en/download.html](http://nginx.org/en/download.html)
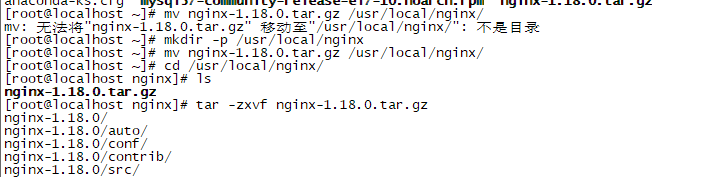
### 2.解壓
```
tar -zxvf nginx-1.18.0.tar.gz
```
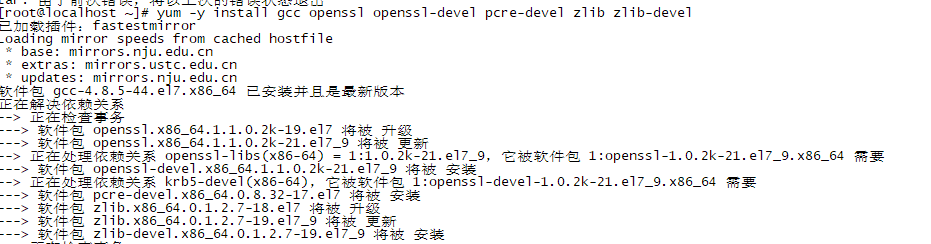
### 3.安裝執行編譯依賴
```
yum -y install gcc openssl openssl-devel pcre-devel zlib zlib-devel
```
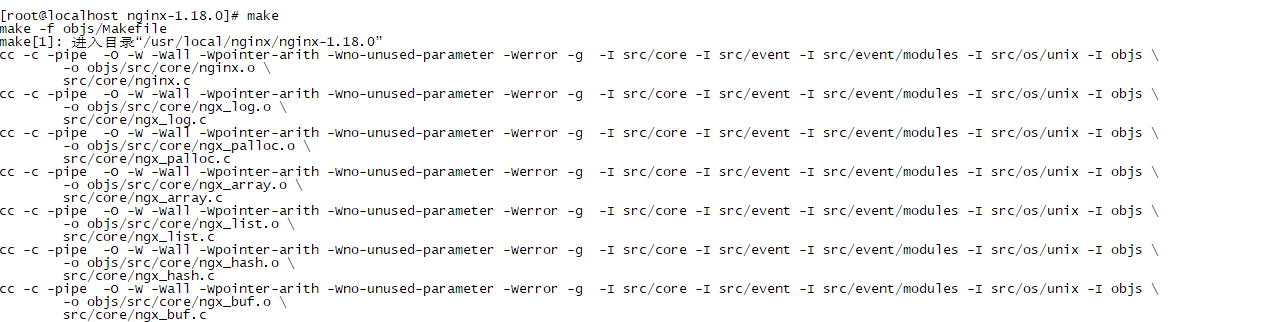
### 4.編譯安裝
```
./configure //如需部署https需安裝ssl模塊請執行 ./configure --with-http_ssl_module
make
make install
```
### 5.啟動
```
cd /sbin
./nginx
```
### 6.驗證nginx是否啟動
關閉防火墻訪問地址默認80端口
```
//查看nginx進程
ps -ef | grep nginx
//關閉nginx進程
kill -9 15623
```

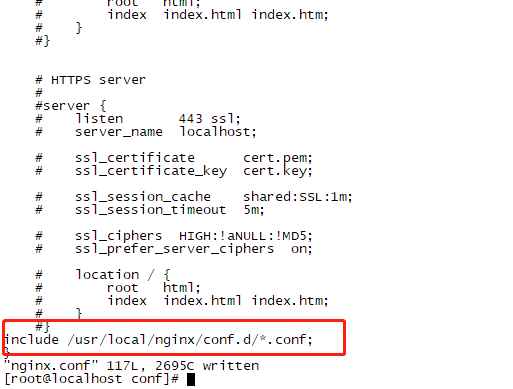
### 7.設置nginx轉發代理配置目錄
```
cd /usr/local/nginx/conf
vi nginx.conf
```

添加目錄路徑,可按需求設置
```
//匹配conf.d下以.conf結尾的文件
include /usr/local/nginx/conf.d/*.conf;
```
### 8.常用命令:進入nginx/sbin
```
1.重新加載配置文件: ./nginx -s reload
2.停止nginx訪問: ./nginx -s stop
3.啟動nginx: ./nginx
```
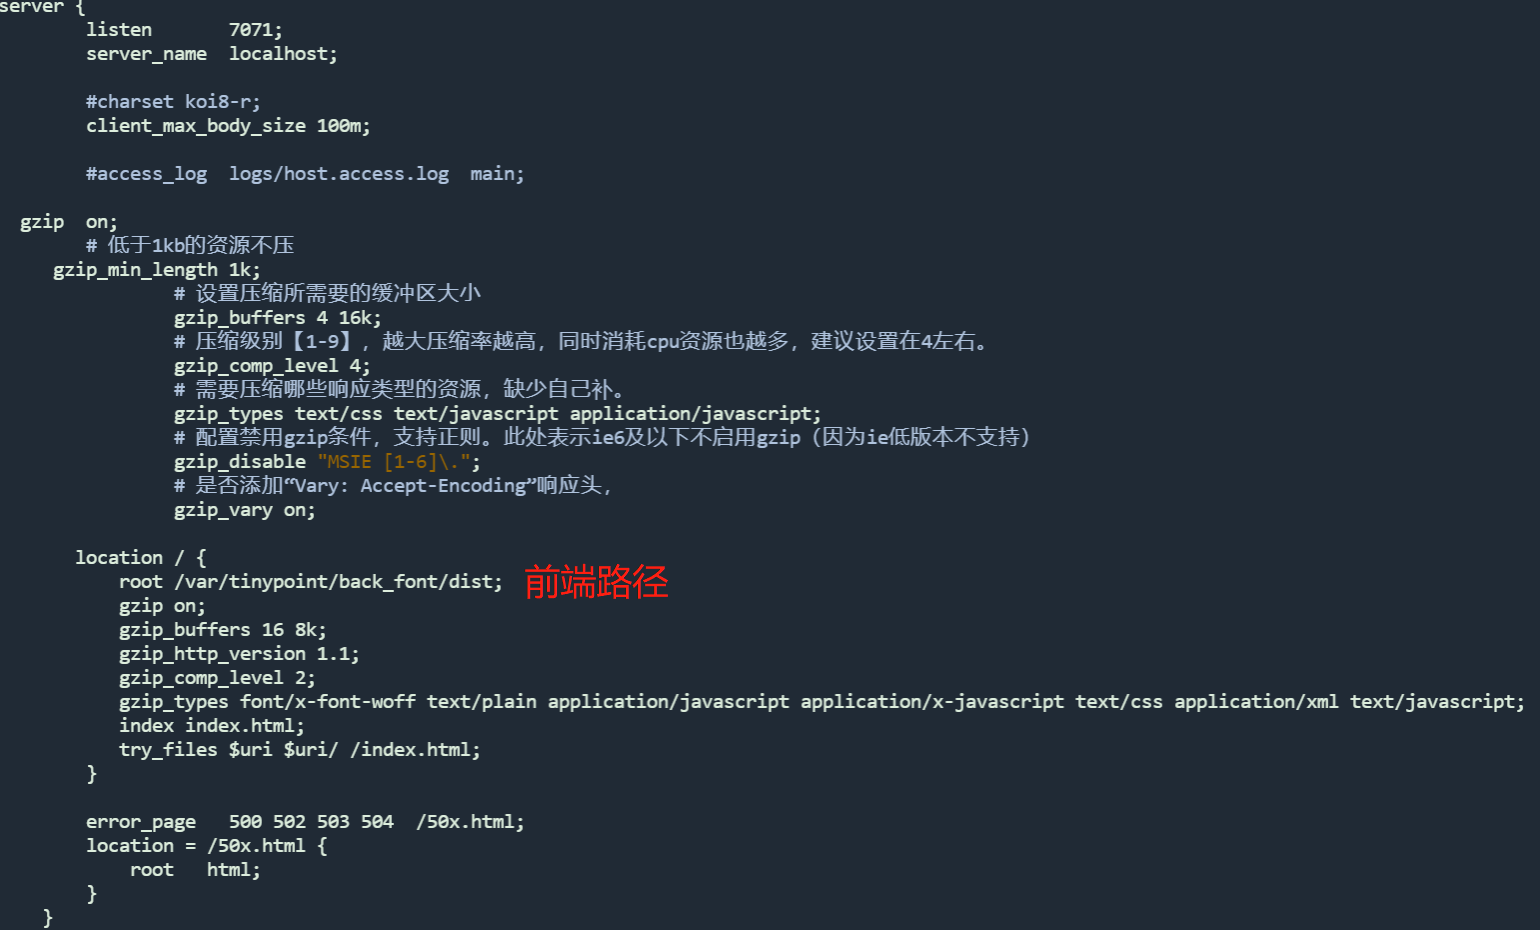
### 9.前端路徑和端口配置:進入nginx/conf.d
```
查看配置文件:vim xxx.conf
修改:i
退出修改::q
退出并保存::wq
```

### 10.防火墻
```
查看已開放的tcp/ip端口:netstat -tuln
添加9000端口:sudo firewall-cmd --zone=public --add-port=9000/tcp --permanent
重啟防火墻:sudo firewall-cmd --reload
```
- vue項目目錄
- git
- git 使用
- git 新建和合并不同git分支
- vue使用element ui
- vue復選框
- vue使用富文本編輯器
- element 級聯選擇器使用
- vue使用時間過濾器
- vue form表單中使用table表格
- element ui圖片上傳(upload)功能
- 樹形tree組件
- element 表格表頭樣式修改
- element ui添加loading動畫
- table展開列
- el-tooltip提示框加for循環無法顯示數據
- table合并
- table表頭插槽,render-header警告
- table列表中鼠標放上去顯示圖片
- 表格中輸入內容動態改變數據(箭頭和顏色)
- 使用element ui表格跨頁勾選
- 可編輯表格可分頁
- 組件之間簡單傳值
- 從表格中選擇其他表單子段
- router
- vuex
- vue接口寫法
- 將后端返回的數字轉成字符串顯示在表格中
- element ui實現動態驗證
- vue根據token判斷登錄
- vue修飾符
- js小案例
- 倒計時
- 驗證碼
- 帶文字匹配搜索框
- 選項卡
- 復選框全選,反選,全不選
- 相冊選擇,鼠標放到圖片上,對應圖放大顯示
- 敏感詞過濾
- 進度條
- 點擊按鈕回到頂部
- 電影院選座
- 盒子移動
- 鼠標綁定一個盒子
- 檔案建立,輸入信息添加到表格
- 抽獎機
- 放大鏡
- 購物車
- 飛機大戰
- echarts案例
- 常規條形圖
- 橫向條形圖
- 折線圖
- 散點圖
- 餅狀圖
- 地圖
- 雷達圖
- 儀表盤
- 條形堆疊圖
- 微前端--qiankun框架
- node中間件
- 手機端樣式自適應,格式化初始樣式插件
- 簡單的axios請求封裝,無權限
- npm安裝后綴-s或-d
- 系統環境變量
- 過濾字符串,不足兩位前面添加0
- 概念問題
- async和await的區別
- created和mounted區別
- link和@import區別
- 排他算法
- 數組方法
- 數組扁平化
- 數組去重
- 遍歷數組的四種方法
- vue數組中哪些方法時響應式的
- splice刪除數組遇到的坑
- 展開運算符(...)用法
- 冒泡排序
- 判斷數組中是否有重復
- 計算數組中某項出現的次數
- filter方法
- 將數組分割成多個指定長度的數組
- 常用數組方法整合
- 對象數據處理
- 合并對象:Object.assign( )
- Object.keys(),返回數組,自身枚舉對象
- Object.values使用
- Object.entries使用
- vue中使用svg
- svg組件
- vue滑塊驗證
- 方法一:滑塊驗證
- 方法二:滑塊插件
- vue配置不同的啟動和打包環境
- js過濾日期
- js獲取指定日期前一個月日期
- js指定日期與當前日期比較
- js截取字符串
- js截取字符串最后的逗號
- js截取圖片后綴
- 前端監聽網絡
- vue.config.js解析
- 常用正則
- 閉包概念+閉包防抖節流
- vue插槽
- 網絡安全欄
- canvas指紋追蹤技術
- exif照片信息
- xss攻擊
- vue中操作引導
- 封裝全局loading組件
- vue更換主題方案(手動)
- vue項目打包優化
- 組件遞歸案例
- Promise及異步操作介紹
- vue-cli打包的dist文件怎么直接運行
- 瀏覽器頁簽通信(BroadcastChannel)
- nginx配置