## 刪除功能
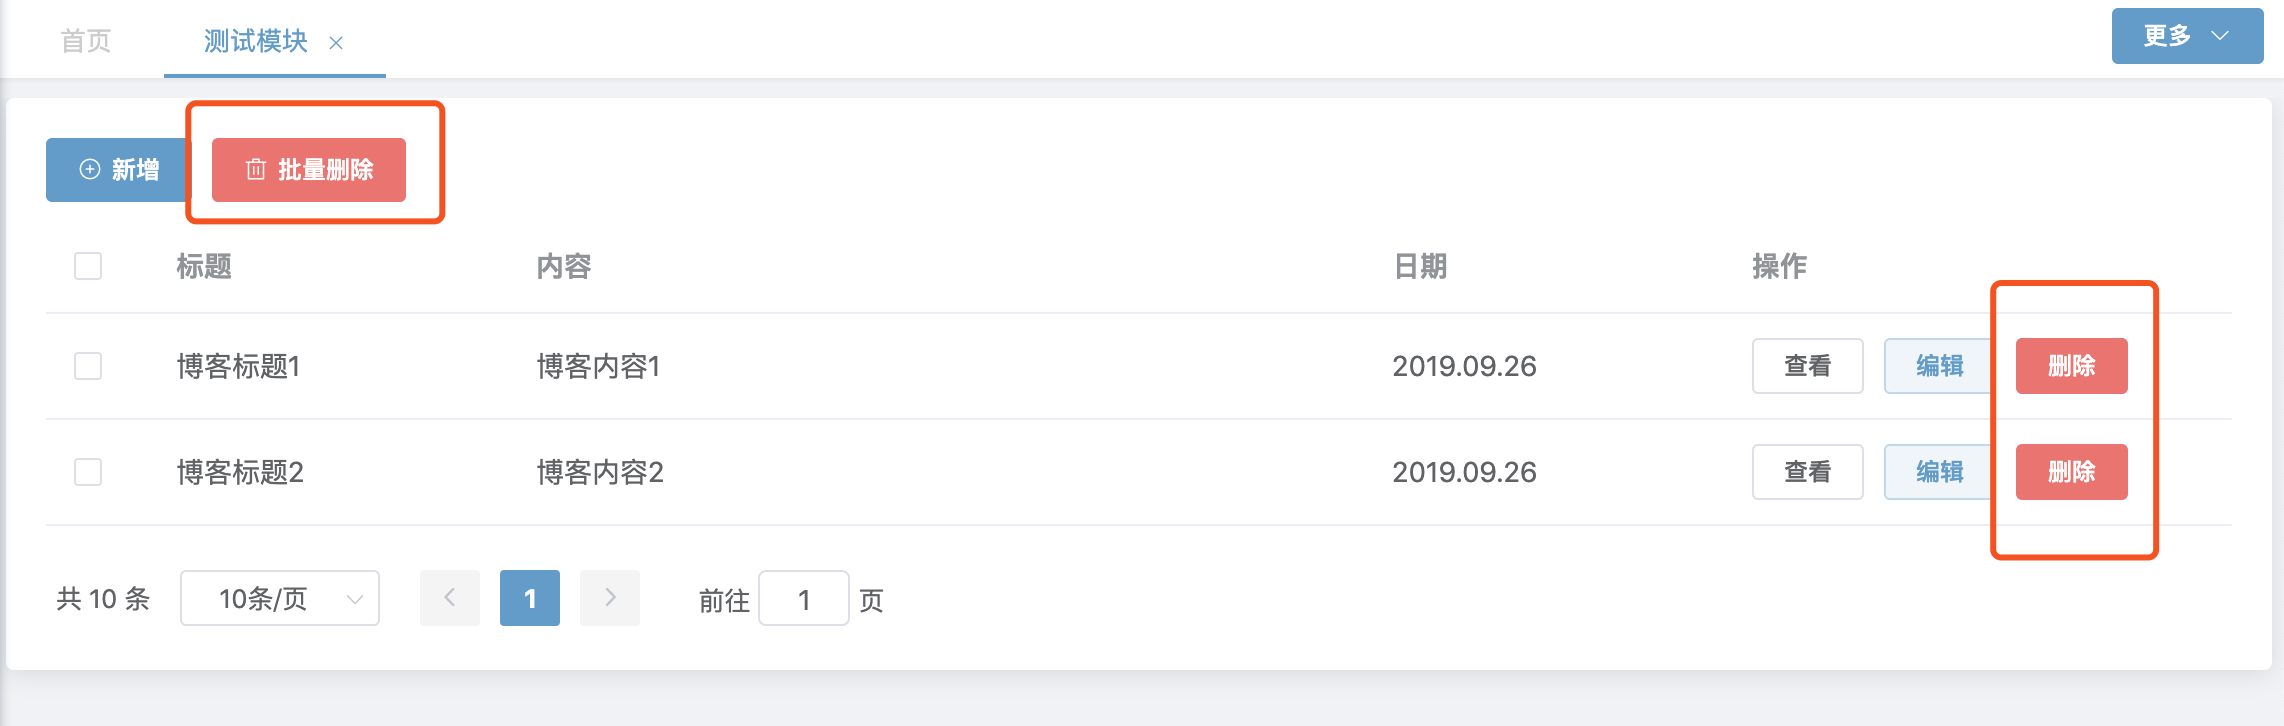
1. 刪除分兩處,一處是表格頭部可以批量刪除的按鈕,一處是每一行末尾針對單條數據的刪除按鈕
2. 我們先來實現下簡單的單行刪除功能
* api增加remove方法
~~~
import {getList, getDetail, submit, remove} from '@/api/demo/blog'
~~~
* 修改handleDelete方法
~~~
handleDelete(index, row) {
remove(row.id).then(res => {
if (res.data.success) {
this.$message({
type: 'success',
message: '操作成功!'
})
} else {
this.$message({
type: 'error',
message: res.data.msg
})
}
});
console.log("delete");
console.log(index);
console.log(row);
},
~~~
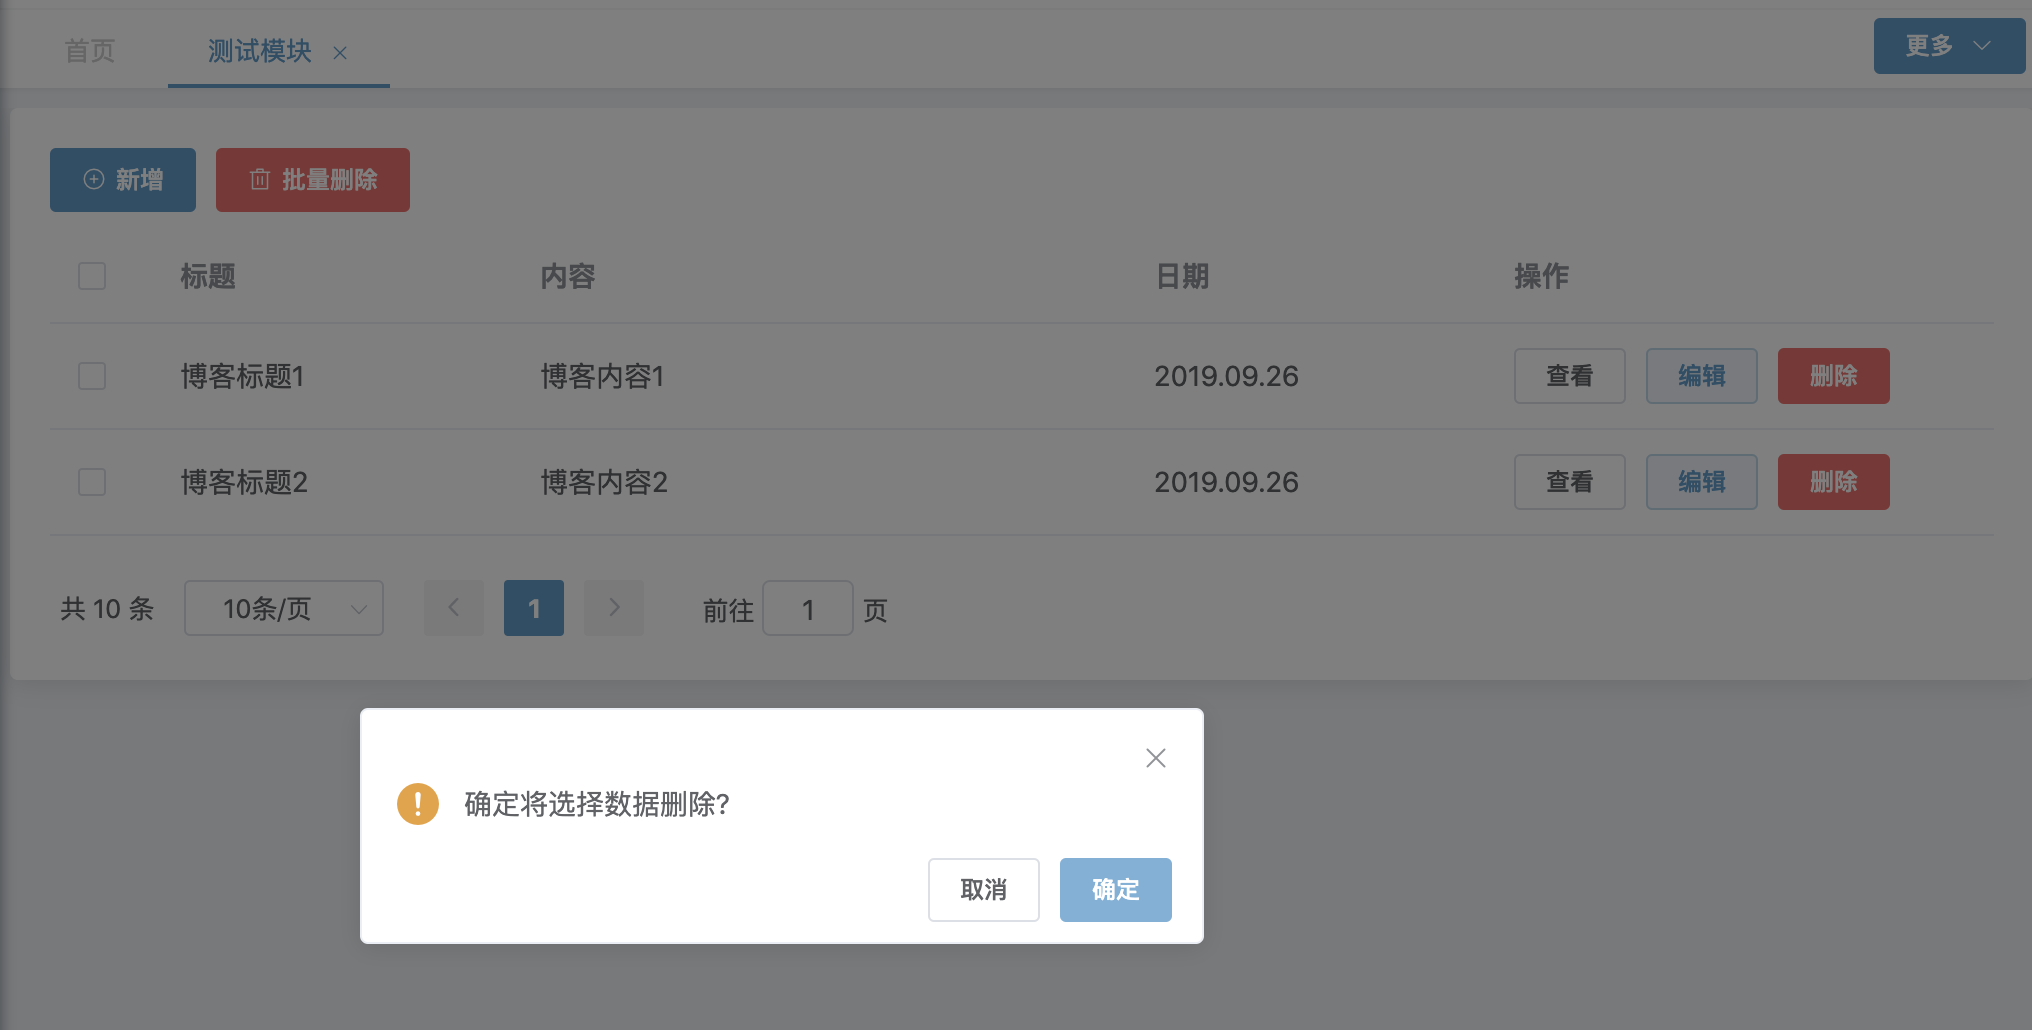
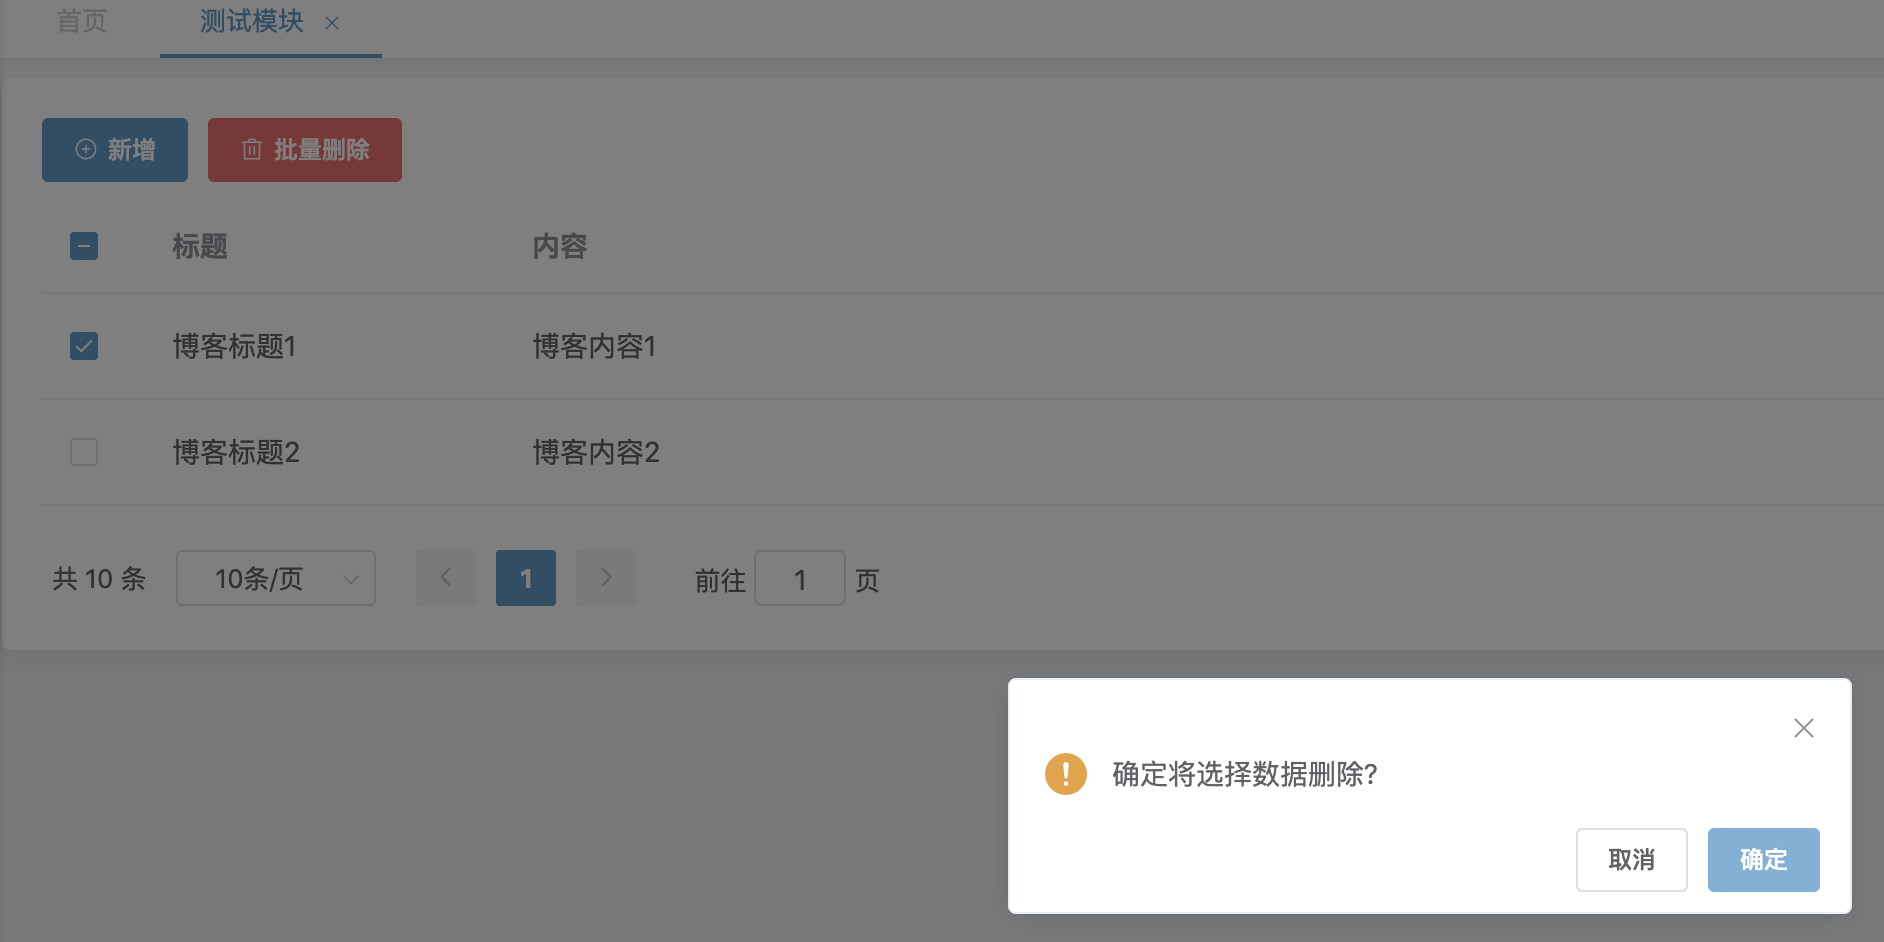
* 若需要增加確認框,可以修改為如下
~~~
handleDelete(index, row) {
this.$confirm("確定將選擇數據刪除?", {
confirmButtonText: "確定",
cancelButtonText: "取消",
type: "warning"
})
.then(() => {
remove(row.id).then(res => {
if (res.data.success) {
this.onLoad();
this.$message({
type: 'success',
message: '操作成功!'
})
} else {
this.$message({
type: 'error',
message: res.data.msg
})
}
});
});
console.log("delete");
console.log(index);
console.log(row);
},
~~~
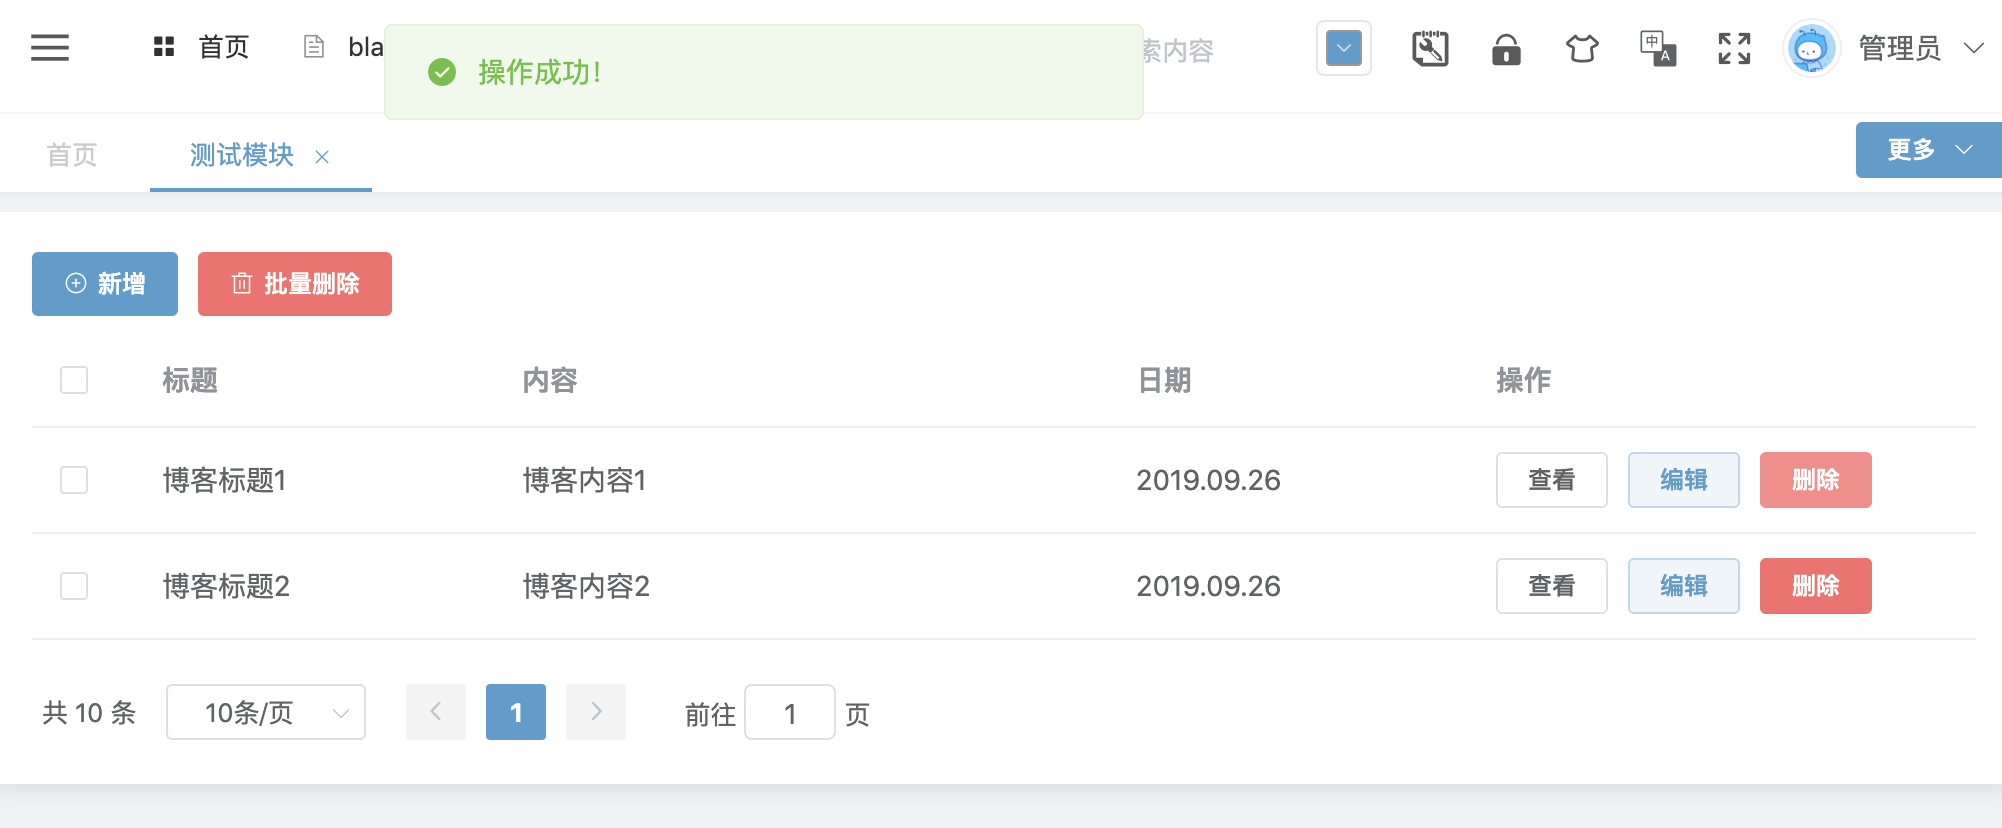
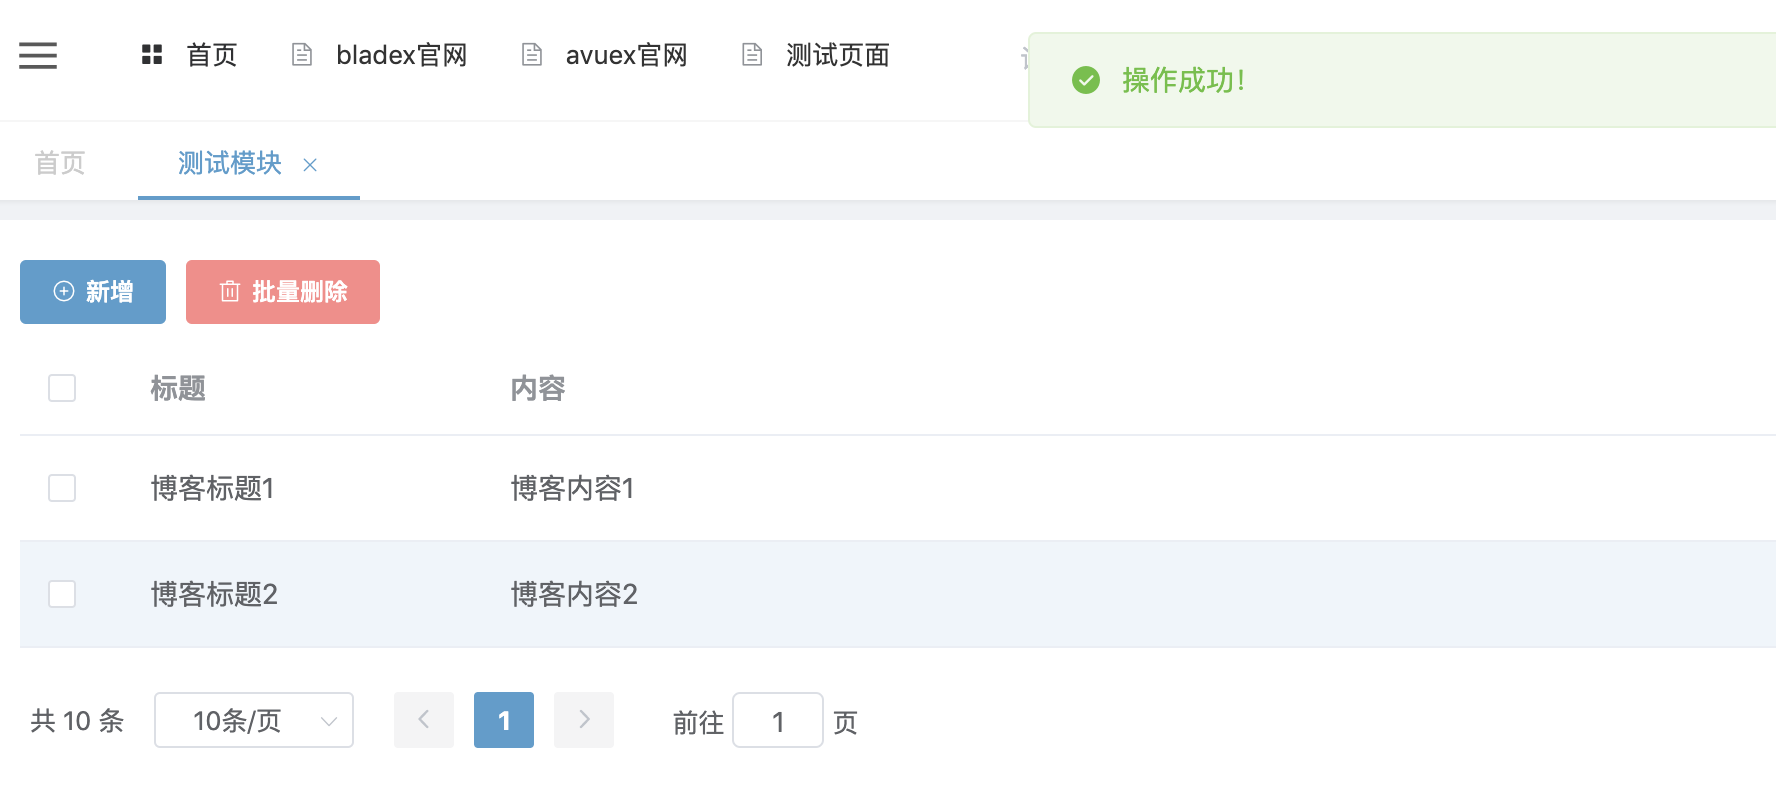
* 測試刪除,提示成功(因為使用了mock數據,所以列表數據不會有變化,下一節將會使用真實數據進行演示)
3. 現在來實現下多行刪除的功能
* 增加computed,定義ids方法
~~~
created() {
this.onLoad();
},
computed: {
ids() {
let ids = [];
this.multiSelection.forEach(ele => {
ids.push(ele.id);
});
return ids.join(",");
}
},
~~~
* 修改handleMultiDelete方法
~~~
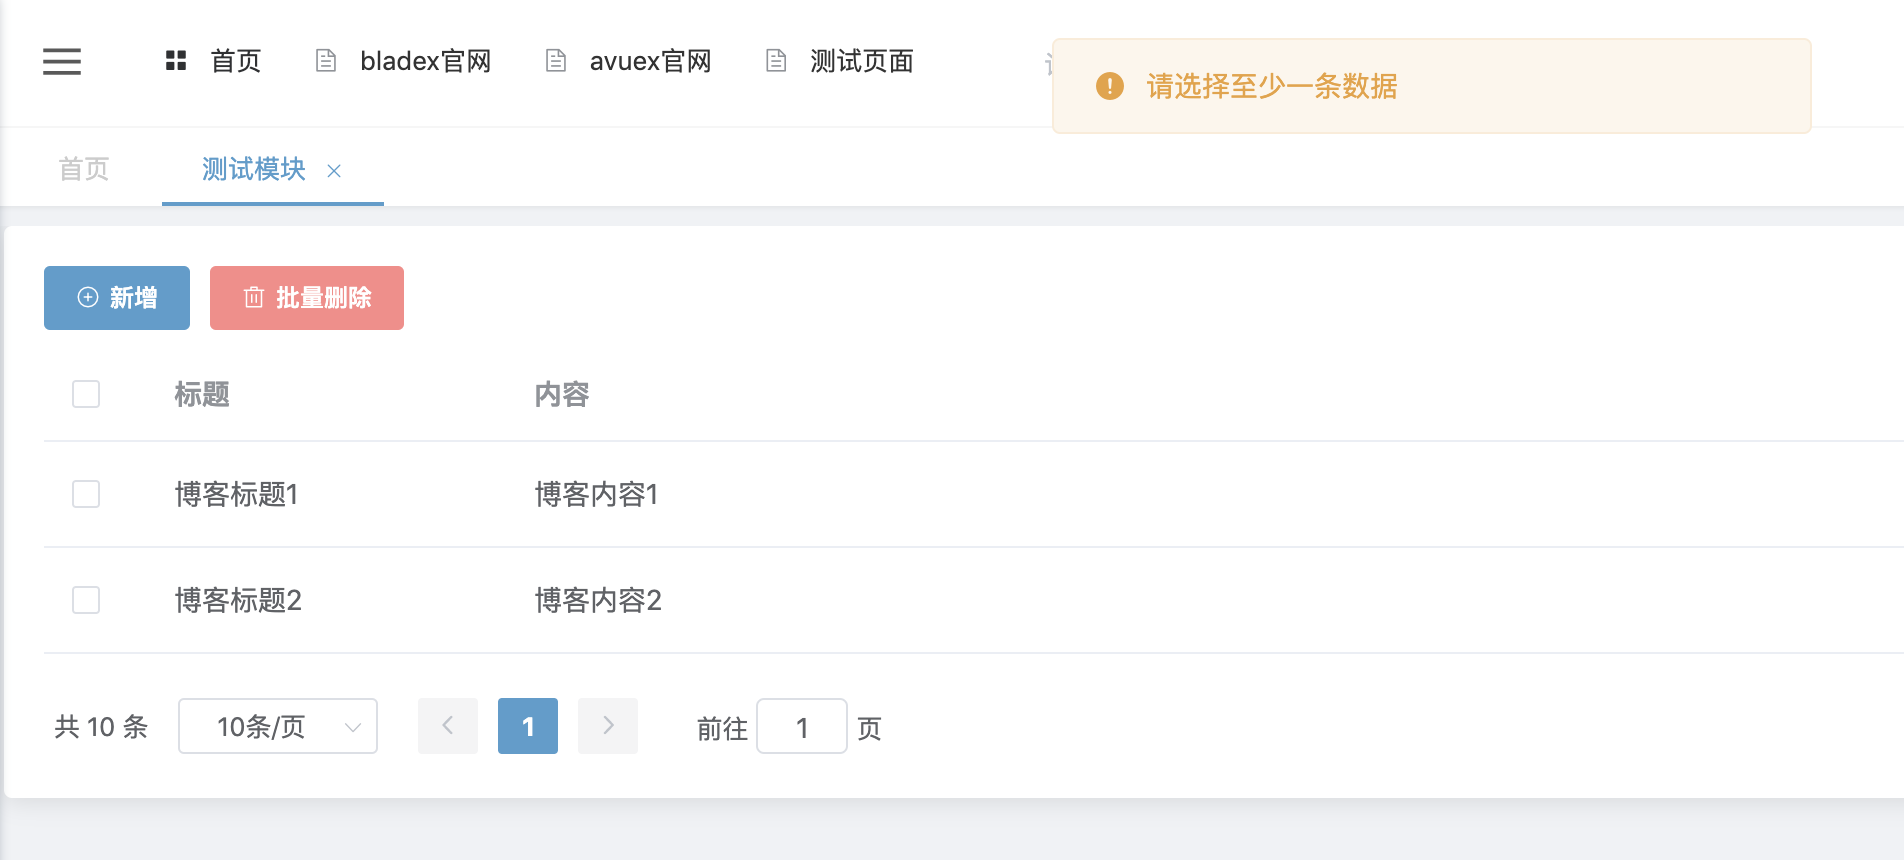
handleMultiDelete() {
console.log("multi-delete");
if (this.multiSelection.length === 0) {
this.$message.warning("請選擇至少一條數據");
return;
}
this.$confirm("確定將選擇數據刪除?", {
confirmButtonText: "確定",
cancelButtonText: "取消",
type: "warning"
})
.then(() => {
remove(this.ids).then(res => {
if (res.data.success) {
this.onLoad();
this.$message({
type: 'success',
message: '操作成功!'
})
} else {
this.$message({
type: 'error',
message: res.data.msg
})
}
});
});
},
~~~
* 測試刪除,提示成功(因為使用了mock數據,所以列表數據不會有變化,下一節將會使用真實數據進行演示)
* 最后放上完整代碼
~~~
<template>
<basic-container>
<el-row>
<el-col :span="24">
<div class="tool-box">
<el-button type="primary" icon="el-icon-circle-plus-outline" size="small" @click="handleAdd">新增</el-button>
<el-button type="danger" icon="el-icon-delete" size="small" @click="handleMultiDelete">批量刪除</el-button>
</div>
</el-col>
</el-row>
<el-row>
<el-table
:data="data"
@selection-change="selectChange"
style="width: 100%">
<el-table-column
prop="id"
type="selection"
width="55">
</el-table-column>
<el-table-column
prop="title"
label="標題"
width="180">
</el-table-column>
<el-table-column
prop="content"
label="內容">
</el-table-column>
<el-table-column
prop="time"
label="日期"
width="180">
</el-table-column>
<el-table-column label="操作" fixed="right" width="250">
<template slot-scope="scope">
<el-button
size="mini"
type=""
plain
@click="handleView(scope.$index, scope.row)">查看
</el-button>
<el-button
size="mini"
type="primary"
plain
@click="handleEdit(scope.$index, scope.row)">編輯
</el-button>
<el-button
size="mini"
type="danger"
@click="handleDelete(scope.$index, scope.row)">刪除
</el-button>
</template>
</el-table-column>
</el-table>
</el-row>
<el-row>
<el-pagination
background
:page-sizes="[10, 20, 30, 50]"
:page-size="10"
layout="total, sizes, prev, pager, next, jumper"
@size-change="sizeChange"
@current-change="currentChange"
:total="page.total">
</el-pagination>
</el-row>
<el-dialog :title="dialogTitle" width="600px" :visible.sync="formVisible" @close="resetForm('blogForm')">
<el-form :model="blog" :rules="rules" ref="blogForm">
<el-form-item label="標題" prop="title" label-width="55px">
<el-input v-model="blog.title" autocomplete="off"></el-input>
</el-form-item>
<el-form-item label="時間" label-width="55px">
<el-date-picker
v-model="blog.time"
style="width: 100%;"
type="date"
value-format="yyyy-MM-dd"
placeholder="選擇日期"
autocomplete="off">
</el-date-picker>
</el-form-item>
<el-form-item label="內容" label-width="55px">
<el-input v-model="blog.content" autocomplete="off" type="textarea" :rows="5"></el-input>
</el-form-item>
</el-form>
<div slot="footer" class="dialog-footer">
<el-button @click="formVisible = false">取 消</el-button>
<el-button v-if="!viewMode" type="primary" @click="submitBlog('blogForm')">確 定</el-button>
</div>
</el-dialog>
</basic-container>
</template>
<script>
import {getList, getDetail, submit, remove} from '@/api/demo/blog'
export default {
data() {
return {
// 是否顯示
formVisible: false,
// 是否查看
viewMode: false,
// dialog標題
dialogTitle: '',
// 列表數據
data: [],
// 選中的數據
multiSelection: [],
// 分頁數據
page: {
pageSize: 10,
currentPage: 1,
total: 0
},
// 校驗規則
rules: {
title: [
{required: true, message: '請輸入標題', trigger: 'blur'},
]
},
// 表單映射模型
blog: {
id: '',
title: '',
content: '',
time: '',
}
}
},
created() {
this.onLoad();
},
computed: {
ids() {
let ids = [];
this.multiSelection.forEach(ele => {
ids.push(ele.id);
});
return ids.join(",");
}
},
methods: {
onLoad() {
getList().then(res => {
this.data = res.data.data.records;
this.page.total = res.data.data.total;
})
},
selectChange(val) {
this.multiSelection = val;
console.log(this.multiSelection);
},
currentChange(currentPage) {
this.page.currentPage = currentPage;
},
sizeChange(pageSize) {
this.page.pageSize = pageSize;
},
resetForm(formName) {
this.$refs[formName].clearValidate()
},
handleAdd() {
this.dialogTitle = '新增博客';
this.formVisible = true;
this.viewMode = false;
console.log("add")
},
handleView(index, row) {
this.dialogTitle = '查看博客';
this.formVisible = true;
this.viewMode = true;
getDetail(row.id).then(res => {
if (res.data.success) {
this.blog = res.data.data;
}
});
console.log("view");
console.log(index);
console.log(row);
},
handleEdit(index, row) {
this.dialogTitle = '修改博客';
this.formVisible = true;
this.viewMode = false;
getDetail(row.id).then(res => {
if (res.data.success) {
this.blog = res.data.data;
}
});
console.log("edit");
console.log(index);
console.log(row);
},
handleDelete(index, row) {
this.$confirm("確定將選擇數據刪除?", {
confirmButtonText: "確定",
cancelButtonText: "取消",
type: "warning"
})
.then(() => {
remove(row.id).then(res => {
if (res.data.success) {
this.onLoad();
this.$message({
type: 'success',
message: '操作成功!'
})
} else {
this.$message({
type: 'error',
message: res.data.msg
})
}
});
});
console.log("delete");
console.log(index);
console.log(row);
},
handleMultiDelete() {
console.log("multi-delete");
if (this.multiSelection.length === 0) {
this.$message.warning("請選擇至少一條數據");
return;
}
this.$confirm("確定將選擇數據刪除?", {
confirmButtonText: "確定",
cancelButtonText: "取消",
type: "warning"
})
.then(() => {
remove(this.ids).then(res => {
if (res.data.success) {
this.onLoad();
this.$message({
type: 'success',
message: '操作成功!'
})
} else {
this.$message({
type: 'error',
message: res.data.msg
})
}
});
});
},
submitBlog(formName) {
// 表單驗證
this.$refs[formName].validate((valid) => {
if (valid) {
console.log(this.blog);
submit(this.blog).then(res => {
if (res.data.success) {
this.formVisible = false;
this.$message({
type: 'success',
message: '操作成功!'
})
} else {
this.$message({
type: 'error',
message: res.data.msg
})
}
})
}
})
},
}
}
</script>
<style lang="scss" scoped>
.el-pagination {
margin-top: 20px;
}
</style>
~~~
## 后記
* 基于ElementUI做的最簡單的CRUD模塊已經講解完畢,希望大家后續可以繼續深入研究,能夠使用原生ElementUI進行開發。
* 當然,我們有基于Element UI二次封裝的框架Avue,不僅封裝、簡化了很多模塊的操作,也100%兼容ElementUI,更是采用了Json驅動進行頁面模塊渲染,大大節約了前端構建的時間
* 下面一節,我們將學習Avue為我們帶來的極速開發效率,并且以一個前后端分離的模塊進行實戰講解