
## 一、構建項目
setup語法糖帶來的好處:
* 定于的數據和方法,無需return。
* 引入的組件無需(components:{})注冊,不在用寫name屬性了。
前置知識:https://github.com/vuejs/rfcs/tree/master/active-rfcs
setup語法糖:https://github.com/vuejs/rfcs/blob/master/active-rfcs/0040-script-setup.md
### 1. 運行命令
npm init vite@latest
選擇vue3
選擇ts
### 2. 配置端口,解決在終端啟動時,出現Netword: use --host to expose問題
在vite.config.ts文件中配置以下信息
```
server: {
host: '0.0.0.0',
port: 8080,
open: true
}
```
### 3. vite配置別名
參考地址:https://vitejs.cn/config/#config-file-resolving
npm install @types/node --save-dev
```
import { resolve } from 'path'
// ...
resolve: {
? ? alias: [{
? ? ? find: '@',
? ? ? replacement: resolve(__dirname, 'src')
? ? }]
? }
```
### 4. VSCode插件
關閉Vetur,安裝Vue Language Features (Volar)
配置代碼快速生成
在VsCode中,文件-首選項-用戶片段- vue3.json.code-snippets(global),新建一個vue3.ts
### 5. 安裝路由
npm install vue-router@4 --save
參考:https://router.vuejs.org/zh/installation.html
新建路由文件`router/index.ts`
``` ts
import { createRouter, createWebHistory, RouteRecordRaw } from 'vue-router'
import Layout from "@/layout/Index.vue"
const routes: Array<RouteRecordRaw> = [
? ? {
? ? ? ? path: '/',
? ? ? ? name: 'Layout',
? ? ? ? redirect: '/home',
? ? ? ? component: Layout,
? ? ? ? children: [
? ? ? ? ? ? {
? ? ? ? ? ? ? ? path: '/home',
? ? ? ? ? ? ? ? name: 'Home',
? ? ? ? ? ? ? ? component: () => import('@/view/home/index.vue'),
? ? ? ? ? ? ? ? meta: {
? ? ? ? ? ? ? ? ? ? title: '首頁',
? ? ? ? ? ? ? ? ? ? icon: 'IceCream'
? ? ? ? ? ? ? ? }
? ? ? ? ? ? }
? ? ? ? ]
? ? },
? ? {
? ? ? ? path: '/system',
? ? ? ? name: 'System',
? ? ? ? component: Layout,
? ? ? ? meta:{
? ? ? ? ? ? title: '系統管理',
? ? ? ? ? ? icon: 'IceCream'
? ? ? ? },
? ? ? ? children: [
? ? ? ? ? ? {
? ? ? ? ? ? ? ? path: '/menu',
? ? ? ? ? ? ? ? name: 'Menu',
? ? ? ? ? ? ? ? component: () => import('@/view/system/menu/index.vue'),
? ? ? ? ? ? ? ? meta: {
? ? ? ? ? ? ? ? ? ? title: '菜單管理',
? ? ? ? ? ? ? ? ? ? icon: 'IceCream'
? ? ? ? ? ? ? ? }
? ? ? ? ? ? },
? ? ? ? ? ? {
? ? ? ? ? ? ? ? path: '/role',
? ? ? ? ? ? ? ? name: 'Role',
? ? ? ? ? ? ? ? component: () => import('@/view/system/role/index.vue'),
? ? ? ? ? ? ? ? meta: {
? ? ? ? ? ? ? ? ? ? title: '角色管理',
? ? ? ? ? ? ? ? ? ? icon: 'IceCream'
? ? ? ? ? ? ? ? }
? ? ? ? ? ? },
? ? ? ? ? ? {
? ? ? ? ? ? ? ? path: '/user',
? ? ? ? ? ? ? ? name: 'User',
? ? ? ? ? ? ? ? component: () => import('@/view/system/user/index.vue'),
? ? ? ? ? ? ? ? meta: {
? ? ? ? ? ? ? ? ? ? title: '用戶管理',
? ? ? ? ? ? ? ? ? ? icon: 'IceCream'
? ? ? ? ? ? ? ? }
? ? ? ? ? ? }
? ? ? ? ]
? ? }
]
// 創建路由
const router = createRouter({
? ? history: createWebHistory(),
? ? routes
})
export default router
```
在main.ts文件中引入,即可(測試是否生效,在頁面中通過 `<router-view />`)
```
import router from './router/index'
createApp(App).use(router).mount('#app')
```
### 6. 安裝Vuex4.x
cnpm install vuex@next --save
ts支持參考:https://vuex.vuejs.org/zh/guide/typescript-support.html
新建store/index.ts文件:
``` ts
import { InjectionKey } from 'vue'
import { createStore, useStore as baseUseStore, Store } from 'vuex'
export interface State {
? ? count: number
}
export const key: InjectionKey<Store<State>> = Symbol()
export const store = createStore<State>({
? ? state: {
? ? ? ? count: 1
? ? },
? ? mutations: {
? ? ? ? setCount(state: State, count: number) {
? ? ? ? ? ? state.count = count
? ? ? ? }
? ? },
? ? getters: {
? ? ? ? getCount(state: State) {
? ? ? ? ? ? return state.count
? ? ? ? }
? ? }
})
// 注意此處我們 自定義useStore方法
export function useStore() {
? ? return baseUseStore(key)
}
```
在mian.ts中引入
```
import { store, key } from './store/index'
createApp(App).use(store, key).mount('#app')
```
在組件中驗證
```ts
import { computed } from 'vue'
import { useStore } from '../store'
// ...
const showCount = computed(()=>{
? return store.getters.getCount
})
const addCount = () => {
? store.commit('setCount', ++count.value)
}
```
解決在組件中,如main.ts中 `@/...`報錯問題,在 `tsconfig.json`文件中
```
// ...
"esModuleInterop": true,
"skipLibCheck": true,// 解決打包可能出現的報錯問題
"lib": ["esnext", "dom"],
? ? "baseUrl": ".",
? ? "paths": {
? ? ? "@/*": [
? ? ? ? "src/*"
? ? ]
}
```
### 7. 配置eslint
npm install eslint eslint-plugin-vue --save-dev
根目錄新建 `.eslintrc.js`文件:
```
module.exports = {
? ? root: true,
? ? parserOptions: {
? ? ? ? sourceType: 'module'
? ? },
? ? parser: 'vue-eslint-parser',
? ? extends: ['plugin:vue/vue3-essential', 'plugin:vue/vue3-strongly-recommended', 'plugin:vue/vue3-recommended'],
? ? env: {
? ? ? ? browser: true,
? ? ? ? node: true,
? ? ? ? es6: true
? ? },
? ? rules: {
? ? ? ? 'no-console': 'off',
? ? ? ? 'comma-dangle': [2, 'never'],
// ... 更多配置...
? ? }
}
```
### 8. 添加css預處理器sass
npm install sass sass-loader --save-dev
深層樣式修改:v-deep、:deep等方式。
### 9. 引入element-plus
cnpm install element-plus --save
圖標:cnpm install @element-plus/icons-vue --save
在main.ts中引入,有兩種方式,選其一即可。
* 方式一:配合 `<component :is="iconStr"></component> `使用,iconStr字符串開頭字母可小寫
* 方式二:配合`<Icon :icon="iconStr"> </Icon>`使用,iconStr字符串**開頭必須大寫,且駝峰命名**,和Icon圖標名稱保持一致。
* 注:在tsconfig.json文件中,配置`"suppressImplicitAnyIndexErrors": true,`可解決`Icons[icon]`的問題
```
import ElementPlus from 'element-plus'
import 'element-plus/dist/index.css'
import * as Icons from '@element-plus/icons-vue'
// ...
const app = createApp(App).use(router).use(store, key).use(ElementPlus)
// 方式一:配合 <component :is="icon"></component> 使用,icon字符串開頭字母可小寫
// 全局注冊圖標,暫時用于el-menu中菜單自定義(動態組件)圖標
Object.keys(Icons).forEach(key=>{
? ? app.component(key, Icons[key as keyof typeof Icons])
})
// 方式二:
const Icon = (props: { icon: string }) => {
? ? const { icon } = props
? ? return createVNode(Icons[icon as keyof typeof Icons])
}
app.component('Icon', Icon)
app.mount('#app')
```
## 二、布局
* 文件目錄
```
layout
---Index.vue
---aside
------Index.vue
------MenuItem.vue
---header
------Index.vue
------Breadcrumb.vue
---tabs
------Index.vue
```
* layout/index.vue
```
<template>
<el-container class="vv-container">
<el-aside width="auto" class="vv-aside">
<div class="logo">{{ isCollapse ? "vvmily" : "vvmily LOGO" }}</div>
<Aside />
</el-aside>
<el-container>
<el-header class="vv-header">
<Header />
</el-header>
<Tabs />
<el-main class="vv-main">
<router-view />
</el-main>
</el-container>
</el-container>
</template>
// ... 省略
```
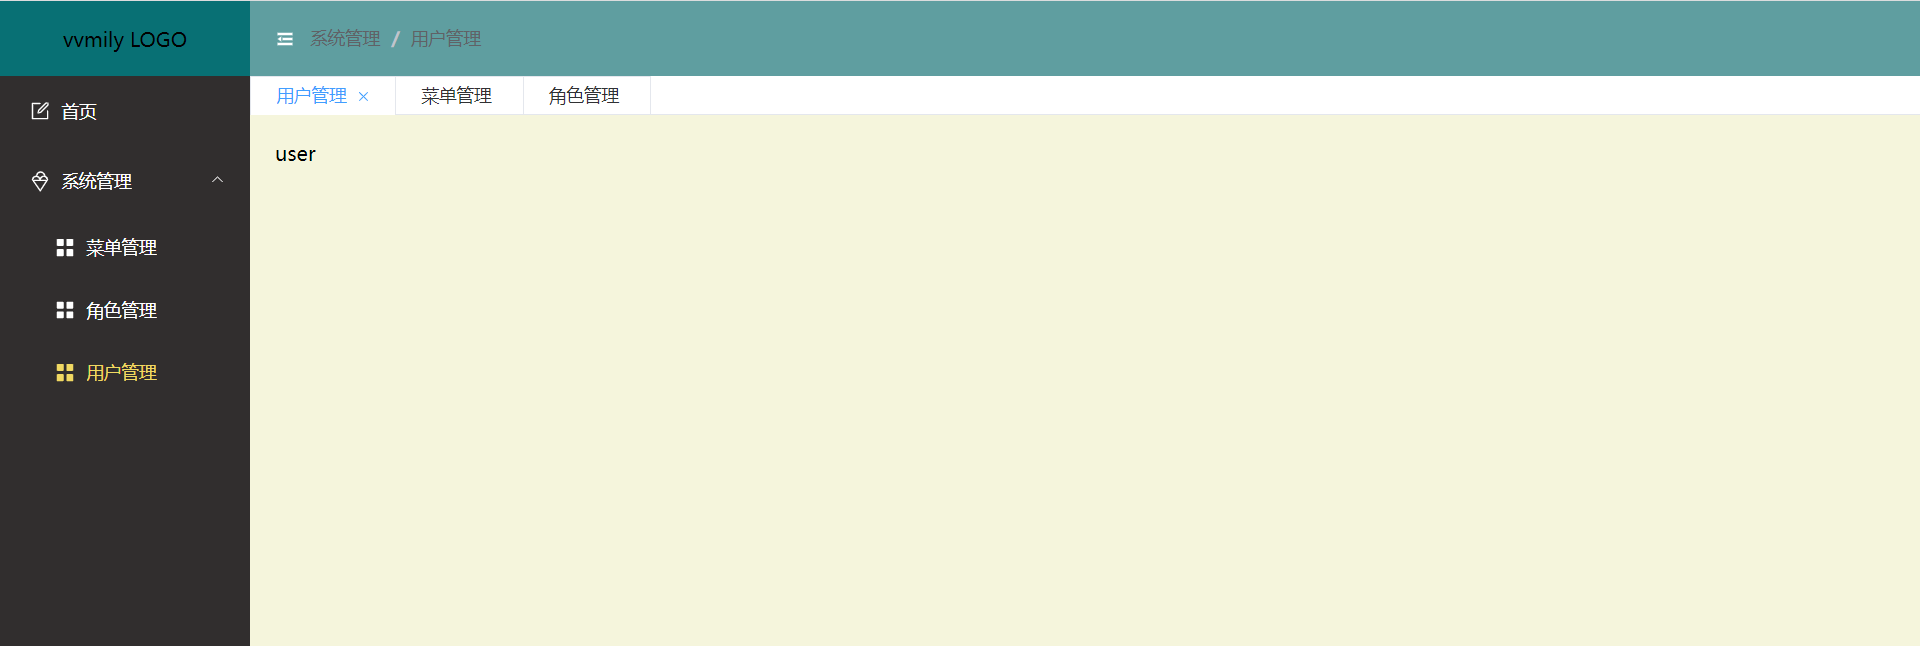
在此el-container布局中,在這里重點關注一下左側菜單`<Aside />`實現以及 `collapse`(配合 `vuex`)的控制,各個文件請[點擊前往查看倉庫](https://gitee.com/ming112/vvmily-vite-vue3-admin)。好了,到這里大體不居已經出來,剩下文字等細節樣式問題,可自行補充。
- 首頁
- 2021年
- 基礎知識
- 同源策略
- 跨域
- css
- less
- scss
- reset
- 超出文本顯示省略號
- 默認滾動條
- 清除浮動
- line-height與vertical-align
- box-sizing
- 動畫
- 布局
- JavaScript
- 設計模式
- 深淺拷貝
- 排序
- canvas
- 防抖節流
- 獲取屏幕/可視區域寬高
- 正則
- 重繪重排
- rem換算
- 手寫算法
- apply、call和bind原理與實現
- this的理解-普通函數、箭頭函數
- node
- nodejs
- express
- koa
- egg
- 基于nodeJS的全棧項目
- 小程序
- 常見問題
- ec-canvas之橫豎屏切換重繪
- 公眾號后臺基本配置
- 小程序發布協議更新
- 小程序引入iconfont字體
- Uni-app
- 環境搭建
- 項目搭建
- 數據庫
- MySQL數據庫安裝
- 數據庫圖形化界面常用命令行
- cmd命令行操作數據庫
- Redis安裝
- APP
- 控制縮放meta
- GIT
- 常用命令
- vsCode
- 常用插件
- Ajax
- axios-services
- 文章
- 如何讓代碼更加優雅
- 虛擬滾動
- 網站收藏
- 防抖節流之定時器清除問題
- 號稱破解全網會員的腳本
- 資料筆記
- 資料筆記2
- 公司面試題
- 服務器相關
- 前端自動化部署-jenkins
- nginx.conf配置
- https添加證書
- shell基本命令
- 微型ssh-deploy前端部署插件
- webpack
- 深入理解loader
- 深入理解plugin
- webpack注意事項
- vite和webpack區別
- React
- react+antd搭建
- Vue
- vue-cli
- vue.config.js
- 面板分割左右拖動
- vvmily-admin-template
- v-if與v-for那個優先級高?
- 下載excel
- 導入excel
- Echart-China-Map
- vue-xlsx(解析excel)
- 給elementUI的el-table添加骨架
- cdn引入配置
- Vue2.x之defineProperty應用
- 徹底弄懂diff算法的key作用
- 復制模板內容
- 表格操作按鈕太多
- element常用組件二次封裝
- Vue3.x
- Vue3快速上手(第一天)
- Vue3.x快速上手(第二天)
- Vue3.x快速上手(第三天)
- vue3+element-plus搭建項目
- vue3
- 腳手架
- vvmily-cli
- TS
- ts筆記
- common
- Date
- utils
- axios封裝
- 2022年
- HTML
- CSS基礎
- JavaScript 基礎
- 前端框架Vue
- 計算機網絡
- 瀏覽器相關
- 性能優化
- js手寫代碼
- 前端安全
- 前端算法
- 前端構建與編譯
- 操作系統
- Node.js
- 一些開放問題、智力題