
#### 技能學習:學習使用php(tp6框架) + vue.js,開發前端全棧網站-8.使用mavoneditor(vue的markdown編輯器),并批量上傳圖片
> 技能學習:學習使用php(tp6框架) + vue.js,開發前端全棧網站-1.工具和本地環境
> 技能學習:學習使用php(tp6框架) + vue.js,開發前端全棧網站-2.啟動項目
> 技能學習:學習使用php(tp6框架) + vue.js,開發前端全棧網站-3.路由、模型與數據庫操作
> 技能學習:學習使用php(tp6框架) + vue.js,開發前端全棧網站-4.跨域且傳輸數據,并優化后端接口
> 技能學習:學習使用php(tp6框架) + vue.js,開發前端全棧網站-5.用戶登錄(一),密碼的bcrypt(hash)加密與驗證
> 技能學習:學習使用php(tp6框架) + vue.js,開發前端全棧網站-6.用戶登錄(二),token驗證
> 技能學習:學習使用php(tp6框架) + vue.js,開發前端全棧網站-7.分類的模型關聯和通用CRUD接口
> 技能學習:學習使用php(tp6框架) + vue.js,開發前端全棧網站-8.使用mavoneditor(vue的markdown編輯器),并批量上傳圖片
mavoneditor的安裝與基本使用方法https://codechina.csdn.net/mirrors/hinesboy/mavoneditor。
###### 1.安裝并引入包
安裝:
~~~
npm install mavon-editor --save
~~~
全局引入:

###### 2.使用
此時編輯器可以使用并關聯數據。
###### 3.批量上傳圖片
直接復制粘貼圖片可以顯示,但有兩點問題:
(1)圖片文件過大時,上傳速度過慢并使接口超載。
(2)文件名相同時回覆蓋之前的圖片,并且重啟服務器圖片無法顯示。
所以我們需要使用接口將圖片上傳到服務器。
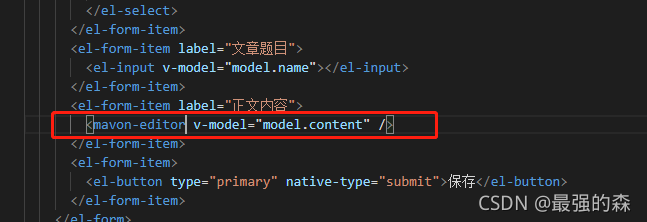
~~~
<!-- 上傳表單數據前選擇并判斷圖片格式并加入文件數組@imgAdd
上傳表單數據前可以刪除圖片@imgDel,數據層刪除后不會上傳到服務器 -->
<mavon-editor ref=md @imgAdd="$imgAdd" @imgDel="$imgDel" v-model="model.content" />
~~~
methods方法中:
~~~
// 綁定@imgAdd event
$imgAdd(pos, file){
//判斷圖片格式
const isJPG = file.type === 'image/jpeg' || file.type === 'image/png' || file.type === 'image/jpg' || file.type === 'image/gif' ;
const isLt2M = file.size / 1024 / 1024 < 2;
if (!isJPG) {
this.$message.error('上傳格式必須為常用圖片格式,如png,jpg,gif等');
}
if (!isLt2M) {
this.$message.error('上傳圖片大小不能超過 2M');
}
if(isJPG && isLt2M){
// 緩存圖片信息
this.img_file[pos] = file;
}
},
// 刪除圖片
$imgDel(pos){
delete this.img_file[pos];
},
~~~
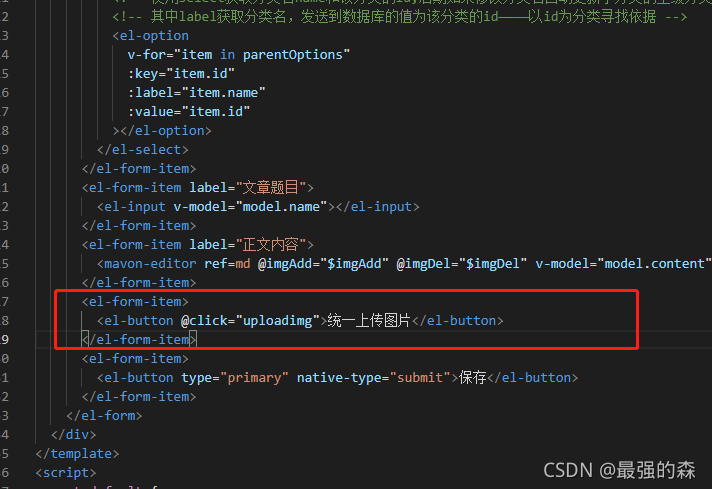
圖片上傳與表單不要同時上傳,因為后期修改文章時多數情況不會修改圖片:
~~~
<el-button @click="uploadimg">統一上傳圖片</el-button>
~~~
上傳圖片的方法使用formdata二進制格式:
~~~
async uploadimg(){
// 上傳圖片
// 第一步.將圖片上傳到服務器.
var that = this
var formdata = new FormData();
for(var _img in that.img_file){
formdata.append(_img, that.img_file[_img]);
}
let img_res;
img_res = await that.$http.post('upload', formdata);
console.log('res', img_res.data)
for(var img in img_res.data){
console.log('1', img_res.data[img][0])
console.log('2', img_res.data[img][1])
// img2Url方法是mavoneditor批量上傳圖片的方法,
// 第一個值為圖片序號,第二個為文件名
// 對應后端接口,所以后端接口需要返回此格式的對應多維數組
that.$refs.md.$img2Url(img_res.data[img][0], img_res.data[img][1]);
this.$message({
type: "success",
message: "保存圖片成功",
});
}
},
~~~
編寫上傳圖片接口:
(1)定義路由
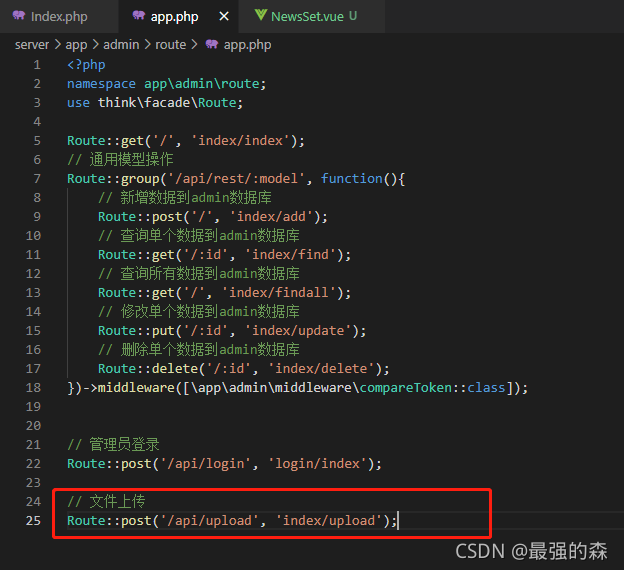
(2)編輯接口
~~~
public function upload()
{
// 獲取表單上傳文件
$files = request() -> file();
// return $files;
$savename = [];
foreach($files as $index => $file){
// 默認上傳方法
// $savename[] = \think\facade\Filesystem::putFile( 'topic', $file);
$savename[$index][0] = $index;
// 我們上傳的圖片是需要顯示在頁面中的,
// 所以放在public中
$savename[$index][1] = 'http://127.0.0.1:3000/storage/'.\think\facade\Filesystem::disk('public')->putFile( 'topic', $file);
// 默認生成的路徑中有\\,將其改為/
$savename[$index][1] = str_replace("\\", "/", $savename[$index][1]);
}
return $savename;
}
~~~
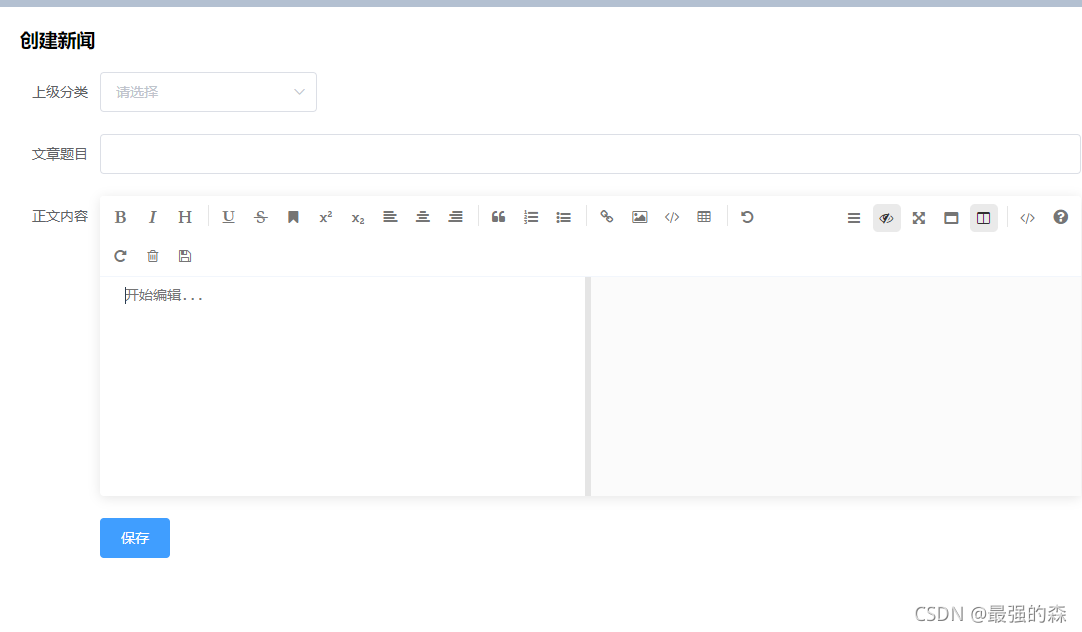
此時頁面:

上傳圖片測試:
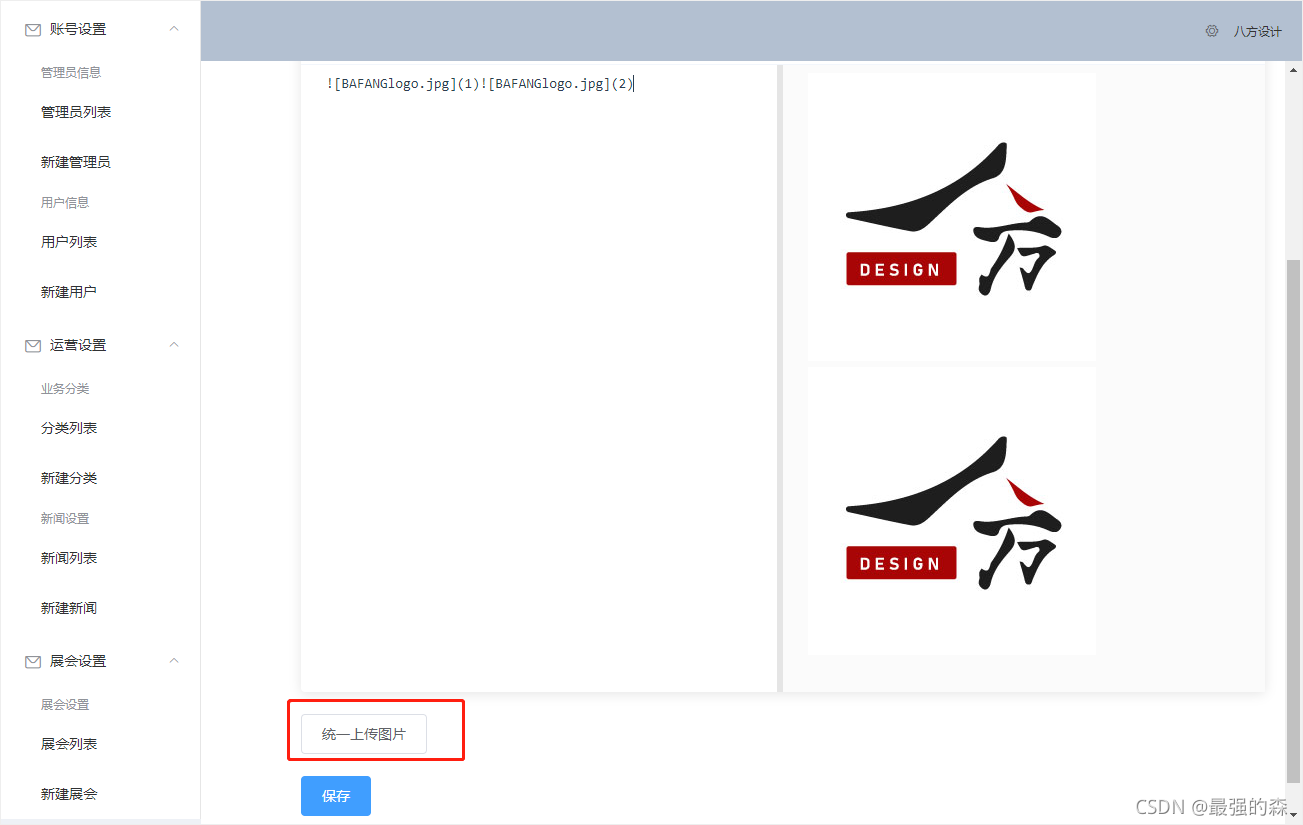
顯示上傳圖片成功后,圖片就可以永遠顯示在頁面了。
到此圖片上傳完成。
最后上一下所有代碼,大家卡住的地方可以查錯:
NewsSet.vue:
~~~
<template>
<div>
<h1>{{ id ? "編輯" : "創建" }}新聞</h1>
<el-form
label-width="80px"
style="margin-top: 20px"
@submit.native.prevent="save"
>
<el-form-item label="上級分類">
<el-select v-model="model.parent_" multiple>
<!-- 使用select獲取分類名name和該分類的id,后期如果修改分類名自動更新子分類的上級分類 -->
<!-- 其中label獲取分類名,發送到數據庫的值為該分類的id————以id為分類尋找依據 -->
<el-option
v-for="item in parentOptions"
:key="item.id"
:label="item.name"
:value="item.id"
></el-option>
</el-select>
</el-form-item>
<el-form-item label="文章題目">
<el-input v-model="model.name"></el-input>
</el-form-item>
<el-form-item label="正文內容">
<mavon-editor ref=md @imgAdd="$imgAdd" @imgDel="$imgDel" v-model="model.content" />
</el-form-item>
<el-form-item>
<el-button @click="uploadimg">統一上傳圖片</el-button>
</el-form-item>
<el-form-item>
<el-button type="primary" native-type="submit">保存</el-button>
</el-form-item>
</el-form>
</div>
</template>
<script>
export default {
props: {
id: {},
},
data() {
return {
model: {
parent: [],
},
parentOptions: [],
img_file: {}
};
},
methods: {
async uploadimg(){
// 上傳圖片
// 第一步.將圖片上傳到服務器.
var that = this
var formdata = new FormData();
for(var _img in that.img_file){
formdata.append(_img, that.img_file[_img]);
}
let img_res;
img_res = await that.$http.post('upload', formdata);
console.log('res', img_res.data)
for(var img in img_res.data){
console.log('1', img_res.data[img][0])
console.log('2', img_res.data[img][1])
that.$refs.md.$img2Url(img_res.data[img][0], img_res.data[img][1]);
this.$message({
type: "success",
message: "保存圖片成功",
});
}
},
async save() {
// 上傳其他數據
let res;
if (this.id) {
res = await this.$http.put("rest/news/" + this.id, this.model);
} else {
res = await this.$http.post("rest/news", this.model);
}
console.log("en?", res);
this.$router.push("/news/list");
this.$message({
type: "success",
message: "保存成功",
});
},
async fetch() {
const res = await this.$http.get("rest/news/" + this.id);
this.model = res.data;
},
async fetchParentOptions() {
const res = await this.$http.get("rest/category");
this.parentOptions = res.data;
},
// 綁定@imgAdd event
$imgAdd(pos, file){
const isJPG = file.type === 'image/jpeg' || file.type === 'image/png' || file.type === 'image/jpg' || file.type === 'image/gif' ;
const isLt2M = file.size / 1024 / 1024 < 2;
if (!isJPG) {
this.$message.error('上傳格式必須為常用圖片格式,如png,jpg,gif等');
}
if (!isLt2M) {
this.$message.error('上傳圖標圖片大小不能超過 2M');
}
if(isJPG && isLt2M){
// 緩存圖片信息
this.img_file[pos] = file;
console.log(this.img_file)
}
},
$imgDel(pos){
delete this.img_file[pos];
},
},
created() {
this.id && this.fetch();
this.fetchParentOptions();
},
};
</script>
~~~
upload接口函數:
~~~
public function upload()
{
// 獲取表單上傳文件
$files = request() -> file();
// return $files;
$savename = [];
foreach($files as $index => $file){
// $savename[] = \think\facade\Filesystem::putFile( 'topic', $file);
$savename[$index][0] = $index;
$savename[$index][1] = 'http://127.0.0.1:3000/storage/'.\think\facade\Filesystem::disk('public')->putFile( 'topic', $file);
$savename[$index][1] = str_replace("\\", "/", $savename[$index][1]);
}
return $savename;
}
~~~
- tp6+vue
- 1.工具和本地環境
- 2.啟動項目
- 3.路由、模型與數據庫操作
- 4.優化后端接口,前端使用axios實現接口功能
- 5.用戶登錄,bcrypt(hash)加密與驗證
- 6.用戶登錄(二),token驗證
- 7.分類的模型關聯和通用CRUD接口
- 8.使用vue的markdown編輯器并批量上傳圖片
- Node.js + Vue.js
- 工具,本地環境
- 2.1啟動項目
- 3.element-ui和vue-router路由的安裝和使用
- 4.使用axios,并創建接口上傳數據到mongodb數據庫
- 5.mongoodb數據庫的“刪、改、查”操作
- 6.mongodb數據庫無限層級的數據關聯(子分類)
- 7.使用mongodb數據庫關聯多個分類(關聯多個數據)
- 8.server端使用通用CRUD接口
- 9.圖片上傳
- 10.vue的富文本編輯器(vue2-editor)
- 11.動態添加分欄上傳多組數據
- 12-1.管理員模塊
- 13-1.搭建前臺web端頁面
- 1.使用sass工具搭建前臺web端頁面
- 2.sass工具的變量
- 3.使用flex布局并開始搭建web端
- 4.vue廣告輪播圖,并使用接口引入數據
- 5.使用字體圖標(iconfont)
- 6.卡片組件的封裝
- 14-1.生產環境編譯
- 1.環境編譯
- 2.購買域名服務器并解析域名到服務器
- 3.nginx配置web服務器并安裝網站環境
- 4.git拉取代碼到服務器
- 5.配置Nginx反向代理
- 6.遷移本地數據到服務器(mongodump)
- uni
- 1.工具&本地環境
- 2.頁面制作
- 3.頁面制作、組件與輪播
- 4.頁面跳轉與橫向滑動
- 5.用戶授權登錄和用戶信息獲取
- 6.用戶注冊和數據存儲
- 7.用戶填寫表單信息