
之前我們做出了分類功能模塊,同時在分類中實現了無限級分類關聯;又制作文章功能模塊,利用文章做出了多個分類的關聯。本篇文章我們再建立一個技能模塊,用來講解圖片的上傳功能實現。
有了圖片上傳功能,我們在下節才能更方便地研究富文本編輯器和富文本編輯器的圖片上傳。
1.根據文章模塊實現流程制作出技能模塊
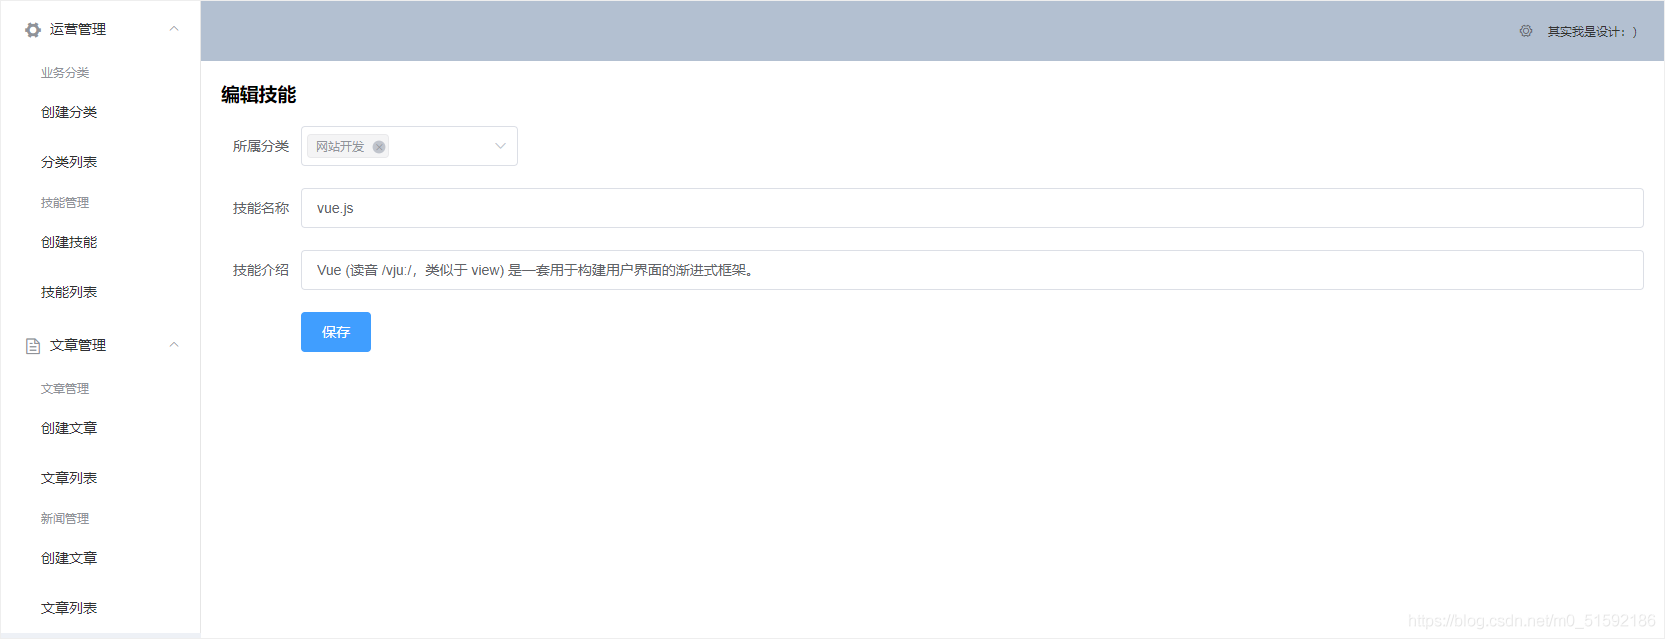
SkillSet.vue:
```
<template>
<div>
<h1>{{id ? '編輯' : '創建'}}技能</h1>
<el-form label-width="80px" style="margin-top:20px;" @submit.native.prevent="save">
<el-form-item label="所屬分類">
<el-select v-model="model.categories" multiple>
<el-option v-for="item in categories" :key="item._id" :label="item.name" :value="item._id"></el-option>
</el-select>
</el-form-item>
<el-form-item label="技能名稱">
<el-input v-model="model.name"></el-input>
</el-form-item>
<el-form-item label="技能介紹">
<el-input v-model="model.introduce"></el-input>
</el-form-item>
<el-form-item>
<el-button type="primary" native-type="submit">保存</el-button>
</el-form-item>
</el-form>
</div>
</template>
<script>
export default {
props: {
id: {}
},
data(){
return {
model: {},
categories: [],
}
},
methods: {
async save(){
let res
if(this.id){
res = await this.$http.put('rest/skills/' + this.id, this.model)
}else{
res = await this.$http.post('rest/skills', this.model)
}
console.log("en?",res)
this.$router.push('/skills/list')
this.$message({
type: 'success',
message: '保存成功'
})
},
async fetch(){
const res = await this.$http.get('rest/skills/' + this.id)
this.model = res.data
},
async fetchCategories(){
const res = await this.$http.get('rest/categories')
this.categories = res.data
}
},
created(){
this.id && this.fetch()
this.fetchCategories()
}
}
</script>
```
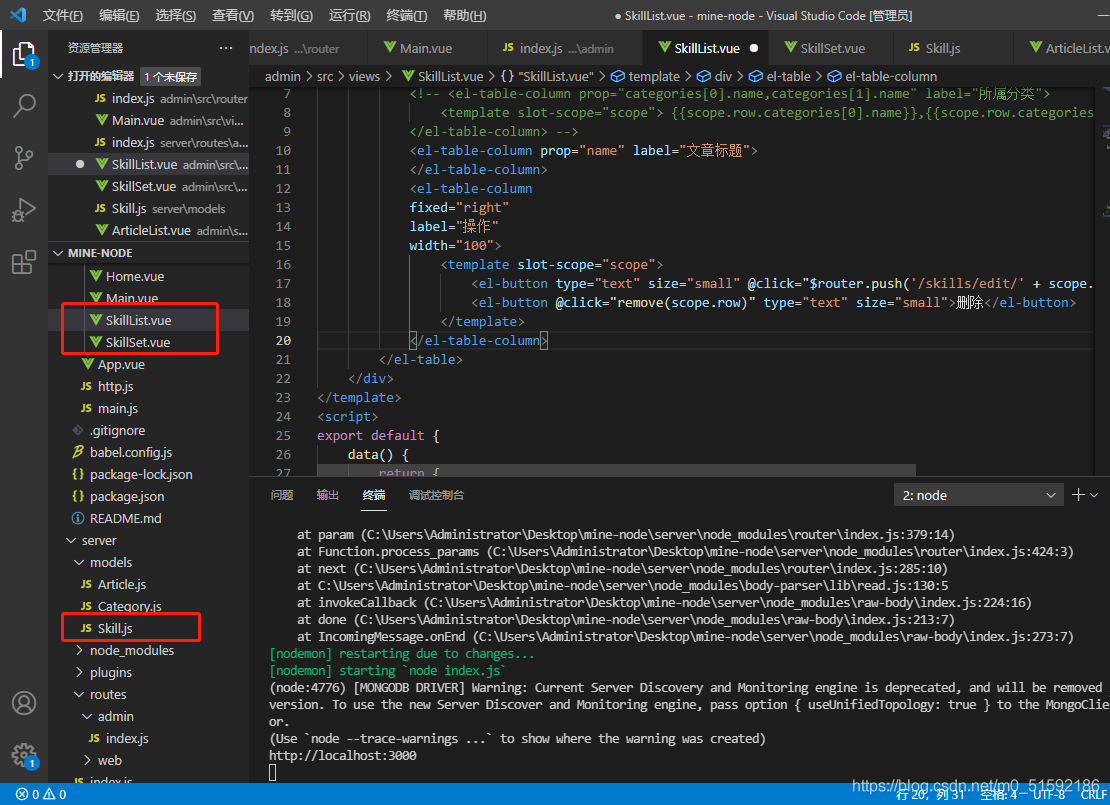
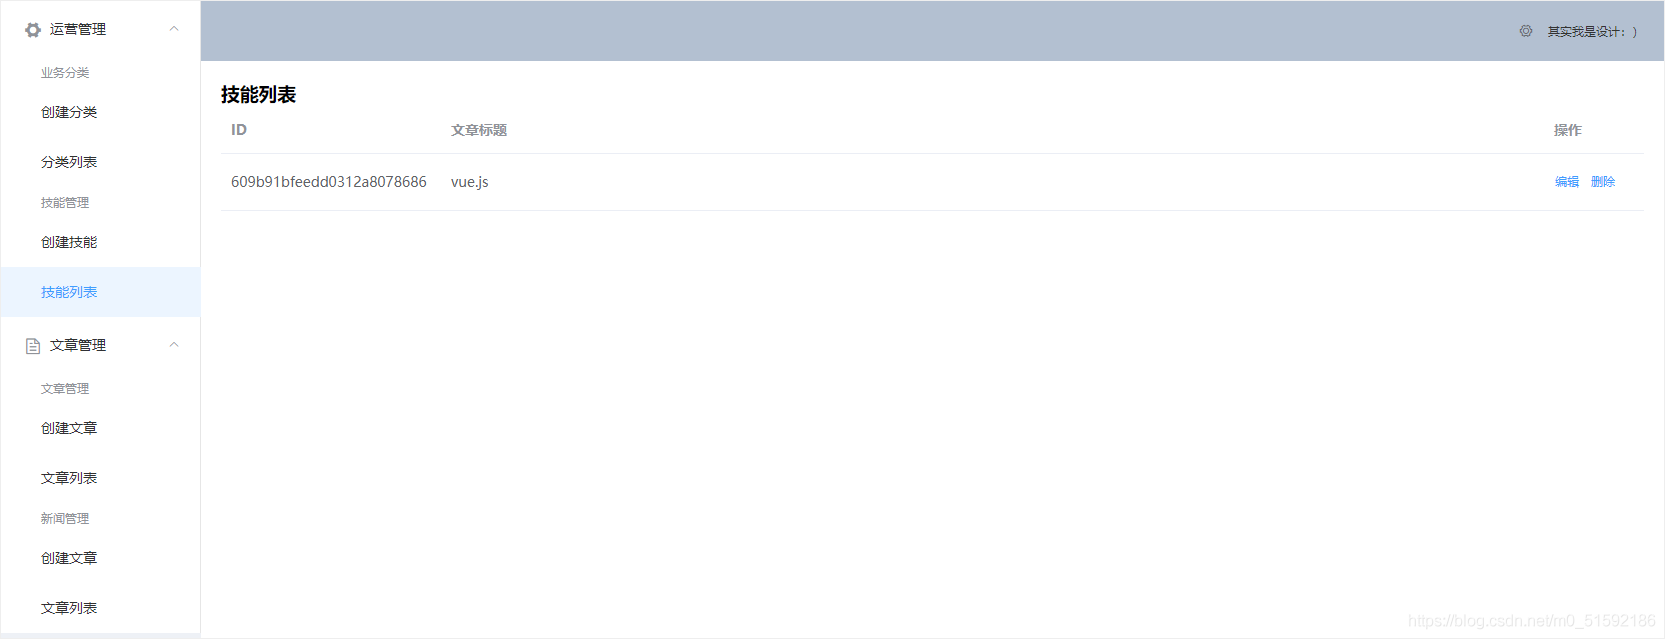
SkillList.vue:
```
<template>
<div>
<h1>技能列表</h1>
<el-table :data="items">
<el-table-column prop="_id" label="ID" width="220">
</el-table-column>
<!-- <el-table-column prop="categories[0].name,categories[1].name" label="所屬分類">
<template slot-scope="scope"> {{scope.row.categories[0].name}},{{scope.row.categories[1].name}} </template>
</el-table-column> -->
<el-table-column prop="name" label="文章標題">
</el-table-column>
<el-table-column
fixed="right"
label="操作"
width="100">
<template slot-scope="scope">
<el-button type="text" size="small" @click="$router.push('/skills/edit/' + scope.row._id)">編輯</el-button>
<el-button @click="remove(scope.row)" type="text" size="small">刪除</el-button>
</template>
</el-table-column>
</el-table>
</div>
</template>
<script>
export default {
data() {
return {
items: []
}
},
methods: {
async fetch(){
const res = await this.$http.get('rest/skills')
this.items = res.data
},
remove(row){
this.$confirm('是否確定要刪除文章"' + row.name + '"?', '提示', {
confirmButtonText: '確定',
cancelButtonText: '取消',
type: 'warning'
}).then(async () => {
// 要想使用await,函數必須使用async
// await異步執行,待調用接口獲取數據完成后再將值傳給res,進行下一步操作
const res = await this.$http.delete('rest/skills/' + row._id)
this.$message({
type: 'success',
message: '刪除成功!'
});
if(res.status == 200){
// 接口調用成功后,刷新頁面
this.fetch()
}
}).catch(() => {
this.$message({
type: 'info',
message: '已取消刪除'
});
});
}
},
created() {
this.fetch()
}
}
</script>
```
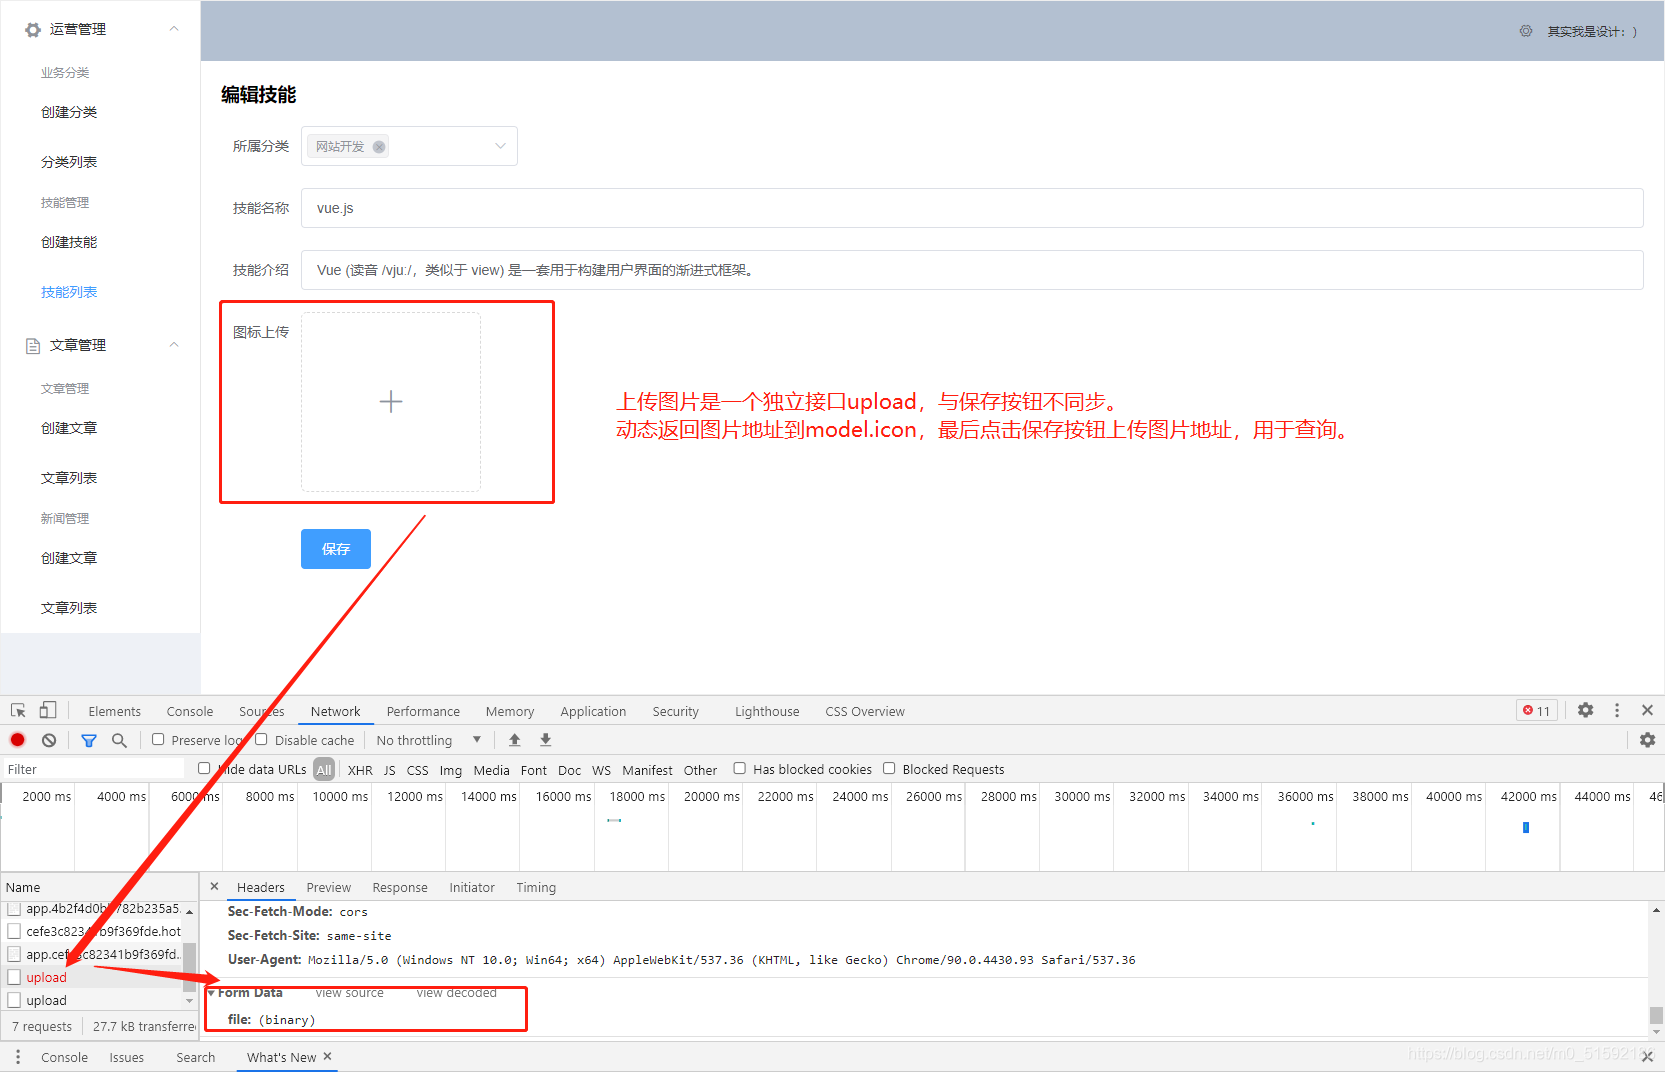
2.使用elementUI放入圖片上傳組件
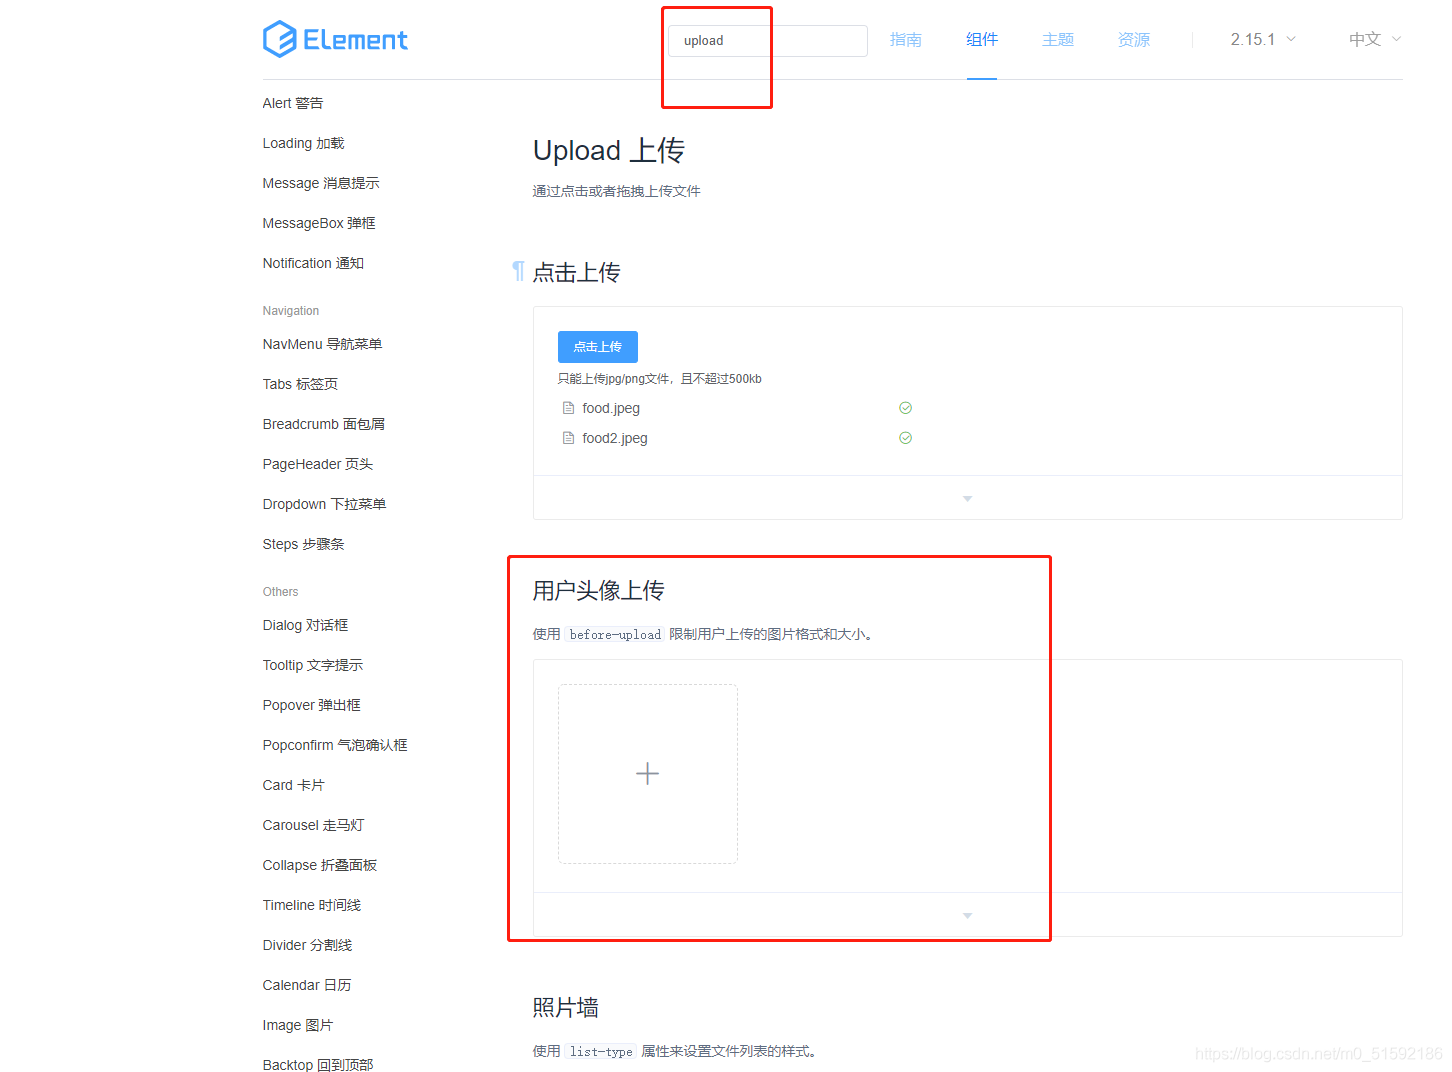
在技能介紹放置修改后的圖片上傳模塊:
```
<el-form-item label="圖標上傳">
<!-- 動態獲取接口地址,所以action加冒號 -->
<el-upload
class="avatar-uploader"
:action="$http.defaults.baseURL + '/upload'"
:show-file-list="false"
:on-success="handleAvatarSuccess"
:before-upload="beforeAvatarUpload">
<img v-if="model.icon" :src="model.icon" class="avatar">
<i v-else class="el-icon-plus avatar-uploader-icon"></i>
</el-upload>
</el-form-item>
```
下方引入效果樣式style:
```
<style>
.avatar-uploader .el-upload {
border: 1px dashed #d9d9d9;
border-radius: 6px;
cursor: pointer;
position: relative;
overflow: hidden;
}
.avatar-uploader .el-upload:hover {
border-color: #409EFF;
}
.avatar-uploader-icon {
font-size: 28px;
color: #8c939d;
width: 178px;
height: 178px;
line-height: 178px;
text-align: center;
}
.avatar {
width: 178px;
height: 178px;
display: block;
}
</style>
```
在methods中添加圖片的上傳之前和成功之后兩個事件:
```
// 圖片上傳成功之后
handleAvatarSuccess(res) {
console.log(res)
},
// 圖片上傳之前的驗證
beforeAvatarUpload(file) {
console.log(file)
const isJPG = file.type === 'image/jpeg' || file.type === 'image/png' || file.type === 'image/jpg' || file.type === 'image/gif' ;
const isLt2M = file.size / 1024 / 1024 < 2;
if (!isJPG) {
this.$message.error('上傳格式必須為常用圖片格式,如png,jpg,gif等');
}
if (!isLt2M) {
this.$message.error('上傳圖標圖片大小不能超過 2MB!');
}
return isJPG && isLt2M;
}
```
測試,現在沒有編寫upload接口,binary表示二進制文件,file是圖片數據名:
3.編寫上傳接口upload
server/routes/admin/index.js:
上傳圖片接口不屬于之前做的通用CRUD接口rest,在最下方另開一個app.post用于新建圖片上傳接口地址。
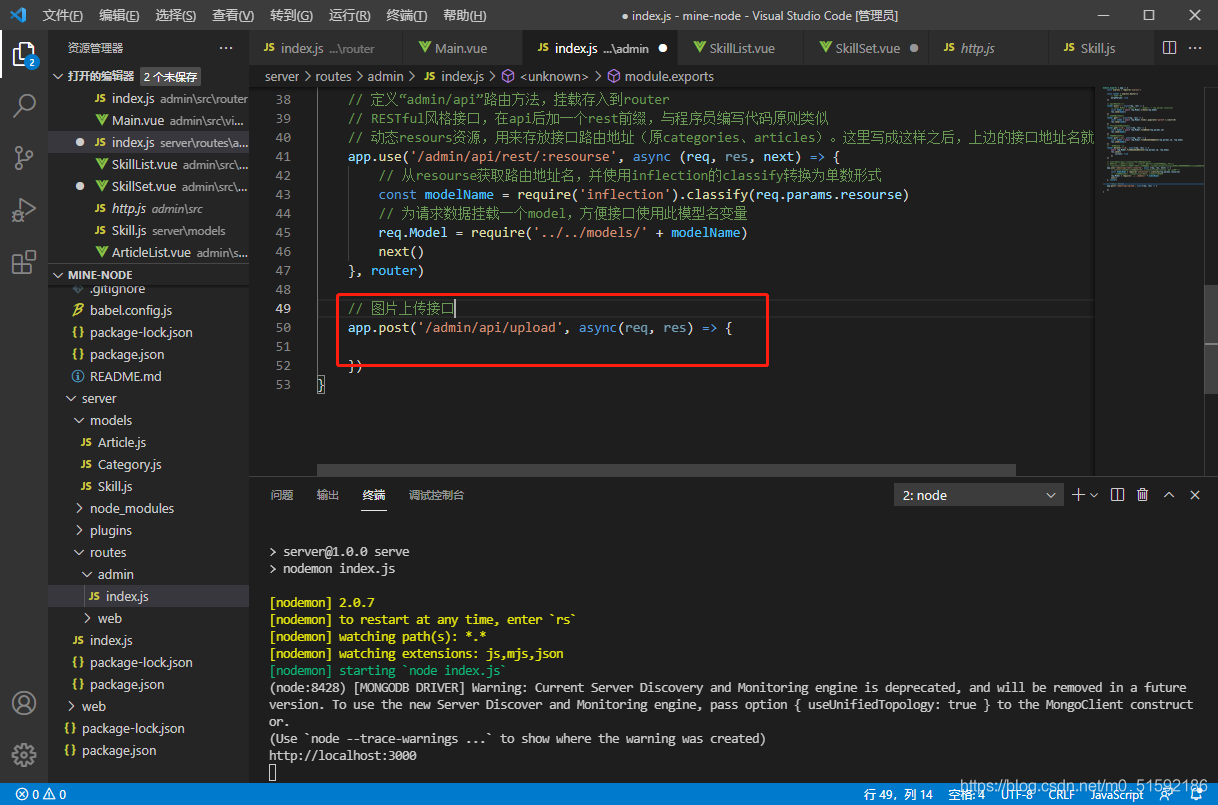
由于express不能獲取到文件上傳的數據,所以我們要使用獲取文件數據的類包multer,定義在中間件中使用:
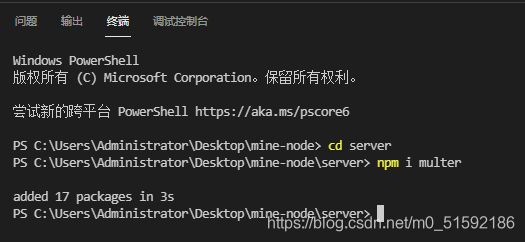
```
cd server
```
```
npm i multer
```
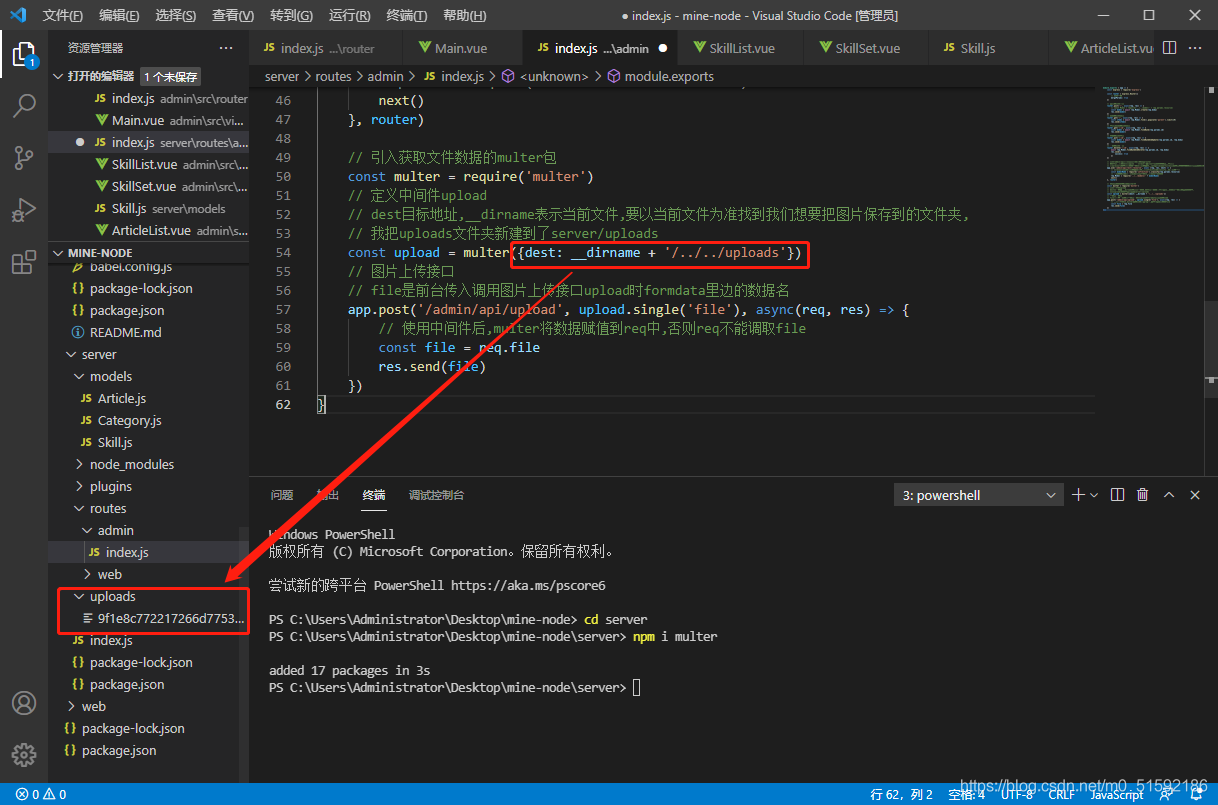
使用multer,并定義中間件:
```
// 引入獲取文件數據的multer包
const multer = require('multer')
// 定義中間件upload
// dest目標地址,__dirname表示當前文件,要以當前文件為準找到我們想要把圖片保存到的文件夾,
// 我把uploads文件夾新建到了server/uploads
const upload = multer({dest: __dirname + '/../../uploads'})
// 圖片上傳接口
// file是前臺傳入調用圖片上傳接口upload時formdata里邊的數據名
app.post('/admin/api/upload', upload.single('file'), async(req, res) => {
})
```
完善圖片上傳接口:
```
app.post('/admin/api/upload', upload.single('file'), async(req, res) => {
// 使用中間件后,multer將數據賦值到req中,否則req不能調取file
const file = req.file
res.send(file)
})
```
此時,上傳圖片就可以把圖片文件保存到指定的uploads文件夾中了,測試:

圖片上傳成功,沒問題。
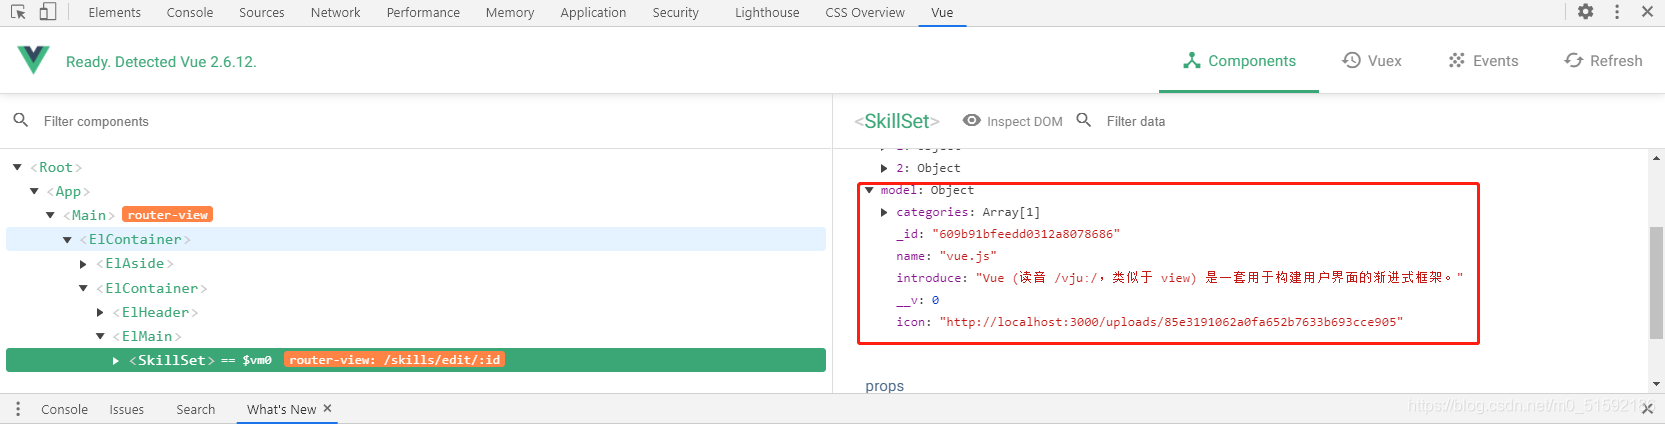
4.將文件路徑返回給前臺數據。
看一下接口成功后的信息,這些信息就是利用multer將值傳到req的file數據:
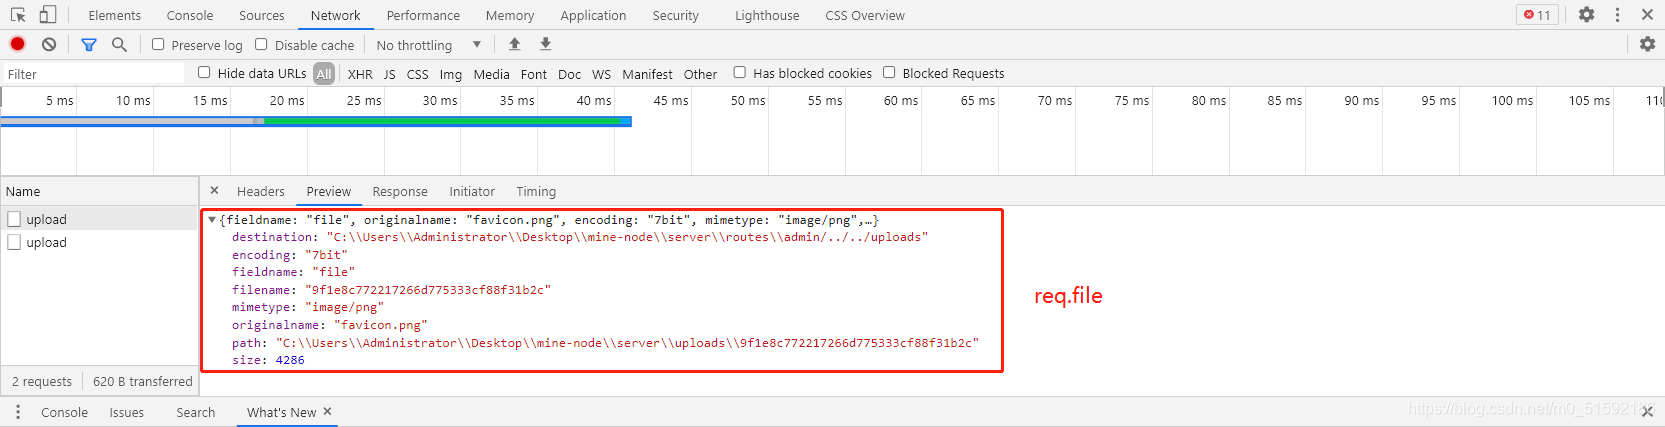
其中filename就是我們保存下來文件的文件名,所以我們要訪問到圖片的話,就要通過接口地址再加上這個filename,也就是給圖片添加路由地址。因為在我們學習路由的時候就發現,在node.js中與其他后端不同,這里的文件地址都是由我們自己定義的,而不是真實路由,這也就是node.js路由的弊端吧。
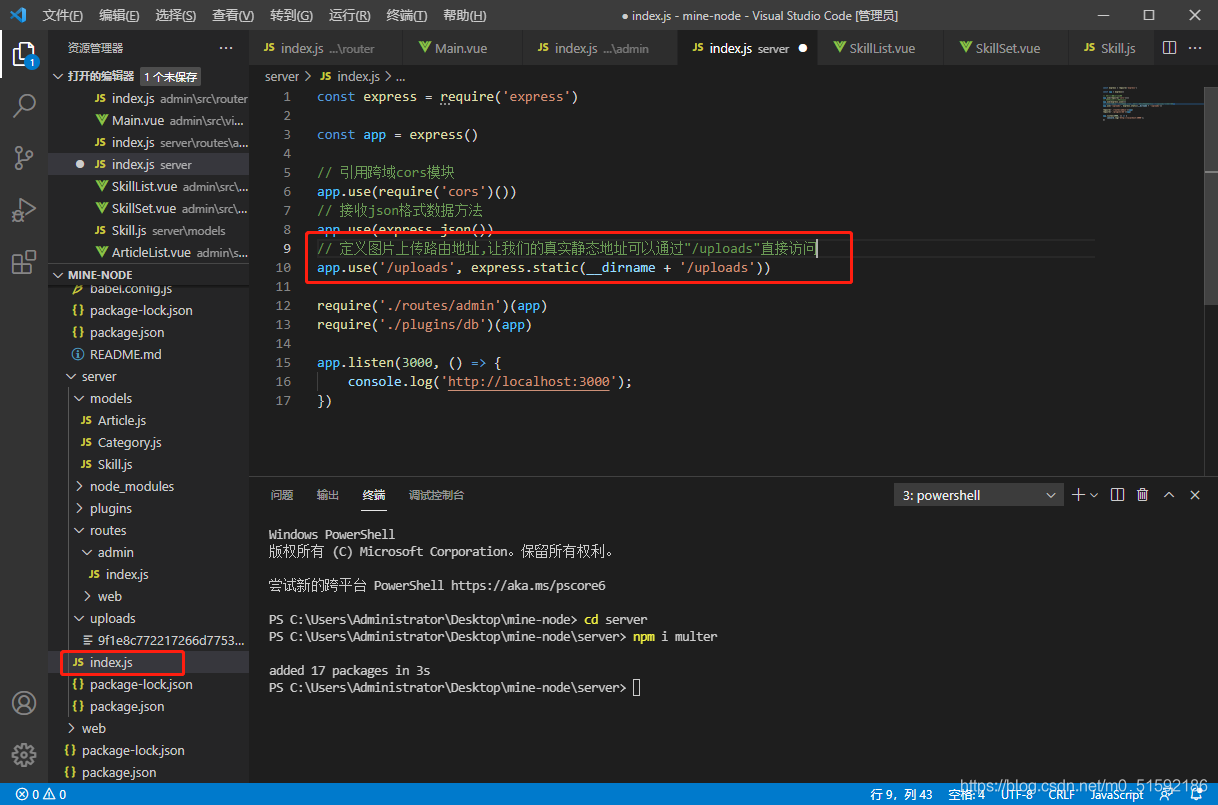
(1)在server端index.js定義路由,找到uploads文件夾的靜態真實地址,定義路由地址
(2)定義圖片的路由地址,將路由地址放入準備輸出的file中,從而方便前臺調用查詢
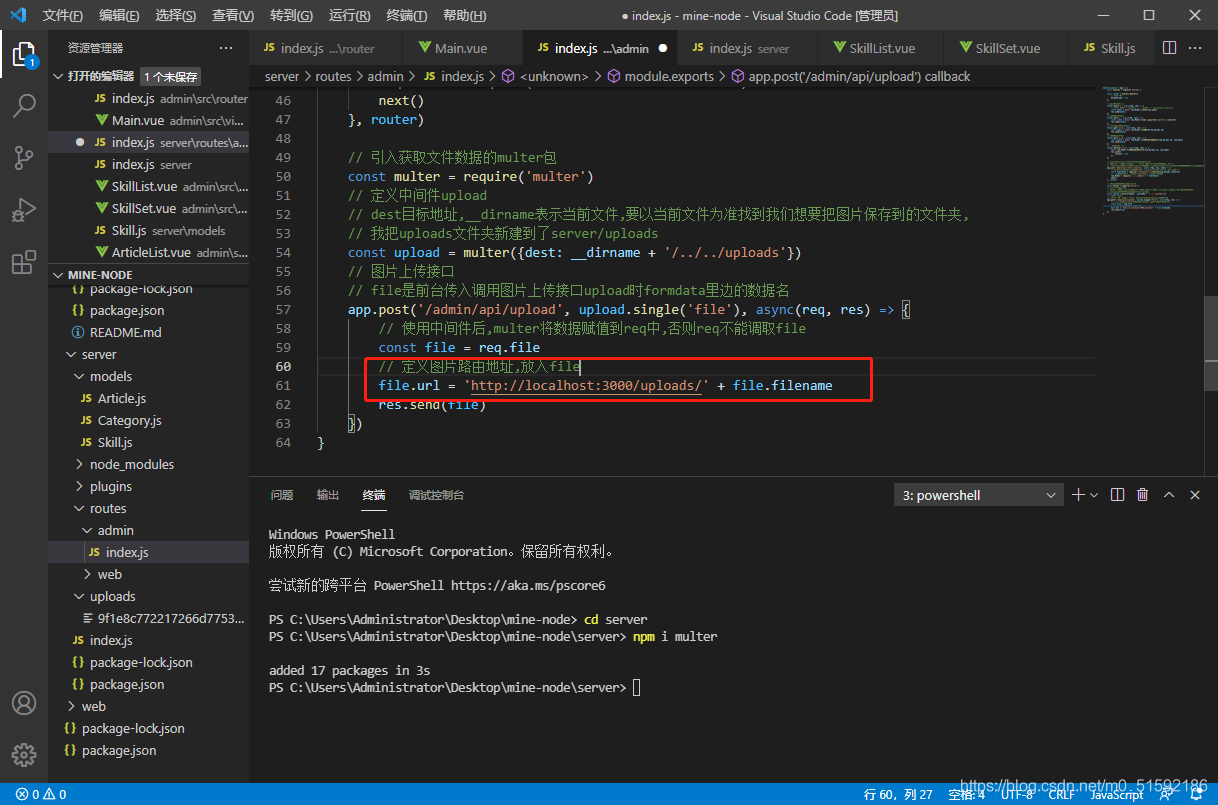
再測試一下,查看url能否正常生成:
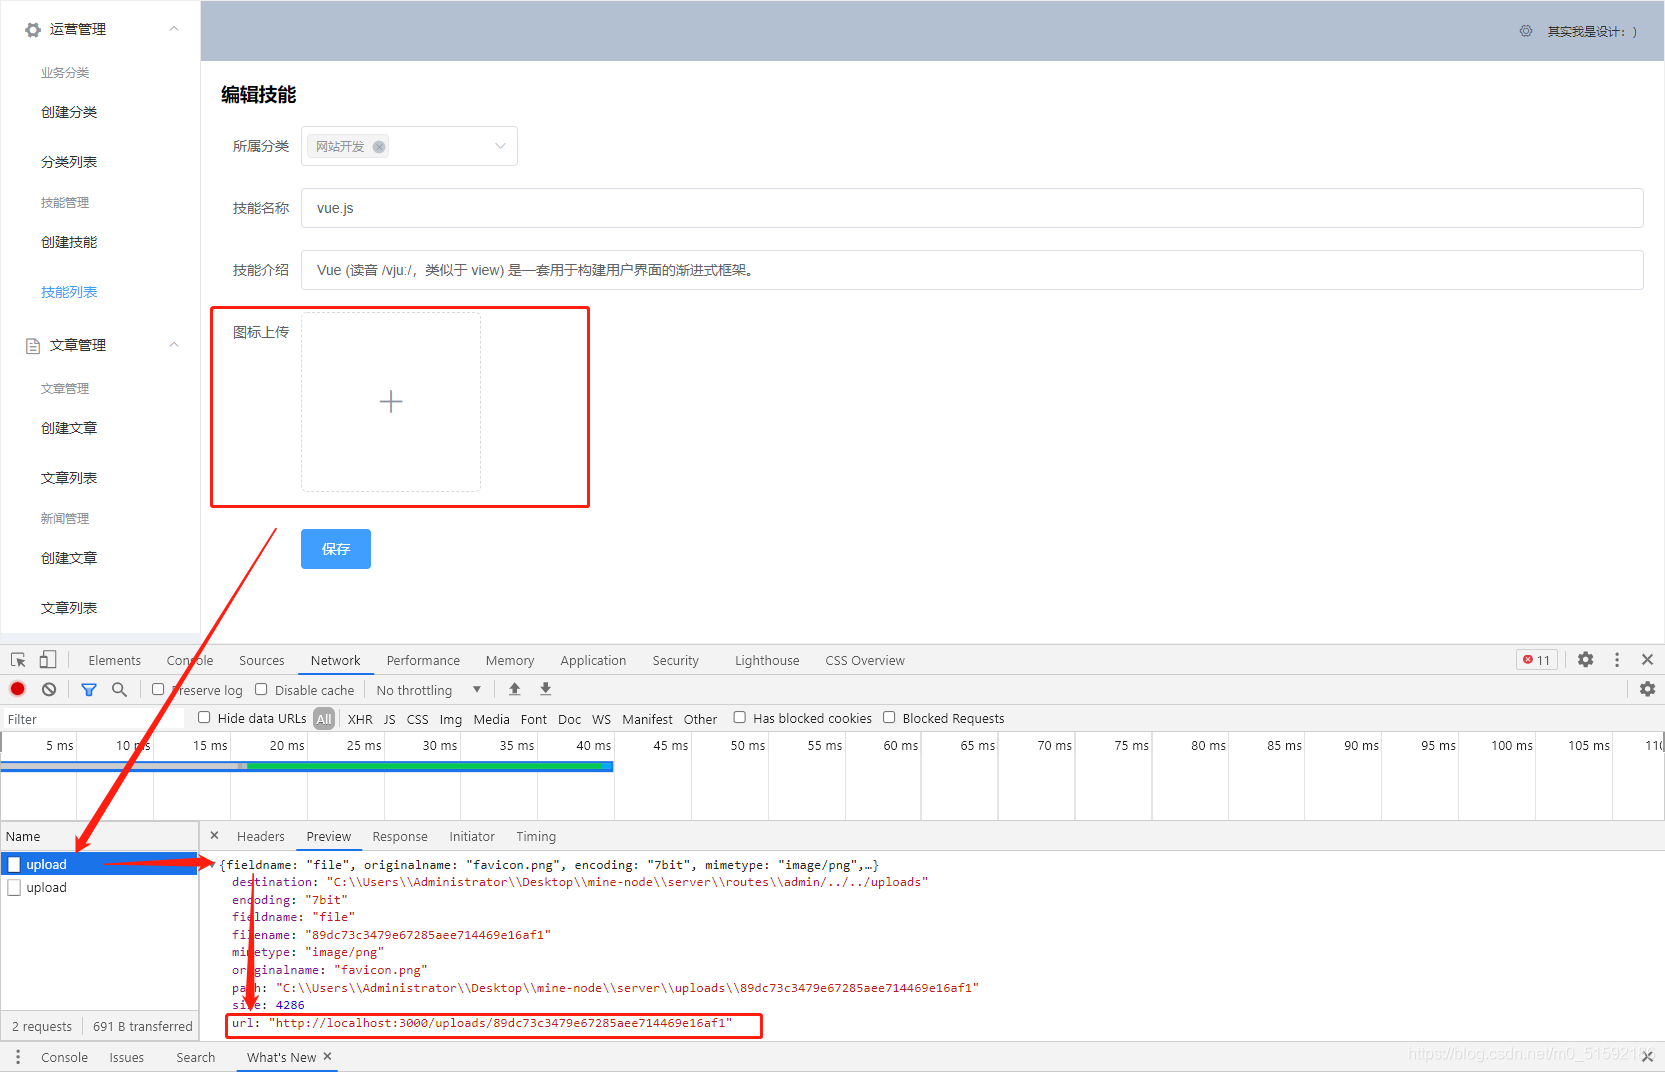
沒問題。

打印出的res也沒問題.
(3)把url在前端頁面顯示

再次進行測試:

沒問題。檢查一下數據的綁定:
也沒問題。
(4)完善保存按鈕接口
由于我們使用了通用CRUD接口,所以只完善skill模型即可,將綁定的數據在server/models/Skill.js都定義好字段和類型。
```
const mongoose = require('mongoose')
const schema = new mongoose.Schema({
name: { type: String },
categories: [{ type: mongoose.SchemaTypes.ObjectId, ref: 'Category' }],
introduce: { type: String },
icon: { type: String },
})
module.exports = mongoose.model('Skill', schema)
```
測試:
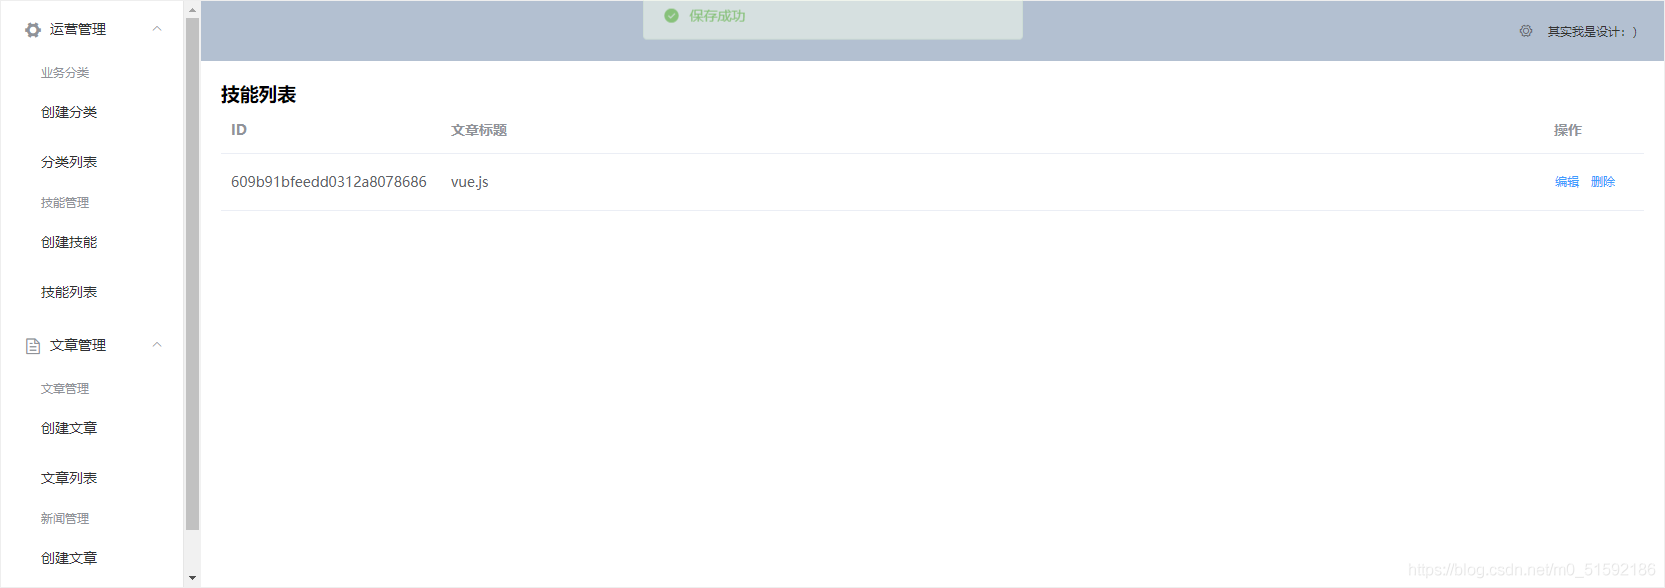

沒問題。
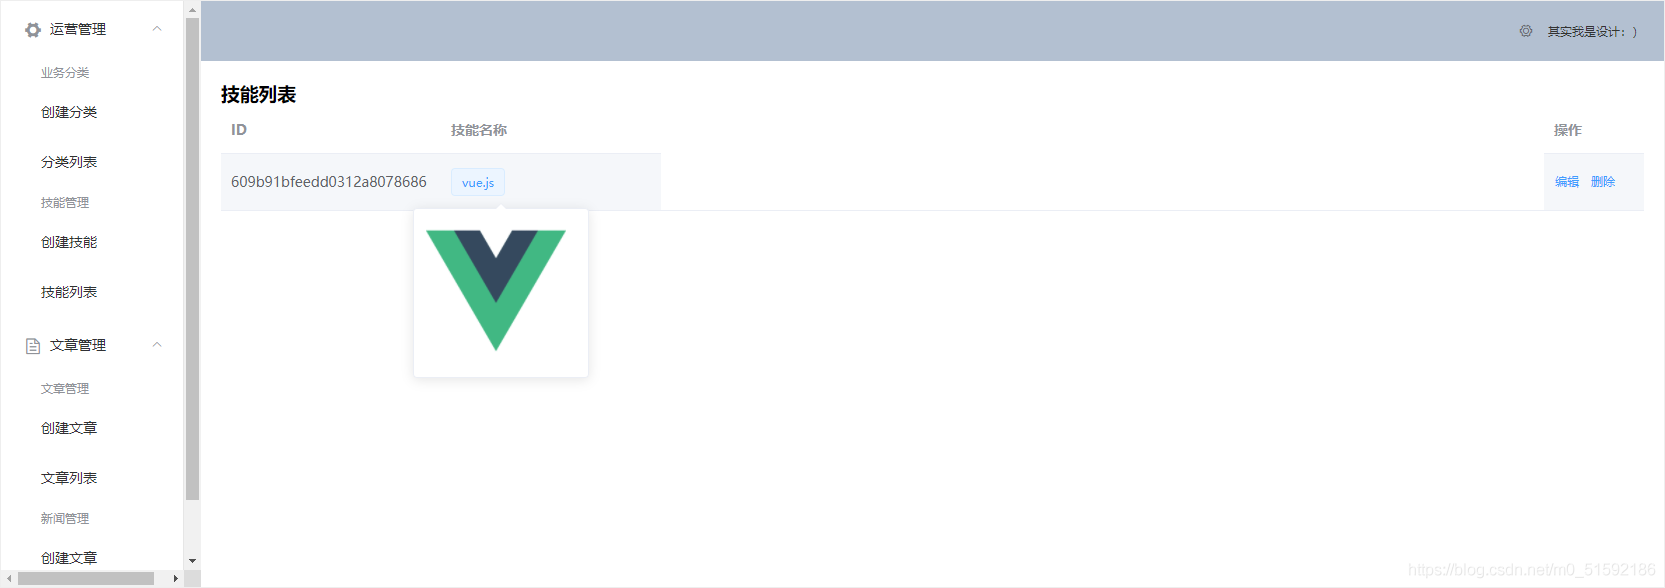
(5)技能列表頁面顯示圖標。
同樣使用elsmentUI中的效果,發現一個有意思的:
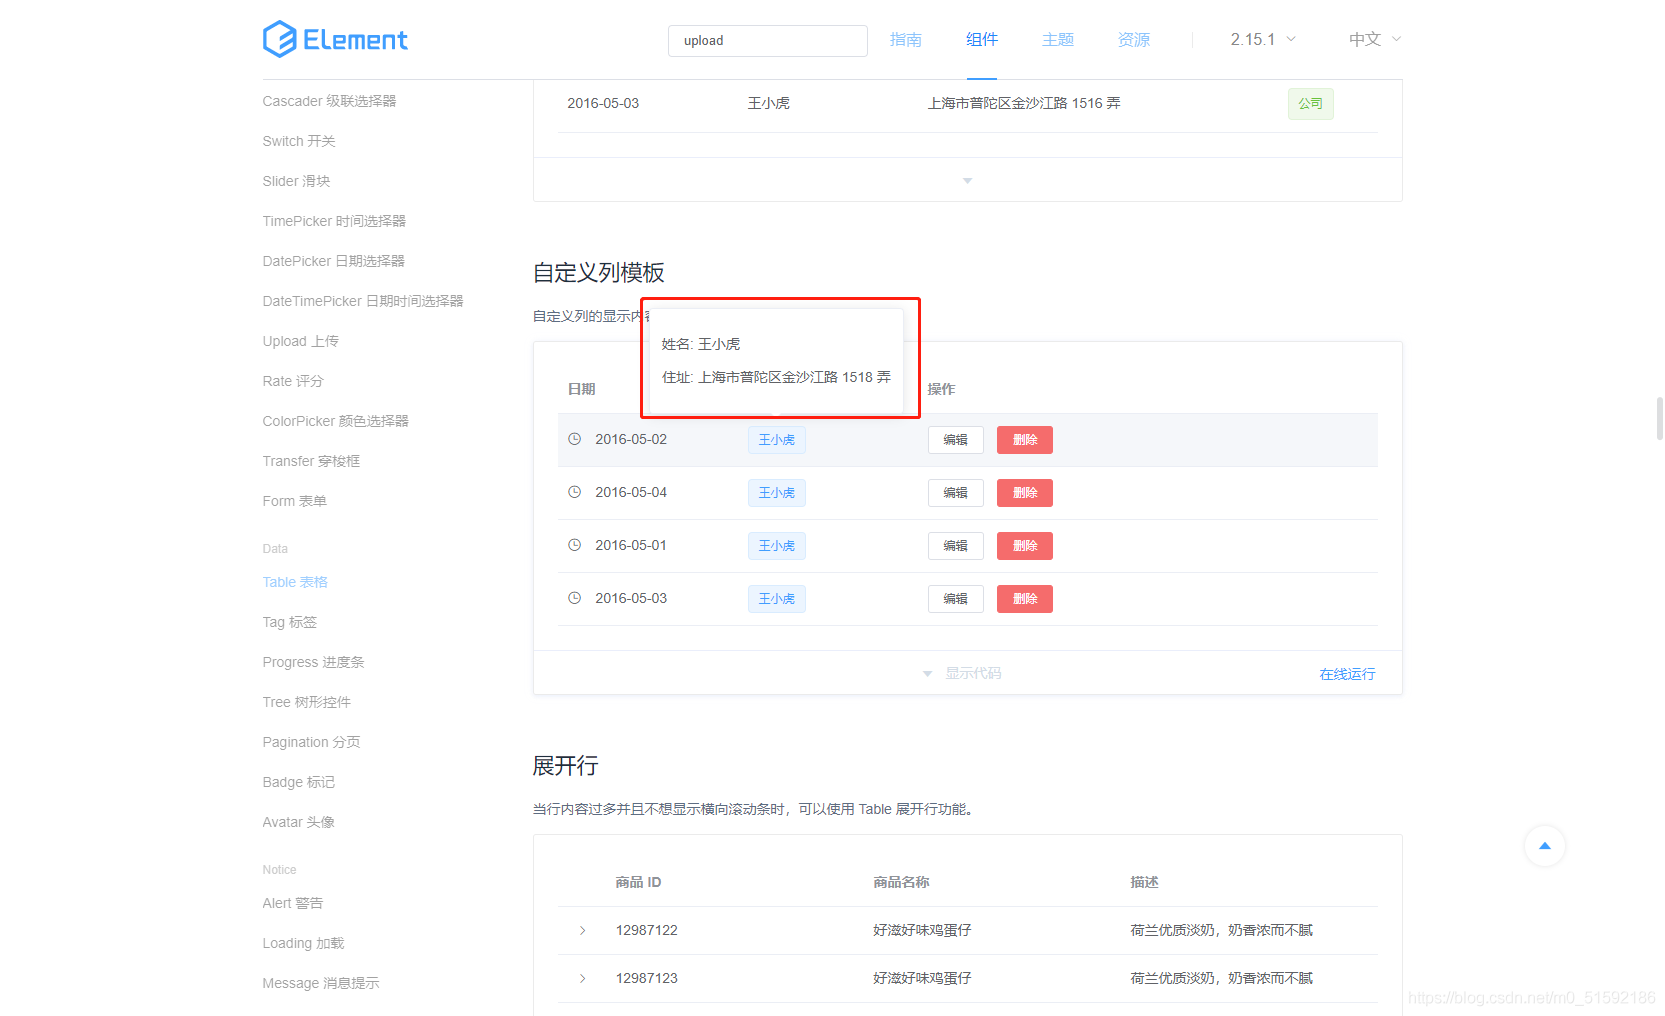
改動技能列表SkillList.vue:
```
<el-table-column prop="name" label="技能名稱" width="120">
<template slot-scope="scope">
<el-popover trigger="hover" placement="top">
<img :src="scope.row.icon" width="140">
<div slot="reference" class="name-wrapper">
<el-tag size="medium">{{ scope.row.name }}</el-tag>
</div>
</el-popover>
</template>
</el-table-column>
```
- tp6+vue
- 1.工具和本地環境
- 2.啟動項目
- 3.路由、模型與數據庫操作
- 4.優化后端接口,前端使用axios實現接口功能
- 5.用戶登錄,bcrypt(hash)加密與驗證
- 6.用戶登錄(二),token驗證
- 7.分類的模型關聯和通用CRUD接口
- 8.使用vue的markdown編輯器并批量上傳圖片
- Node.js + Vue.js
- 工具,本地環境
- 2.1啟動項目
- 3.element-ui和vue-router路由的安裝和使用
- 4.使用axios,并創建接口上傳數據到mongodb數據庫
- 5.mongoodb數據庫的“刪、改、查”操作
- 6.mongodb數據庫無限層級的數據關聯(子分類)
- 7.使用mongodb數據庫關聯多個分類(關聯多個數據)
- 8.server端使用通用CRUD接口
- 9.圖片上傳
- 10.vue的富文本編輯器(vue2-editor)
- 11.動態添加分欄上傳多組數據
- 12-1.管理員模塊
- 13-1.搭建前臺web端頁面
- 1.使用sass工具搭建前臺web端頁面
- 2.sass工具的變量
- 3.使用flex布局并開始搭建web端
- 4.vue廣告輪播圖,并使用接口引入數據
- 5.使用字體圖標(iconfont)
- 6.卡片組件的封裝
- 14-1.生產環境編譯
- 1.環境編譯
- 2.購買域名服務器并解析域名到服務器
- 3.nginx配置web服務器并安裝網站環境
- 4.git拉取代碼到服務器
- 5.配置Nginx反向代理
- 6.遷移本地數據到服務器(mongodump)
- uni
- 1.工具&本地環境
- 2.頁面制作
- 3.頁面制作、組件與輪播
- 4.頁面跳轉與橫向滑動
- 5.用戶授權登錄和用戶信息獲取
- 6.用戶注冊和數據存儲
- 7.用戶填寫表單信息