基本的功能完成后,本節我們使用`ng s`進行集成測試,在啟動測試時將報一個錯誤:
```bash
Error: src/app/student/edit/edit.component.ts:46:32 - error TS2345: Argument of type 'number | undefined' is not assignable to parameter of type 'number'.
Type 'undefined' is not assignable to type 'number'.
46 this.studentService.update(id, {
~~
```
`ng s`的啟動的時候檢查出來一個錯誤,這個錯誤是在說:我們在組件初始化的時候將`id`的類型定義成了`number | undefined`,而最終這個`id`卻做為參數傳給`this.studentService.update`。由于`studentService.update`方法中接收的第一參數類型被規定為`number`。所以最后實質上相當于把`'number | undefined'`類型賦值給了`number`類型,而這是不允許的。
為此我們應當如下對`onSubmit`方法進行改進:
```typescript
+++ b/first-app/src/app/student/edit/edit.component.ts
@@ -39,11 +39,12 @@ export class EditComponent implements OnInit {
* @param id id
* @param formGroup 表單組
*/
- onSubmit(id: number, formGroup: FormGroup): void {
+ onSubmit(id: number | undefined①, formGroup: FormGroup): void {
const formValue = formGroup.value as { name: string, phone: string, email: string, clazzId: number };
Assert.isString(formValue.name, formValue.phone, formValue.email, '類型必須為字符串');
Assert.isNumber(formValue.clazzId, '類型必須為number');
- this.studentService.update(id, {
+ Assert.isNumber(id, 'id類型必須為number'); ②
+ this.studentService.update(id as number③, {
name: formValue.name,
email: formValue.email,
phone: formValue.phone,
```
①處對類型進行統一,既然初始化的時候是`number | undefined`,那么我們這保持不變;③`studentService.update`既然只接收`number`,那么在傳值前我們可以使用`as`關鍵字來做類型指定;在類型指定前為了保證這樣的指定是沒有風險的,在進行指定前對`id`進行斷言。
## 增加路由
在`student`路由文件中增加編輯組件路由:
```typescript
+++ b/first-app/src/app/student/student-routing.module.ts
@@ -2,6 +2,7 @@ import {NgModule} from '@angular/core';
import {Route, RouterModule} from '@angular/router';
import {StudentComponent} from './student.component';
import {AddComponent} from './add/add.component';
+import {EditComponent} from './edit/edit.component';
const routes = [
{
@@ -11,6 +12,9 @@ const routes = [
{
path: 'add',
component: AddComponent
+ }, {
+ path: 'edit/:id',
+ component: EditComponent
}
] as Route[];
```
此時點擊編輯按鈕后將進行正常的跳轉,正常顯示組件。
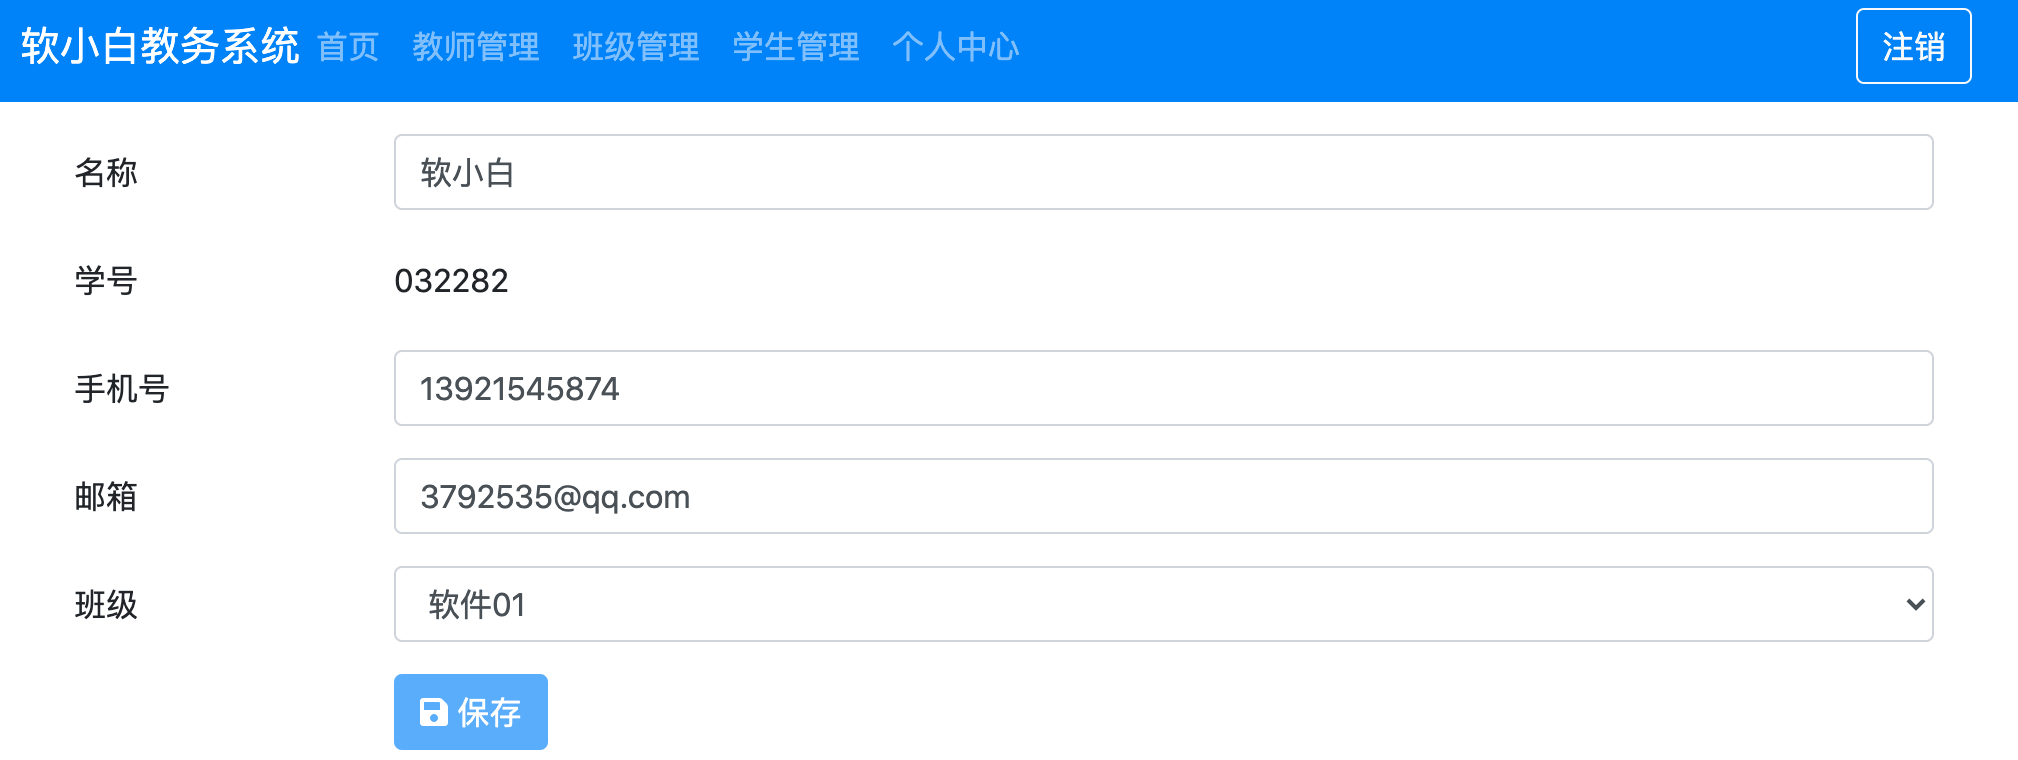
編輯的學生內容雖然可以正常顯示了,但保存按鈕卻是disabled狀態。這里由于我們在編輯組件的學號字段上加入了`numberNotExist`驗證器的原因:
```typescript
this.formGroup = new FormGroup({
name: new FormControl('', Validators.required),
number: new FormControl('', Validators.required, yzAsyncValidators.numberNotExist() ??),
phone: new FormControl('', YzValidators.phone),
email: new FormControl(),
clazzId: new FormControl(null, Validators.required)
});
```
在進行學生編輯組件開發時,我們直接復制了新增學生的代碼,在復制代碼的同時其驗證邏輯也跟著復制了過來。由于學生編輯組件并不涉及到學號的更新,所以學號上原本就不應該設置驗證器。
在設置`numberNotExist`情況下,后臺會以當前學號做為條件查詢后臺是否存在有當前學號的記錄。這當然是存在的,該記錄就是當前正在編輯的學生。
刪除學號上的驗證器后保存按鈕生效:
```typescript
+++ b/first-app/src/app/student/edit/edit.component.ts
@@ -21,7 +21,7 @@ export class EditComponent implements OnInit {
console.log(this.activatedRoute);
this.formGroup = new FormGroup({
name: new FormControl('', Validators.required),
- number: new FormControl('', Validators.required, yzAsyncValidators.numberNotExist()),
+ number: new FormControl(''),
phone: new FormControl('', YzValidators.phone),
email: new FormControl(),
clazzId: new FormControl(null, Validators.required)
```
## 增加跳轉
最后增加保存成功后的跳轉:
```typescript
+++ b/first-app/src/app/student/edit/edit.component.ts
@@ -2,7 +2,7 @@ import {Component, OnInit} from '@angular/core';
import {FormControl, FormGroup, Validators} from '@angular/forms';
import {YzValidators} from '../../yz-validators';
import {YzAsyncValidators} from '../../yz-async-validators';
-import {ActivatedRoute} from '@angular/router';
+import {ActivatedRoute, Router} from '@angular/router';
import {StudentService} from '../../service/student.service';
import {Assert} from '@yunzhi/ng-mock-api';
@@ -17,7 +17,8 @@ export class EditComponent implements OnInit {
constructor(private yzAsyncValidators: YzAsyncValidators,
private activatedRoute: ActivatedRoute,
- private studentService: StudentService) {
+ private studentService: StudentService,
+ private router: Router) {
console.log(this.activatedRoute);
this.formGroup = new FormGroup({
name: new FormControl('', Validators.required),
@@ -50,7 +51,7 @@ export class EditComponent implements OnInit {
phone: formValue.phone,
clazz: {id: formValue.clazzId}
}).subscribe(() => {
- console.log('更新成功');
+ this.router.navigate(['../../'], {relativeTo: this.activatedRoute});
});
}
```
集成測試完成。
## 參數快照
當前我們在獲取路由中的參數ID時,使用的由`snapshot`上讀取屬性的方法。`snapshot`的中文譯為快照,其中的照可以理解為照片。
為了把它稱為`snapshot`呢?是由于該數據一旦生成就不會改變,這就像照片一樣,一旦被拍了出來照片上的情景便會被留存下來。
為了更好的理解它,我們對當前模塊中的路由做以下改動:
```typescript
+++ b/first-app/src/app/student/student-routing.module.ts
@@ -7,14 +7,16 @@ import {EditComponent} from './edit/edit.component';
const routes = [
{
path: '',
- component: StudentComponent
- },
- {
- path: 'add',
- component: AddComponent
- }, {
- path: 'edit/:id',
- component: EditComponent
+ component: StudentComponent,
+ children: [
+ {
+ path: 'add',
+ component: AddComponent
+ }, {
+ path: 'edit/:id',
+ component: EditComponent
+ }
+ ]
}
] as Route[];
```
即將添加組件、編輯組件放到列表組件的children中。然后對列表組件的V層中增加一個路由出口:
```html
+++ b/first-app/src/app/student/student.component.html
@@ -1,3 +1,4 @@
+<router-outlet></router-outlet>
<div class="row">
<div class="col-12 text-right">
<a class="btn btn-primary mr-2" routerLink="./add"><i class="fas fa-plus"></i>
新增</a>
```
此時當我們在學生列表中點擊編輯按鈕時,將得到如下界面:
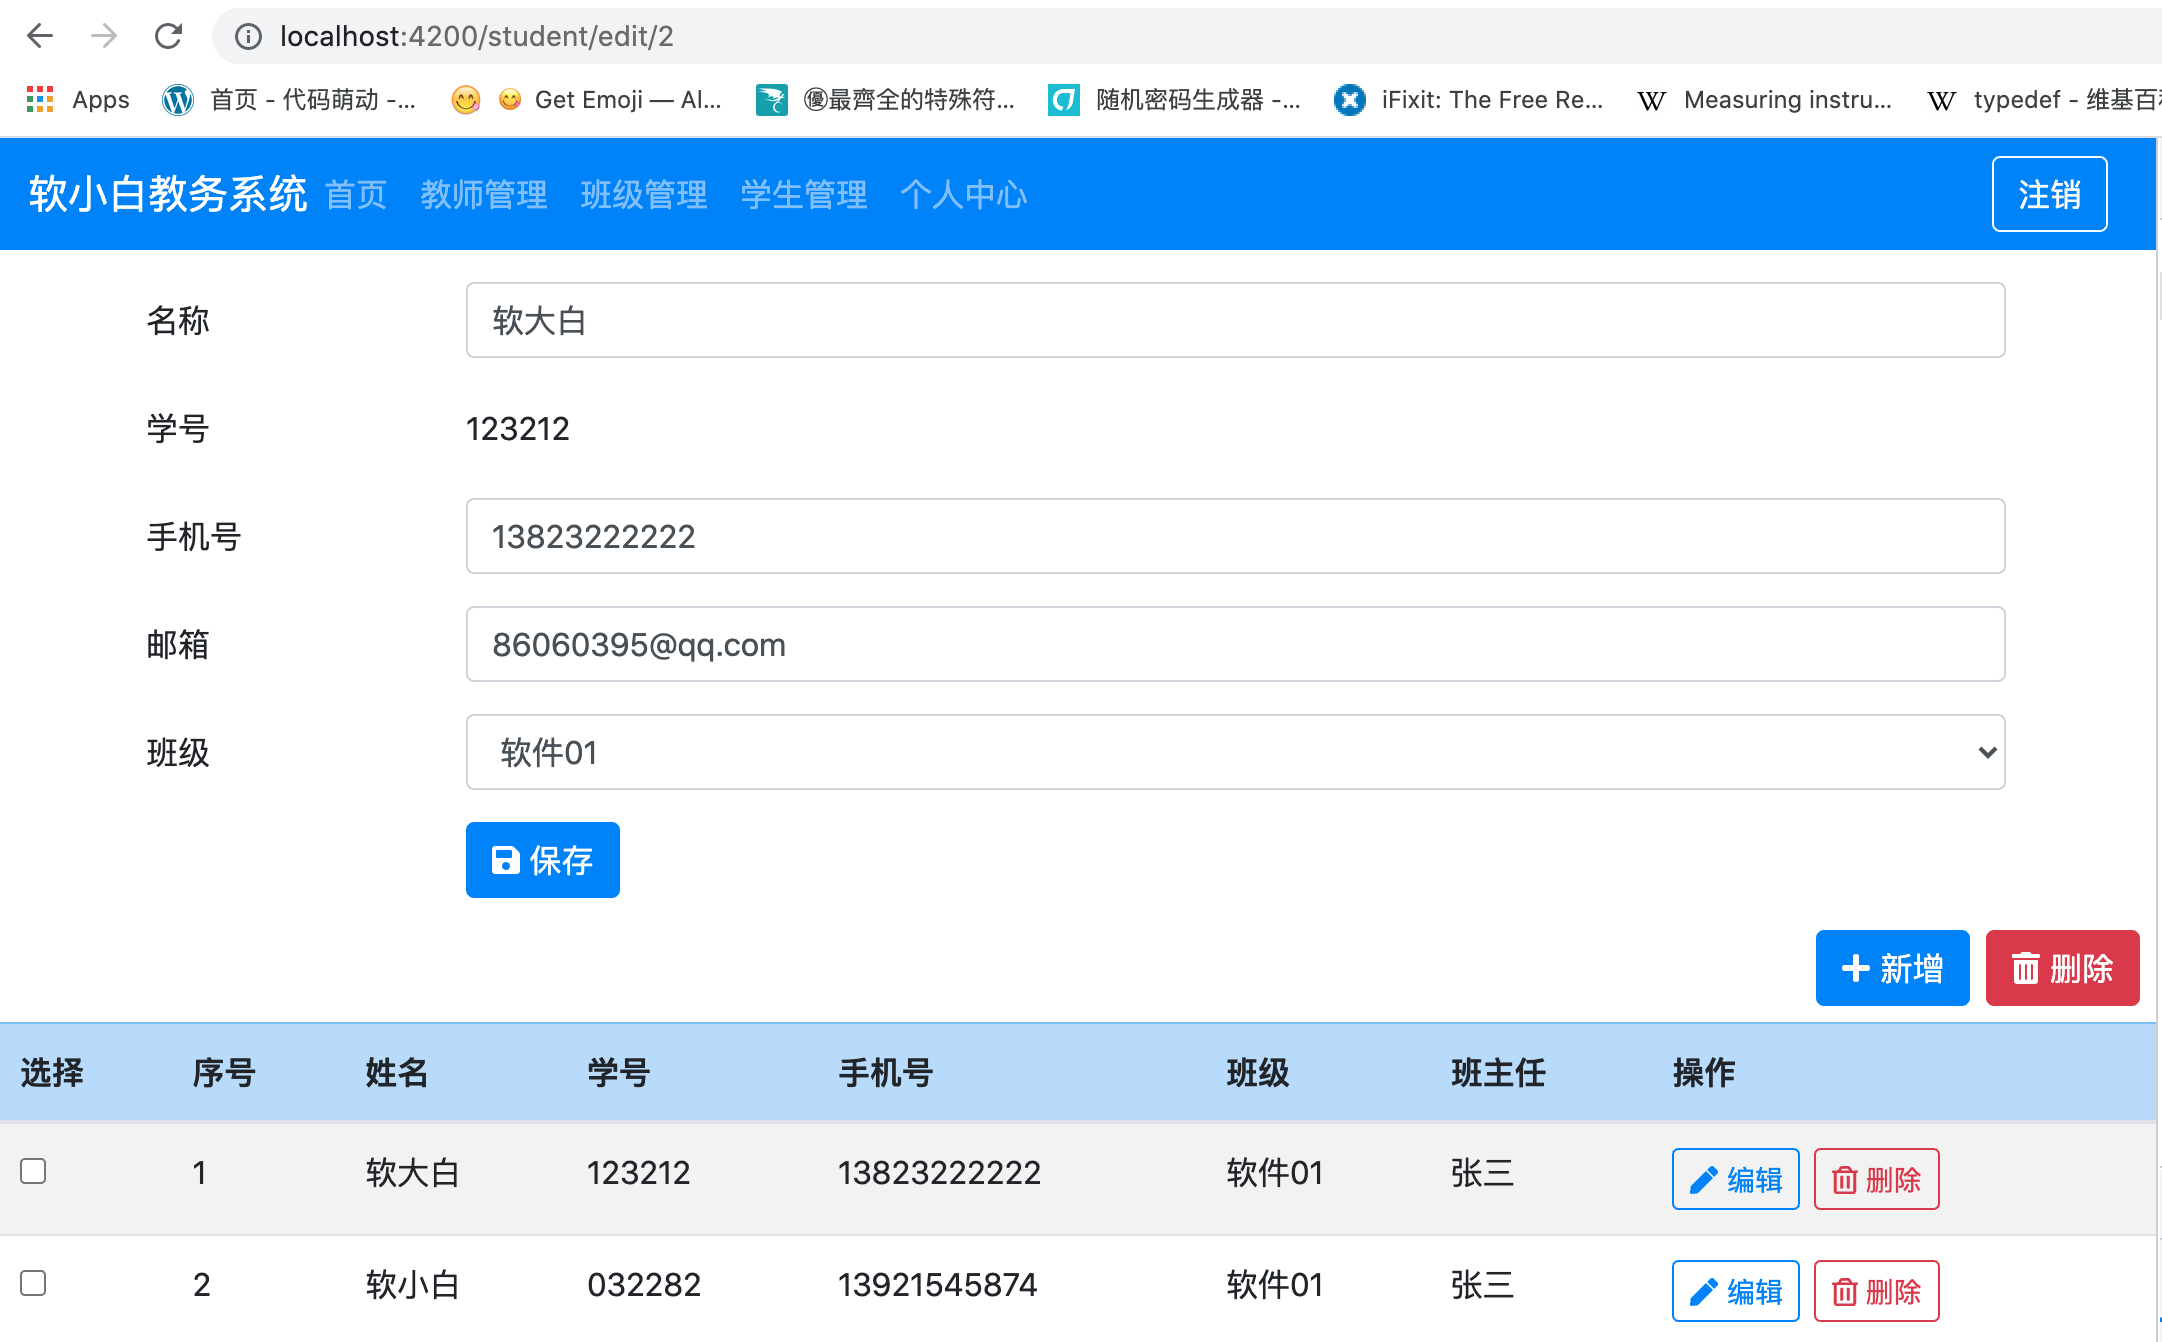
貌似一切都再正常不過,但如果此時我們再次添加其它學生對應的編輯按鈕,則會發現除了瀏覽器`url`產生了變化以外,其它一切都沒有變化。

比如點擊第一個編輯按鈕時,瀏覽器的地址為:`http://localhost:4200/student/edit/1`,當擊第二個編輯按鈕時,瀏覽器的地址為更為:`http://localhost:4200/student/edit/2`。除此以外,編輯組件顯示的學生并沒有任何變化。
這是由于Angular為了性能提升,在地址切換時,將按以下規律來選擇是否構造新組件:
當瀏覽器地址由`http://localhost:4200/student/edit/1`變更為`http://localhost:4200/student/edit/2`時,Angular發現變更前后的兩個地址對應同一個路由,該路由指定了學生編輯組件,則Angular將選擇復用的以前的組件。
也就是說瀏覽器的地址雖然變更了,但組件還是那個組件,并沒有發生任何變化。
而獲取編輯的學生信息的代碼位于學生編輯組件的`ngOnInit()`方法中,該方法僅會在組件實例化的時候被調用1次。所以上述事件的整個過程大體如下:
? 瀏覽器地址為`http://localhost:4200/student`時,學生列表組件不存在,則初始化學生列表組件。該組件中的`ngOnInit`方法被自動調用1次。
? 第1次點擊編輯按鈕時,瀏覽器地址由`http://localhost:4200/student`跳轉至`http://localhost:4200/student/edit/1`,學生編輯組件不存在,則初始化學生編輯組件。該組件中的`ngOnInit`方法被自動調用1次。
? 第2次點擊編輯按鈕時,瀏覽器地址由`http://localhost:4200/student/edit/1`變更為`http://localhost:4200/student/edit/2`,學生編輯組件已存在,什么也不做。
當學習一個偉大的框架時,盡量不要懷疑框架的思想。比如我們前面遇到了問題,首先想的是應該如何改變自己的思想,讓自己的思想與Angular相一致。在這種情況下,再去思索解決問題的方法。
Angular的思想是:如果我們想在路由改變時進行一些操作,則應該去訂閱路由信息。因為一旦我們訂閱了路由信息,路由發生變化時則會主通地通知我們。
下節中我們將使用**可訂閱的路由參數**來取替**路由參數快照**來解決當前問題。
## 資源鏈接
| 鏈接 | 名稱 |
| ------------------------------------------------------------ | -------- |
| [https://github.com/mengyunzhi/angular11-guild/archive/step7.7.4.zip](https://github.com/mengyunzhi/angular11-guild/archive/step7.7.4.zip) | 本節源碼 |
- 序言
- 第一章 Hello World
- 1.1 環境安裝
- 1.2 Hello Angular
- 1.3 Hello World!
- 第二章 教師管理
- 2.1 教師列表
- 2.1.1 初始化原型
- 2.1.2 組件生命周期之初始化
- 2.1.3 ngFor
- 2.1.4 ngIf、ngTemplate
- 2.1.5 引用 Bootstrap
- 2.2 請求后臺數據
- 2.2.1 HttpClient
- 2.2.2 請求數據
- 2.2.3 模塊與依賴注入
- 2.2.4 異步與回調函數
- 2.2.5 集成測試
- 2.2.6 本章小節
- 2.3 新增教師
- 2.3.1 組件初始化
- 2.3.2 [(ngModel)]
- 2.3.3 對接后臺
- 2.3.4 路由
- 2.4 編輯教師
- 2.4.1 組件初始化
- 2.4.2 獲取路由參數
- 2.4.3 插值與模板表達式
- 2.4.4 初識泛型
- 2.4.5 更新教師
- 2.4.6 測試中的路由
- 2.5 刪除教師
- 2.6 收尾工作
- 2.6.1 RouterLink
- 2.6.2 fontawesome圖標庫
- 2.6.3 firefox
- 2.7 總結
- 第三章 用戶登錄
- 3.1 初識單元測試
- 3.2 http概述
- 3.3 Basic access authentication
- 3.4 著陸組件
- 3.5 @Output
- 3.6 TypeScript 類
- 3.7 瀏覽器緩存
- 3.8 總結
- 第四章 個人中心
- 4.1 原型
- 4.2 管道
- 4.3 對接后臺
- 4.4 x-auth-token認證
- 4.5 攔截器
- 4.6 小結
- 第五章 系統菜單
- 5.1 延遲及測試
- 5.2 手動創建組件
- 5.3 隱藏測試信息
- 5.4 規劃路由
- 5.5 定義菜單
- 5.6 注銷
- 5.7 小結
- 第六章 班級管理
- 6.1 新增班級
- 6.1.1 組件初始化
- 6.1.2 MockApi 新建班級
- 6.1.3 ApiInterceptor
- 6.1.4 數據驗證
- 6.1.5 教師選擇列表
- 6.1.6 MockApi 教師列表
- 6.1.7 代碼重構
- 6.1.8 小結
- 6.2 教師列表組件
- 6.2.1 初始化
- 6.2.2 響應式表單
- 6.2.3 getTestScheduler()
- 6.2.4 應用組件
- 6.2.5 小結
- 6.3 班級列表
- 6.3.1 原型設計
- 6.3.2 初始化分頁
- 6.3.3 MockApi
- 6.3.4 靜態分頁
- 6.3.5 動態分頁
- 6.3.6 @Input()
- 6.4 編輯班級
- 6.4.1 測試模塊
- 6.4.2 響應式表單驗證
- 6.4.3 @Input()
- 6.4.4 FormGroup
- 6.4.5 自定義FormControl
- 6.4.6 代碼重構
- 6.4.7 小結
- 6.5 刪除班級
- 6.6 集成測試
- 6.6.1 惰性加載
- 6.6.2 API攔截器
- 6.6.3 路由與跳轉
- 6.6.4 ngStyle
- 6.7 初識Service
- 6.7.1 catchError
- 6.7.2 單例服務
- 6.7.3 單元測試
- 6.8 小結
- 第七章 學生管理
- 7.1 班級列表組件
- 7.2 新增學生
- 7.2.1 exports
- 7.2.2 自定義驗證器
- 7.2.3 異步驗證器
- 7.2.4 再識DI
- 7.2.5 屬性型指令
- 7.2.6 完成功能
- 7.2.7 小結
- 7.3 單元測試進階
- 7.4 學生列表
- 7.4.1 JSON對象與對象
- 7.4.2 單元測試
- 7.4.3 分頁模塊
- 7.4.4 子組件測試
- 7.4.5 重構分頁
- 7.5 刪除學生
- 7.5.1 第三方dialog
- 7.5.2 批量刪除
- 7.5.3 面向對象
- 7.6 集成測試
- 7.7 編輯學生
- 7.7.1 初始化
- 7.7.2 自定義provider
- 7.7.3 更新學生
- 7.7.4 集成測試
- 7.7.5 可訂閱的路由參數
- 7.7.6 小結
- 7.8 總結
- 第八章 其它
- 8.1 打包構建
- 8.2 發布部署
- 第九章 總結